Using Artboards (PRO)
As you learned in the previous chapter, your OmniGraffle projects can be as simple or complex as you need. For example, your project can have a single canvas with a single layer, a single canvas with multiple layers, or it can contain multiple canvases each with multiple layers.
This chapter introduces you to a new layer—and object—type that’s only available in OmniGraffle Pro: The Artboard. Artboard Layers reside beneath or between the layers of your project, and the objects on an Artboard Layer, known as Artboard Objects, have a direct effect on the objects residing on layers higher up in the stack. Artboards can be used to define export areas in your project, while also acting as a container for objects on the layers above.
For example, you could use artboards to:
- Define the areas needed for toolbar buttons in a macOS app. You could mock up the toolbar, and use separate artboards for each button location.
- Export multiple resolution images (normal, 100%, through @5x, 500%) for use in an app bundle or for a website.
- Act as containers for objects in a project, such as an app prototype, where you need the ability to move interaction “screens” around without breaking everything else.
- And much, much more...
As you’ll soon discover, artboards are powerful new tools for your bag of design tricks.
Understanding Artboards
The fastest way to add an Artboard Layer and an Artboard Object to your project is with the Artboard Tool:
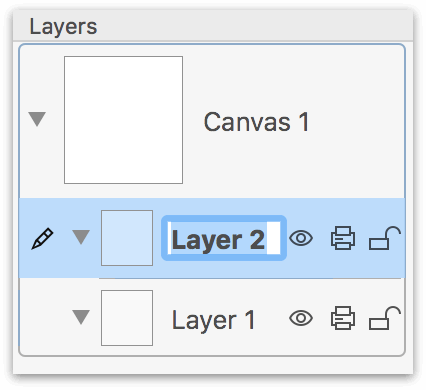
Artboards are unlike other layers in OmniGraffle. For example, if you create a new OmniGraffle project and add a New Layer, you’ll notice that Layer 2 appears above Layer 1 in the layer stack.
However, with the same new project, if you choose File ▸ New Artboard Layer in the toolbar (or use the Artboard Tool to create a new artboard object and layer), you’ll notice that the Artboard Layer 1 layer is added to the canvas underneath Layer 1.
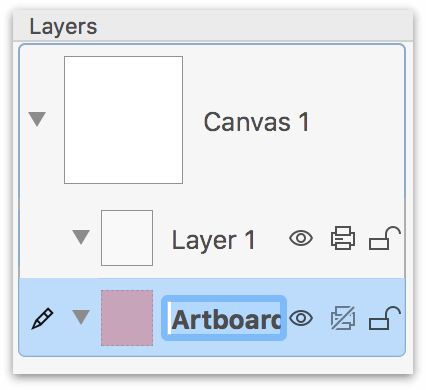
This subtle behavior is deliberate because artboards are used to manage the behavior and output of the things you create on the layers above. In fact, whenever you add a new Artboard Layer, it pops into the layer stack underneath the selected layer.
And, like standard layers, your project can have as many Artboard Layers that you need; but unlike standard layers, there is no requirement for a project to have at least one Artboard Layer. If you don’t need one, don’t use one. (The same applies to Shared Layers, too.)
How Artboard Objects Interact with Objects on Other Layers
As noted earlier, artboards interact with the objects on layers higher up in the stack. This means that when you go to grab and move an artboard to a different location on the canvas, every object that’s on a higher layer in the project—and within the bounds of the artboard, partially or otherwise—goes along for the ride.
To help illustrate the point, let’s look at a simple example...
- Create a new OmniGraffle project.
- In the menu bar, choose View and look in the Extras section to see if Movement Handles has a checkmark next to it.
- Click the New Layer button in the toolbar to add another standard layer to the project; don’t worry about renaming this layer.
- On Layer 1, use the Shape tool to draw a square.
-
On Layer 2, use the Shape tool to draw a circle, but have the circle overlap the square a little, like so:
-
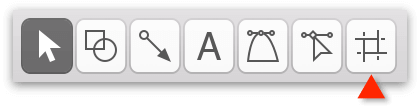
In the Tool Palette, select the Artboard Tool
 .
. -
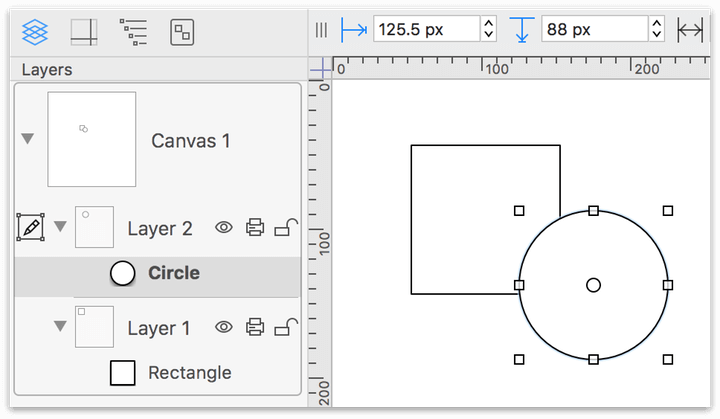
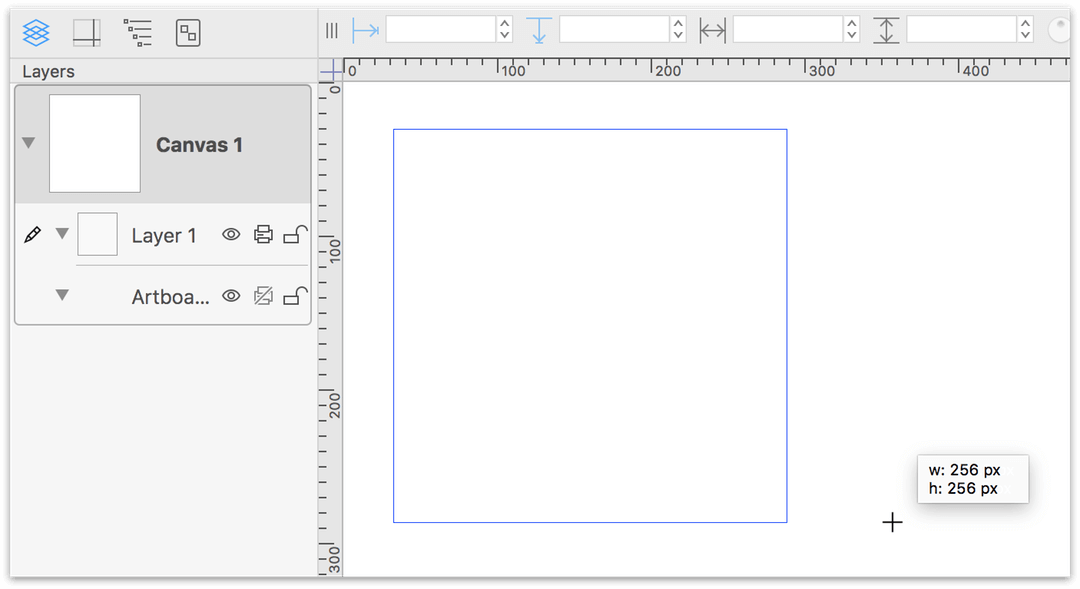
Draw an artboard so that it intersects the circle on Layer 2:
If you look at the Sidebar, you’ll notice that the Artboard Layer has been added between Layers 1 and 2.
-
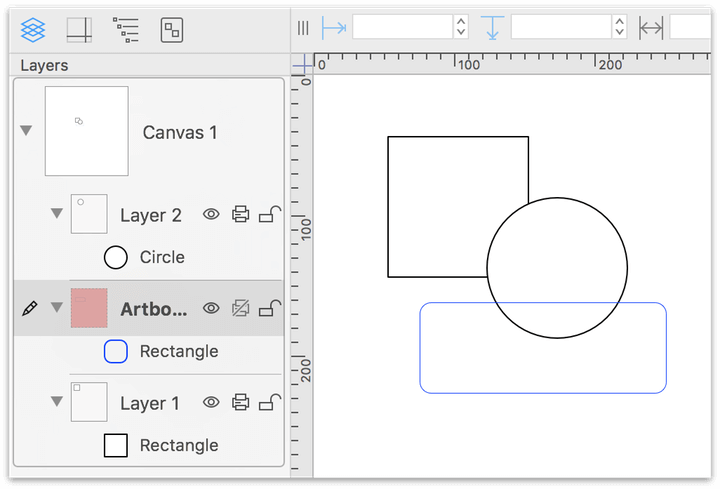
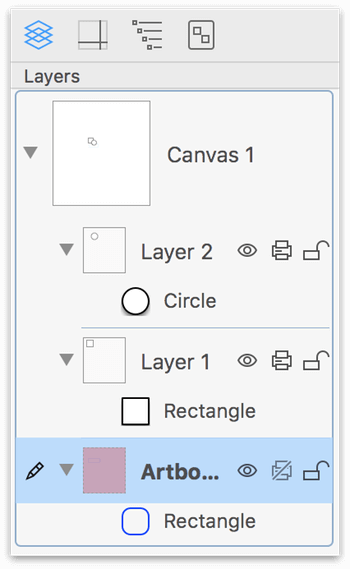
Drag the Artboard Layer to the bottom of the layer stack, so that Layers 1 and 2 appear above the artboard.
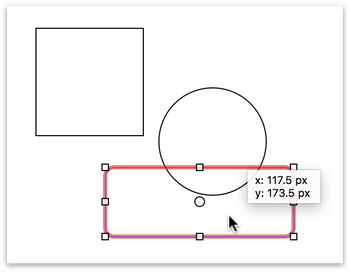
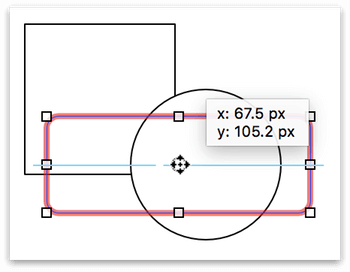
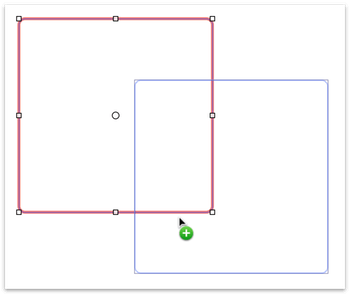
With the artboard at the bottom of the layer stack, and knowing that artboard objects affect the objects on layers higher up in the stack, click and drag on the artboard. Notice how the circle on Layer 2 moves along with the artboard but the square on Layer 1 stays in place. This is because a portion of the circle overlaps the artboard, but the square does not.
Press Command-Z to undo that movement and reset the circle and artboard to their previous locations.
If all you wanted to do was move the artboard so that it is placed beneath the square and the circle, here’s how you would do that:
- In the Sidebar, select the artboard.
-
First, click-and-hold on the artboard’s Movement Handle, located at the center of the Bounding Box Basics. This grabs the artboard so it can be moved:

-
Then press the Control key and move the artboard into position:
When the Control key is added in that way, it temporarily decouples the artboard from any objects on layers higher up in the stack so you can freely move the artboard around.
-
When the artboard is in the correct location, let go of the mouse button and then let go of the Control key.
Now if you move the artboard, both the square and circle go along for the ride.
Using Artboards as Containers
Sometimes, you need the flexibility of a group, without actually creating a group. For example, when you’re trying to rapidly prototype something and you want the flexibility to move things around to see how they look when you move or add things to the design.
For example, let’s say that you’re working on toolbar button designs for a Mac app. Toolbars, as you know, contain three circular window control buttons in the upper-left corner. One quick way to attach these to an artboard is to first select the three buttons, and then choose Arrange ▸ Make Artboard (Shift-Command-A).
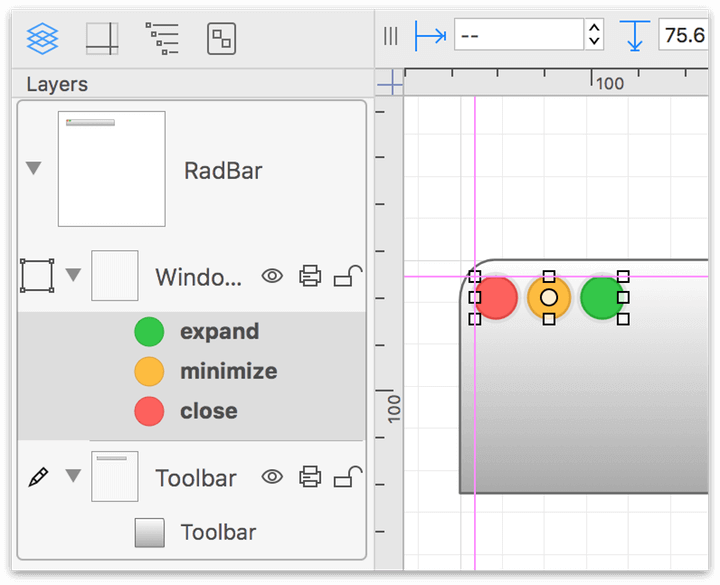
The Make Artboard option wraps the selected objects in an artboard, and places that artboard layer at the bottom of the stack.
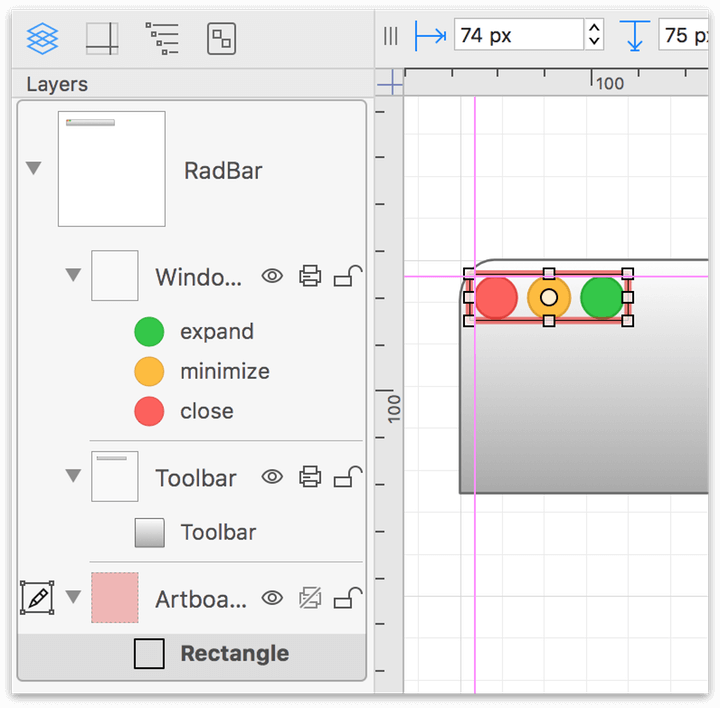
If, while iterating on your design, you decide that you want to see how the toolbar looks without the window controls, you can just grab the artboard and move it off to the side.
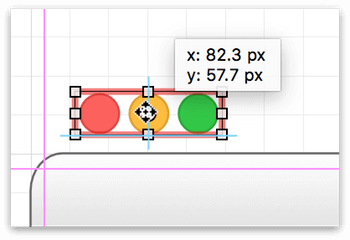
The objects are still visible on the canvas and can be dragged back into place at any time.
Adding a Toolbar Button for Creating New Artboard Layers
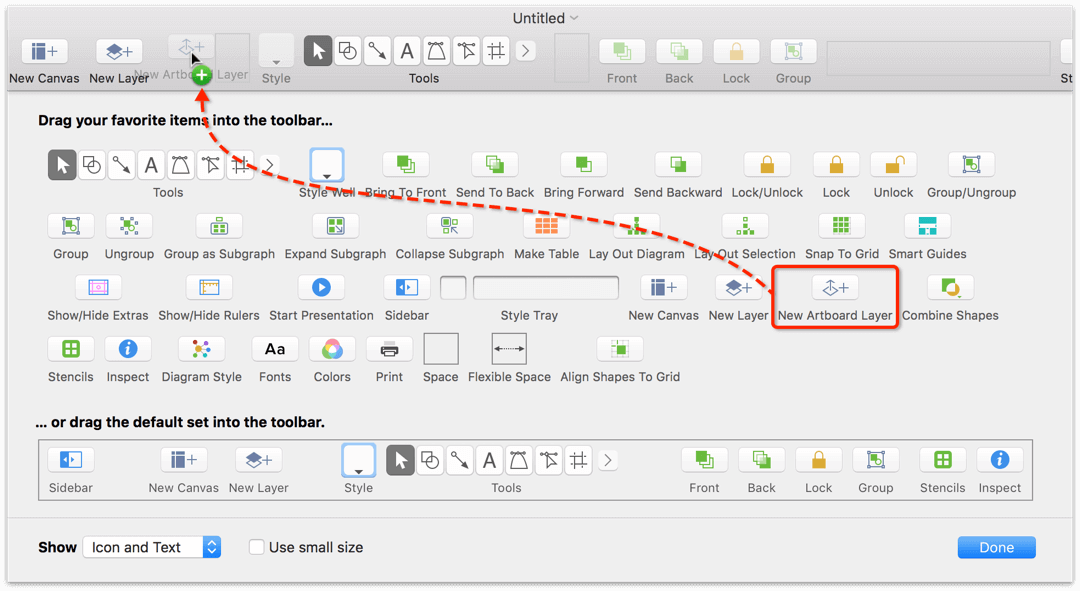
If you plan to work with Artboards often, you should consider adding the New Artboard Layer button to OmniGraffle’s toolbar. To do this, follow these steps:
- Control-click on the toolbar, and choose Customize Toolbar
-
Locate the New Artboard Layer button and drag that up to the toolbar:

-
Click Done
If you ever decide that you no longer want the New Artboard Layer button in the toolbar, Control-click on the toolbar again, and then drag the New Artboard Layer button away from the toolbar. When you let go of the mouse button, it disappears in a poof.
Changing an Artboard Object’s Shape
By default, the Artboard Tool draws a rectangular shape when used. However, you can use the Shape inspector to change the shape of an Artboard Object before or after it has been added to an Artboard Layer; here’s how:
Before Drawing the Artboard Object
- In the Tool Palette, click to select the Artboard Tool
- Press Command-1 to view the Object inspectors in the inspector bar
- Option-click the Shape inspector; this opens the Shape inspector, and collapses the other Object inspectors
- Click the Shape Selection button at the top of the Shape inspector, and then double-click on another shape in the pop-up menu that appears.
After Drawing the Artboard Object
- Select the Artboard Object on the Canvas
- Option-click the Shape inspector; this opens the Shape inspector, and collapses the other Object inspectors
- Click the Shape Selection button at the top of the Shape inspector, and then click on one of the shapes in the pop-up menu that appears. The Artboard Object instantly changes its shape.
Deleting Artboards
If you decide that your project no longer needs an artboard, you can safely delete the artboard without deleting the objects that reside on other layers.
To delete an artboard, you can do one of the following:
- Control-click on the artboard layer in the Sidebar and choose Delete Layer from the contextual menu that appears.
- Select the artboard object in the Sidebar or on the canvas and press Delete.
If you select the artboard on the canvas, make sure that you select just the artboard, and not any of the objects on the layers above prior to pressing Delete.
If you delete something by accident, remember that you can always press Command-Z to undo that action.
Working with Artboards
To help illustrate how to use artboards in your own projects, there are a couple approaches you can take. First, if you know the dimensions of the image assets you need, you can start by laying down your artboard first and then drawing on the layers above. The second approach is when you already have the art you need in OmniGraffle, and you want to add an artboard to define the export areas you need.
Defining the Design Area with Artboards
Let’s say that you’ve started up your own private rocket company, MasterBlasters, and you’re using OmniGraffle for all of your design needs—from designing your brand ID to prototyping your website and companion app for iOS.
The Web Team needs a transparent PNG image that’s 1080 × 256 pixels, and the App Team needs a similar PNG image, except it needs to be 512 × 512 pixels.
In the past, the process for doing this would be extremely tedious. You’d have different project files with different-sized assets, which meant there was a greater chance for failure when you split up everything that way—and who wants that when you’re creating a rocket company?
However, to accomplish this feat, you’ll only need two artboard objects. To get the larger graphic for the billboard, you’ll repurpose the artboard object you create to define the web banner, and then change the Unit Scale in the Units inspector.
This is where the power of artboard layers and objects come into play. Let’s get started!
- Create a new OmniGraffle project.
-
Select the Artboard Tool, hold down the Shift key, and then draw a 256 × 256 px square on the canvas:
Holding down the Shift key while drawing a shape ensures that the height and width of the object are the same dimensions.
-
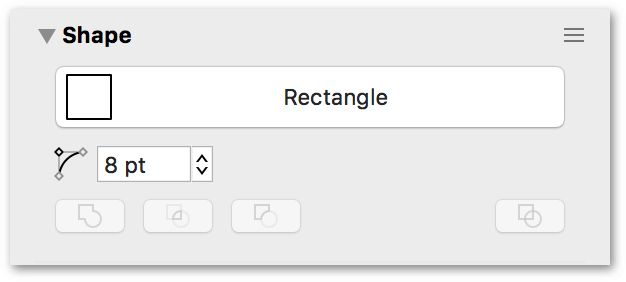
Option-click on the Shape inspector and set the Corner Radius to 8 pt:
-
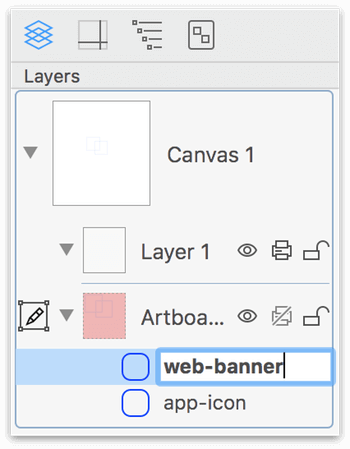
In the Sidebar, double-click on the artboard’s name (currently, Rectangle), and change that to app-icon:

Notice how the Artboard Layer has a red highlight to its layer preview in the Sidebar. This makes it easy for you to quickly identify the artboards in your project.
If you are designing iOS app icons, there is an iOS App Icon shape in the Shape inspector’s Shape Popover.
-
Click to select the artboard on the canvas.
-
Hold down the Option key, and then click and drag on the artboard to create a duplicate:
-
In the Sidebar, double-click on the duplicate artboard’s name, and change that to web-banner:
-
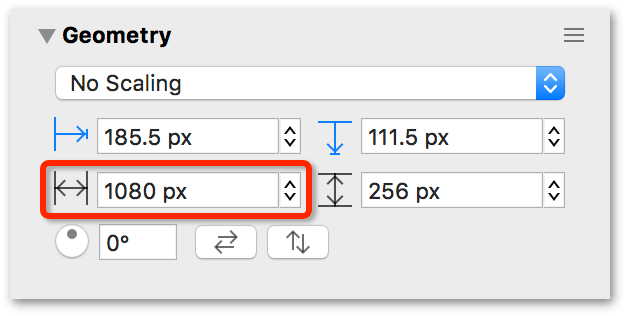
Click to select the web-banner artboard on the canvas.
-
Option-click the Geometry inspector, and change the artboard’s width to 1080 pixels:
-
Next, you’ll want to align the artboards so that the app-icon artboard is centered on the web-banner artboard. Click on the canvas to bring that area into focus, and then press Command-A (Select All) to select both artboards.
-
Option-click the Alignment inspector, and then press the following buttons:
 to align the artboards based on their vertical centers
 to align the artboards based on their horizontal centers
This is how the artboards should appear on the canvas:

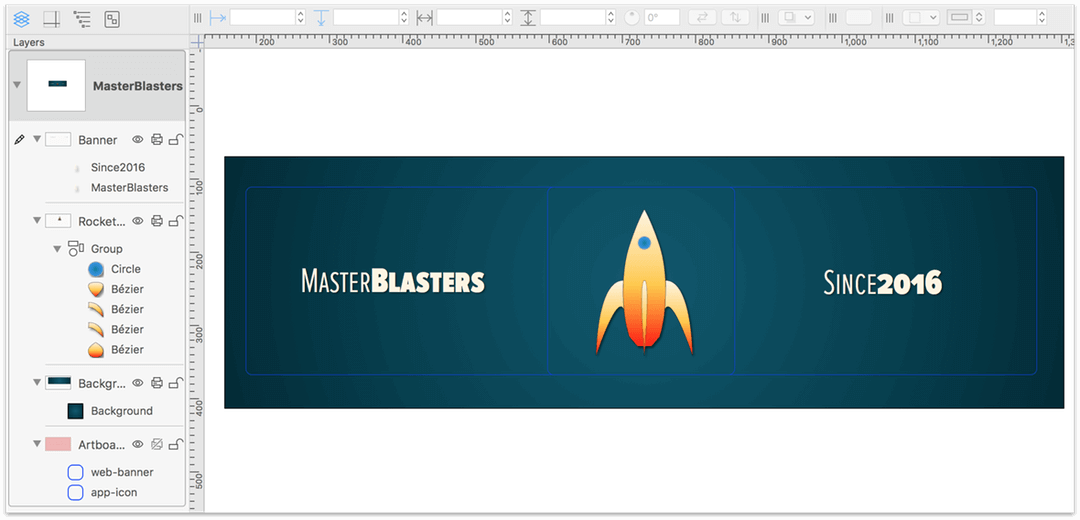
With the artboards in place, you can work on your design on the layers above. When you set up your OmniGraffle project, you layer it just like you normally would, with a background, the rocketship, and the text blocks you need for the web banner.
Exporting Image Assets with Artboards
To create the image files you need, choose File ▸ Export (Option-Command-E). After choosing Export, you’ll catch your first glimpse of OmniGraffle’s new Export panel.
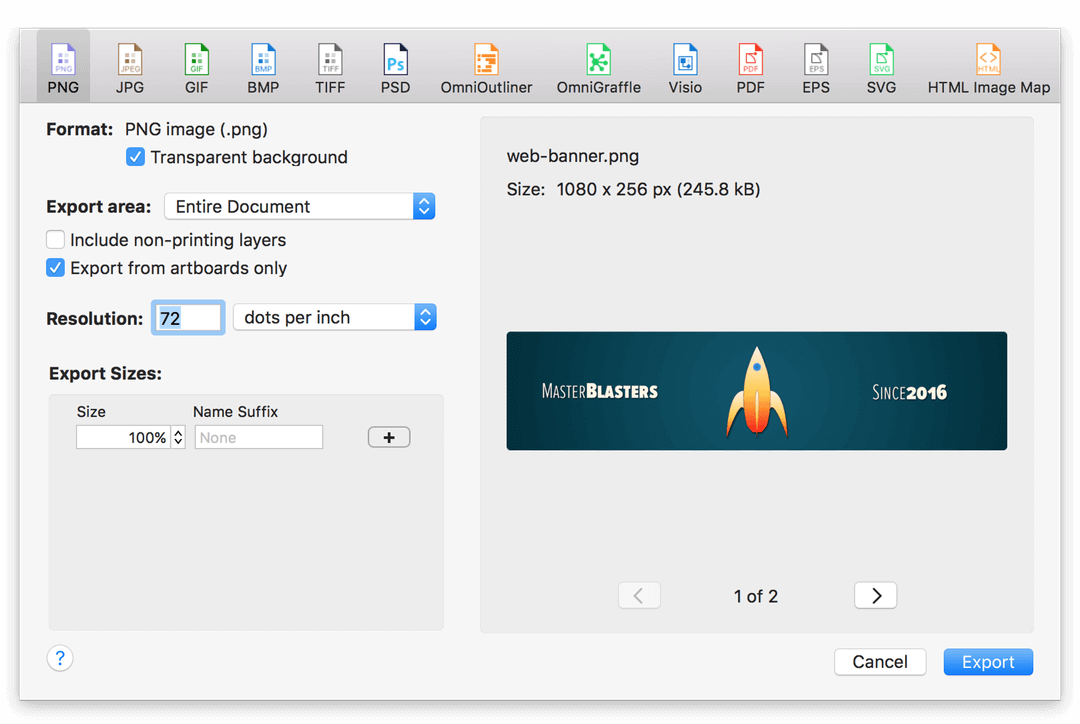
On the left side of the Export panel, under the Export Area section, make sure that Export from artboards only is checked. This tells OmniGraffle to export images based on the artboards in your project; without this option checked, what gets exported depends on what you have selected in the Export Area pop-up menu.
If you look at the right side of the Export panel, you’ll see the Export Preview, where you can page through the images as determined by their artboards.
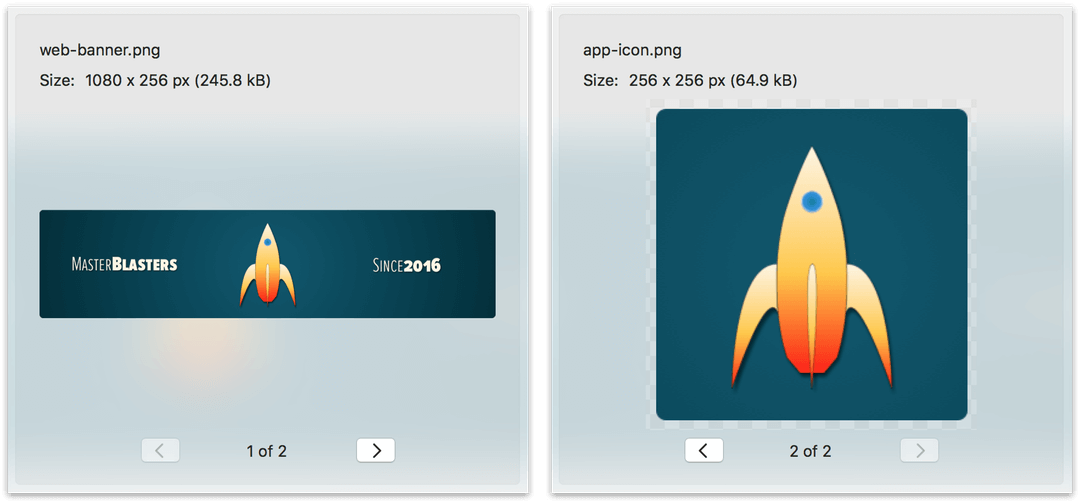
You’ll notice that, when exported at 100% size, the web-banner image will export at the size you need (1080 × 256 pixels), while the app-icon image exports at the size of the artboard—256 × 256 pixels—except, you need the app-icon to be 512 × 512 pixels.
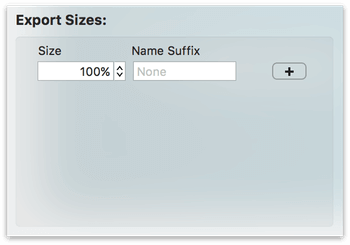
If you look at the Export Sizes area of the Export panel, you’ll see that you can also specify variable export sizes:
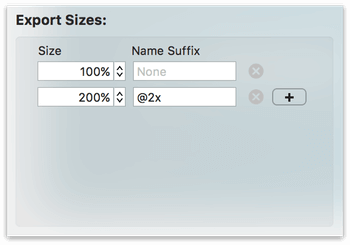
In the Export Sizes area, click  to add another export size. By default, OmniGraffle sets the next size to 200% and adds @2x as the suffix.
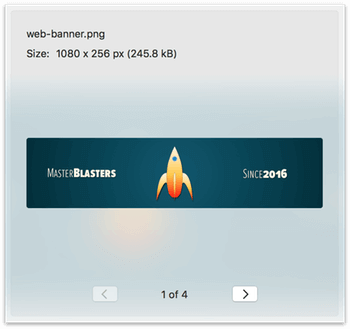
If you look at the Export Preview, you’ll notice that there are now four images that will be exported: two at 100% and two at 200%:
When you click Export, the Save sheet flops down so you can choose a location on your Mac to save the files. When you export, the text you enter in the Export As field is used as the name for a folder to contain the images.
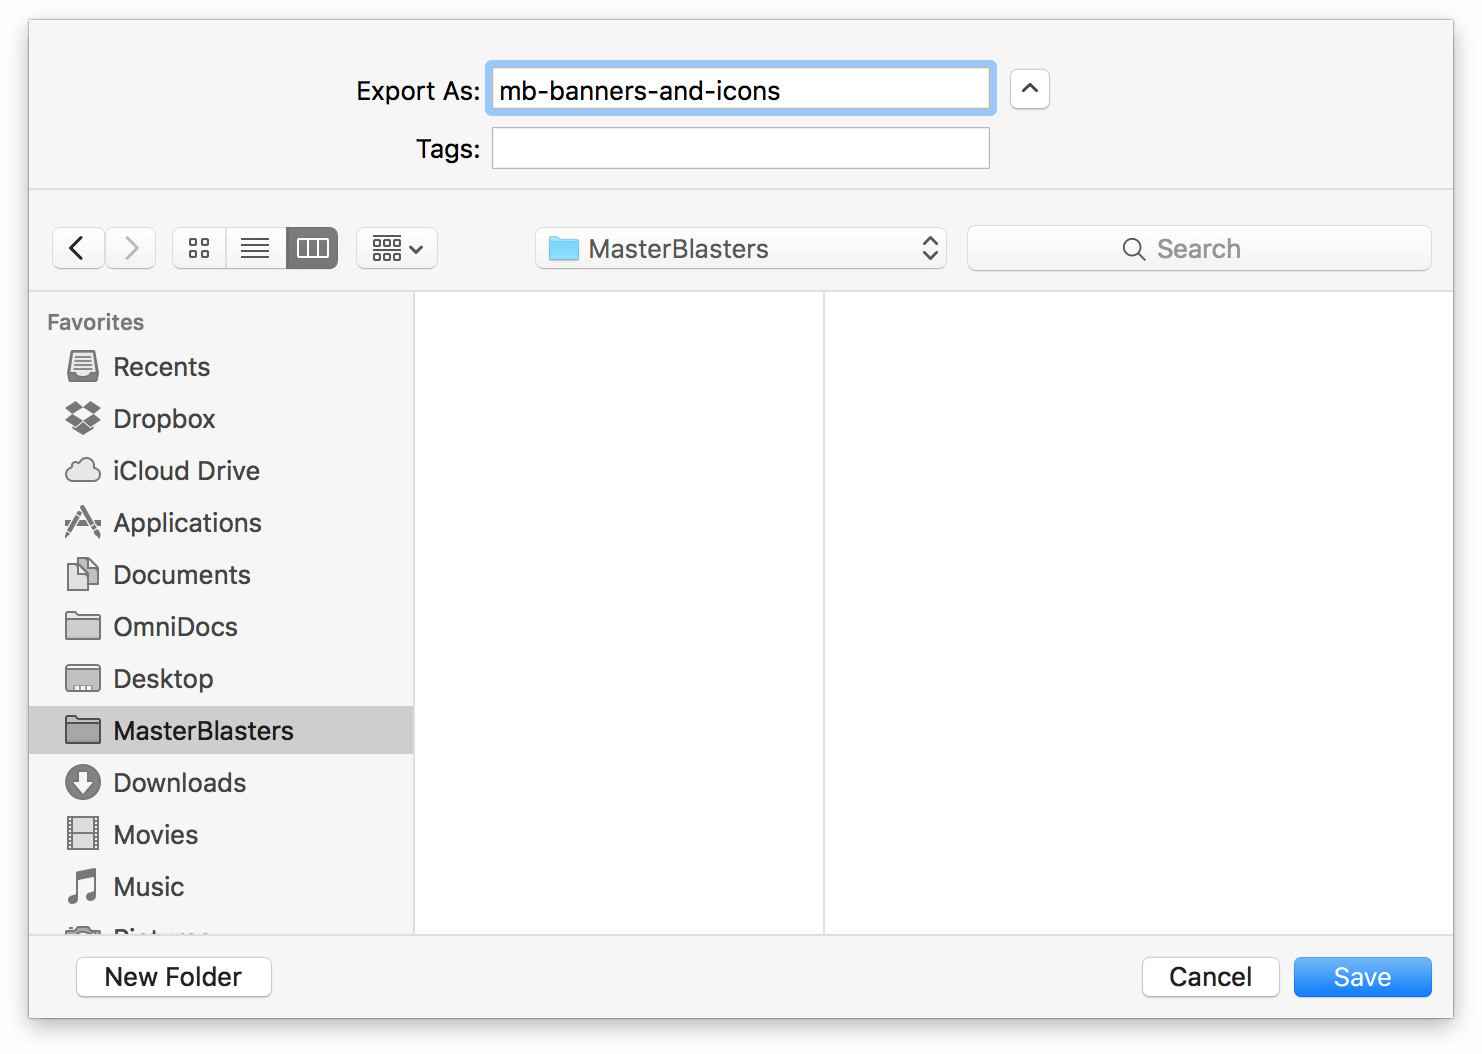
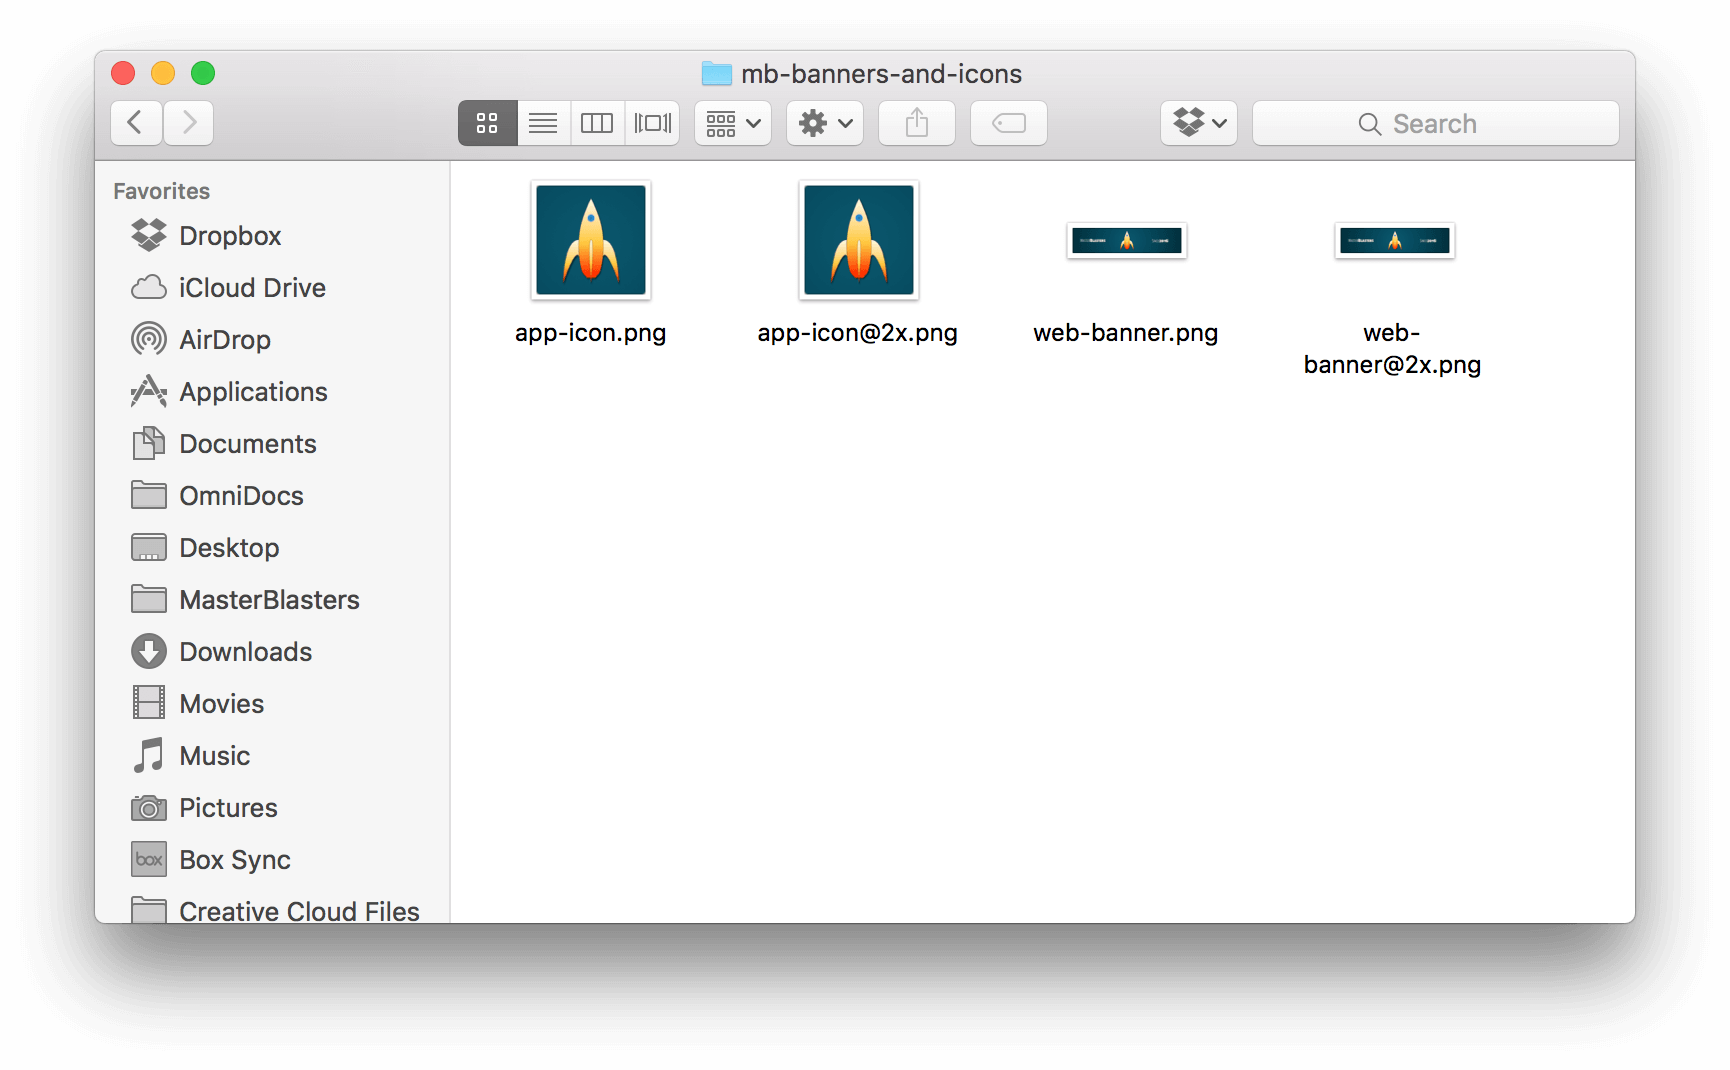
When you click Save, OmniGraffle outputs the image files to the folder you have specified. In this case, four images are exported:
- app-icon.png (256 × 256 px)
- app-icon@2x.png (512 × 512 px)
- web-banner.png (1080 × 256 px)
- web-banner@2x.png (2160 × 512 px)
Depending on the needs of the Web and App Teams, you can either send them both sizes, or just the ones they need and then discard the others.
Adding Artboards to an Existing Project
Now that you know what artboards look like and how they interact with objects on other layers, you can also add artboards to an existing OmniGraffle project.
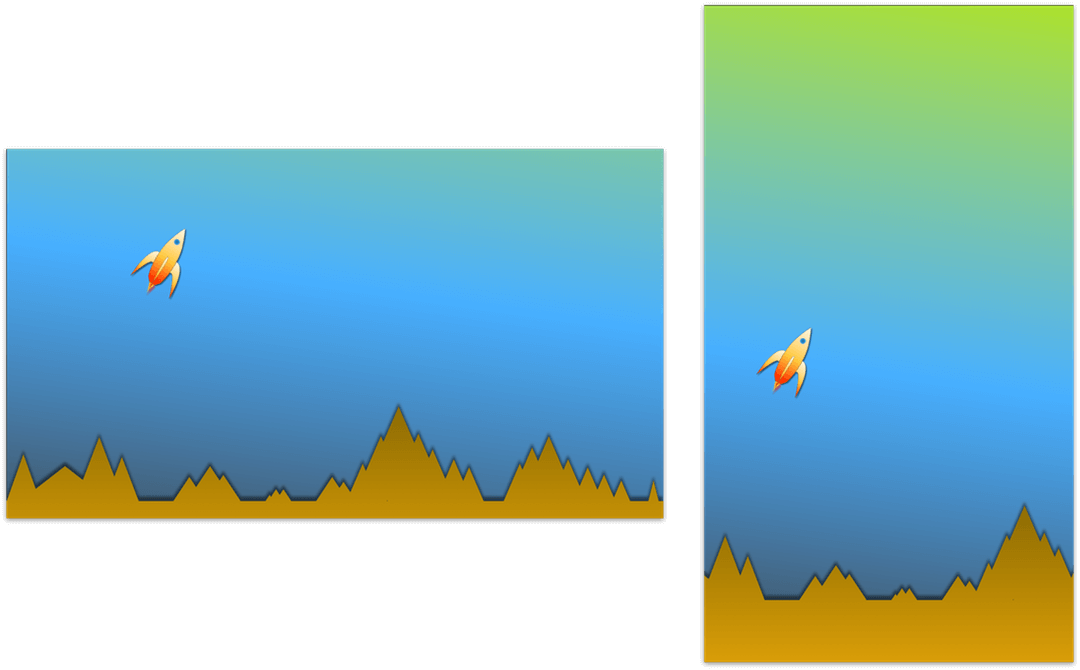
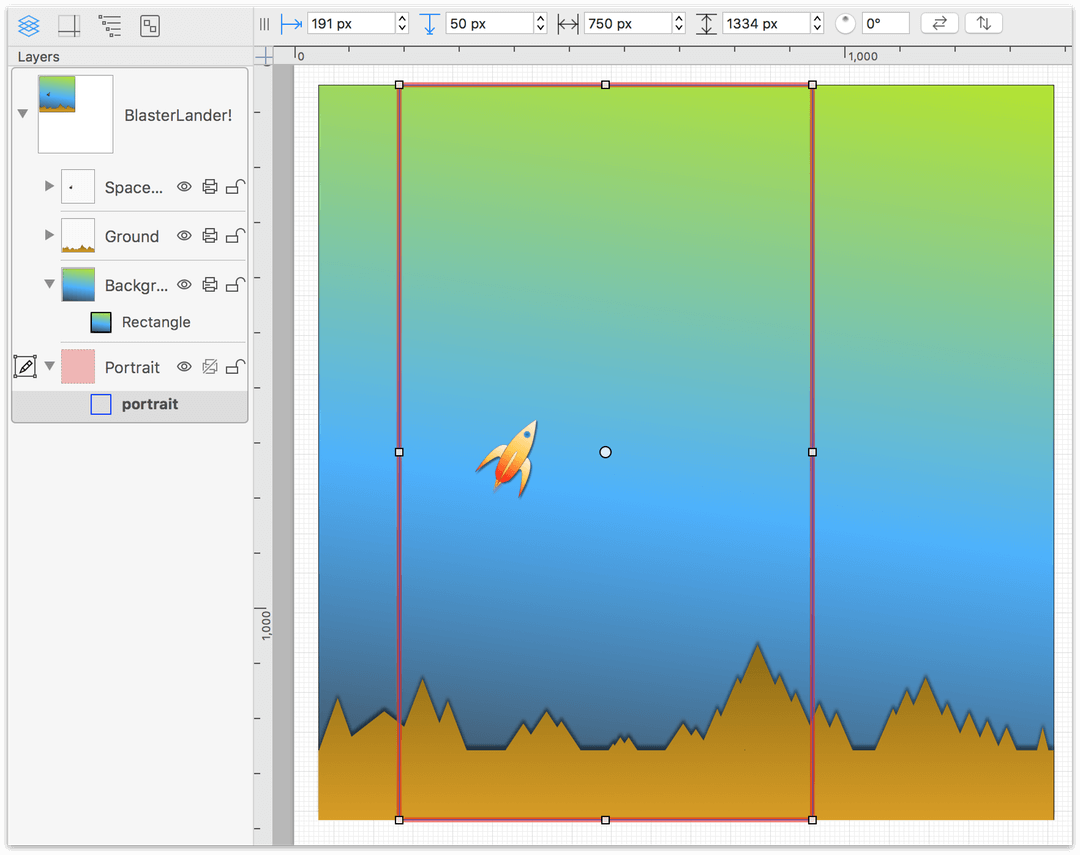
To help illustrate the point, let’s use an example of a spaceship landing game. The app is designed to fit an iPhone 7 screen (750 × 1334 pixels), both in portrait and landscape orientation. To start, the OmniGraffle project has three layers:
- One that contains the spaceship.
- A background layer that depicts an alien atmosphere.
- A mountainous foreground with a few "designated" landing areas among the hazardous peaks.
To add artboards to this project, do the following:
- Since you want the artboards to appear beneath everything else in the project, select the layer lowest in the stack.
- In the Tool Palette, select the Artboard Tool and then draw a 750 × 1334 px rectangular artboard; these are the dimensions for the Portrait display. When you draw the artboard, OmniGraffle creates the artboard layer to contain the artboard.
-
In the sidebar, name the artboard layer Portrait and the artboard itself portrait.
-
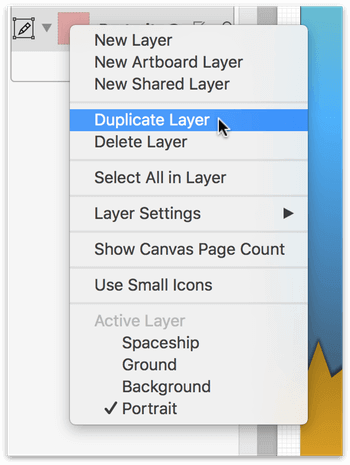
Next, you need to create a Landscape version of the artboard, and for this, you’ll employ a little trick. Control-click on the Portrait artboard layer and choose Duplicate Layer from the contextual menu that appears:
-
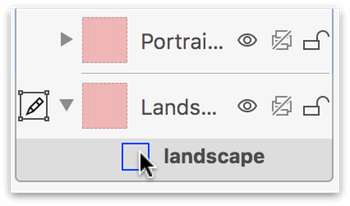
Rename the duplicated artboard layer to Landscape, and rename the artboard to landscape, and then select the landscape artboard in the Sidebar.
-
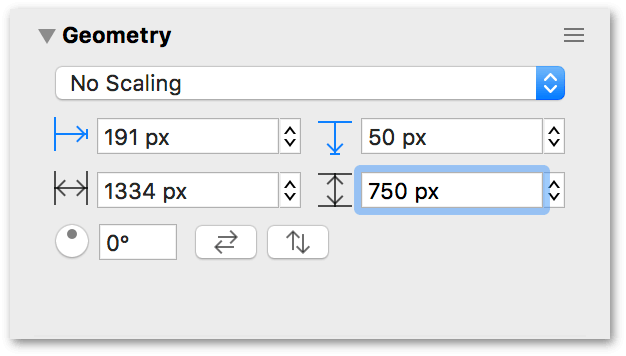
Option-click on the Geometry inspector, and change the dimensions of the landscape artboard to 1334 px wide by 750 px high:
-
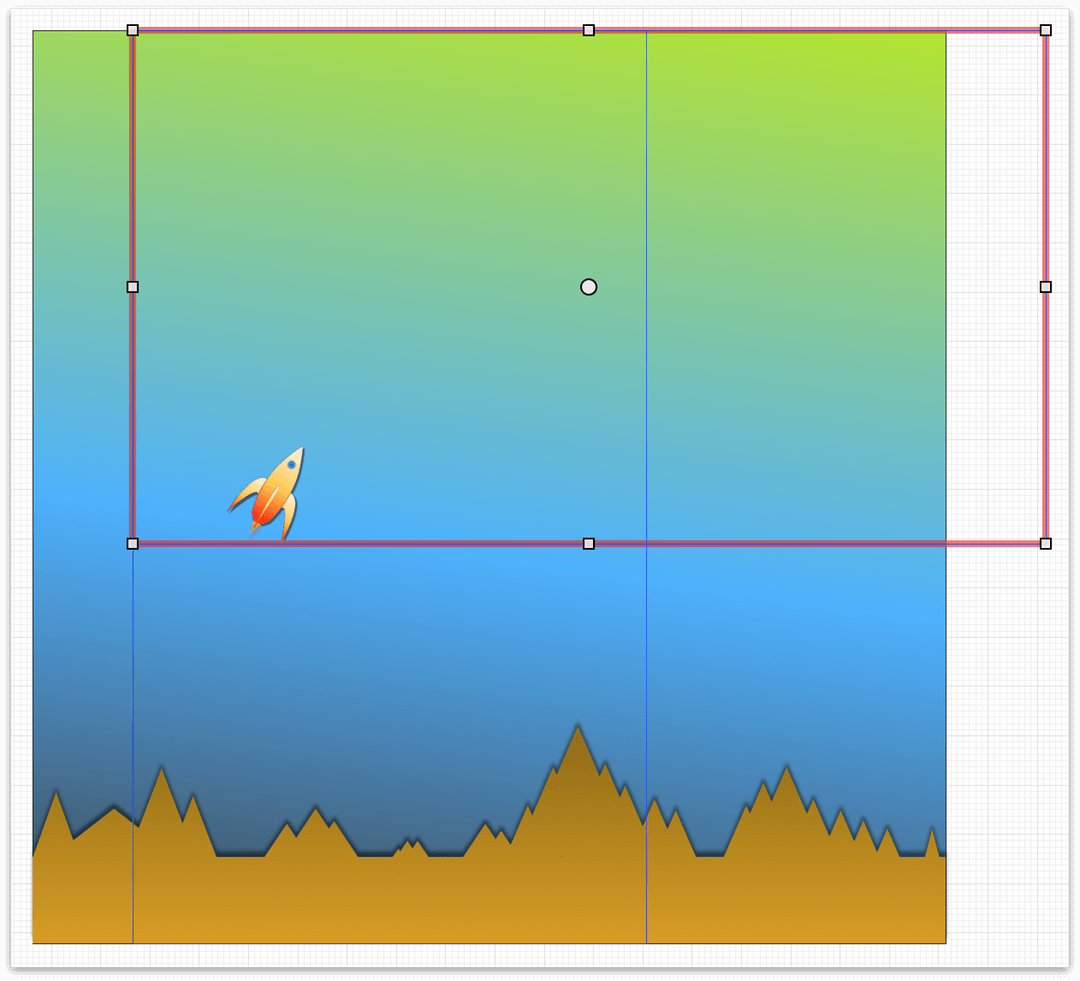
After changing the dimensions of the landscape artboard, you’ll notice that it needs to be repositioned:
-
Use the following to relocate the landscape artboard without moving the objects on the layers above:
-
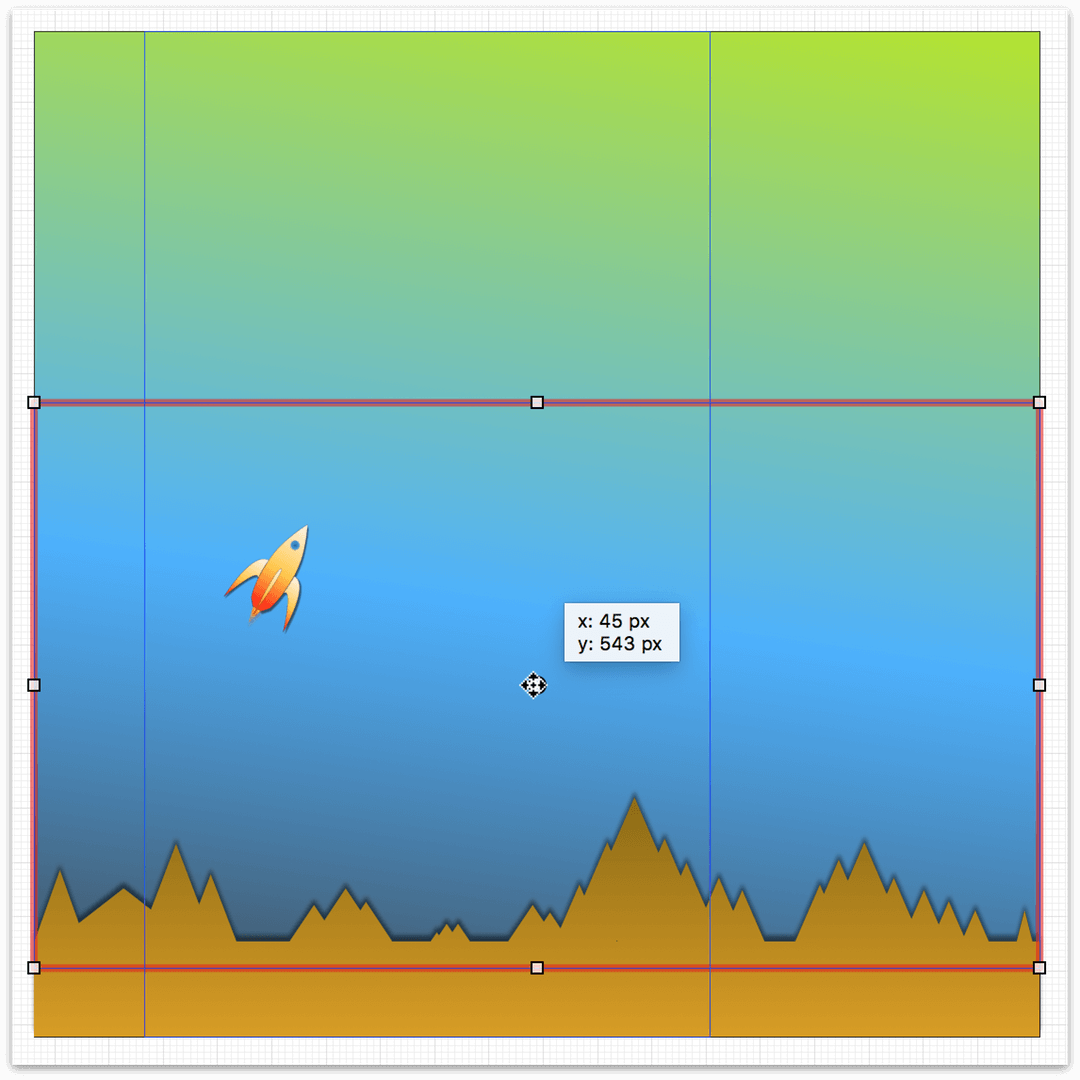
Click-and-hold on the landscape artboard’s center handle. This grabs the artboard so it can be moved.
-
Press the Control key, and then move the artboard into position:
When the landscape artboard is in place, let go of the mouse button and the Control key.
-
And here are the Landscape and Portrait views of the game prototype after exporting the images: