Canvas and Document Inspectors
Use the Canvas inspectors to define your canvas, set the units of measurement, enable grids and guides, control the flow of your diagram, and to set canvas- and document-specific metadata.
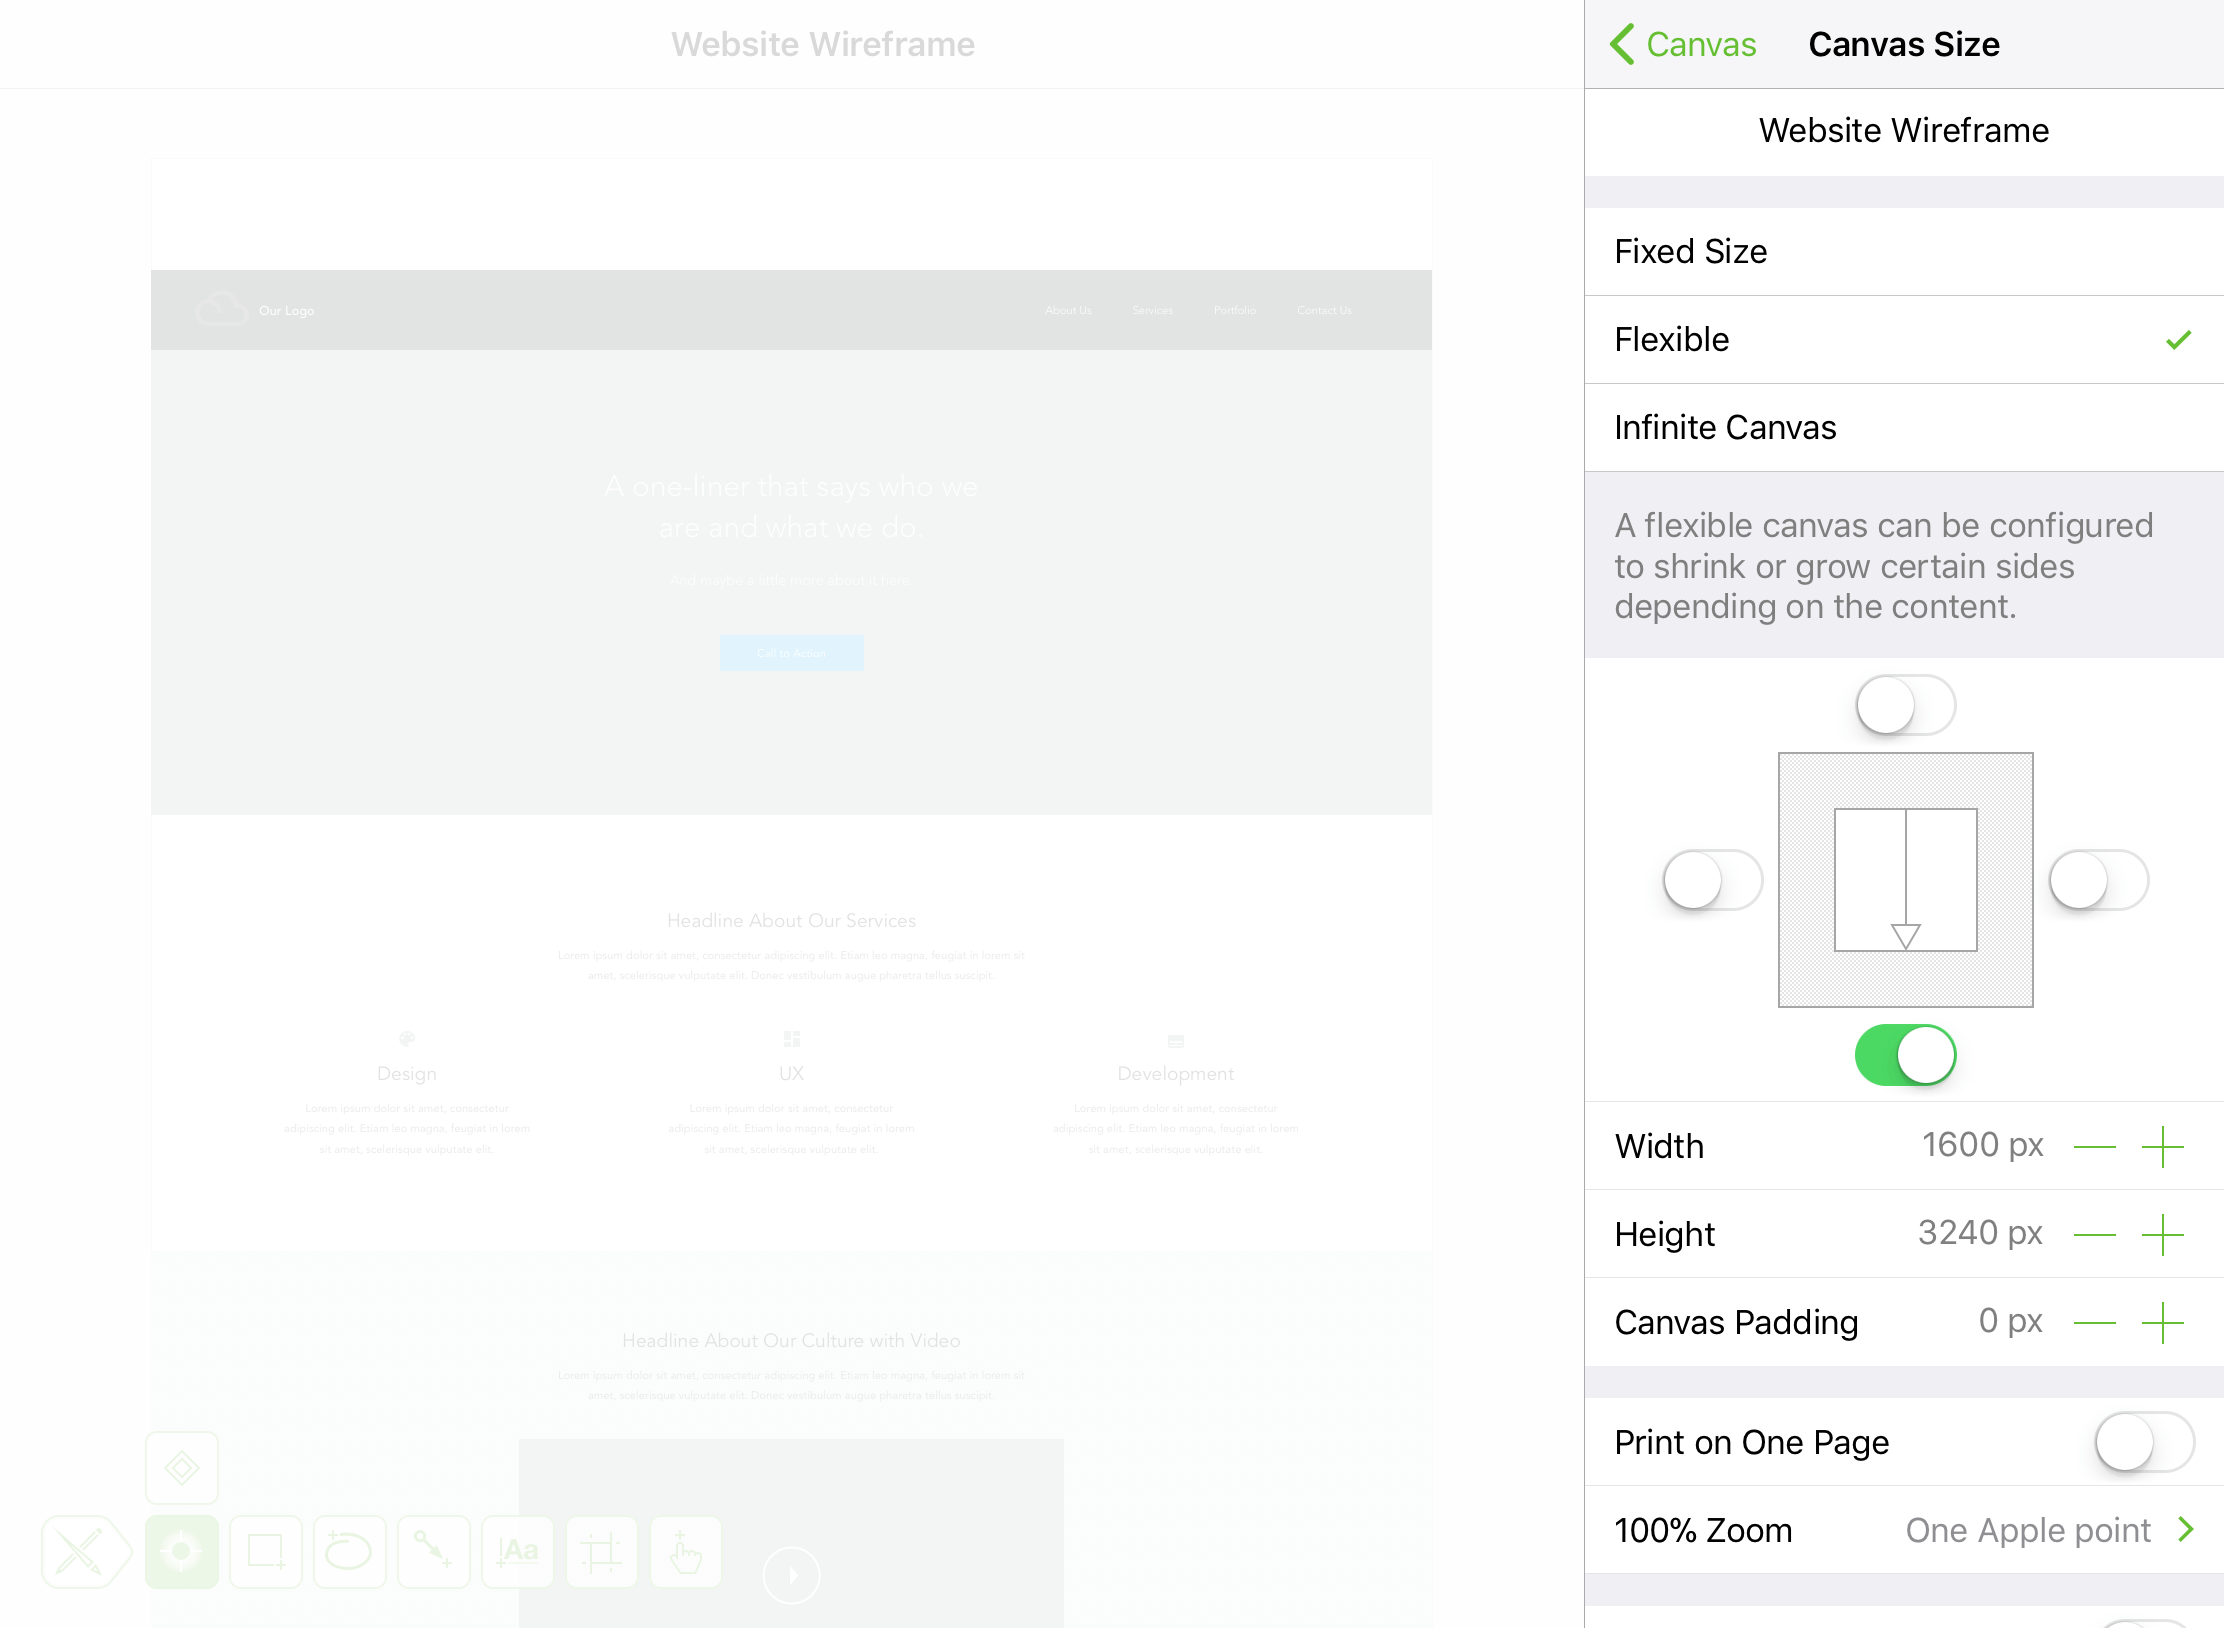
Canvas Size 
Choose the Canvas Mode for your document, and set its properties.
- Fixed Size: A canvas with its width and height set to a specific size; for example, 1024 × 768 pixels.
- Flexible: A canvas which expands in a specified direction (up, down, left, or right) to suit your needs.
- Infinite Canvas: A canvas that extends infinitely in all directions.
See Canvas Modes, earlier in this manual, for additional detail.
Additional options found in the Canvas Size inspector include:
Print on One Page
Switch On or Off to force your document to print on a single page.
100% Zoom
If you have OmniGraffle Pro, you can also specify how things look onscreen when viewing your document at 100% Zoom:
-
One Apple point (the default) relates to resolution-independent distance on the display. For example, on a standard-resolution display, 1 point equals 1 pixel; on a Retina display, 1 point equals 2 pixels. At 100% zoom, objects viewed at One Apple point only appear smaller onscreen; however, they retain their actual size (which you can verify by looking at the object’s dimensions in the Geometry inspector).
-
One PostScript point displays the contents of your document at real-world size. At 100% zoom, you can hold a ruler up to your display and the size of the object you are measuring onscreen will match the dimensions you see in the Geometry inspector.
-
One pixel matches the pixel density of your display. For example, at 100% zoom, objects viewed at One pixel only appear smaller onscreen; however, they retain their actual size (which you can verify by looking at the object’s dimensions in the Geometry inspector).
The 100% Zoom options make it possible for you to work on large-scale documents at a smaller scale onscreen.
Size Uses Printer Pages
Switch On or Off. When turned on, the canvas size is displayed in pages not the Base Units of measurement (i.e., pixels, points, centimeters, or inches). When turned on, choose how your document will print:
- Portrait Orientation
- Landscape Orientation
- Use Document Default
Canvas Padding is disabled when you turn on Size Uses Printer Pages.
Scroll Margin
Tap  or
or  to adjust how much of the canvas area is added as a scrolling margin around the canvas. When set to 100%, your entire canvas can scroll out of view.
Canvas Fill 
Use to add fill properties to the canvas, including its Fill Type and Color properties.
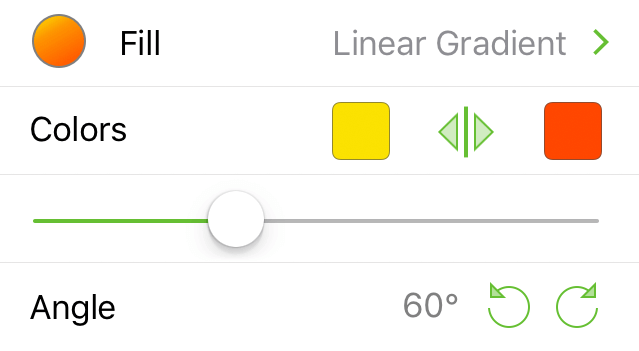
Fill Type
Choose a Fill Type for the canvas.
Fill Color
Choose a color for the canvas.
To learn more about the various Fill Types in OmniGraffle, see Fill Types for Objects and Canvases, earlier in this manual. See Choosing Colors for more detail on setting colors in OmniGraffle.
Units & Scale 
Set a unit of measurement for your document:
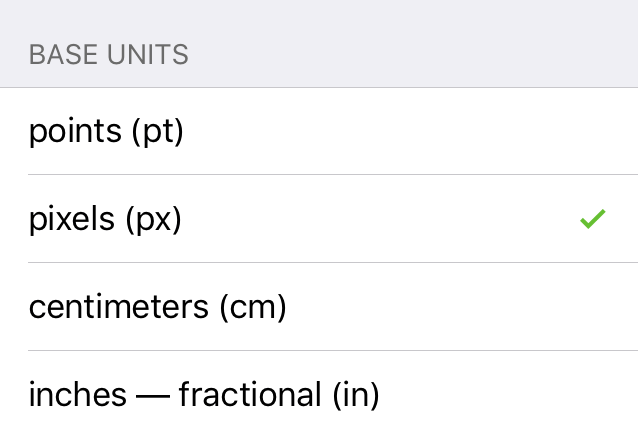
Base Units
Set the base unit of measurement; choose between points (pt), pixels (px), centimeters (cm), or inches—fractional (in). Base Units are used by the Canvas Size inspector to display the dimensions of Fixed and Flexible canvases, and are used for scaling purposes.
Scale
Available when centimeters (cm) or inches—fractional (in) is chosen as the Base Units.
Scale is shown as two numbers; for example, 1 in = 1 in. The first value uses the unit of measurement chosen as the Base Units (either cm or in) and relates to the actual size of objects on the canvas. The second value relates to how those objects scale in size, and use the units of measurement chosen under Display Units for how those measurements appear when scaled.
Use the and to decrease or increase the Base and Display Unit values. Optionally, double-tap on the number and enter a different value.
Display Units
Available when centimeters (cm) or inches—fractional (in) is chosen as the Base Units.
Choose a unit of measurement for how the units are displayed in the Geometry, Alignment, Grid & Guides, and Diagram Layout inspectors.
Grid & Guides 
Define the grid used for aligning objects on the canvas.
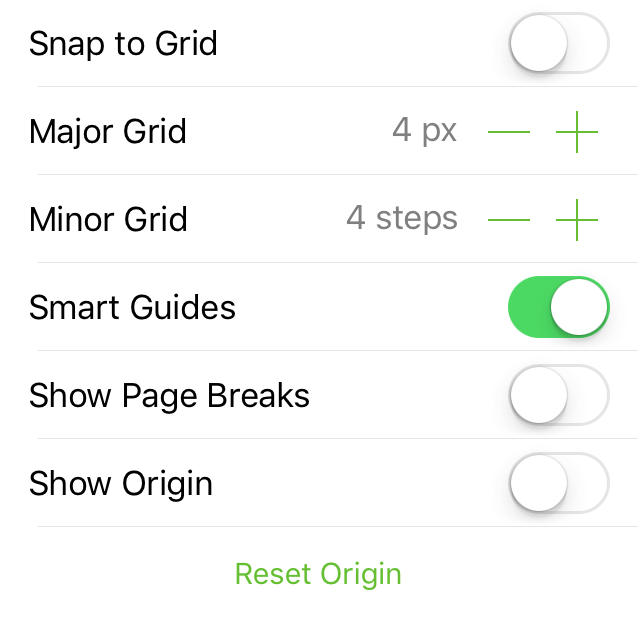
Snap to Grid
Switch on to have objects and guides snap to the Major and Minor grid lines.
Major Grid
Tap or , or double-tap the number and enter another value, to change the amount of space between steps in the Major Grid.
Minor Grid
Tap or , or double-tap the number and enter another value, to change the number of Minor Grid steps between each Major Grid.
Smart Guides
Smart Guides are the blue lines you see onscreen when positioning objects on the canvas. Switch off to disable Smart Guides.
Show Origin
When switched on, the dark blue Canvas Origin guides are visible. The origin marks the vertical and horizontal intersection at the canvas coordinates 0,0.
Reset Origin
Tap to realign the Canvas Origin to the upper-left corner of the canvas.
Snap to Grid and Smart Guides cannot be enabled at the same time. Use Snap to Grid when you want precise, pixel-perfect alignment based on canvas positioning. Use Smart Guides when you want to align objects in relation to each other.
Diagram Layout 
Choose a layout style for a diagram. With OmniGraffle for iOS, you can choose either Hierarchical or Force-Directed Layout for a diagram style.
Hierarchical Layout
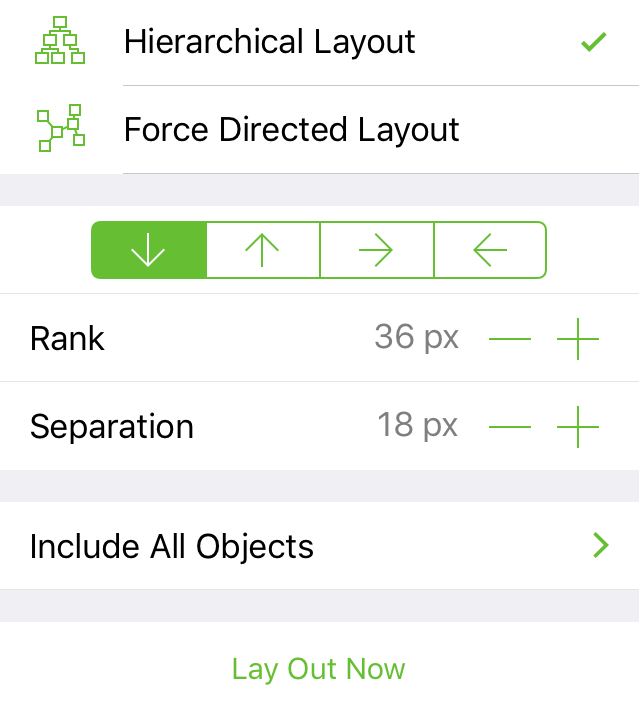
Diagram Flow Direction
Tap one of the arrow buttons to redirect the flow of Hierarchical diagrams:

- Down Arrow — Diagram flows from top to bottom.
- Up Arrow — Diagram flows from bottom to top.
- Right Arrow — Diagram flows from left to right.
- Left Arrow — Diagram flows from right to left.
Rank
Tap or to decrease or increase the amount of space between objects at different levels of the diagram. Optionally, double-tap the number and enter a different value instead of using the stepper controls.
Separation
Tap or to decrease or increase the amount of space between objects on the same level of the diagram. Optionally, double-tap the number and enter a different value instead of using the stepper controls.
Include All Objects or Connected Objects
Choose whether to include All Objects in the diagram layout, or only Connected Objects. In the latter case, objects without connections between them will remain in place when the layout is applied.
Lay Out Now
Tap to lay out the diagram after making changes to other elements in this inspector.
Force-Directed Layout
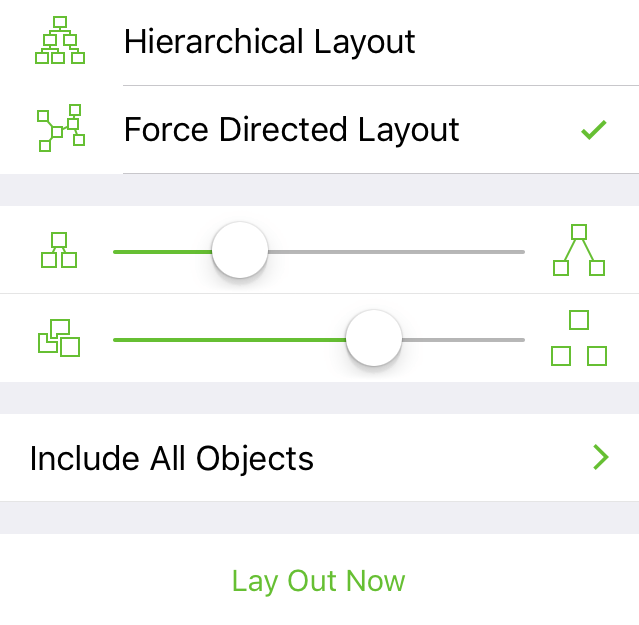
Line Length Slider 

Drag the slider left or right to shorten or lengthen the connection lines between objects, respectively.
Object Separation Slider 

Drag the slider left or right to decrease or increase the amount of space between objects, respectively.
Include All Objects or Connected Objects
Choose whether to include All Objects in the diagram layout, or only Connected Objects. In the latter case, objects without connections between them will remain in place when the layout is applied.
Lay Out Now
Tap to lay out the diagram after making changes to other elements in this inspector.
Canvas Metadata 

Assign metadata for each canvas in your document.
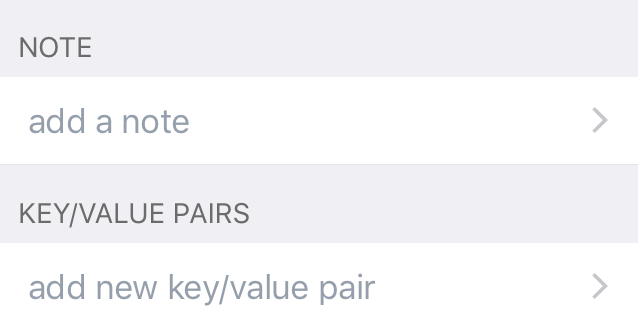
Note
Tap add a note to open a side pane to add some notes about the current canvas.
Key/Value Pairs
Tap add new key/value pair to open a side pane to add a key-value pair to further define the current canvas.
Canvas metadata cannot be accessed with Data Variables.
Document Data 
Assign document-level metadata for your document; use in combination with Data Variables to inject text labels for objects, lines, and text objects.
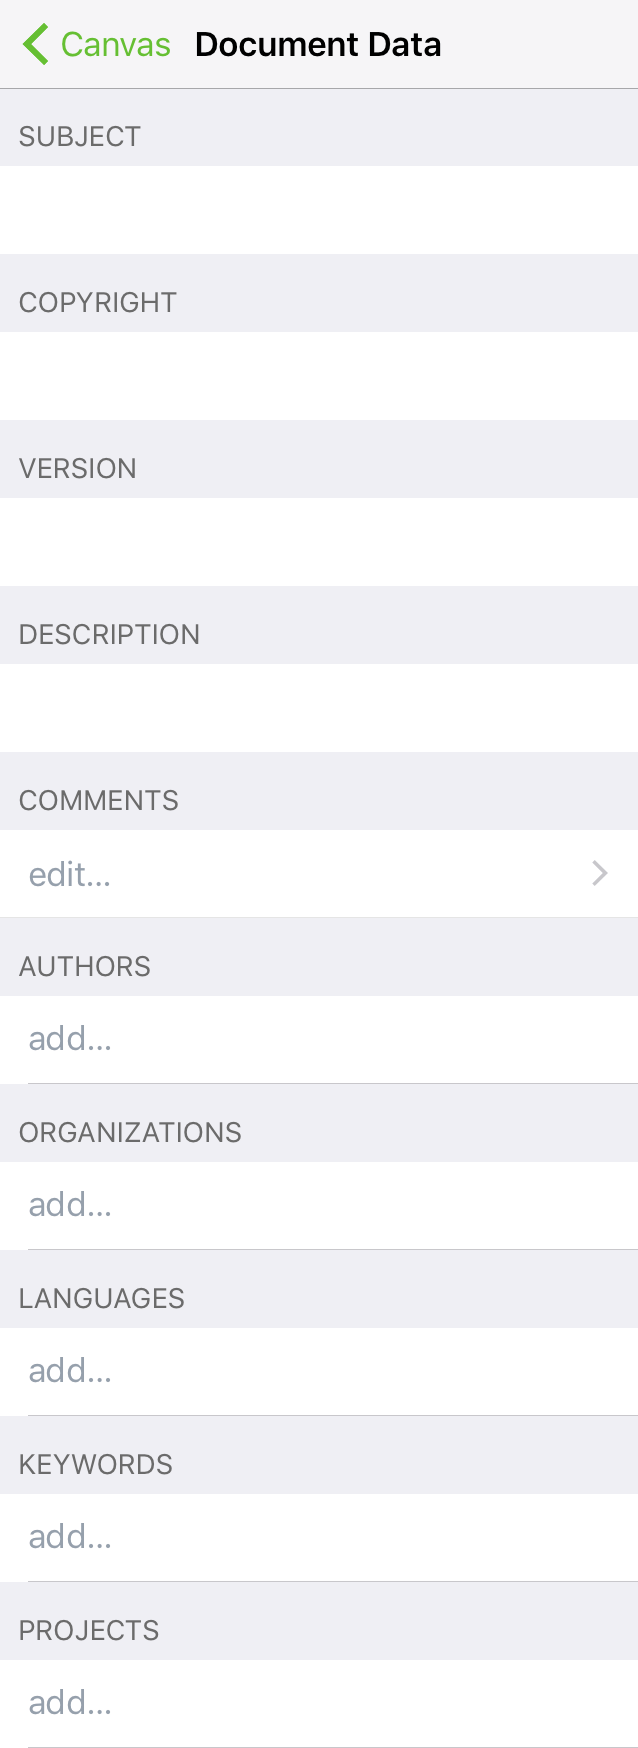
Subject
Assign a Subject to the document; use with the <%Subject%> data variable.
Copyright
Assign copyright information to the document; use with the <%Copyright%> data variable.
Version
Assign a version number to the document; use with the <%Version%> data variable.
Description
Add a description to the document; use with the <%Description%> data variable.
Comments
Add comments to the document; use with the <%Comments%> data variable.
Authors
Assign one or more authors to the document; use with the <%Authors%> data variable.
Organizations
Set an organization name to the document; use with the <%Organizations%> data variable.
Languages
Specify the language(s) used in the document; use with the <%Languages%> data variable.
Keywords
Assign keywords to the document; use with the <%Keywords%> data variable.
Projects
Assign a project name to the document; use with the <%Projects%> data variable.