The Document Browser
OmniGraffle’s document browser makes it easy for you to manage where and how your files are stored. Beyond the On My iPad or On My iPhone folder, which is the default storage location for OmniGraffle files on your iOS device, you can choose to sync folders with OmniPresence or your own WebDAV server, or use the Files app to open files stored in iCloud Drive or other cloud storage providers.
The Locations Screen
The Locations screen sits at the top level of the document browser, and is your home base for accessing OmniGraffle files on iOS.
The Locations screen includes all of the possible places your OmniGraffle files are stored. By default, this includes the On My [device] and Recent Documents folders, along with controls to open files through the Files app browser and add folders synced with OmniPresence.
-
Tap On My iPad or On My iPhone to view the files stored locally on your iOS device.
-
Tap Recent Documents to view files you’ve worked on recently. This includes documents stored anywhere (in your On My [device] folder, in another folder on your device, or in a synced cloud storage folder).
-
Tap Open... to open the iOS Files app browser, which appears in a sheet over the Locations screen and offers an interface identical to that of the Files app itself. Browse connected cloud storage accounts or other folders on your device here.
-
Tap Add OmniPresence Account to add a cloud synced folder to the Locations screen. Documents in this folder are automatically synced to the cloud whenever a change is made. You can sync with a free Omni Sync Server account, or an OmniPresence-capable WebDAV server of your choice.
On My iPad or On My iPhone
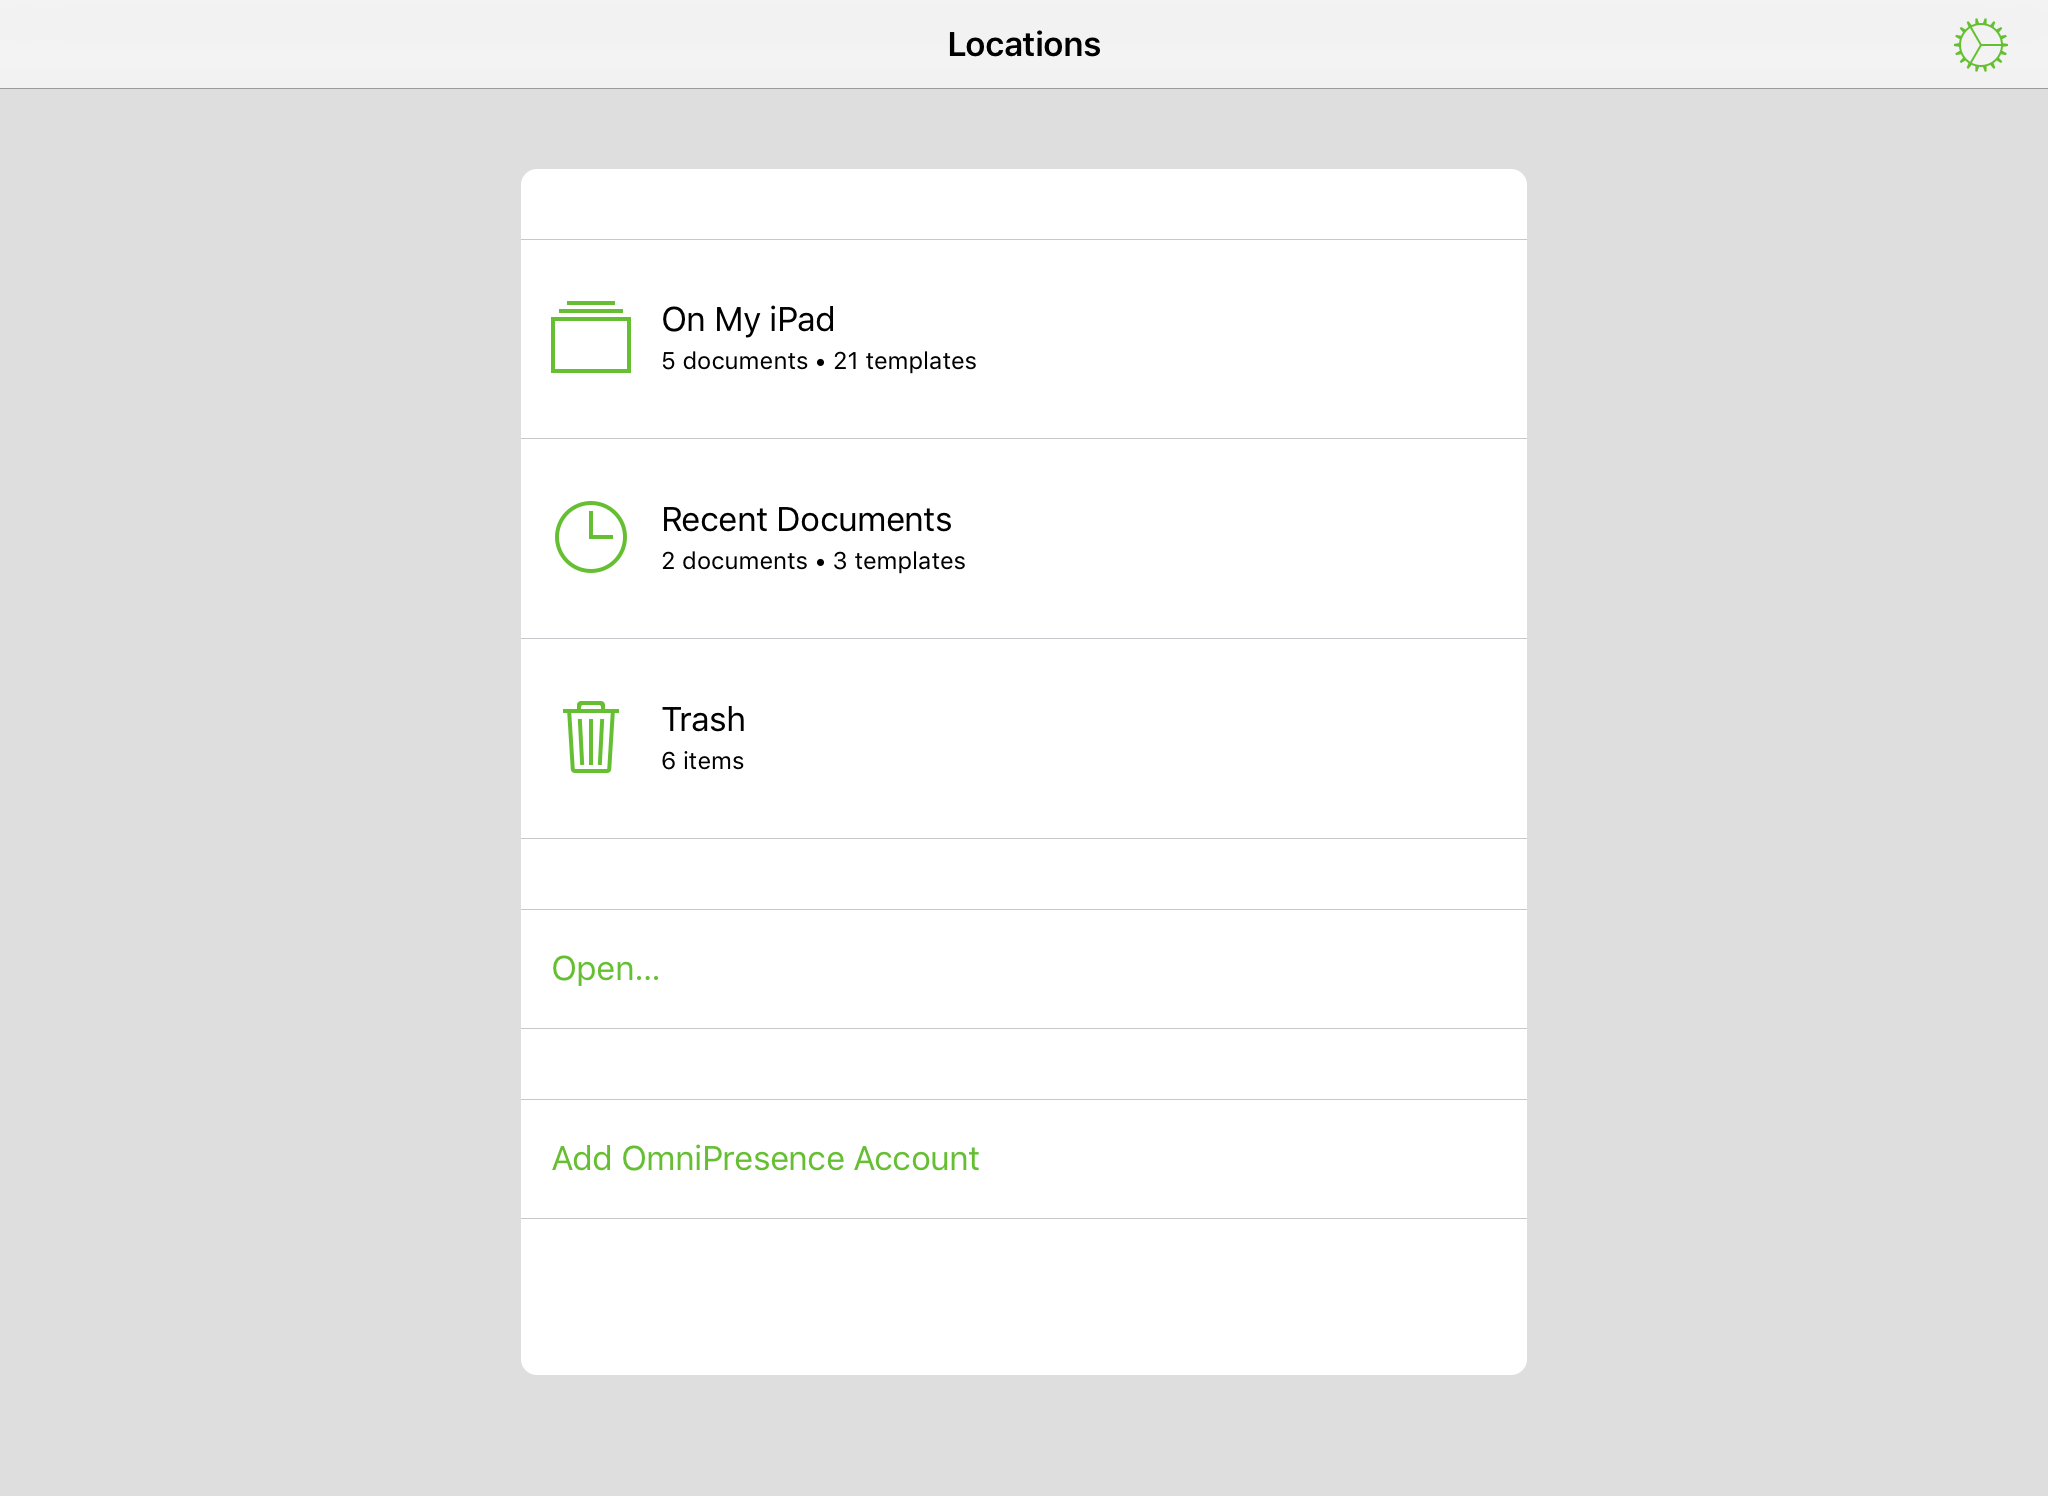
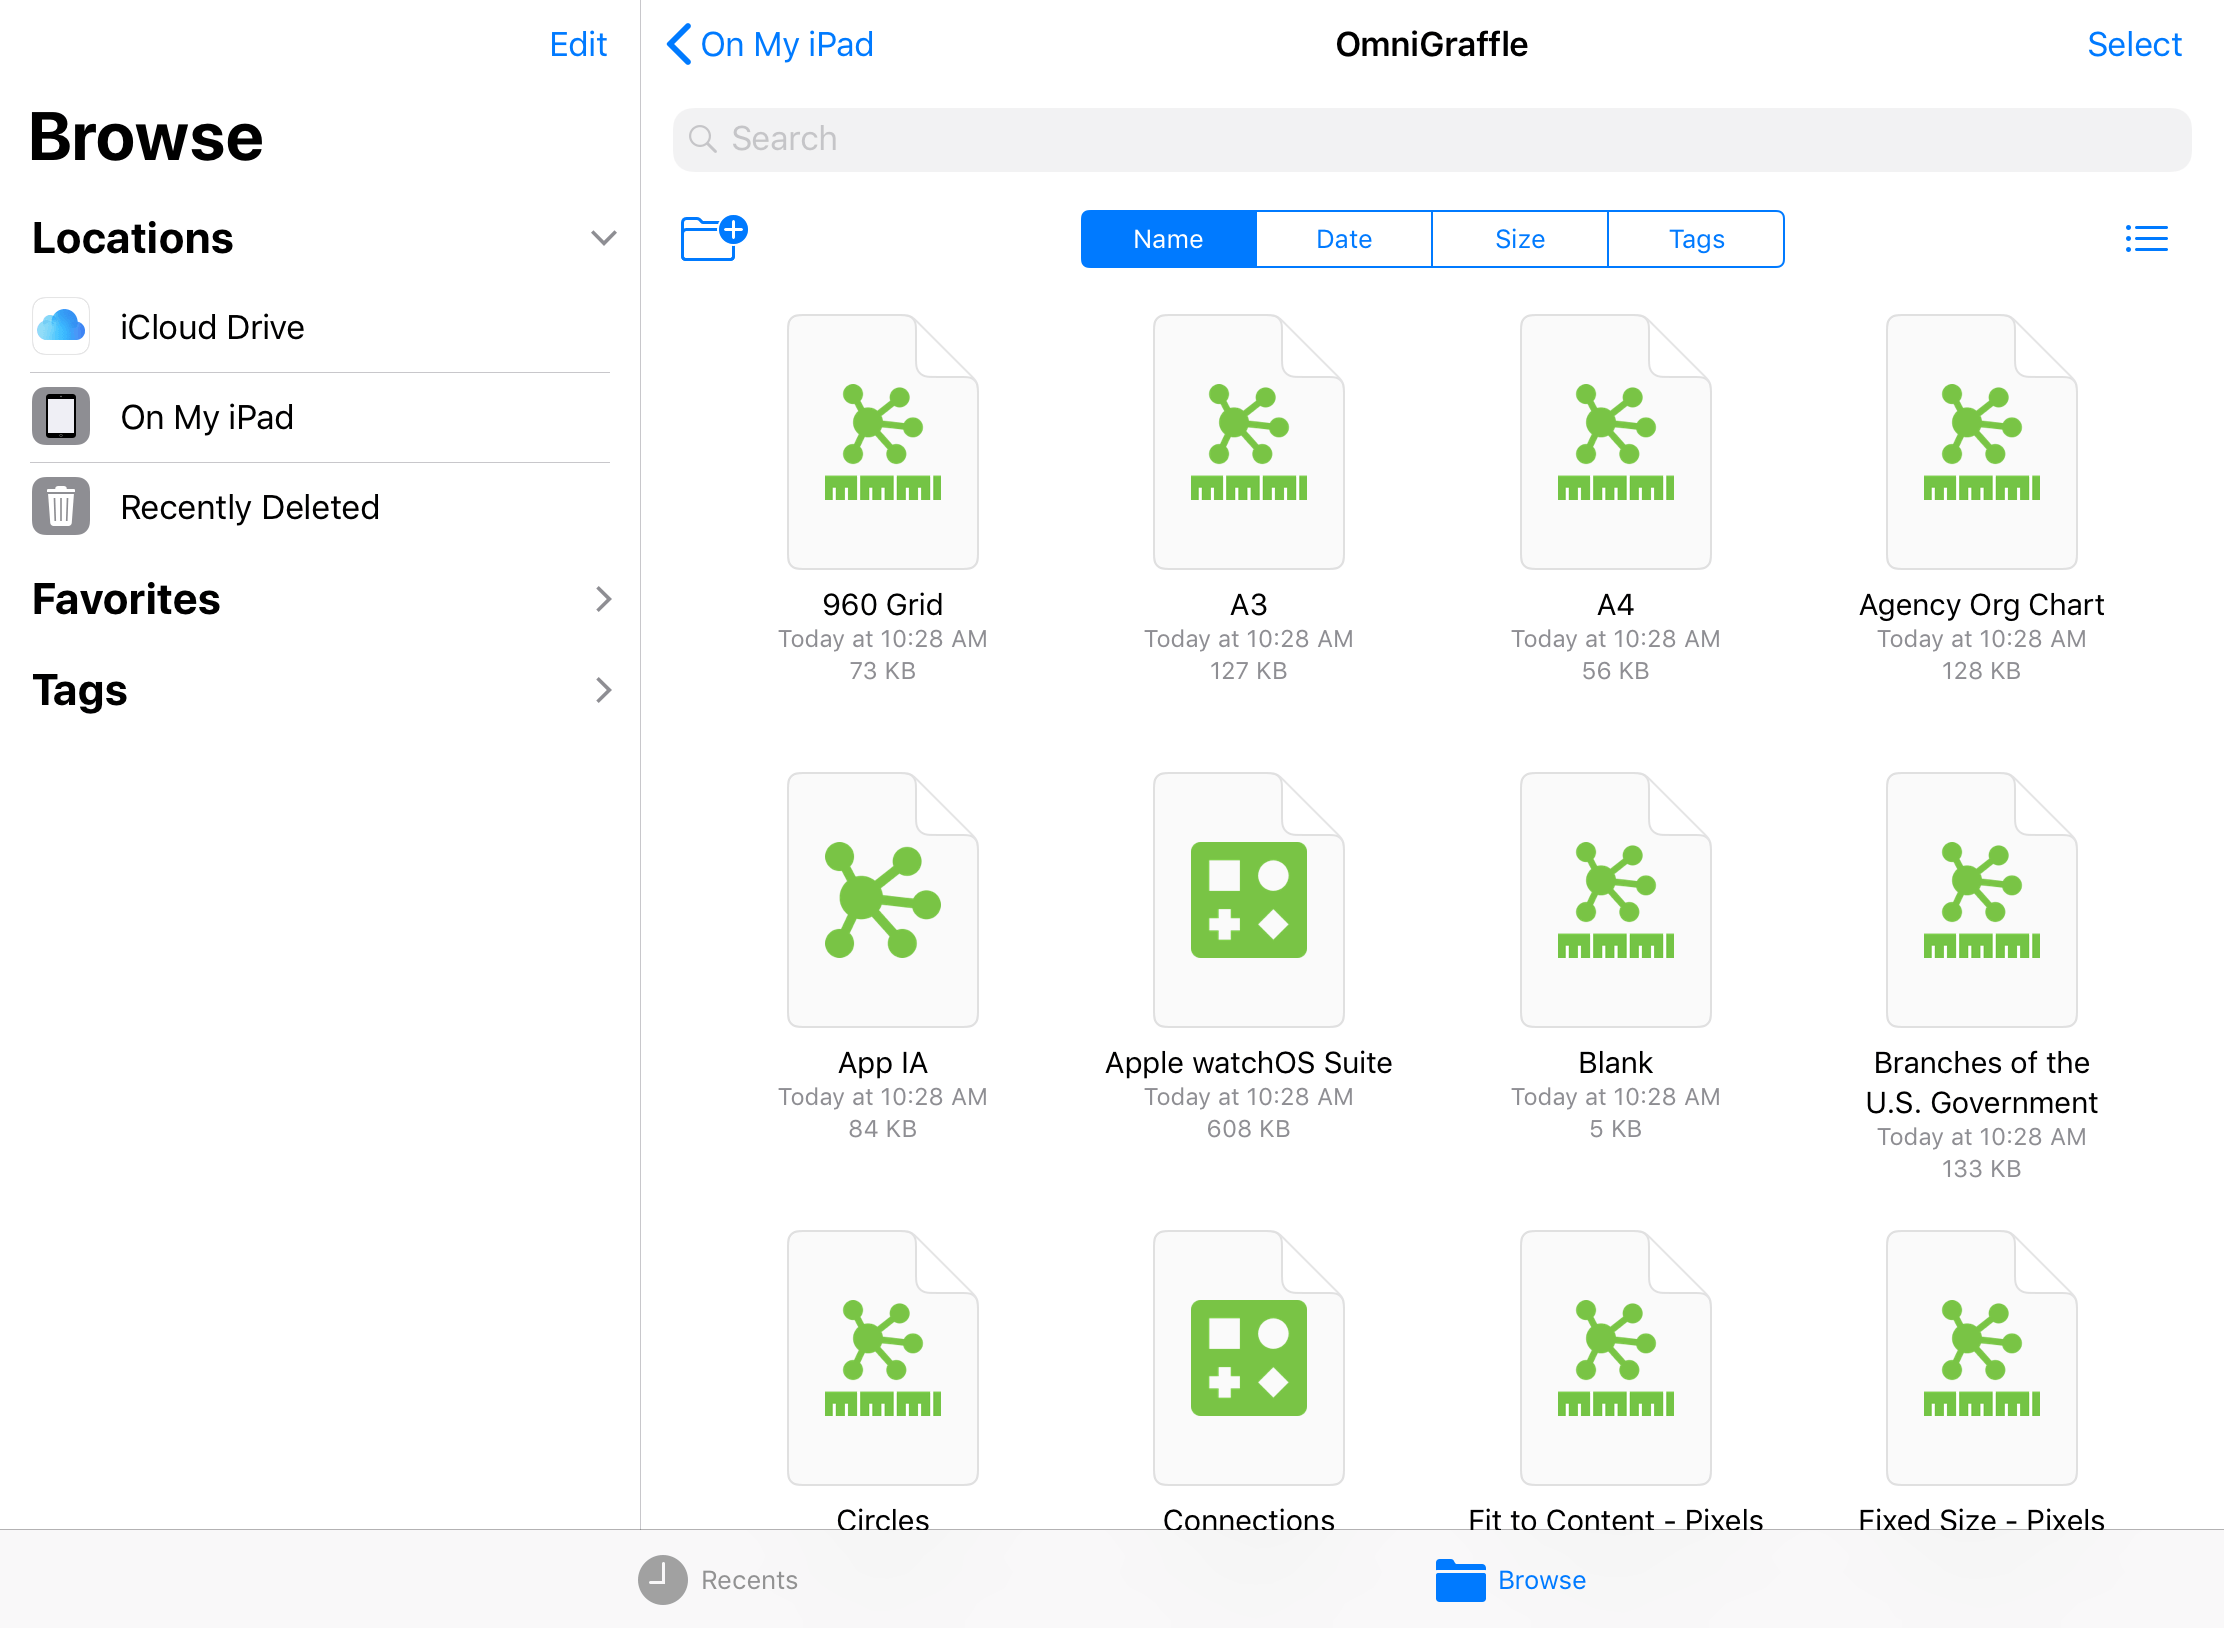
The On My [device] folder is where your OmniGraffle files (documents, stencils, and templates) are saved on your device.
![The On My [device] folder, as viewed in the Document Browser](/doc-assets/omnigraffle-ios-v3.10.0.0/en/art/og3ios_docbrowser_localdocs.png)
The document preview displays the name of the file, as well as the date and time the file was created or last changed. Tap a document preview to open the file. To change the name of a document, tap the file name and then enter a new title.
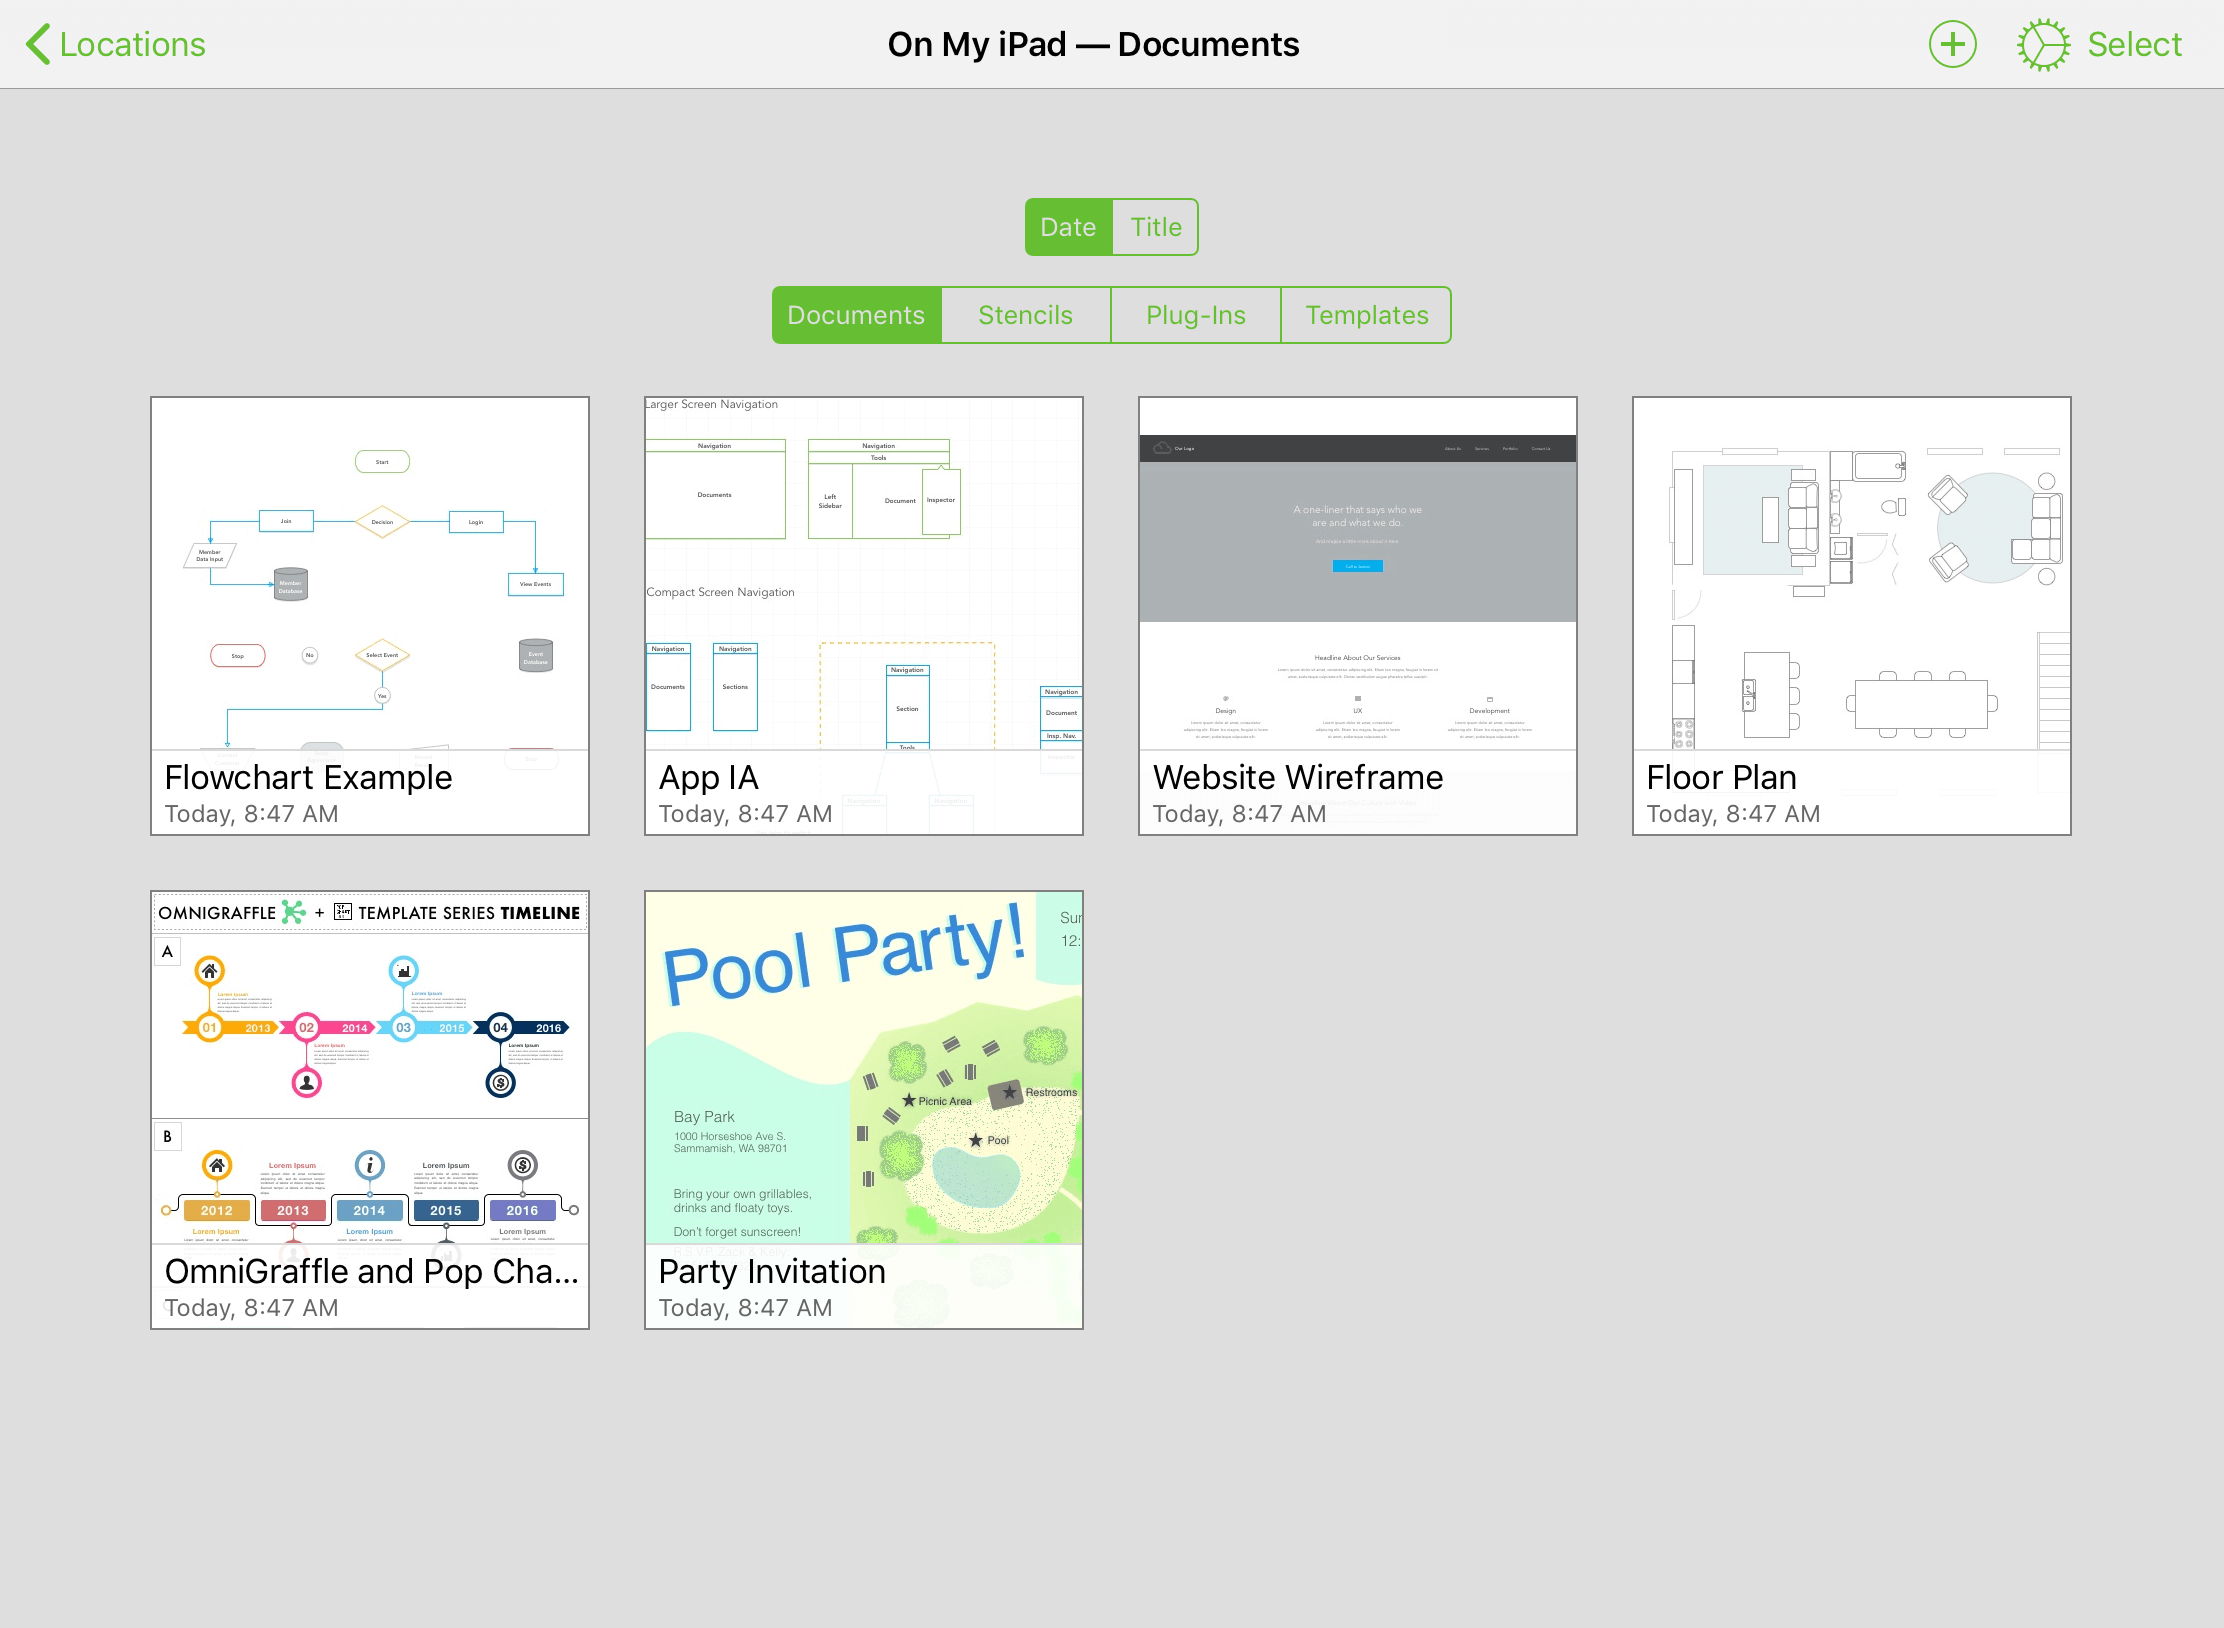
To sort your files by Date or Title, or to view the available Documents, Stencils, Plug-Ins, or Templates swipe down when viewing the contents of a folder to access the Document Sorter:
![]() Omni Automation Plug-Ins require OmniGraffle Pro. For instructions on adding Omni Automation Plug-Ins to OmniGraffle, see this article on the Omni Automation website.
Omni Automation Plug-Ins require OmniGraffle Pro. For instructions on adding Omni Automation Plug-Ins to OmniGraffle, see this article on the Omni Automation website.
Recent Documents
The Recent Documents folder on the Locations screen provides a convenient location for viewing files that you have recently accessed, regardless of where they are stored.
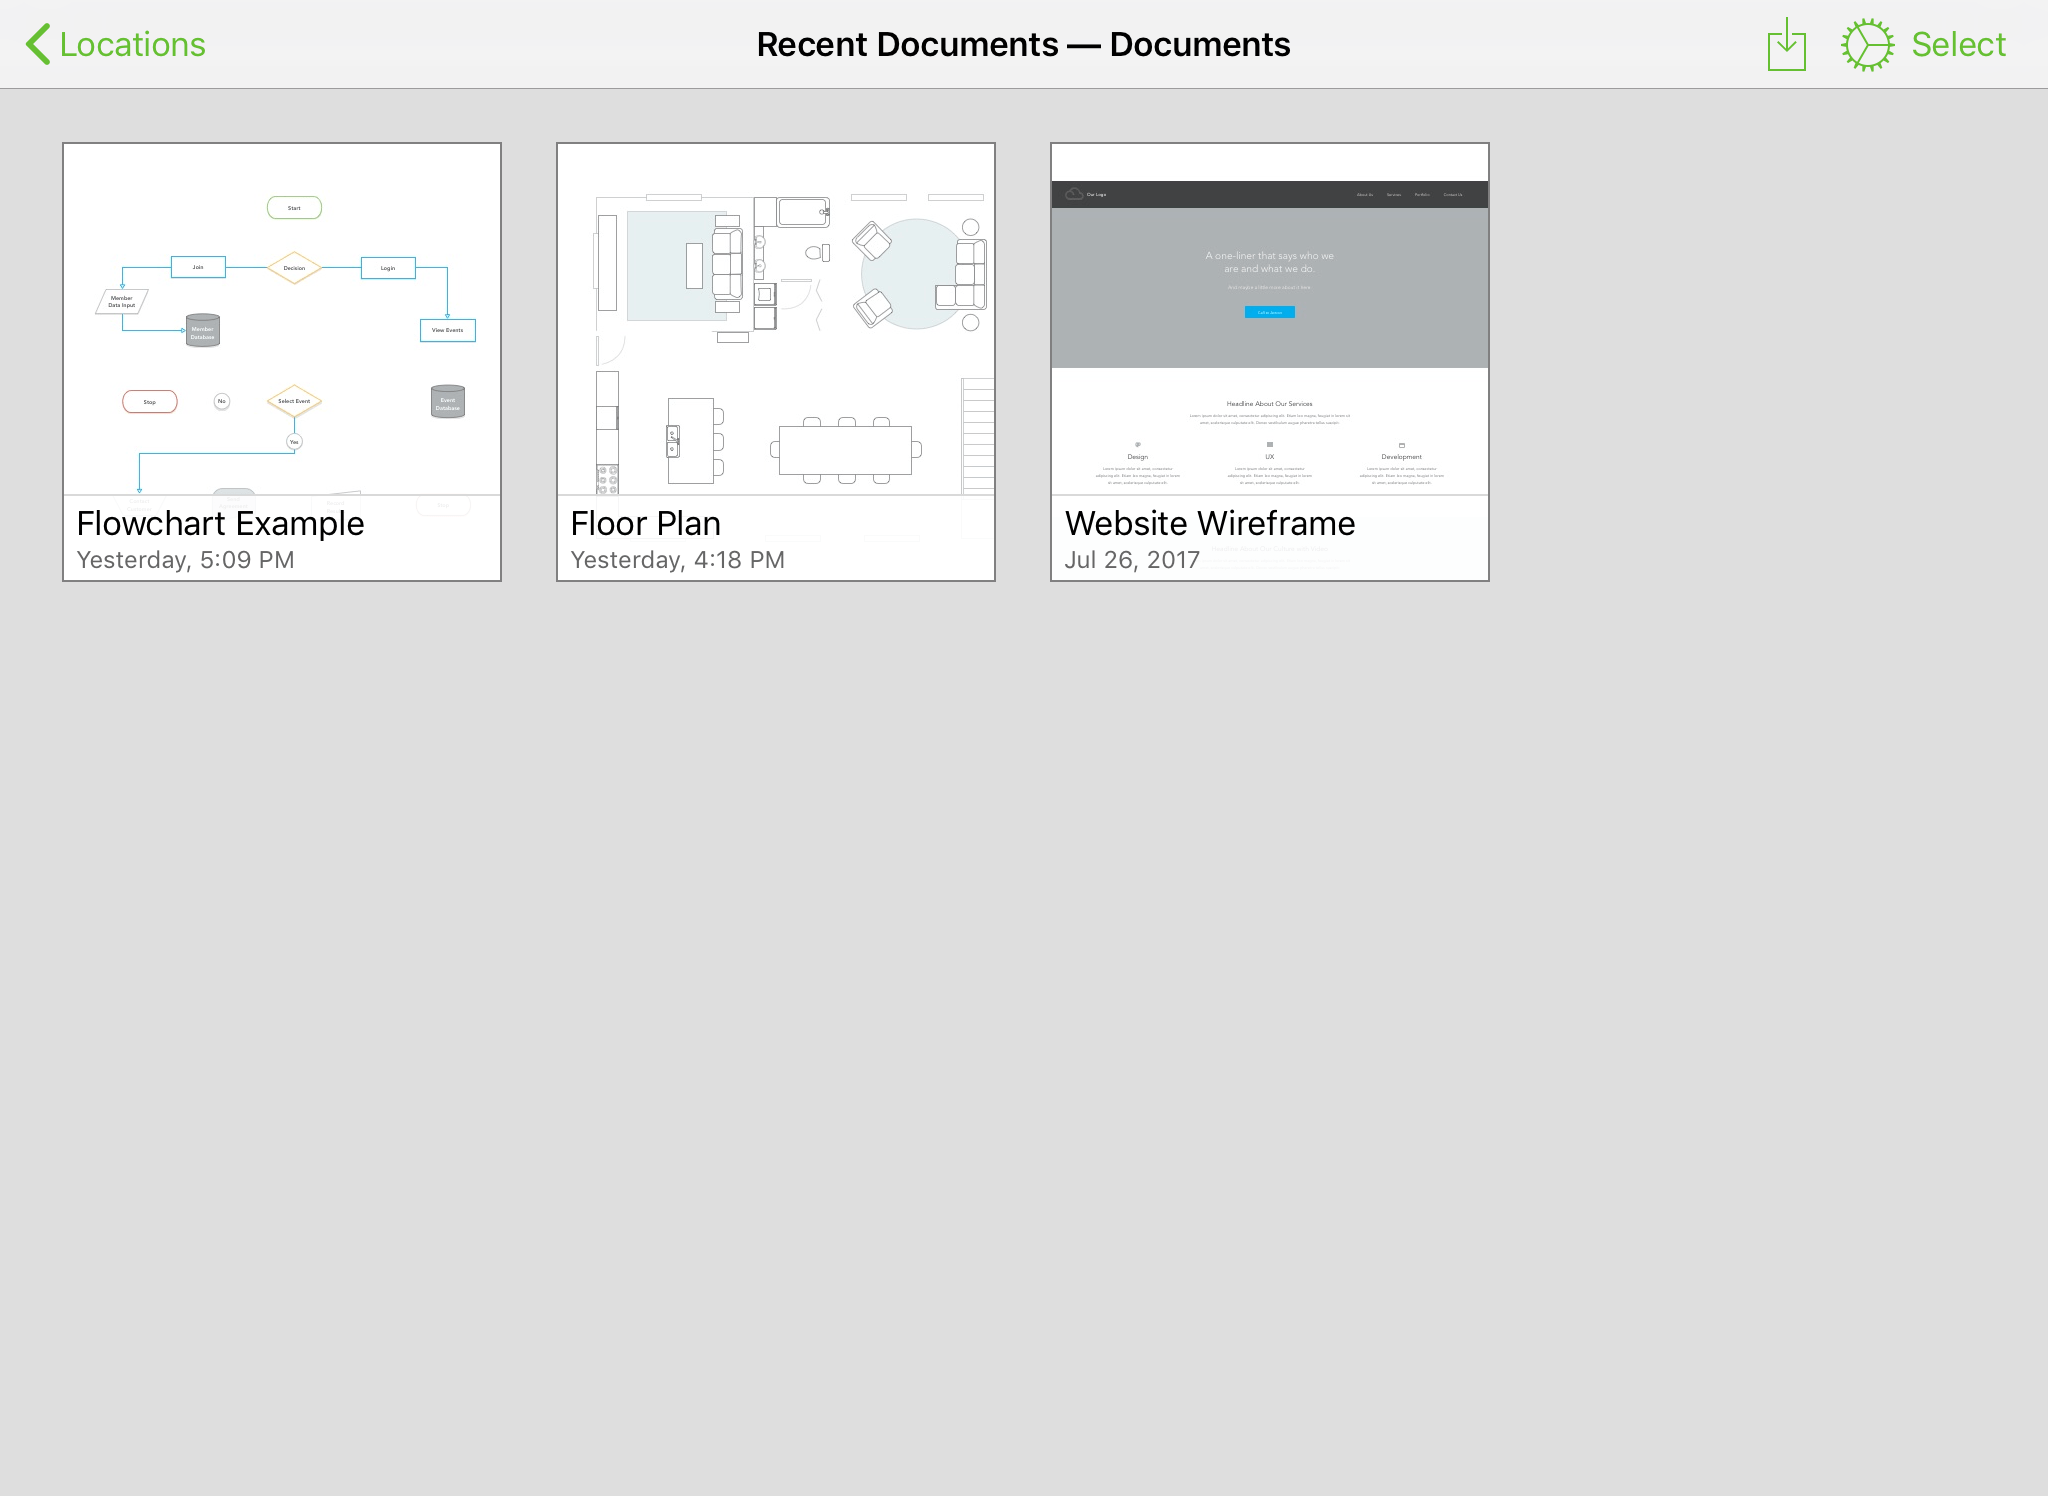
Whenever you open a file (whether from the On My [device] folder, from the Files app, or from a connected OmniPresence account), OmniGraffle automatically adds it to the Recent Documents folder. From within the folder you can also tap the Open  button to access the Files app UI and choose documents to open directly.
To remove files from the Recent Documents folder without deleting them from their original location, tap Select, then tap the thumbnail preview images for the files you want to remove, and tap Clear Document  .
.
While selecting a single file, you can also tap Share  to export the selected file via Mail, to the Files app, to another app on your device, or to a connected printer.
Managing the Trash
If you delete an OmniGraffle file, that file gets moved to the Trash folder on the Locations screen. Tap  to view the contents of the Trash folder.
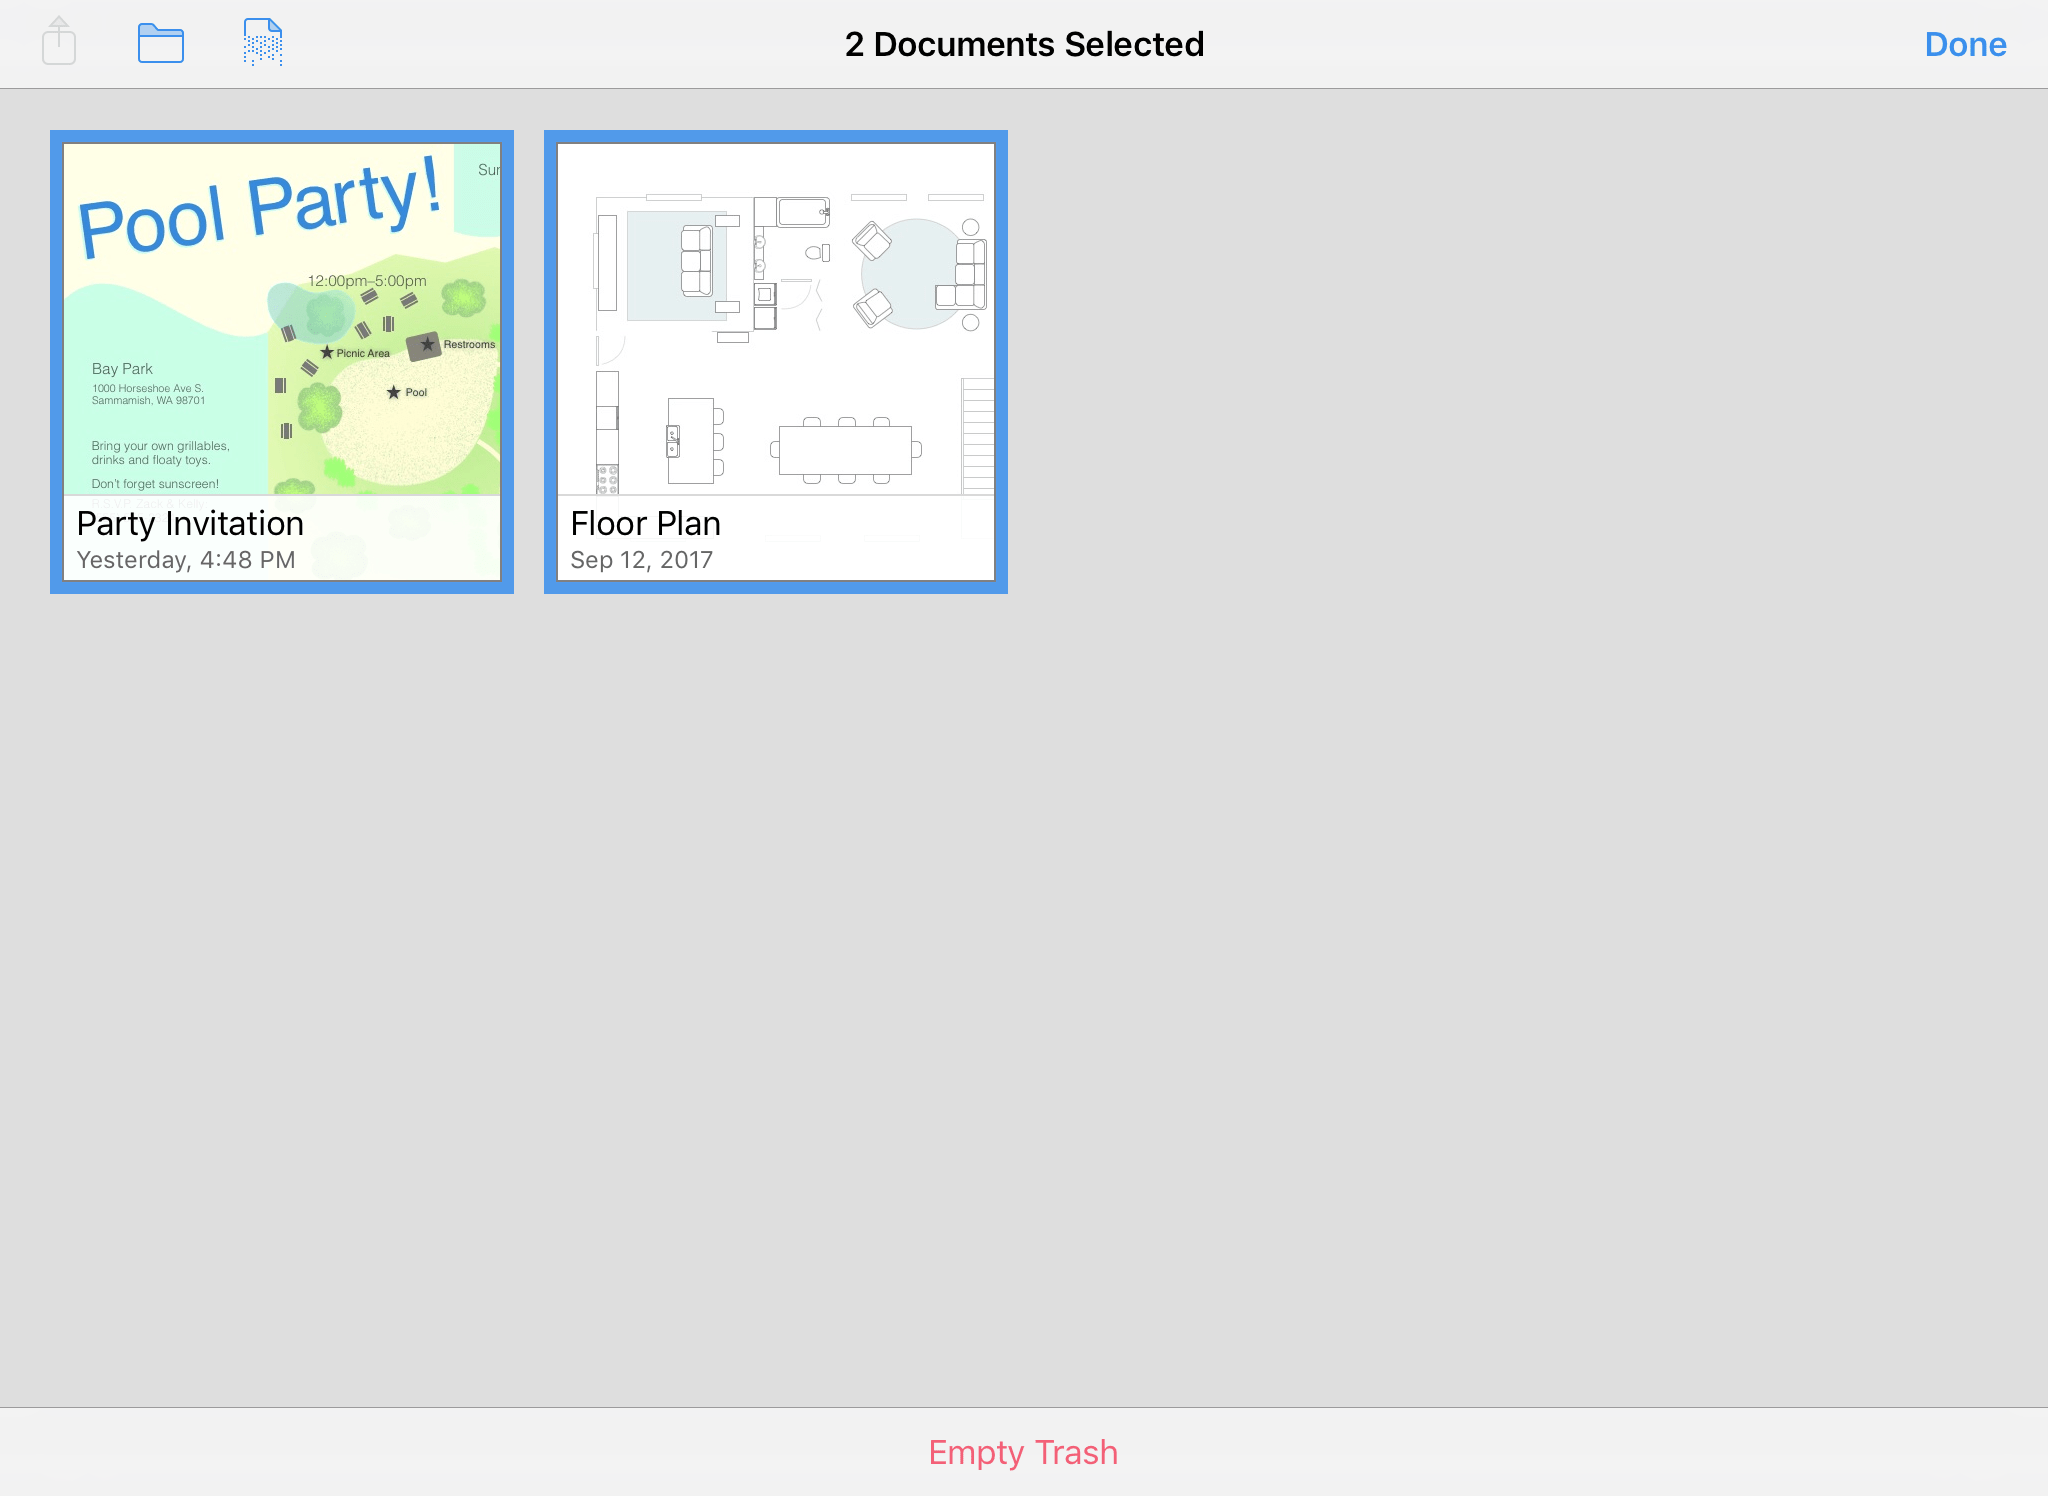
Empty Trash 
To delete all files from the Trash folder, tap Empty Trash, and then tap Delete Documents.
Move File from Trash 
To move files out of the Trash, first tap Select in the toolbar, and then tap the thumbnail previews to select the files and use the folder menu to move them from the Trash to another folder.
Delete Selected Document 
Tap to delete only the selected file(s). This allows you to pick and choose which files to permanently delete, rather than deleting everything.
Once a file is deleted from the Trash, it is permanently removed from OmniGraffle's local storage.
Open... and the Files App
The Open... entry on the Locations screen provides access to the iOS Files app right from within OmniGraffle. (This is the same UI that exists in the Files app itself.)
The Files app is analogous to the Finder on the Mac; it provides a means of accessing files stored in app-specific document folders on your device, as well as to files saved with cloud storage providers (such as iCloud Drive).
This includes the OmniGraffle documents, stencils, and templates you see in the On My [device] folder in OmniGraffle's own document browser. To see what’s stored in OmniGraffle’s documents folder in Files:
- In the Locations list, tap On My iPad (or On my iPhone, depending on which device you're using).
- Tap the OmniGraffle folder to view what's inside.
Tap the file icon to open an OmniGraffle file from the Files app. When opening an OmniGraffle file from Files, the file is opened and saved in place when you close the file.
When using the Files app to view the contents of OmniGraffle’s On My [device] folder, you’ll notice that the files have three distinct document icons, as follows:
| Filetype | Document Icon |
|---|---|
| OmniGraffle Document (.graffle) |  |
| OmniGraffle Stencil (.gstencil) |  |
| OmniGraffle Template (.gtemplate) |  |
![]() If you have OmniGraffle Pro, you can also use the Files app or the App Menu's Copy from... command to import Microsoft Visio XML files. Unlike native OmniGraffle files, these are not opened for editing in place; they must be copied into OmniGraffle as described in Opening Files.
If you have OmniGraffle Pro, you can also use the Files app or the App Menu's Copy from... command to import Microsoft Visio XML files. Unlike native OmniGraffle files, these are not opened for editing in place; they must be copied into OmniGraffle as described in Opening Files.
Add OmniPresence Account
Tap Add OmniPresence Account to connect an Omni Sync Server or WebDAV cloud storage account to OmniGraffle using the OmniPresence service.
You’ll be asked to choose between connecting to an Omni Sync Server account or an existing WebDAV server. If you don't have an Omni Sync Server account, you can create one for free here.
Once you have your account credentials, proceed to the next step to add them. OmniGraffle checks to make sure the server you’re connecting to is compatible with OmniPresence, and if it is, adds the connected sync folder to the list of locations on the Locations screen of the document browser.
Any OmniGraffle documents stored in this folder can be opened and edited in place within OmniGraffle for iOS, and changes made there are reflected anywhere else the folder and its files are synced (with OmniPresence and OmniGraffle for Mac, for example).
When browsing a connected OmniPresence folder, a Sync button ![]() appears next to the folder name in the toolbar. Tap this button to prompt a refresh of the folder's contents, or determine if something is preventing the folder from actively syncing. Refer to the section on syncing files from the document toolbar for details on the various sync icon states.
appears next to the folder name in the toolbar. Tap this button to prompt a refresh of the folder's contents, or determine if something is preventing the folder from actively syncing. Refer to the section on syncing files from the document toolbar for details on the various sync icon states.
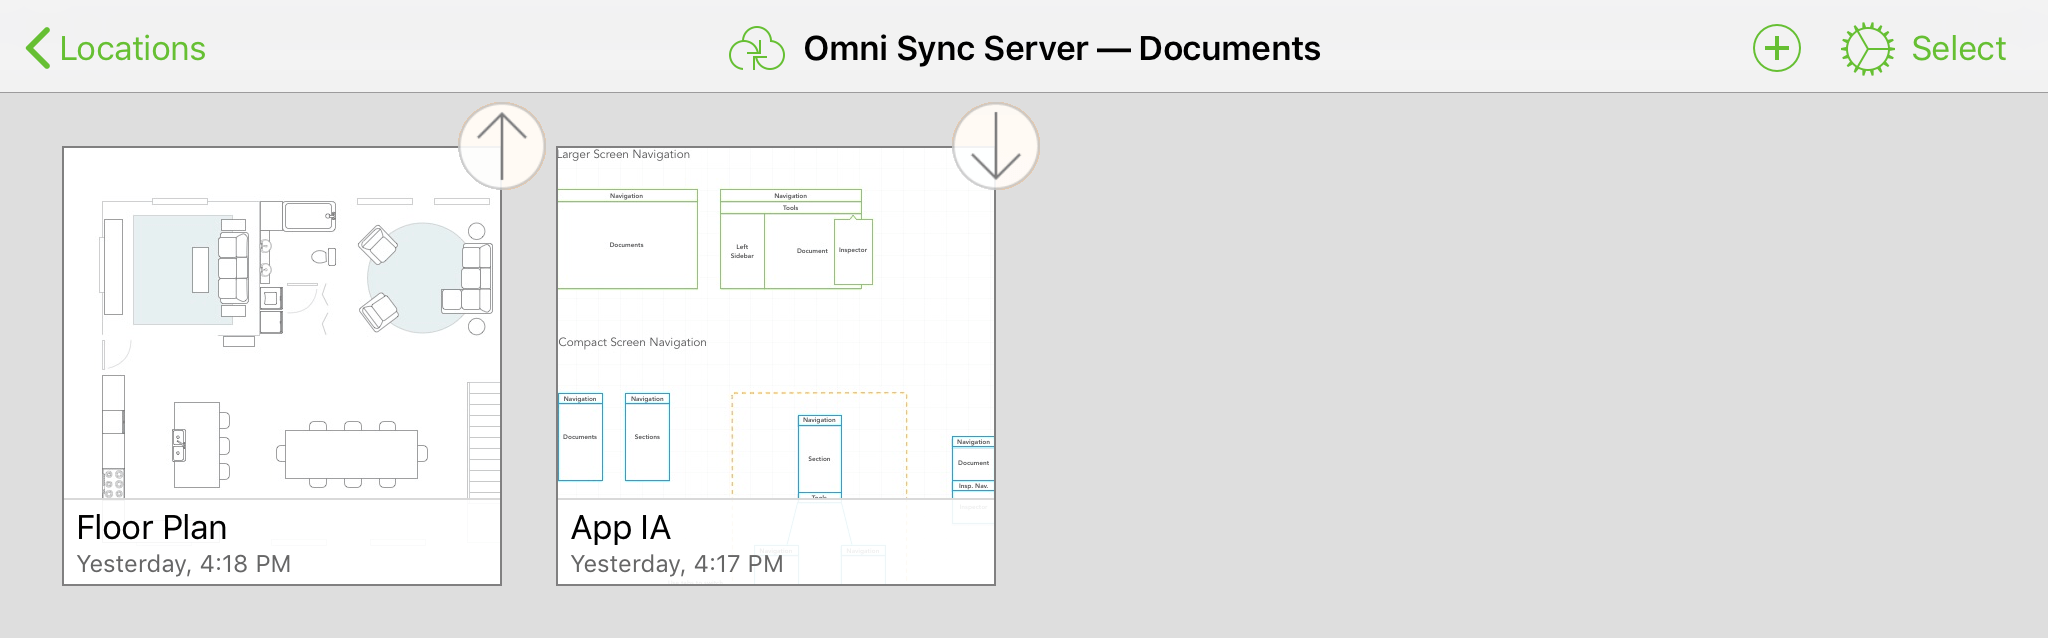
When files inside a connected OmniPresence folder are fully synced and up to date they appear just like documents stored anywhere else in the document browser. If you are syncing for the first time (or after a period of being offline), arrow icons appear on the corner of document thumbnails that are in the process of syncing: an up arrow next to local documents that are uploading to the server, and a down arrow next to remotely stored documents that are downloading.
If you have stencils that you would like to sync between iOS devices or Mac and iOS, OmniPresence offers the best pathway for this. Any stencils you add to a connected OmniPresence folder appear in a devoted section of the Stencils and Images menu, and are automatically updated everywhere when you make a change.
The App Menu 
On the Locations screen, and when viewing the contents of a folder in the Document Browser, tap  at the top of the screen to access the App Menu:
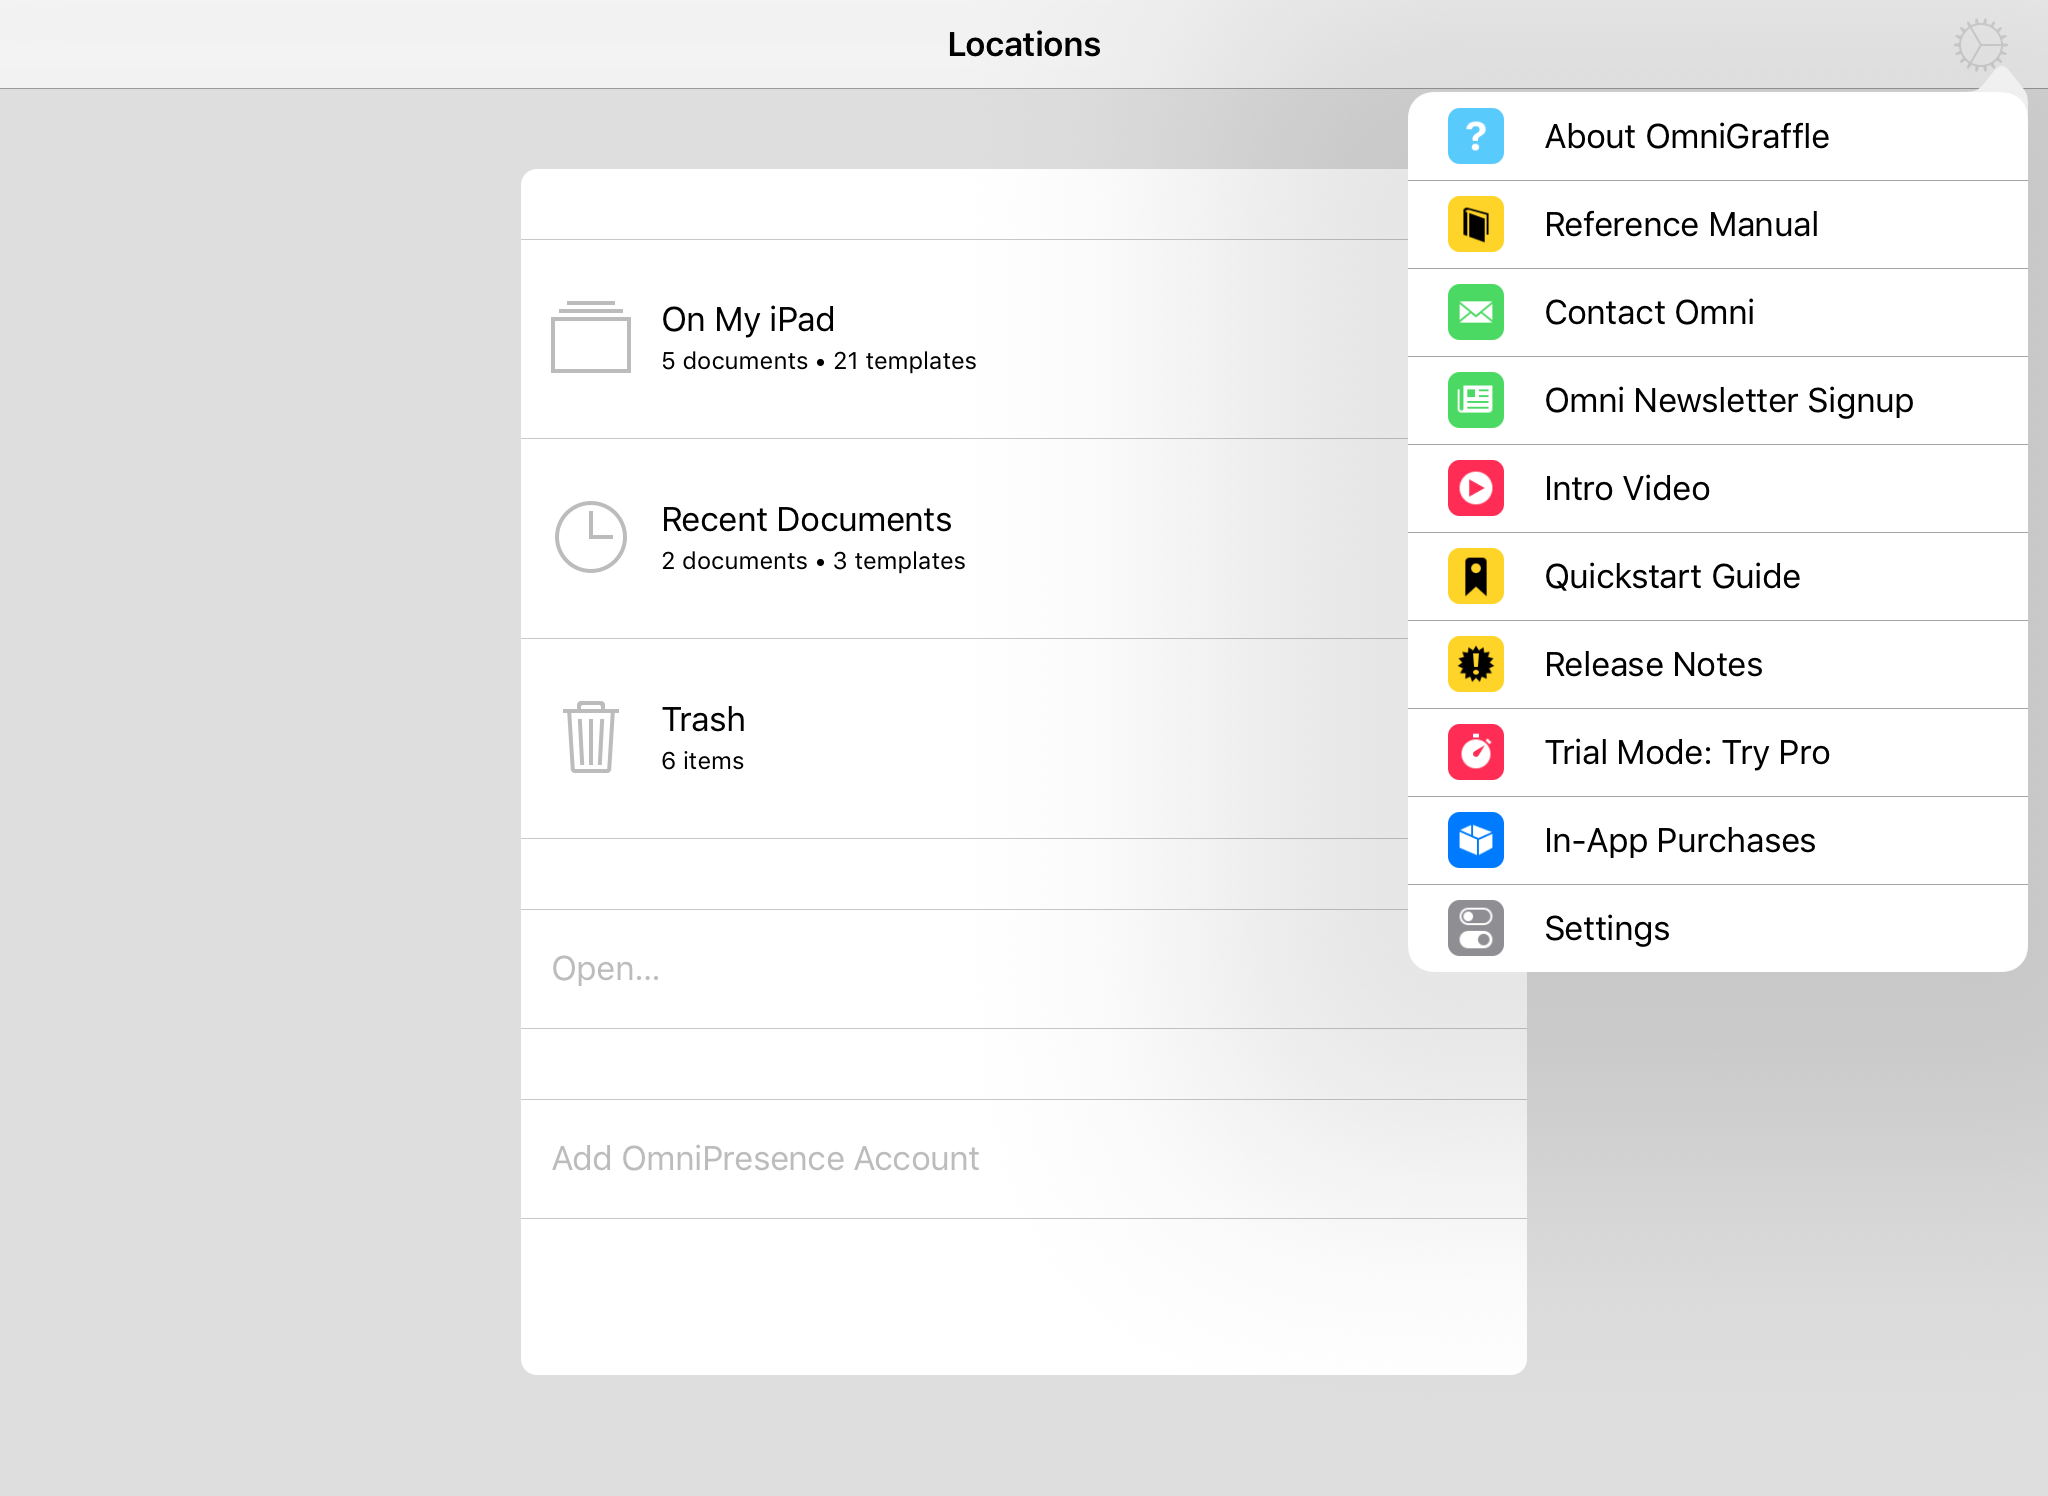
The App Menu has the following options:
About OmniGraffle 
Tap to see which version of OmniGraffle is installed on your device, and to find Omni’s contact information.
Reference Manual 
Tap to return to the Reference Manual.
Contact Omni 
Tap to send us an email.
Omni Newsletter Signup 
Tap to subscribe to Omni’s quarterly newsletter via email. When tapped, you are taken to the Omni website where you can enter your email address to subscribe.
Intro Video 
Tap to watch a quick video that introduces you to a few of the ways you can use OmniGraffle.
Quickstart Guide 
Tap to read through a quick tutorial, covering some basic things you can do in OmniGraffle.
Release Notes 
Tap to see what’s new in the current release. The release notes are also available on Omni’s website.
Trial Mode 
Trial Mode is only available prior to purchasing the upgrade to OmniGraffle Standard or Pro. Tap to switch between Standard and Pro to see which version is right for you.
In-App Purchases 
Tap to purchase the upgrade from Trial Mode to either OmniGraffle Standard or Pro. This is also where you can restore purchases, if you ever need to reinstall OmniGraffle on a device.
Settings 
Set preferences for working in OmniGraffle. See Settings for more details about OmniGraffle’s settings.
Folder Toolbar
When viewing the contents of a folder in the Document Browser, the toolbar along the top of the screen includes the following buttons:

At the center of the folder toolbar, you will see the name of the current folder (such as On My iPad), followed by a label that shows the type of OmniGraffle files currently being viewed (for example, Documents, Stencils, or Templates).
Back Button 
On the far left of the toolbar is the back button is followed by the name of the folder that contains the files being viewed. Tap to go backward in the folder hierarchy to return to the Locations screen, shown earlier.
Add New Button 
Tap the Add New button to create a new OmniGraffle document. The type of document created is based on the document type chosen in the Document Sorter.
The Folder Toolbar’s App Menu
When viewing the contents of a folder, the App menu (discussed earlier) contains these additional items:
 Restore From Sample Documents, Restore Bundled Stencils, or Restore Bundled Templates
OmniGraffle comes pre-packaged with some sample documents, stencils, and templates. The type of file to be restored is based on the filetype selected in the Document Sorter. For example, if you are sorting a folder’s contents by stencils or templates, this menu item changes to Restore Bundled Stencils or Restore Bundled Templates, respectively.
Copy from WebDAV 
Imports a copy of a file stored on a WebDAV server. A copy of the file you choose to import is placed in your current folder location.
Copy from...
Imports a copy of a file from among your  Recents (recently accessed files), or by
  Browsing for it in an in-app view of your iOS Files app. Switch between these two views with the buttons at the bottom of the sheet.
Selecting Files
At the far right edge of a folder’s toolbar is the Select button. When tapped, Select makes it possible for you to tap to select documents within a folder. Once a document is selected, use the buttons on the left side of the toolbar to share or export the file, move it to another folder, duplicate the file, or move it to the Trash.
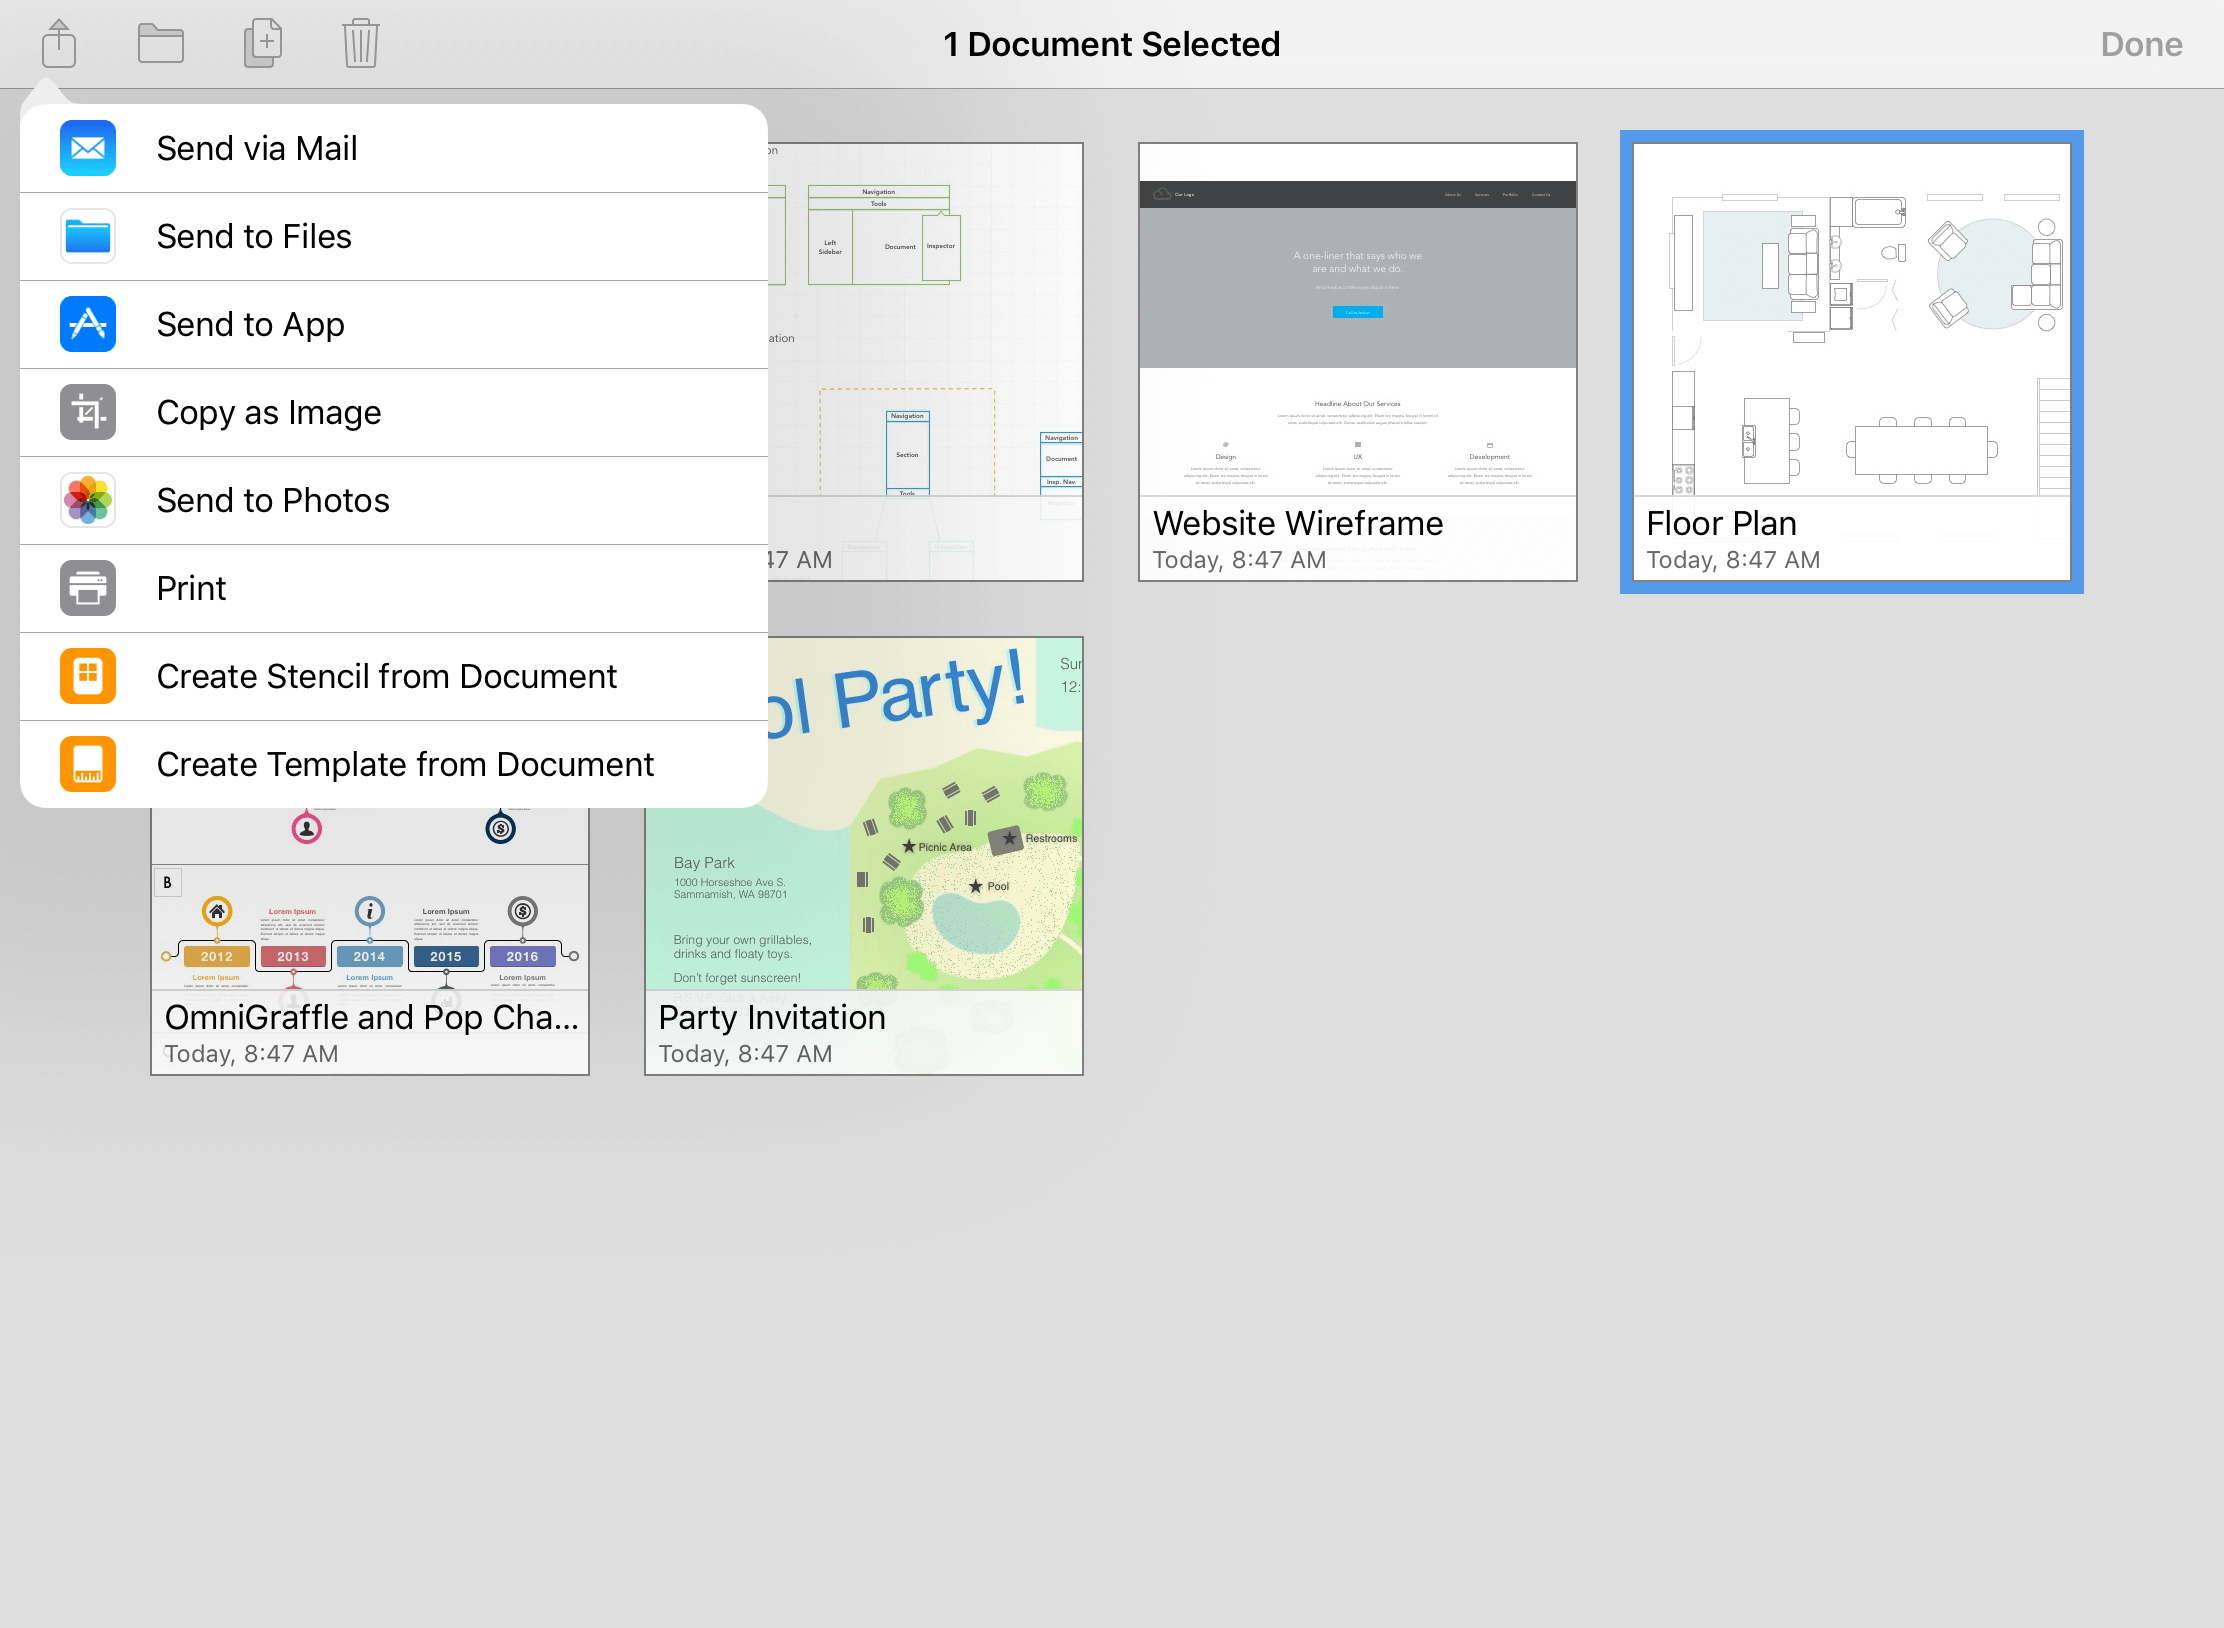
Sharing and Exporting 
With a file selected, tap the Share button and then choose one of the following actions to perform on the file. When sharing an OmniGraffle file, you can choose the format to share or send as either an OmniGraffle file, PDF, PNG, or an OmniOutliner file.
Send via Mail 
Exports the selected file, in the format you have chosen, as an attachment to an email message.
Send to Files 
Exports the selected file, in the format you have chosen, to the Files app. You can choose to send the file to a location in the cloud (such as iCloud Drive) or to an app’s local device folder.
Send to App 
Sends a copy of the file, in the format you have chosen, to another app on your iOS device.
Copy as Image 
Copies to the pasteboard the selected file as an image, which you can then paste onto the canvas of an OmniGraffle file, or into another app.
Send to Photos 
Sends a JPEG image of the selected file’s contents to the Photos app on your device.
Print 
Prints the selected file to an AirPrint printer of your choosing. The document prints based on the orientation set in Size Uses Printer Pages, in the Canvas Size inspector.
Create Stencil from Document 
Creates a stencil file from the selected document.
Create Template from Document 
Creates a template file from the selected document.
![]() If you have OmniGraffle Pro, you can also choose to share the selected file in Visio XML format.
If you have OmniGraffle Pro, you can also choose to share the selected file in Visio XML format.
Folder Menu 
Move the selected file to another folder.
Move to... 
Move the selected file to another folder, including the On My [device] and OmniPresence folders:
-
On My [device]
 — Choose to move the selected file to the On My [device] folder.
 -
OmniPresence
 — Choose an OmniPresence folder to move the selected file to.
 -
Other...
 — Open the Files app browser and choose another location for the file on your device or in a cloud-connected folder.
New folder 
Create and name a new folder that contains the selected file.
Duplicate 
Creates a duplicate copy of the selected file, and places that duplicate within the same folder. OmniGraffle adds the number 2 to the filename to help you isolate the duplicated file so you can change the filename to something else.
Move to Trash 
Moves the selected file (or files) to the Trash. To view the contents of Trash, tap on the Locations screen.