Exporting Image and Graphics Files from OmniGraffle
One of the main reasons you use a design app like OmniGraffle is so you can export your work as image or graphics files for use with other projects. OmniGraffle exports files to the standard image types, such as PNG, JPEG, and TIFF, as well as to PDF and EPS. And if you have OmniGraffle Pro, you can export files to Microsoft Visio and as SVG (Scalable Vector Graphics).
This chapter introduces you to OmniGraffle’s new Export panel, from which you can select the file type to export, specify multiple image resolutions to output (such as @2x through @5x for web and app development), and more.
Exportable File Types
The following table serves as a quick reference for the image and file types that you can export from OmniGraffle.
| File Type | Standard | Pro |
|---|---|---|
| PNG (.png) | ||
| JPEG (.jpg, .jpeg) | ||
| GIF (.gif) | ||
| BMP (.bmp) | ||
| TIFF (.tiff) | ||
| Adobe Photoshop (.psd) | ||
| OmniOutliner (.oo3) | ||
| OmniGraffle Document (.graffle) | ||
| OmniGraffle Stencil (.gstencil) | ||
| OmniGraffle Template (.gtemplate) | ||
| PDF (.pdf) | ||
| EPS (.eps) | ||
| SVG (.svg) | ||
| Microsoft Visio (.vdx) |
Using the Export Panel
You can create files of several different types from your OmniGraffle projects. Choose File ▸ Export (Option-Command-E) to open the Export panel:
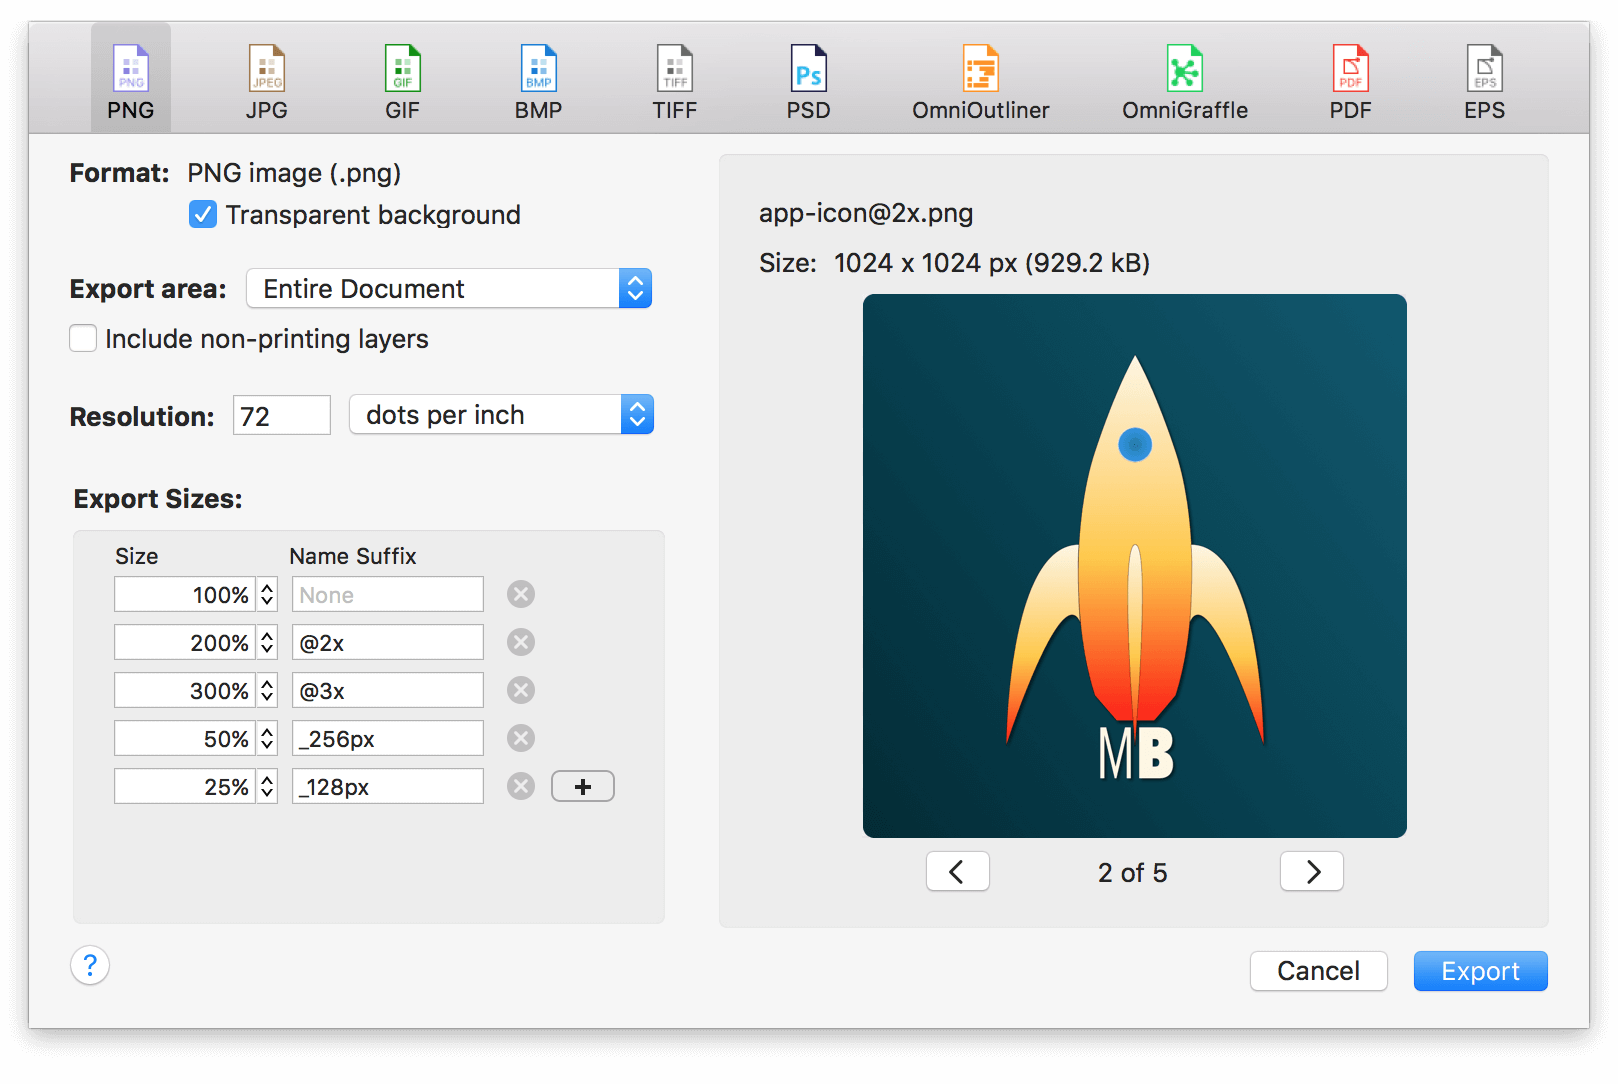
The basic steps of exporting from OmniGraffle are as follows:
- Choose an export file type from the row along the top of the export panel.
-
Define what gets exported on the top-left portion of the panel.
If you have set a Canvas Fill or Background Image (see Working With the Inspectors) that you would like included as part of the export area, turn off Transparent background in the Export panel. -
Add additional Export Sizes to the list, if necessary.
- Examine the Export Preview to make sure that what gets exported meets your expectations.
- Click Export.
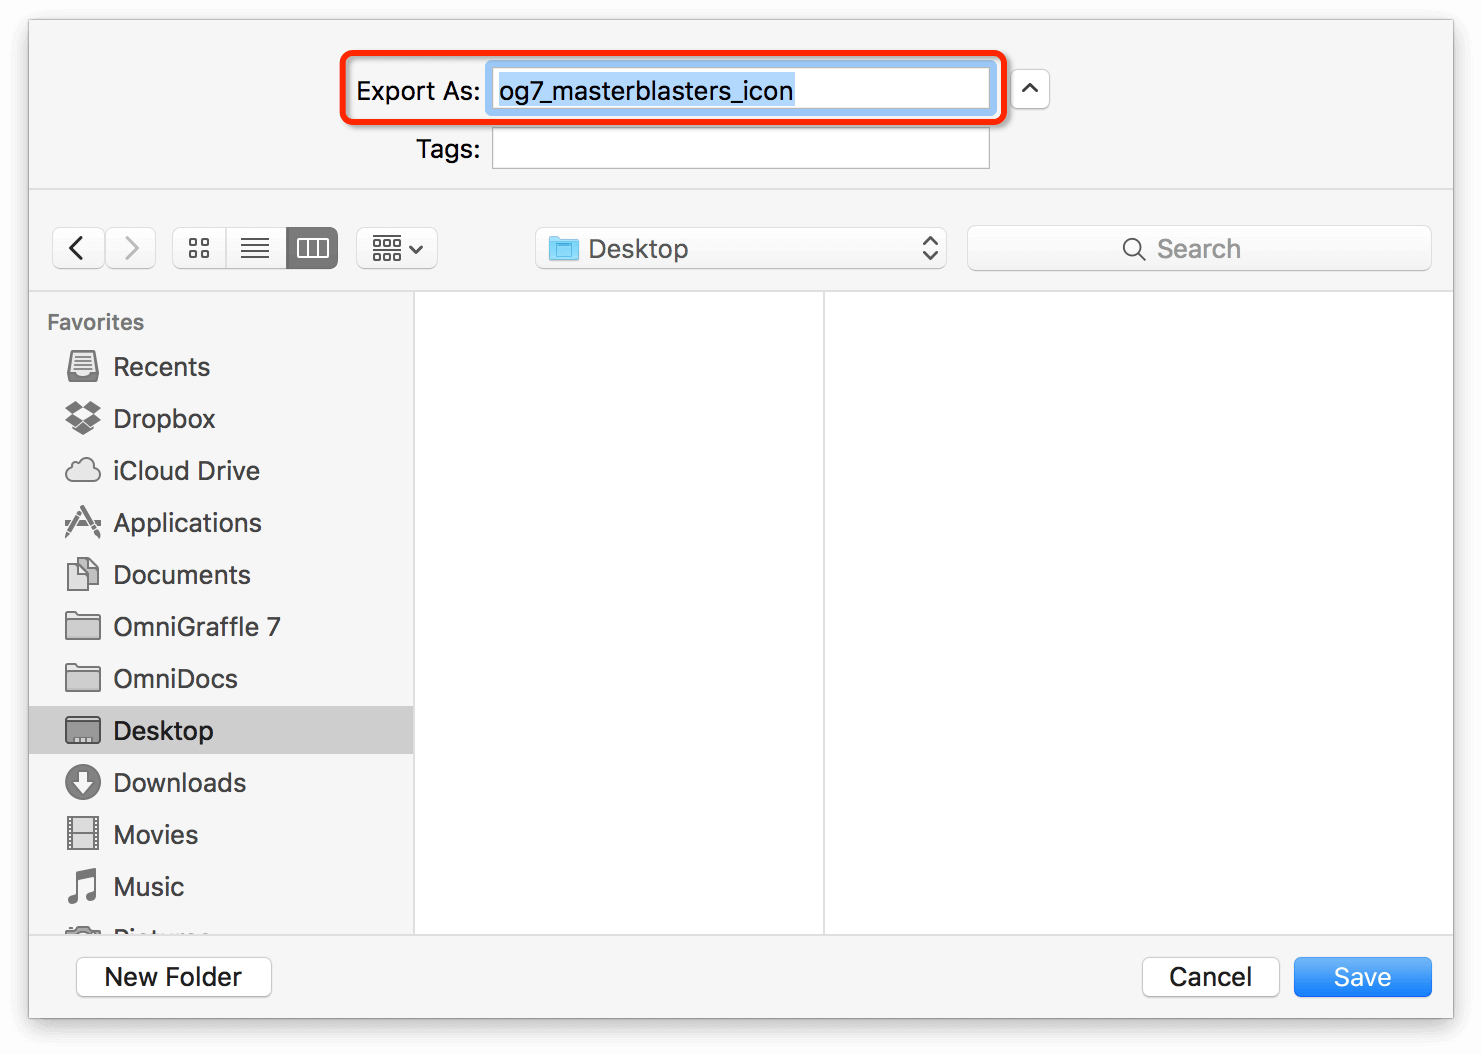
After clicking Export, a Save sheet appears over the export panel, from which you can choose where the exported file (or files, if you chose extra Export Sizes) is saved. By default, OmniGraffle uses the name of your OmniGraffle project as the filename—plus any Name Suffix you’ve added in the Export Sizes area—and then tacks on the appropriate file extension (for example, MyAppIcon.png and MyAppIcon@2x.png).
Of course, there’s much more to the export panel than meets the eye, so let’s take a closer look at all of the things you can set and choose from in the panel.
Defining Your Export in the Export Panel
The export panel is divided into four areas:
- the Export File Type row along the top;
- the Export Definition area at top-left;
- the Export Sizes area at bottom-left; and,
- the Export Preview area on the right side of the panel.
Let’s dive a little deeper to see what’s all in there...
Choosing an Export File Type
The row at the top of the export panel includes clickable icons that you use to select the type of file you want to export. OmniGraffle Pro users also have the ability to export files in SVG, Microsoft Visio, and HTML Image Map formats.

The Export panel remembers the file type of your previous export, and auto-selects that file format in the row along the top. This makes it easy for you to repeat exports from the same or different OmniGraffle projects. If you need to export to a different file type, click to choose the type you need.
Export Definition
The top-left area of the export panel (everything above the Export Sizes area) help you define what gets exported. This area changes based on the export file type you have selected in the top row; for example, this is how the definition area appears with PNG selected:
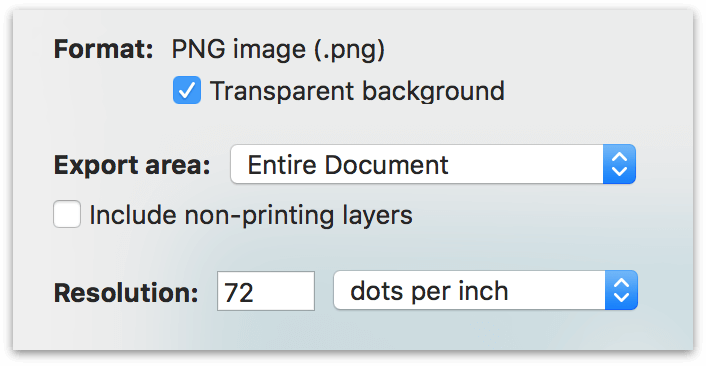
The Format section lists the type of file to be exported, along with its file extension. If the image type you have selected supports transparency, you’ll also see a Transparent background option, which you can turn on or off, depending on your needs.
The JPEG and Windows Bitmap (BMP) file formats do not offer transparency. Nor do the OmniOutliner and OmniGraffle file types.
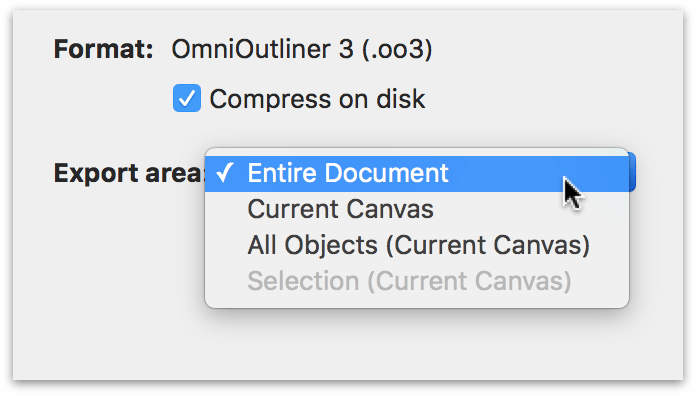
The Export area pop-up menu offers the following options for you to choose how much of document to export:
- Entire Document — Export everything, creating one image file for each canvas.
- Current Canvas — Export the entire canvas.
- All Objects (Current Canvas) — Export all of the objects on the current canvas. When you choose All Objects (Current Canvas), every object on that canvas is included as part of the export set. If an object appears outside the bounds of the canvas area, it too will be included as part of the export.
- Selection (Current Canvas) — Only export the objects that are selected right now.
By default, non-printing layers are excluded from being exported; however, for most image file types, such as PNG and JPEG, you also have the option to Include non-printing layers as part of the export. For example, you can turn off printability for layers in the Sidebar by clicking the ![]() , flipping it to
, flipping it to ![]() to disable printing for that layer. If you want to include non-printing layers as part of the export, go ahead and turn on this option.
to disable printing for that layer. If you want to include non-printing layers as part of the export, go ahead and turn on this option.
If your project uses artboards and you want to export images based on the artboard shapes, make sure that Export from artboards only is checked. This tells OmniGraffle to export images based on the artboards in your project; without this option checked, what gets exported depends on what you have selected in the Export Area pop-up menu.
Available for PNG, JPEG, GIF, BMP, and TIFF image types, you’ll also see Resolution section. By default, all image types are exported at 72 dots per inch, but you can change this to whatever you’d like. If you prefer, you can change dots per inch to dots per cm in the pop-up menu.
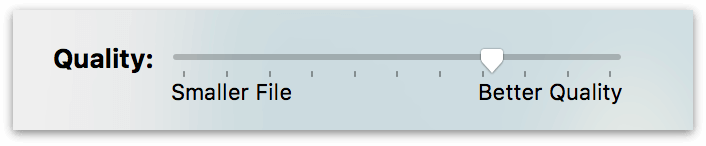
JPEG exports also offer a Quality slider, which you can use to define how lossy you want those images to be.
While EPS export lets you choose whether the exported file has a preview image:

Export Sizes
For most image formats, you can choose to export in varying sizes. The default Size is 100%, based on the actual size of the things you are exporting, and can range up to 500% or as low as 1%, depending on your design needs.
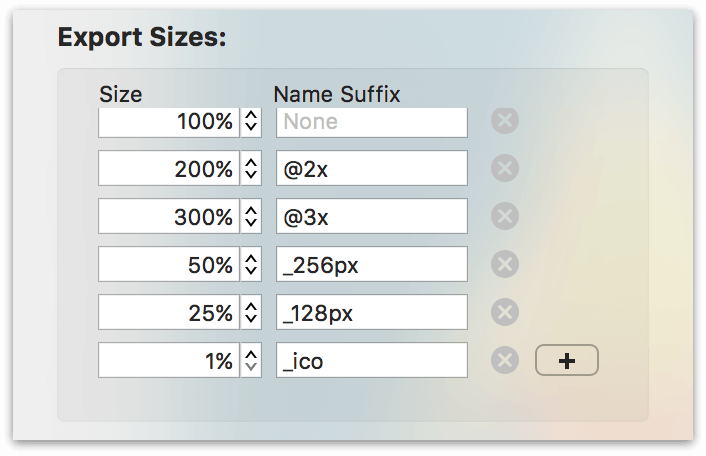
To add an additional export size, click  next to the first export size option. OmniGraffle increments the Size by another 100% each time you click that button; however, you can specify any size variant you’d like, as well as the Name Suffix that gets added to the images you export.
If you are only exporting the natural size (100%), the filename given to the exported file matches the filename of your OmniGraffle project. That said, you can change that filename to whatever you’d like after clicking the Export button.
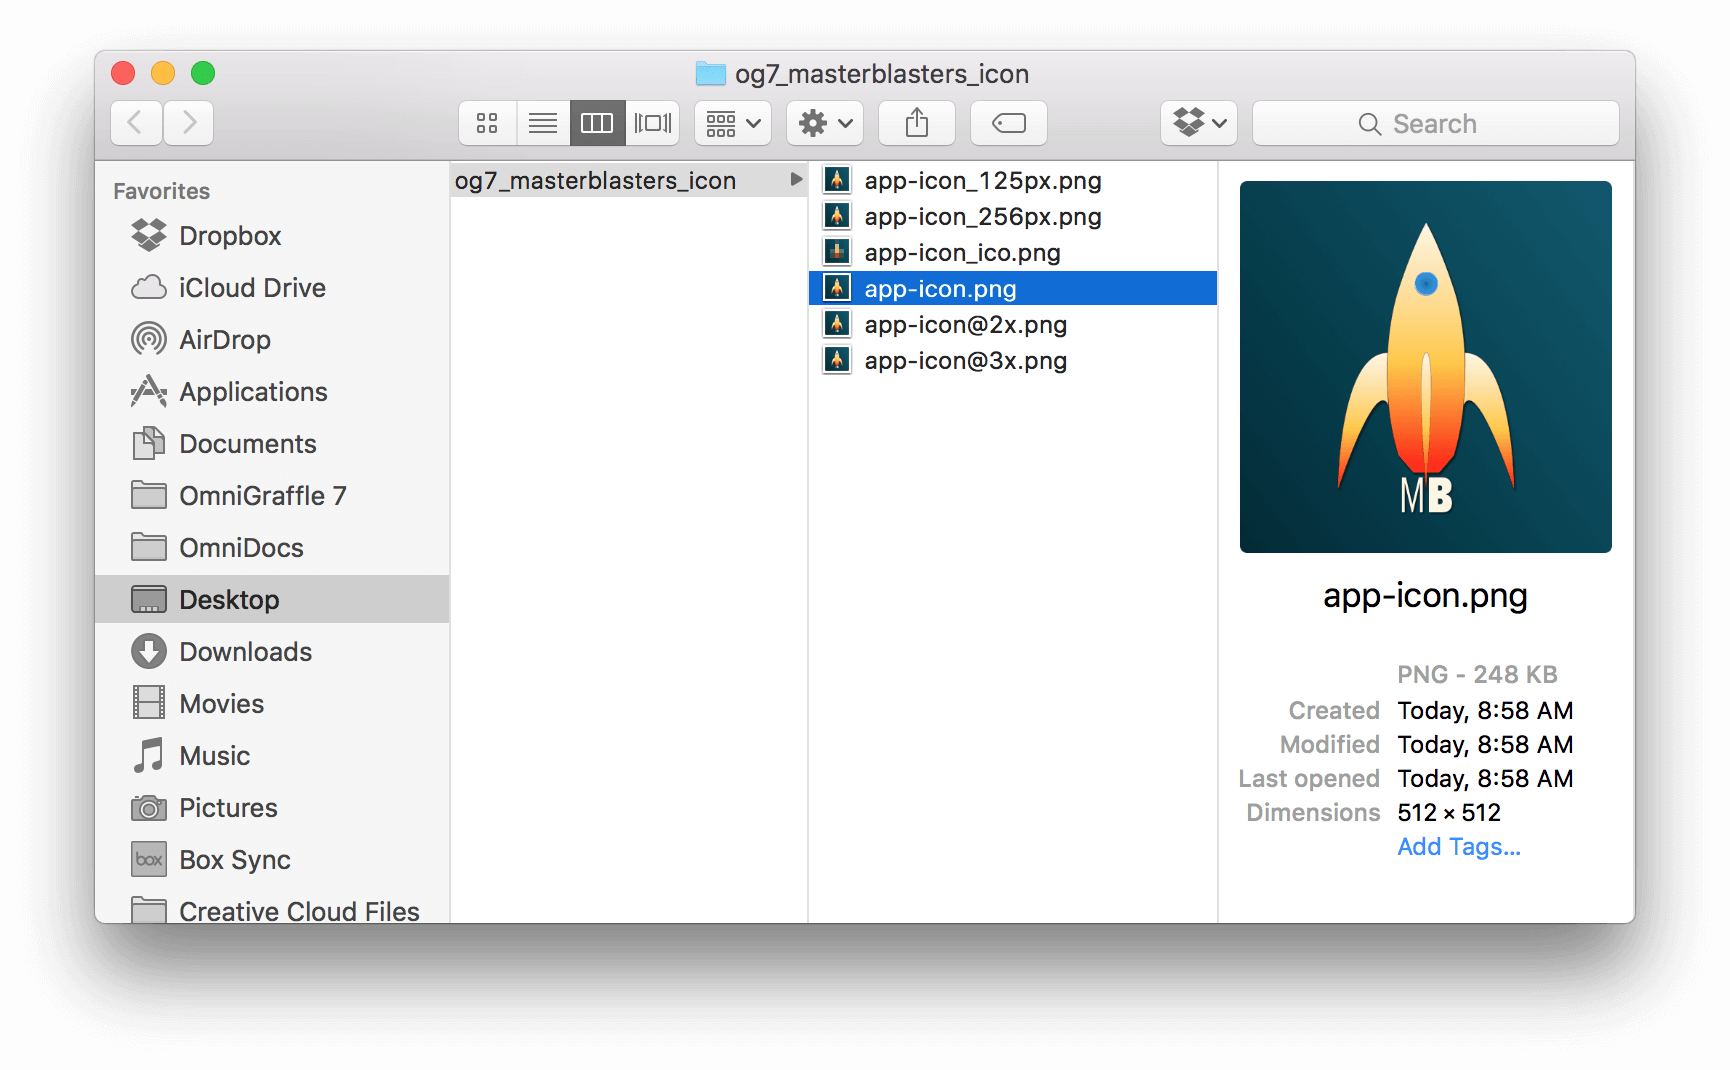
If you are exporting multiple sizes, however, the filename is based on the canvas name you’ve specified in the Sidebar. Additionally, after clicking the Export button, you’ll notice that the Export As field uses the filename for your OmniGraffle project. The filename, which you can change, is actually a folder that gets created in a location you specify for containing the exported images. When you click Save, OmniGraffle places all of the exported image files into that folder.
Export Preview
The Export Preview takes up the entire right side of the panel. If you are exporting multiple sizes, or from multiple canvases in your project, the preview area includes right and left arrow buttons so you can page through and preview the images in your export set.
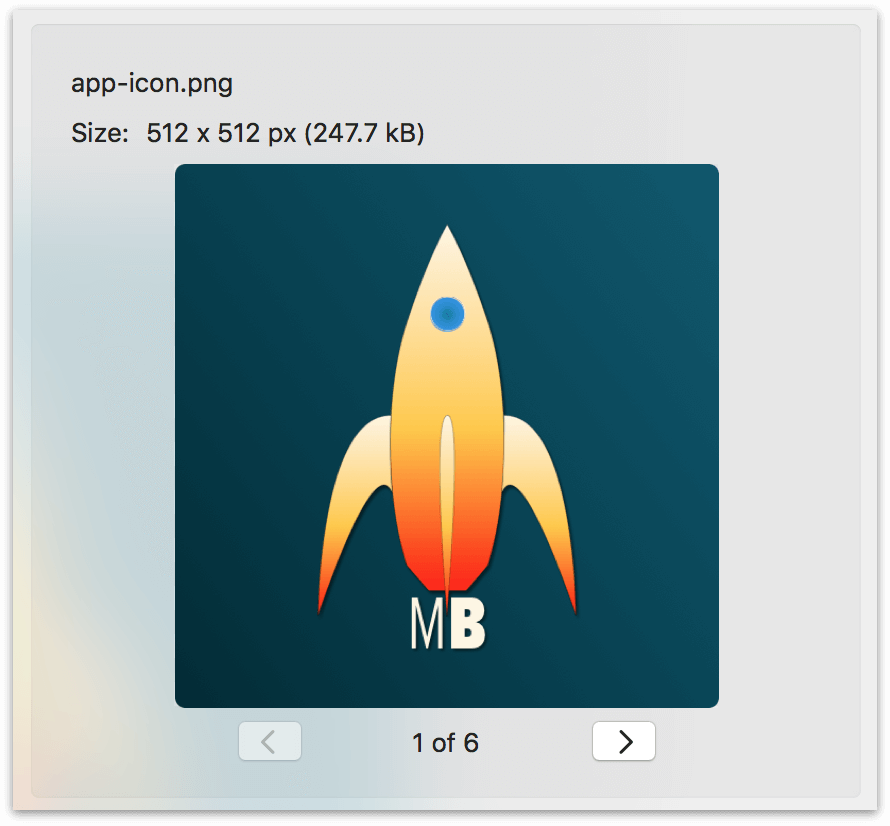
At the top of the preview, you’ll see that OmniGraffle displays the intended filename for that image, its size in width and height, as well as the final exported file size.
Exportable Omni File Types
In addition to exporting to various image types, you can also export your OmniGraffle projects as OmniOutliner and OmniGraffle files.
If you use OmniOutliner, one reason why you might want to export to that format is if you are working on a diagram, such as an organization chart or process workflow.
Exporting to OmniOutliner works best for diagrams that adhere to a tree-like structure. OmniGraffle uses the connection lines between shapes to create the outline hierarchy.
When exporting as an OmniGraffle file, choose the Format pop-up menu to export your project as another OmniGraffle file (.graffle), as an OmniGraffle Stencil (.gstencil), or as an OmniGraffle Template (.gtemplate).
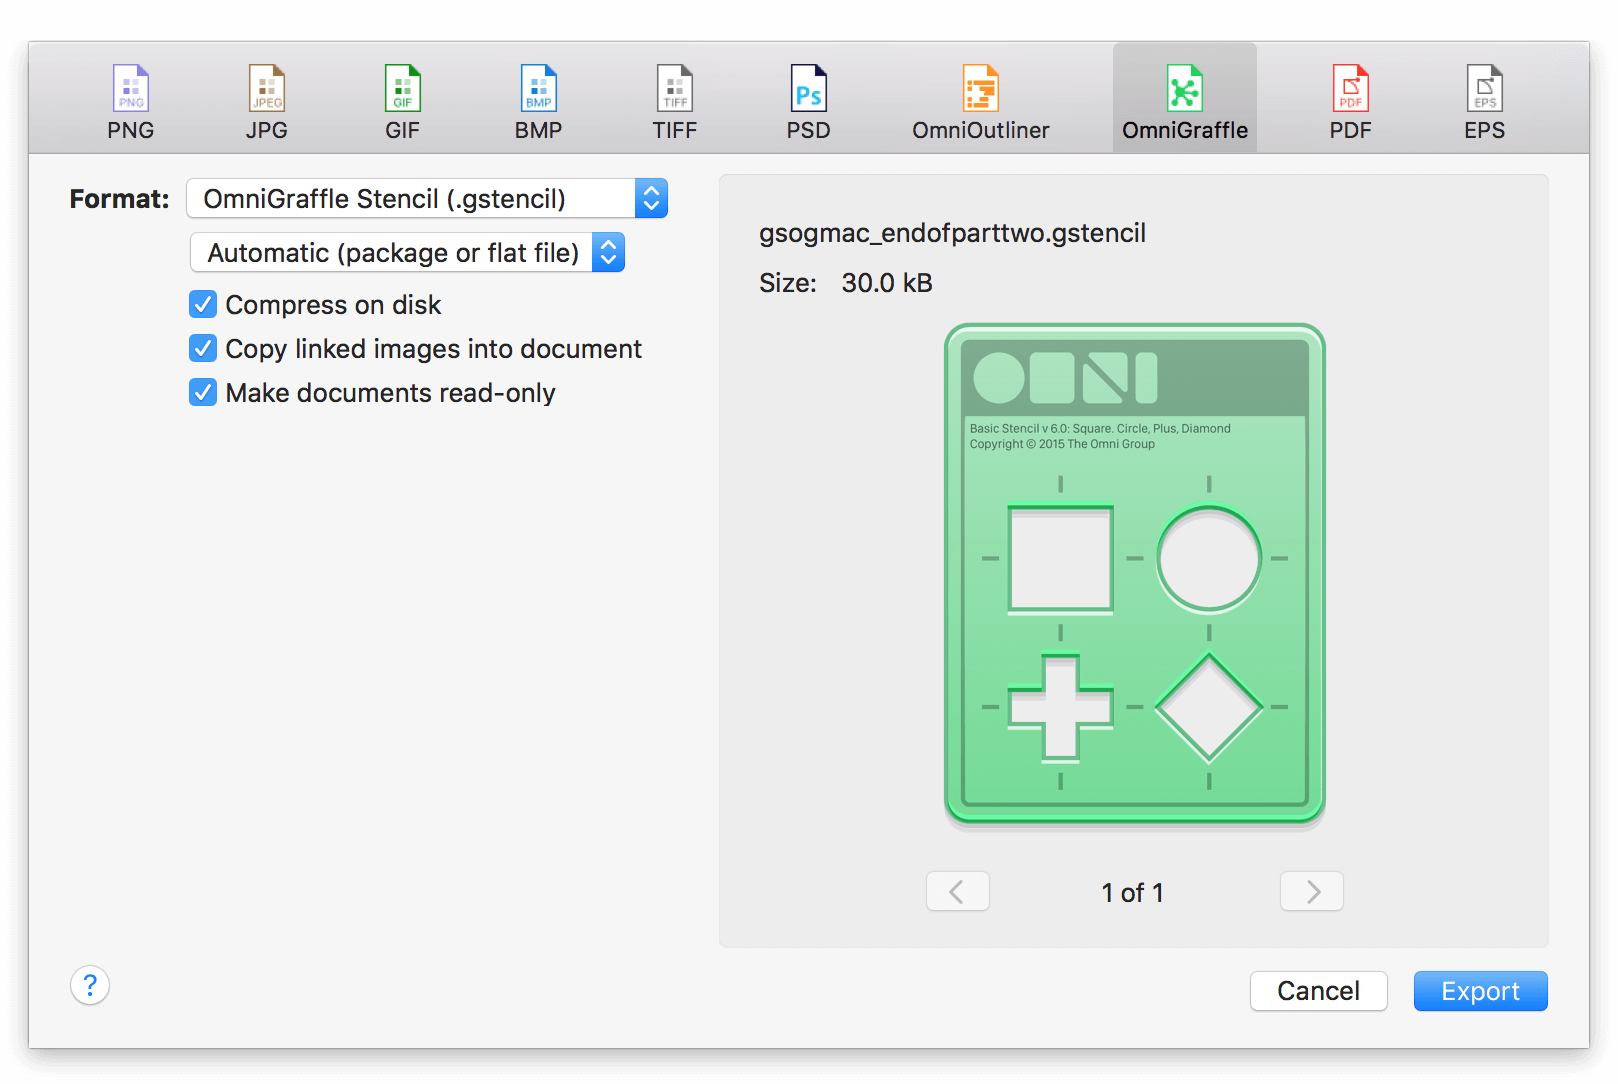
Use the second pop-up menu under Format to choose whether the OmniGraffle file you’ve specified is exported as a package file, a flat file, or you can choose Automatic to let OmniGraffle decide which is best. OmniGraffle uses the format that results in the smallest possible file size.
Use the checkboxes to control aspects of the exported file’s size and editability. You can opt to select from the following:
- Compress on disk makes the exported file smaller in its file size.
- Copy linked images into document is useful for when your OmniGraffle project has image files that you’ve added to a shape or the canvas and you’d like those to go along with the file.
- Make documents read-only is particularly helpful for stencils that you are sharing with a design team and you’d prefer that they don’t edit the objects.
Exporting an HTML Image Map (PRO)
HTML Image Maps have been around for a long time, and continue to be a useful interface element on the web. HTML image maps typically appear as single, cohesive image on a website that, when moused over, present users with the option to click an area and then go to another part of the website.
Back in the day, there were no great tools for creating HTML image maps; you had to work out the coordinates and define the click areas on your own. Thankfully, OmniGraffle takes that pain away so you can concentrate on your design work.
HTML image maps are unlike any other image export you’ll do in OmniGraffle. The reason is because they leverage the power of Actions, which you use to define URLs for the clickable regions of your design. Also, OmniGraffle exports the HTML to go along with the images so you can upload the assets to your website and instantly put them to use.
For example, let’s say that you needed to create a navbar for your website. You can design this in OmniGraffle, as shown here:
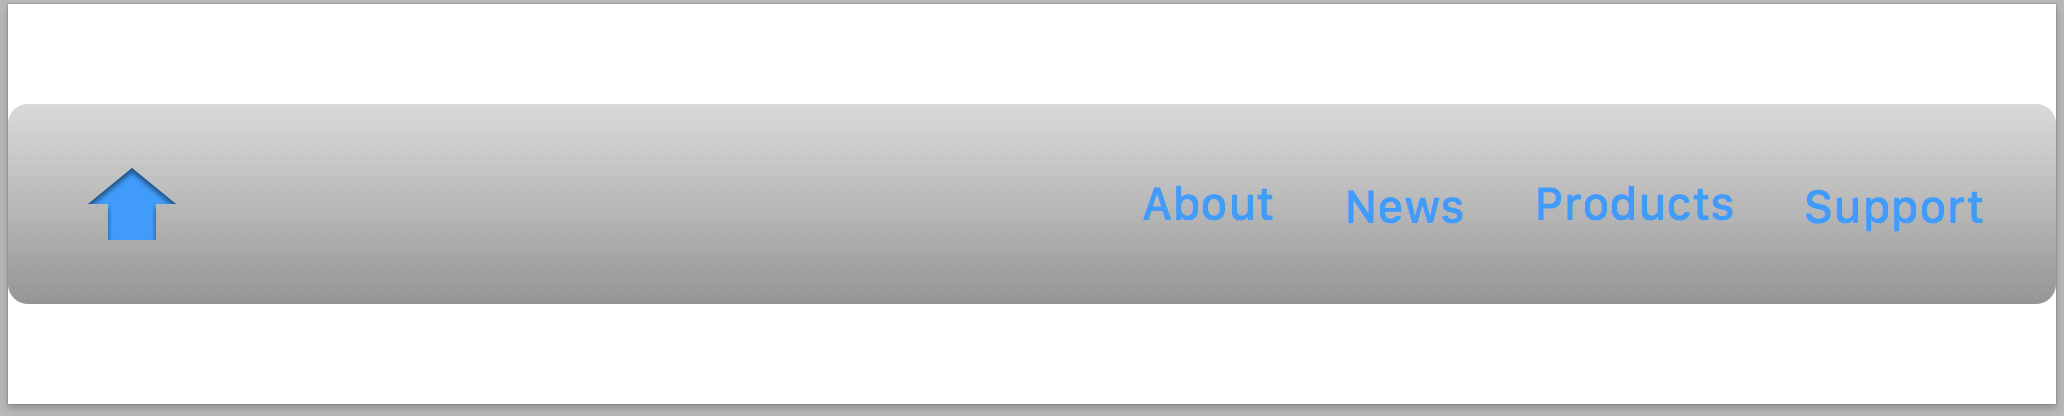
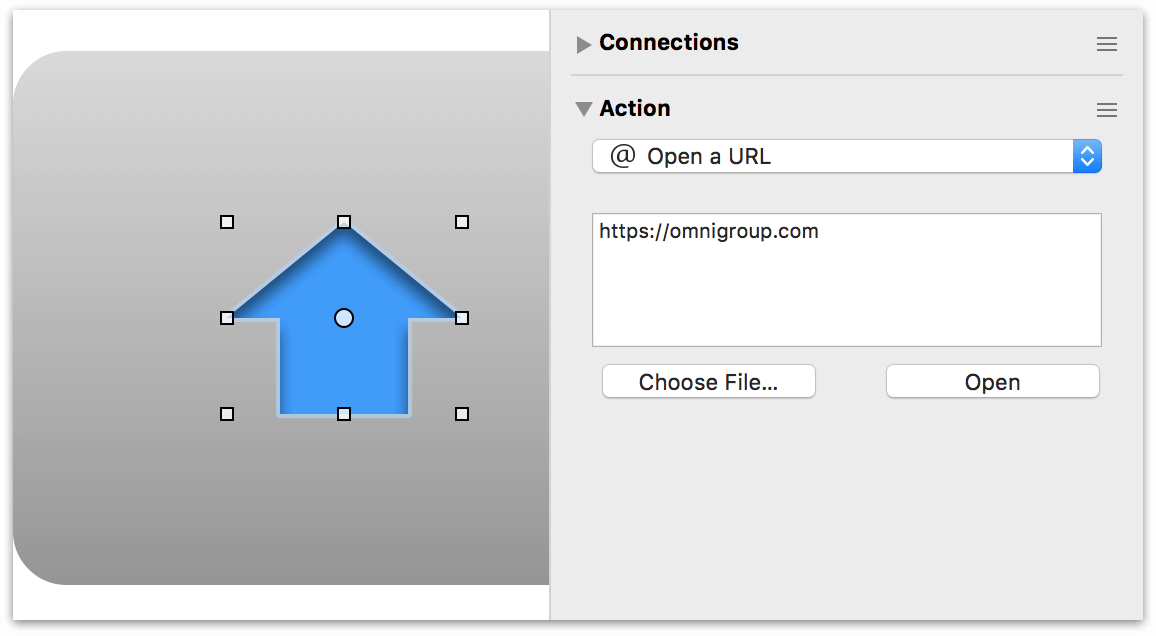
The navbar has a "Home" button on the left side, along with four text areas for links that take you deeper into the website. You would use the Action inspector to assign links to each clickable item in the navbar; for example, here’s how the "Home" button was configured:
When you’re ready to export the files, choose File ▸ Export (Option-Command-E) and then select HTML Image Map in the filetype row at the top of the export panel:
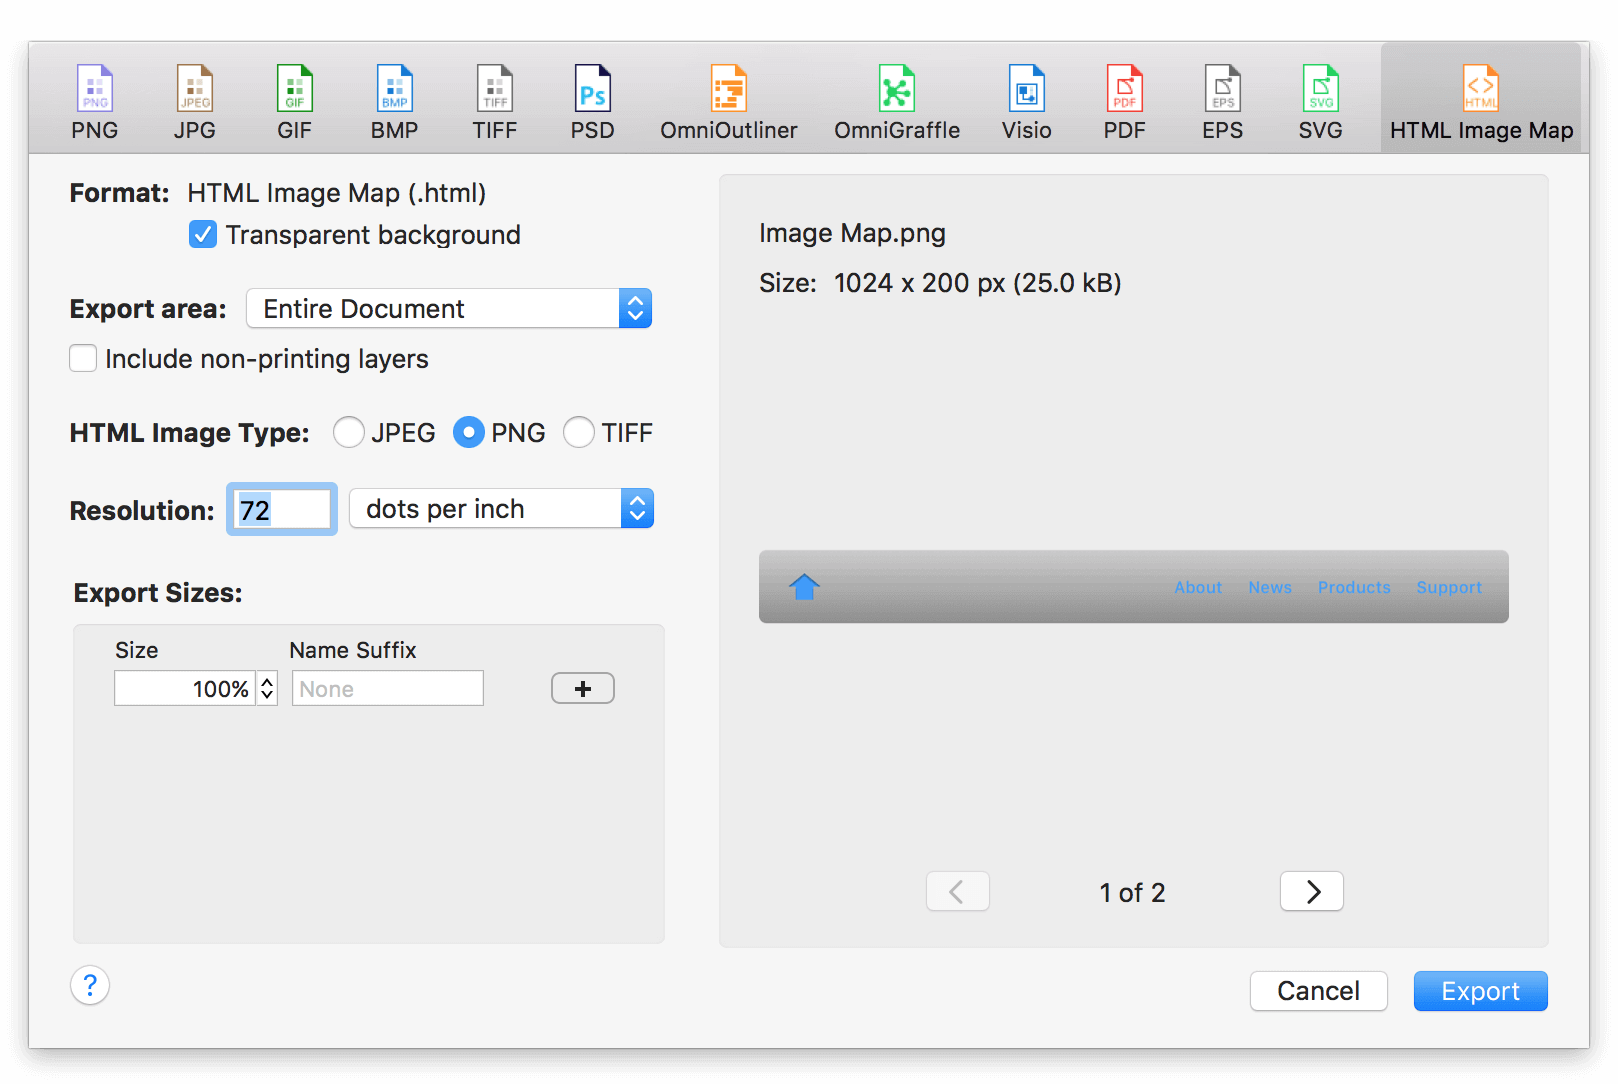
When you export the files, OmniGraffle generates an HTML file and an HTML Image Type, based on your choice on the left side of the panel. URL actions in the original OmniGraffle document are coded into the image map as links so that the image can be clicked to follow them. (Note that actions on lines aren’t included, but actions on line labels are.)
The source files are saved to a folder, which you can then test and integrate with your website design.