Using and Creating Custom Workspaces
Workspaces enable you to define how you work in OmniGraffle. With the latest update to OmniGraffle, we have taken Workspaces a bit further to help you not just define where and how the inspectors appear, but to customize them for how you work.
Using Workspaces
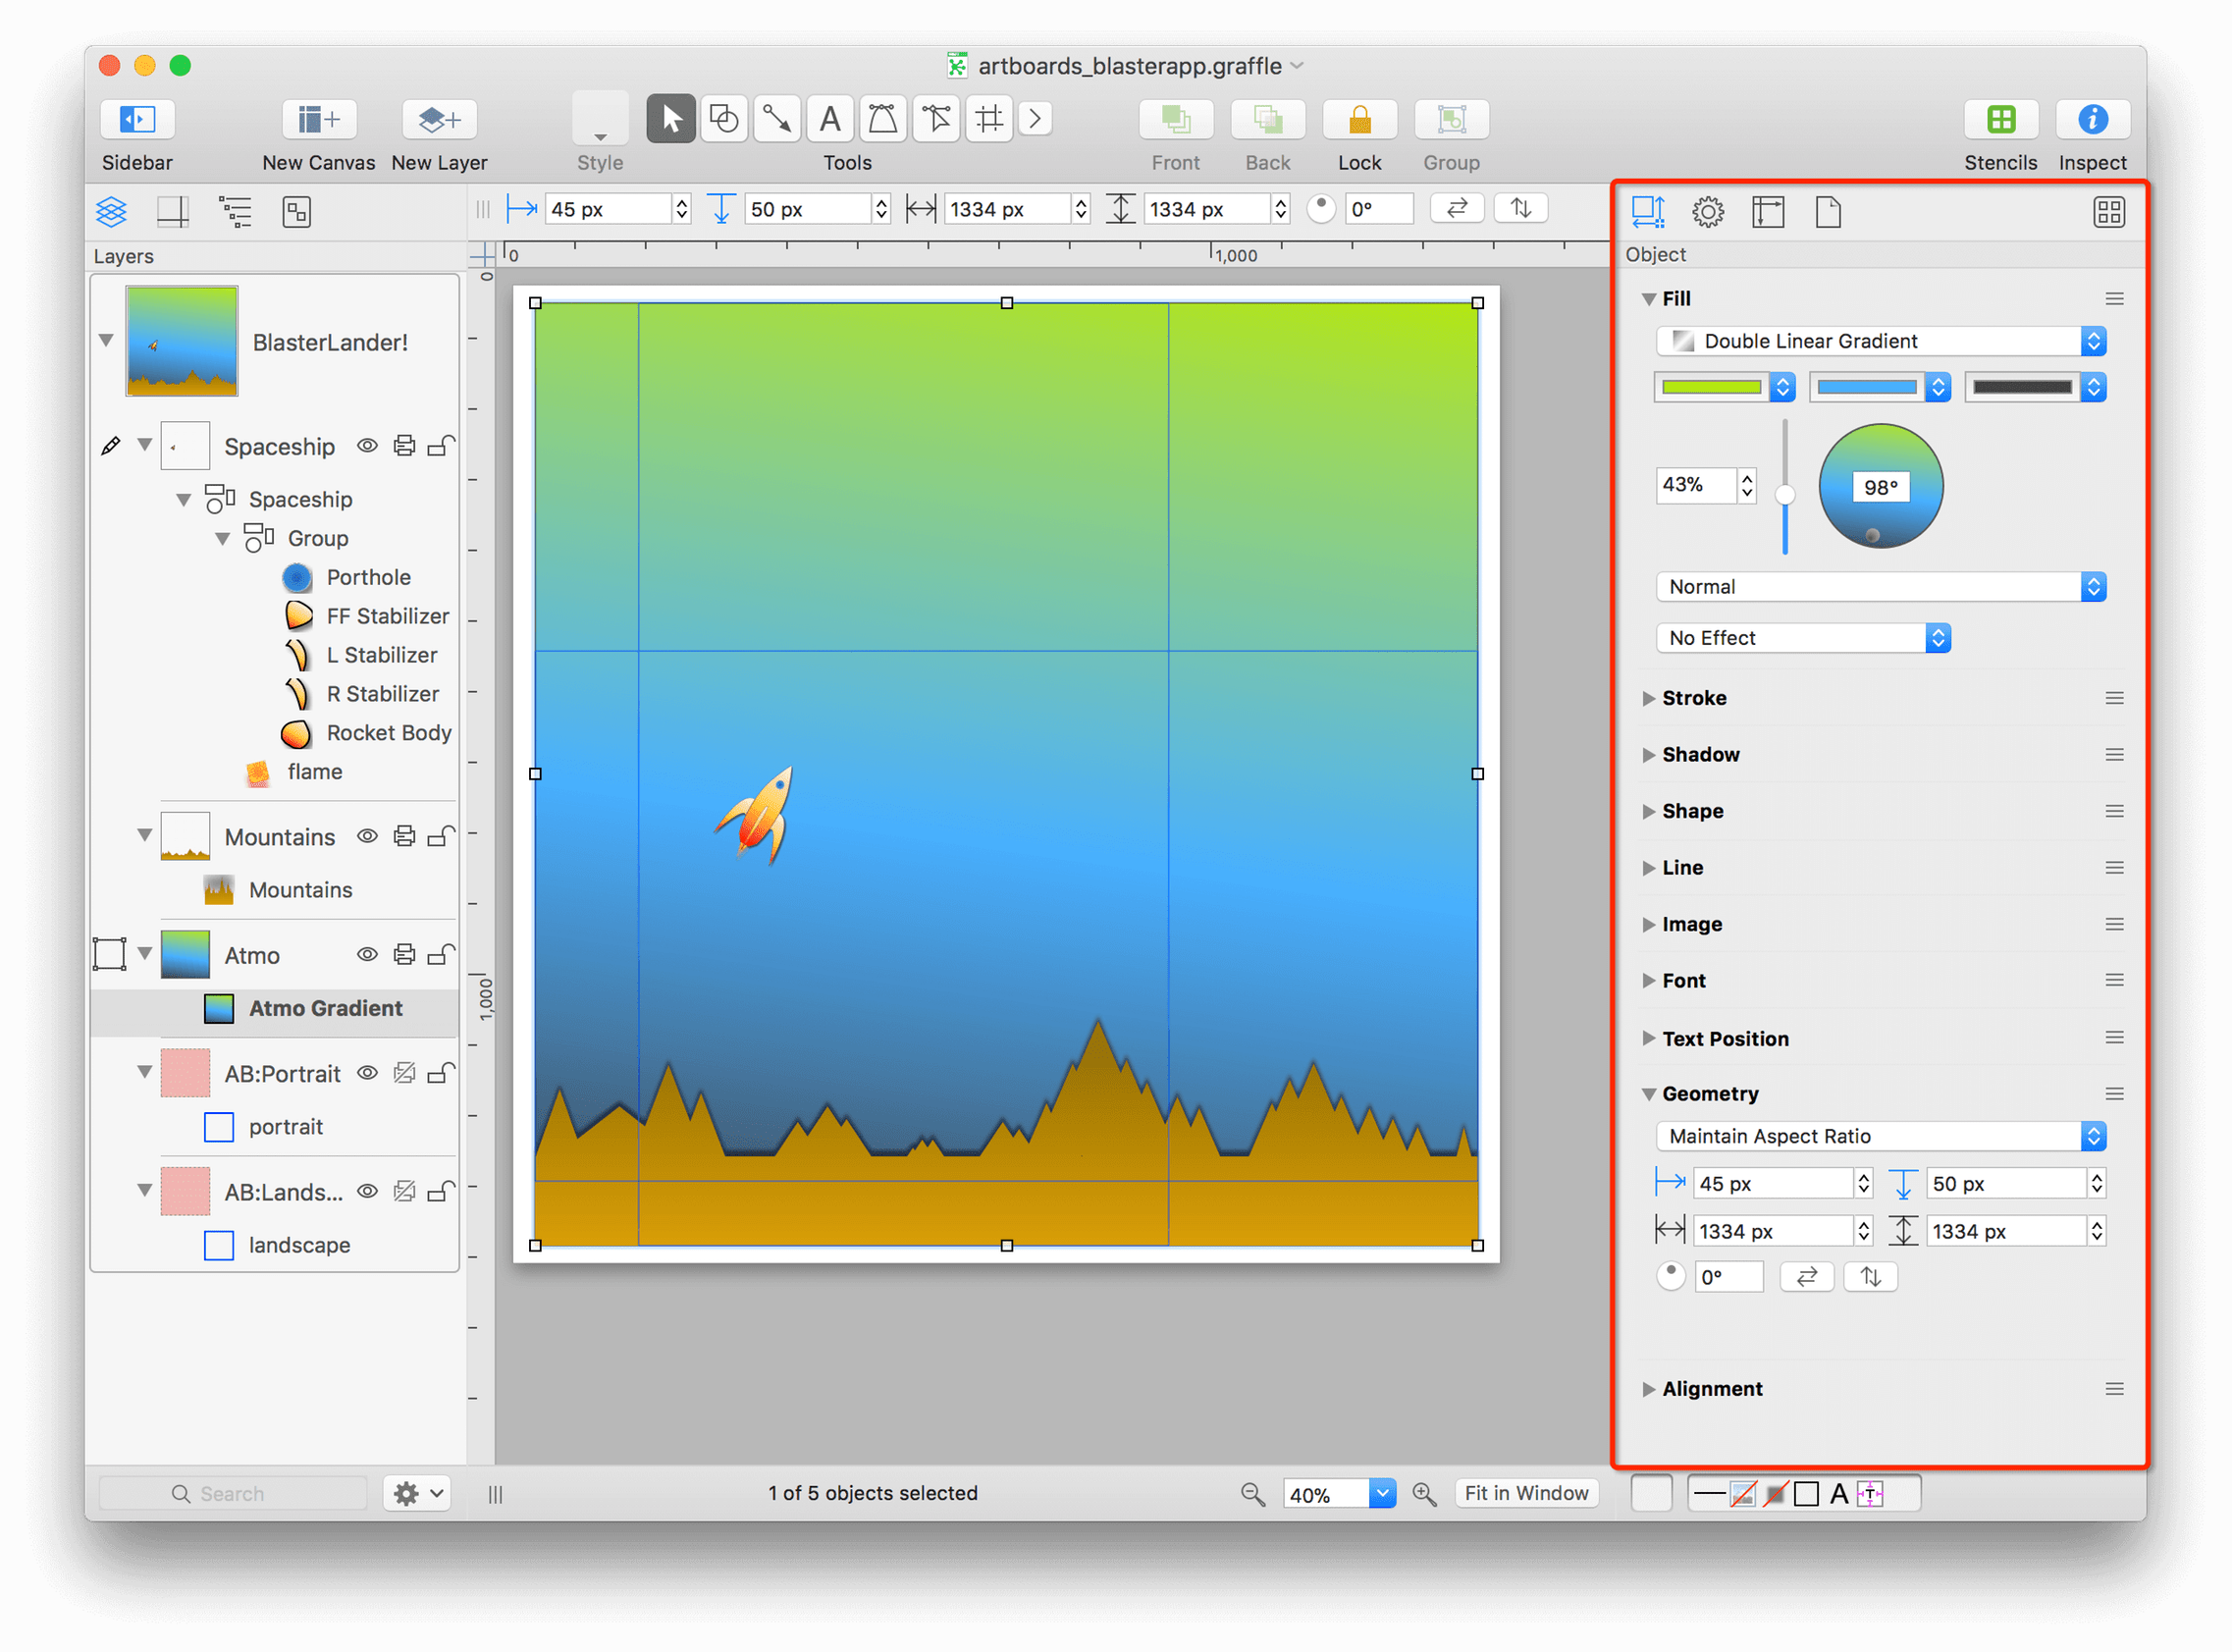
As you learned in the previous chapter, OmniGraffle’s inspectors are located to the right of the canvas. This is known as the Sidebar Workspace.
In addition to the Sidebar workspace, OmniGraffle has two other Workspace states for the inspectors: Floating and Palettes Workspaces. Each Workspace is assigned a function key as their keyboard shortcut:
- Sidebar: F2
- Floating: F3
- Palettes: F4
If you are using a MacBook Pro, MacBook Air, or an Apple Magic Keyboard with your Mac, you also need to press the fn key—located at the lower-left corner of your keyboard—along with the applicable function key. For example, fn-F4 to open the Palettes workspace. If you have an Apple Keyboard with Numeric Keypad, the fn key is located below the F13 key.
Subsequent Workspaces that you add to OmniGraffle are assigned their own function key shortcut.
Having the Inspectors available as a floating window or as individual floating palettes allows you to take advantage of big external displays for OmniGraffle’s main window while placing the inspectors off to the side or on a secondary display (such as a laptop screen or another large display).
Use Command–1 through Command–4 to switch between the Object, Properties, Canvas, and Document inspector tabs (or windows, if you’re using the Palettes Workspace), respectively.
Using the Floating Workspace
To open the Floating Workspace, choose Inspectors ▸ Floating, or press F3. The Floating Workspace contains all of the tabs you normally find in Inspector Sidebar, and you can switch between inspector sets using the default key commands, noted earlier.
Using the Inspector Palettes Workspace
To open the inspector palettes, choose Inspectors ▸ Palettes, or press F4. You’ll see a stack of windows appear over OmniGraffle’s main window. You’ll need to move them aside individually, but once you’ve got them set up—especially if you have them all on a second display—you’ll be amazed at how addicted you can get to having the inspectors in palette form.

Creating Custom Workspaces
In addition to the default Workspaces available from the Inspectors menu, you can also create custom Workspaces. You can also use Workspaces to save default states of certain inspectors, or a totally custom Workspace window that you tailor to suit your workstyle.
Saving Inspector States as a Workspace
If you frequently need access to only the Fill and Stroke panes (for example), follow these steps to create a custom Workspace:
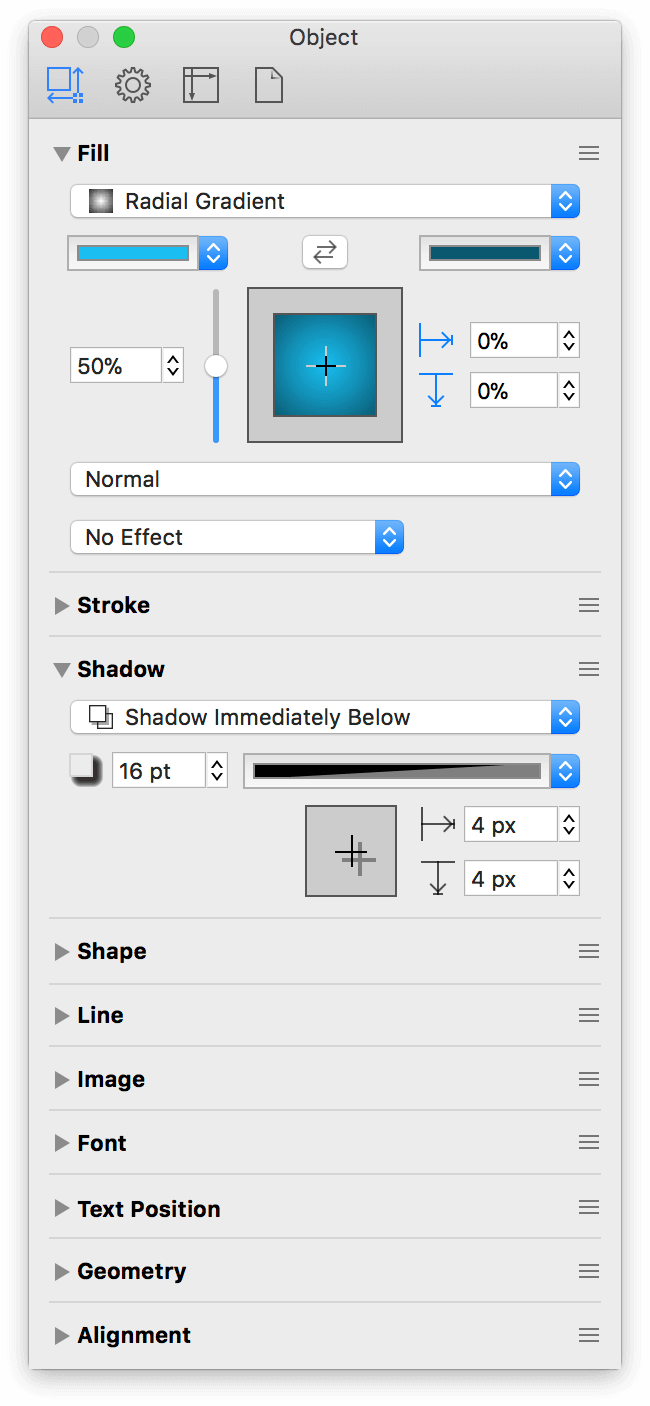
- Choose Inspectors ▸ Object (Command-1) to view the Object inspectors.
- Option-click the Fill inspector; this opens the Fill inspector and collapses the others in the sidebar.
- Click the disclosure triangle next to the Stroke inspector to open that inspector as well.
-
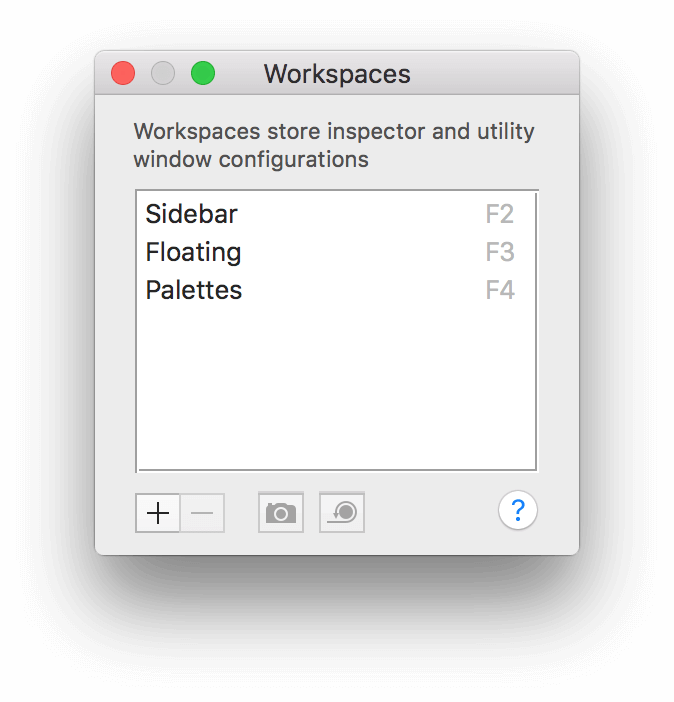
Choose Inspectors ▸ Edit Workspaces; the following window appears:
-
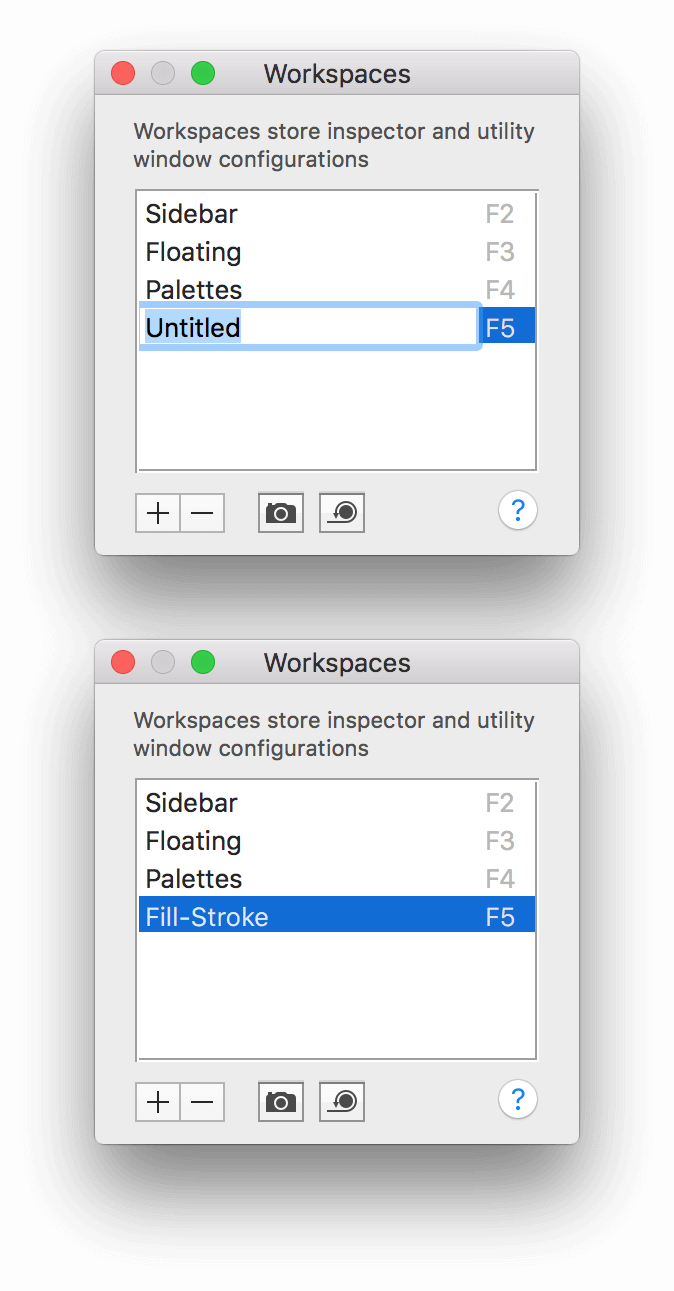
At the bottom of the Workspaces window, click + (for Add). You will hear the shutter sound associated with taking a picture; this is OmniGraffle’s way of letting you know that it has captured the state of the inspector window.
-
Give this new workspace a name, such as Fill-Stroke.
-
Close the Workspaces window.
Now, whenever you need to just tweak an object’s Fill or Stroke, you can press F5 to gain quick access to these two inspector panes.
Creating a Custom Workspace from Various Inspectors
One little-known feature of OmniGraffle is that you can tear away inspectors from the Inspector sidebar. For example, press Command-1 to view the Object inspector tab, click on the handle along the right side of the Shape inspector, and then drag the inspector to the canvas.
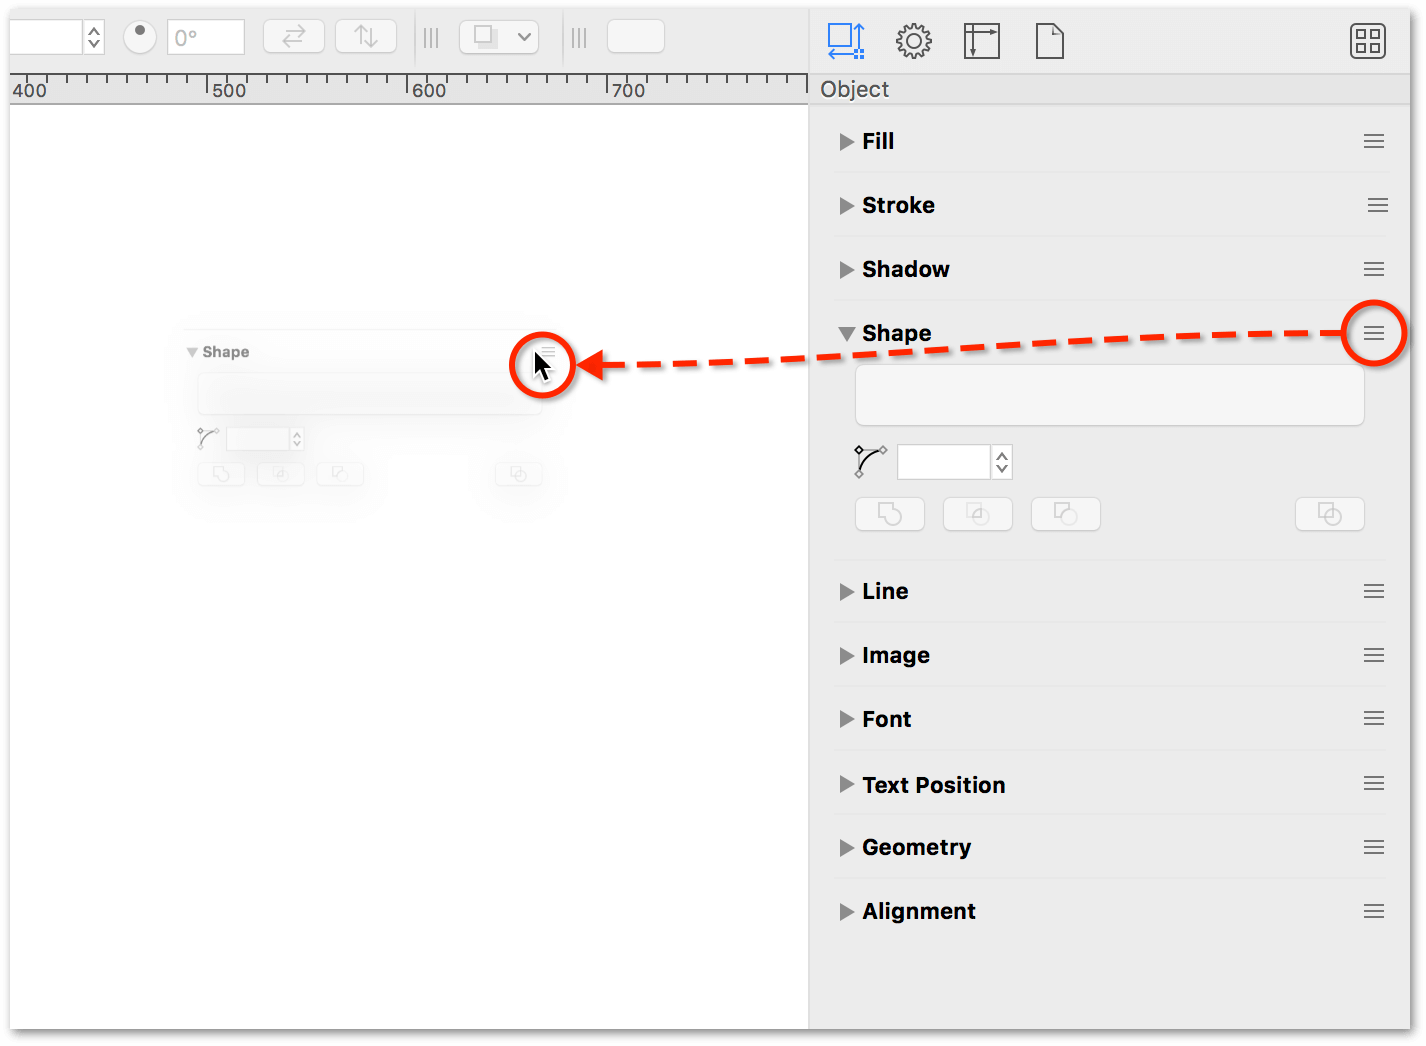
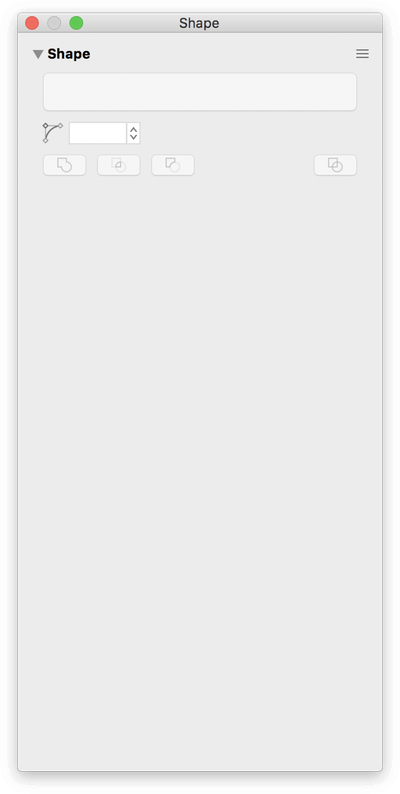
As you drag the Shape inspector away from the sidebar, you’ll notice that it disappears from the sidebar. When you let go of the mouse, though, the Shape inspector appears in its own floating window.
You can switch to the other inspector tabs and drag additional inspectors into the window; for example, do the following:
- From the Object inspectors, drag in the Shadow and Geometry inspectors
- From the Properties inspectors (Command-2), drag in the Connections inspector
As you drag the various inspectors from the Inspector sidebar into the window, you’ll notice that they also disappear entirely from the sidebar. That’s okay, and we’ll show you how to get those inspectors back into their respective places in the Inspector sidebar later.
The floating inspector window should appear as follows:
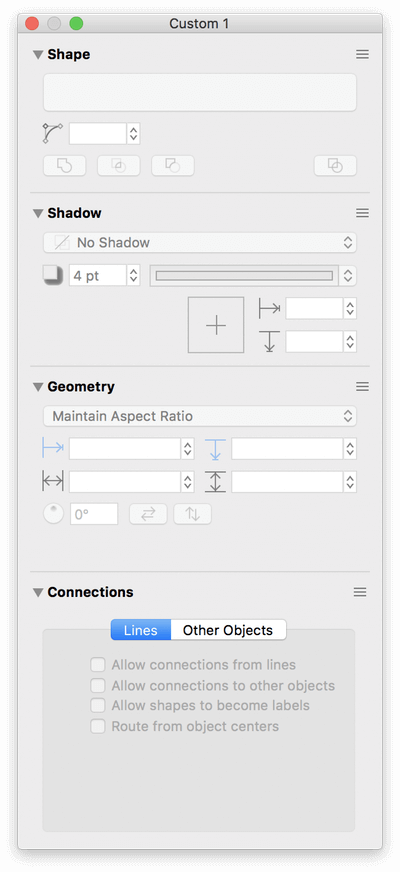
As you can see, the window’s titlebar shows its name as Custom 1; however, you can save this configuration of inspectors as a Workspace by doing the following:
-
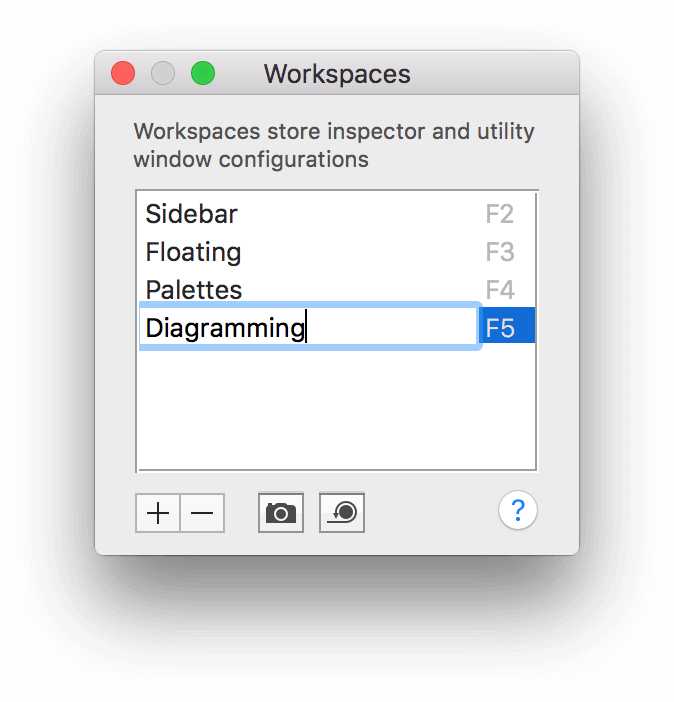
Choose Inspectors ▸ Edit Workspaces to open the Workspaces window:

-
Click the + (Add) button, and replace the Untitled label...
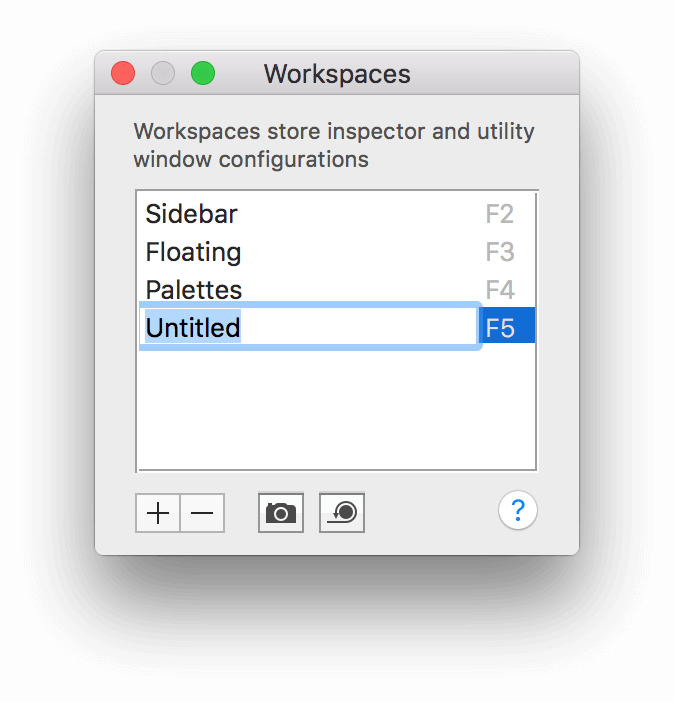
...with something more specific to the inspectors you’ve chosen; for example, Diagramming:
-
Close the Workspaces window.
As you may have noticed, whenever you create a new Workspace, OmniGraffle assigns one of the Function keys as a shortcut for opening that particular Workspace. However, the keyboard shortcut doesn’t close the Workspace window. Instead, you will need to click the red close button in the Workspace window’s titlebar.
When you close the Workspace window, you’ll notice that its individual inspectors do not return to the Inspector sidebar. To get the inspectors back in the sidebar, you can either choose Window ▸ Sidebar or press F2. If you were to press F5 to open the Diagramming Workspace, the inspectors pop out of the sidebar again and take up residence in the Custom 1 window until you return them to the sidebar.