Add a Cloud Account
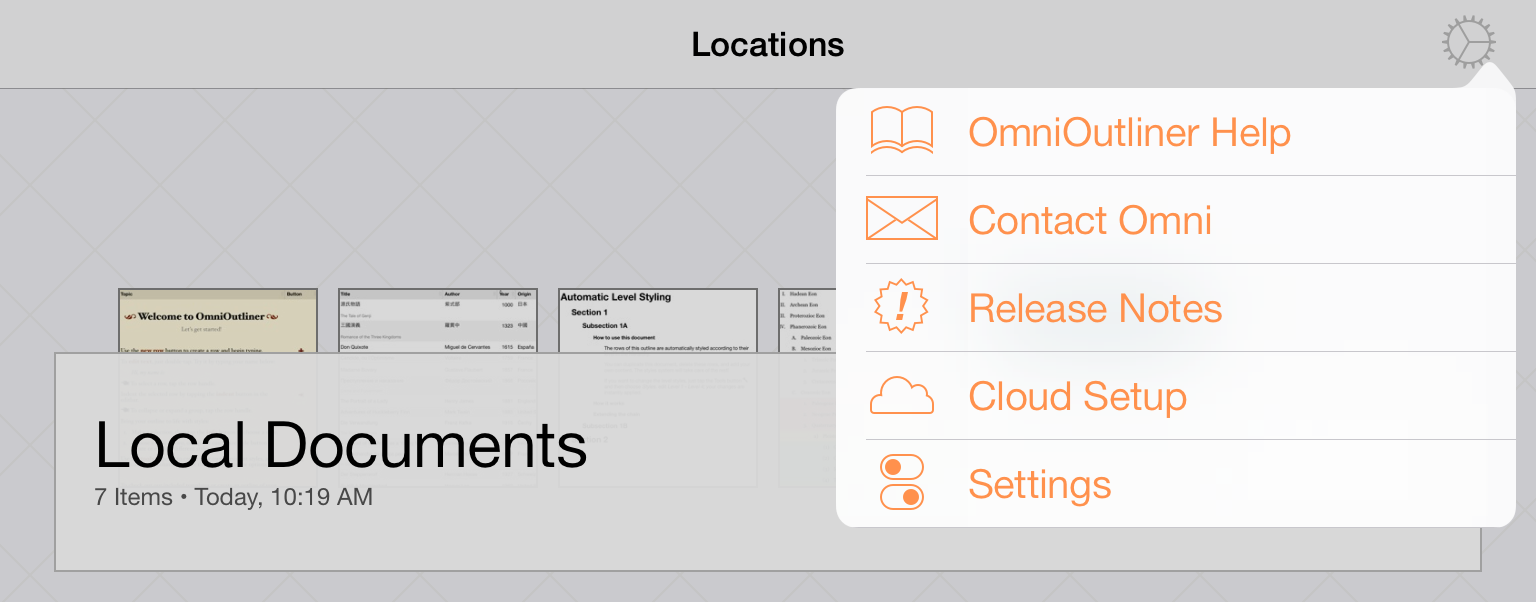
To work on a project shared between multiple OmniOutliner users, start by tapping Settings and selecting Cloud Setup in the popup menu.
You’ll see the Add Cloud Account screen, from which you can choose either Add Omni Sync Server Account or Add WebDAV Server.
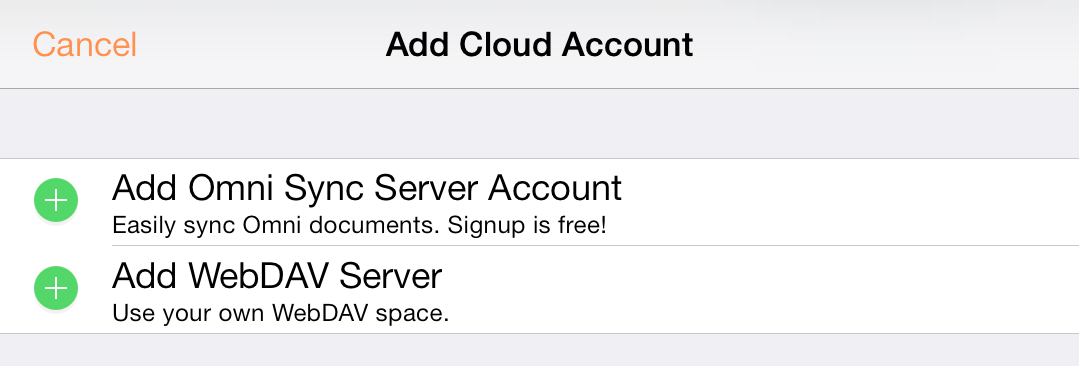
You can create a free Omni Sync Server account online at:
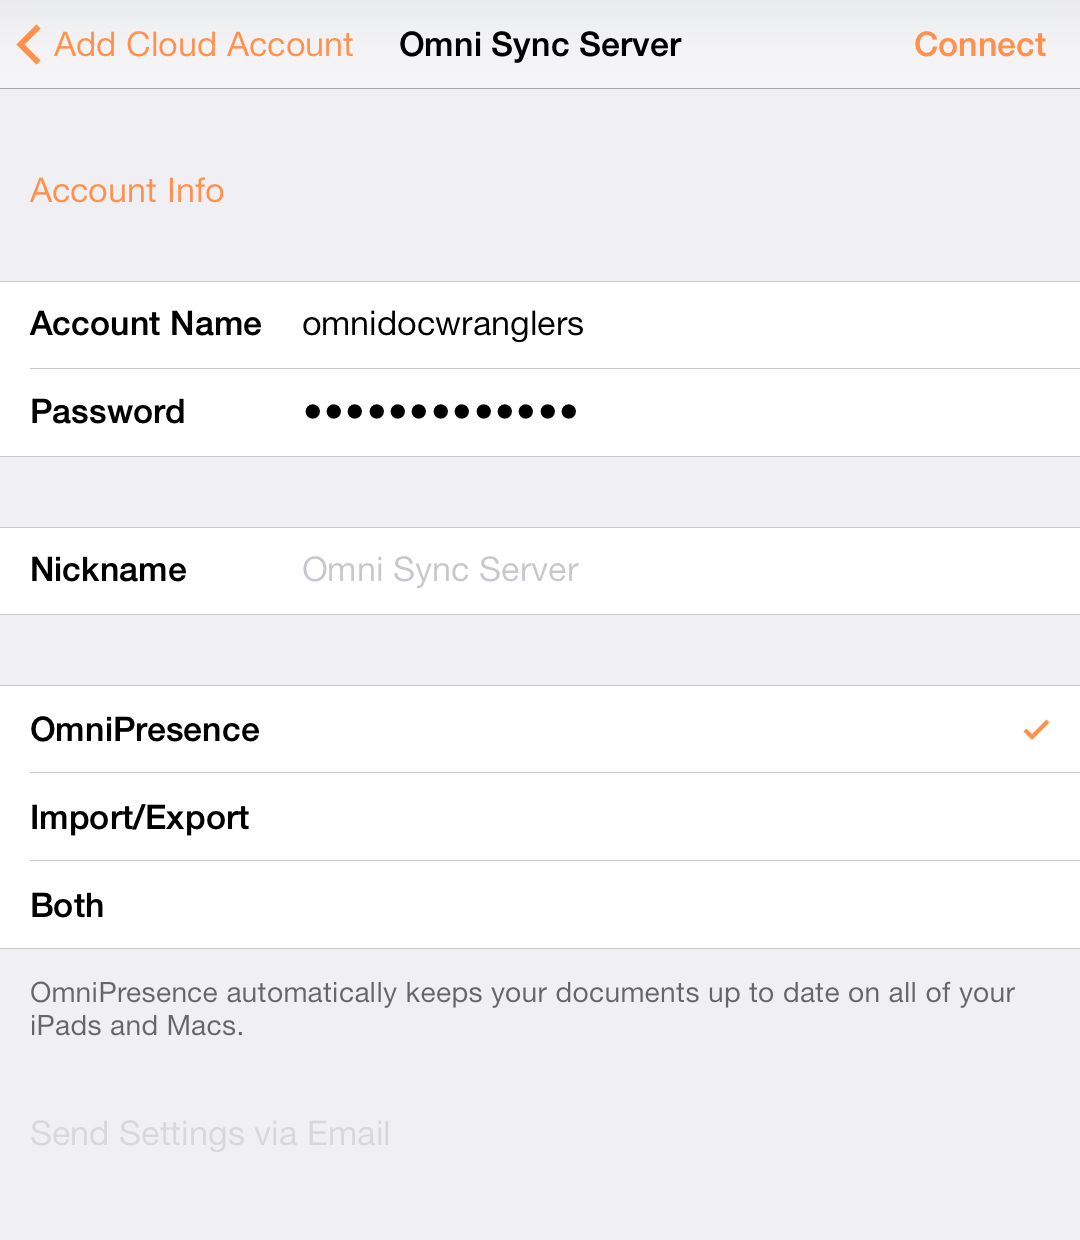
For Omni Sync Server Accounts
On the Account Info screen that appears:
- Enter your Account Name
- Enter the Password for your account
- Optionally, enter a Nickname that will be used as the name for your synced folder
- Choose one of the following options:
- OmniPresence — syncs files using OmniPresence.
- Import/Export — only imports and exports files.
- Both — uses both of the above methods.
- Tap Connect to authenticate with the Omni Sync Server
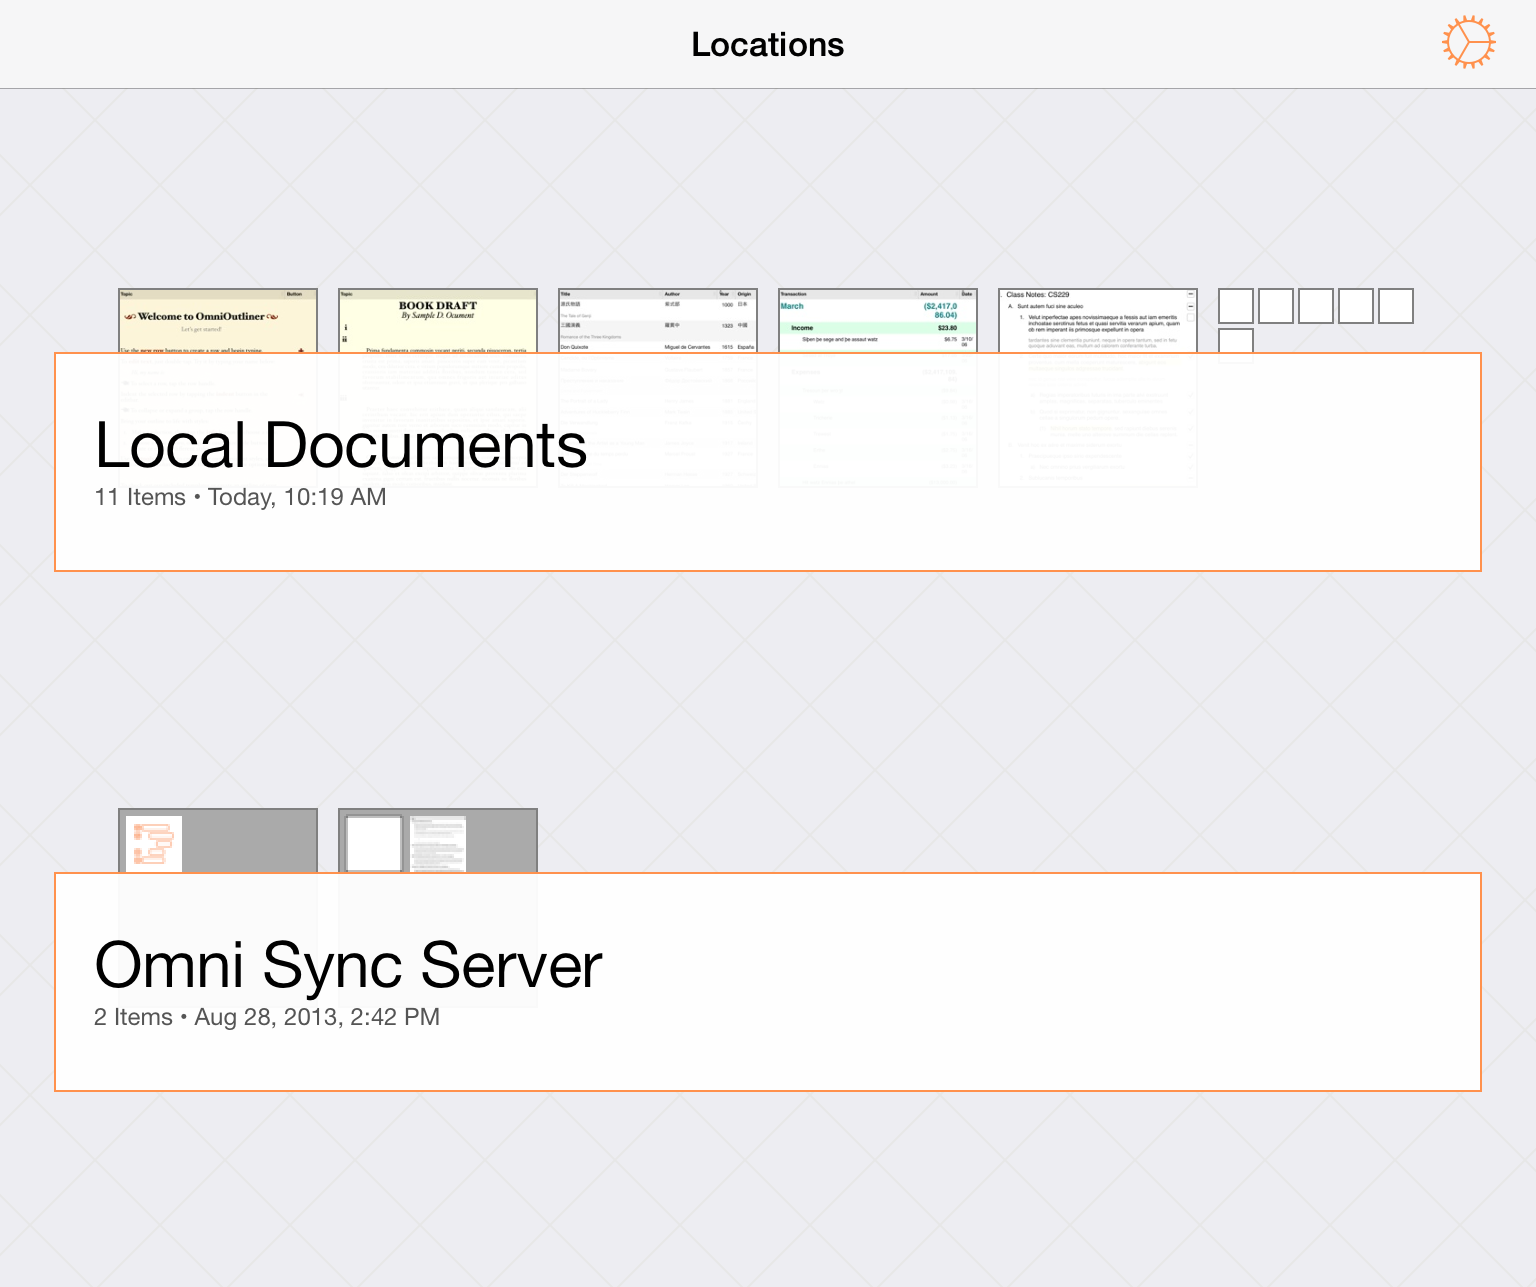
The next message you’ll see is Testing Server for Compatibility along with a progress bar. When your credentials have authenticated, you’re taken back to OmniOutliner’s main screen and you’ll see a new folder for your synced files.
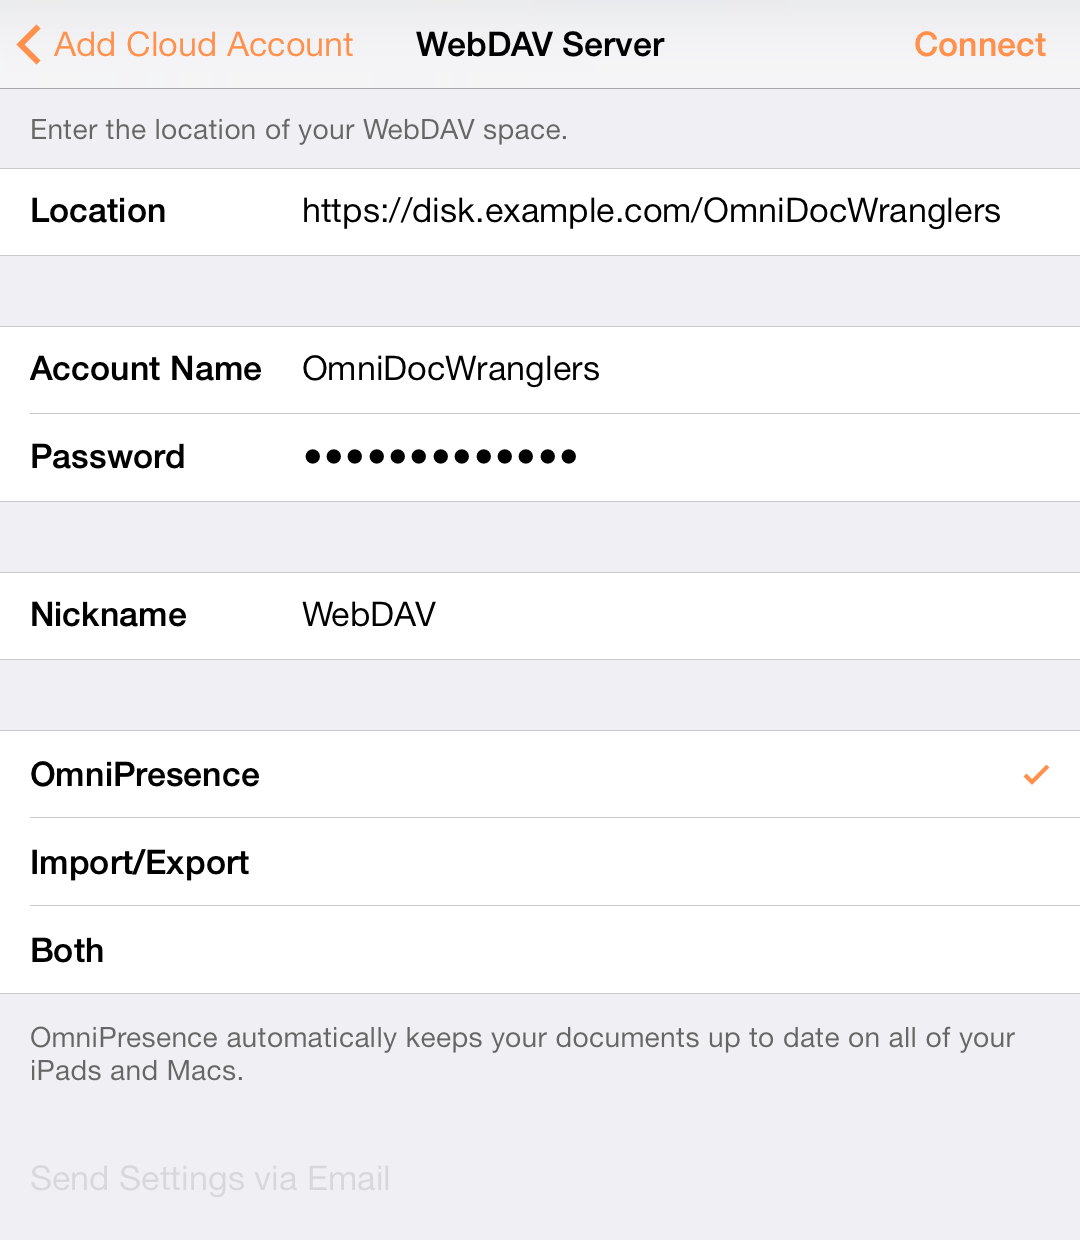
For WebDAV Server Accounts
On the Account Info screen that appears:
- Enter the URL for the Location of your WebDAV Server
- Enter your Account Name
- Enter the Password for your account
- Optionally, enter a Nickname that will be used as the name for your synced folder
- Choose one of the following options:
- OmniPresence — syncs files using OmniPresence.
- Import/Export — only imports and exports files.
- Both — uses both of the above methods.
- Tap Connect to authenticate with the Omni Sync Server
Additional Setup for Cloud Accounts
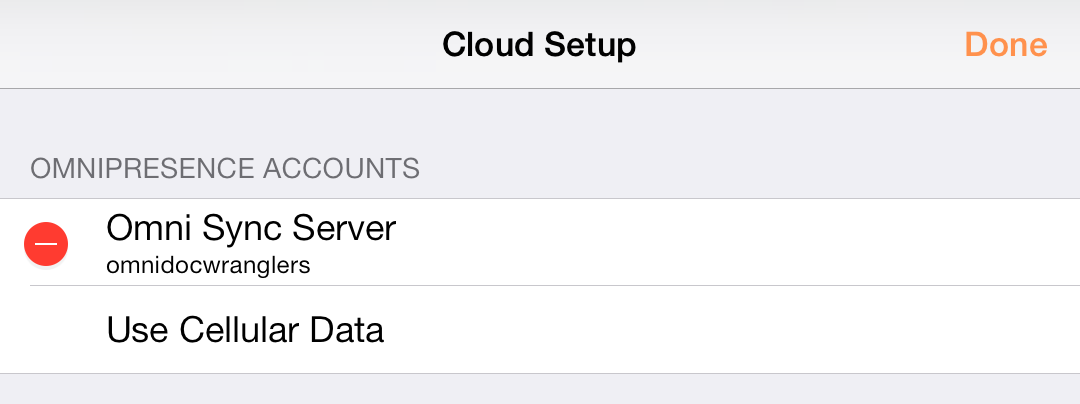
After you’ve created a Cloud Account, tap on Settings (the gear icon) in the navigation bar and then choose Cloud Setup. From here, you can see the details about the various accounts you’ve setup, opt to Use Cellular Data, or to add another cloud account.

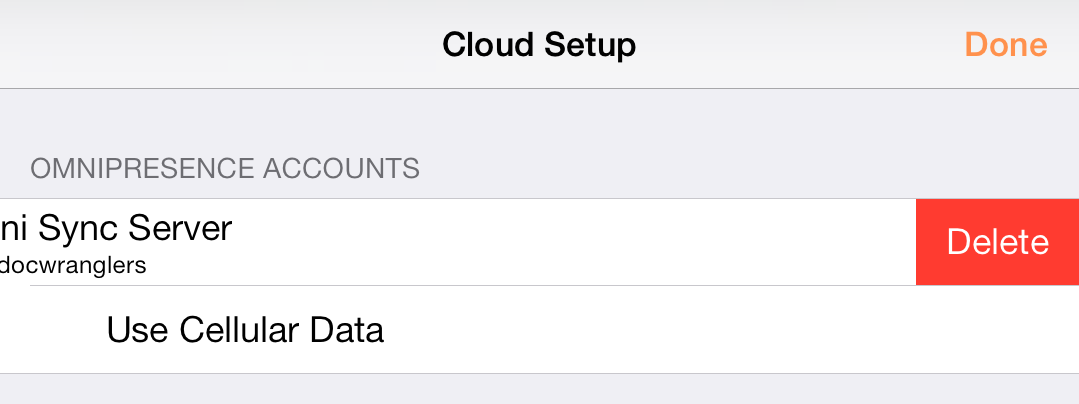
To remove an account, tap Edit; a delete handle appears to the left of the account name. If you tap the delete handle, the account name slides to the left and a Delete button appears on the right edge; tap that to delete the account. A quicker way to do this is to just swipe left across the account name to bring up the Delete button. If you change your mind before deleting the account, tap Done and the Delete button goes away.
Warning
Undo will not restore an account that you delete. If you delete one (or all) of your Cloud Accounts, you will need to set those up all over again.