Create a New OmniOutliner Document
Let’s say that you want to keep a running list of your favorite movies of all time. OmniOutliner is the perfect tool for something like this. You can quickly create a list and organize and style it in a multitude of ways.
Tip
If you have purchased TextExpander for your iPad, you can use TextExpander to create a library of abbreviation shortcuts for snippets of text that you use frequently, such as addresses, URLs, and standard replies. Tap that abbreviation and it automatically expands to the full snippet.
To get started, tap Add (the plus sign, +) in the toolbar.

Next, Choose a Template. You can choose from one of the sample templates, but in this case, select the Default template since you’ll want to have some liberty over the appearance of your list.
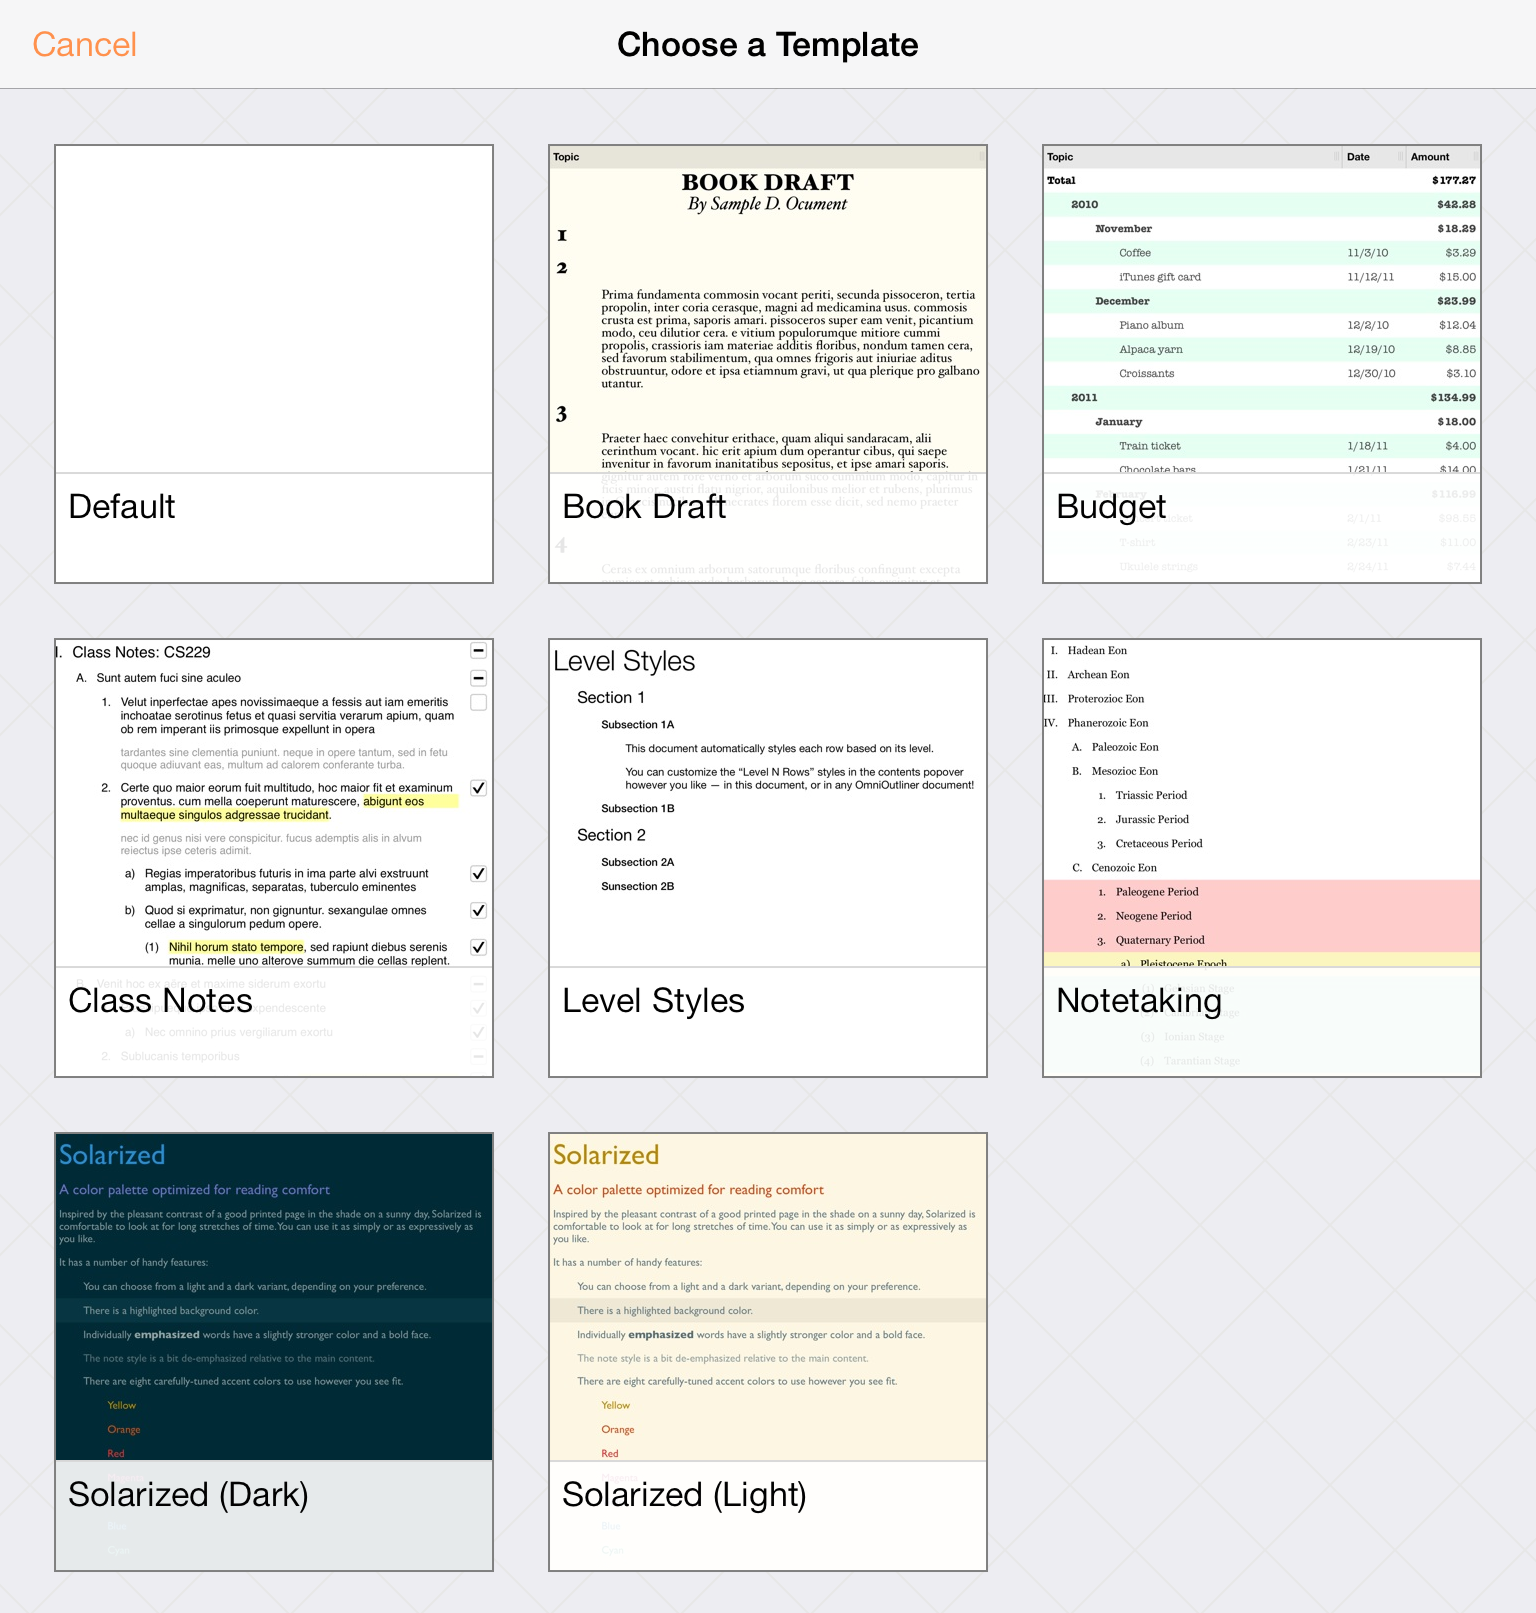
As you can see, the Default template is pretty sparse, but don’t worry, we’ll show you how to turn this blank white canvas into something really amazing in no time.
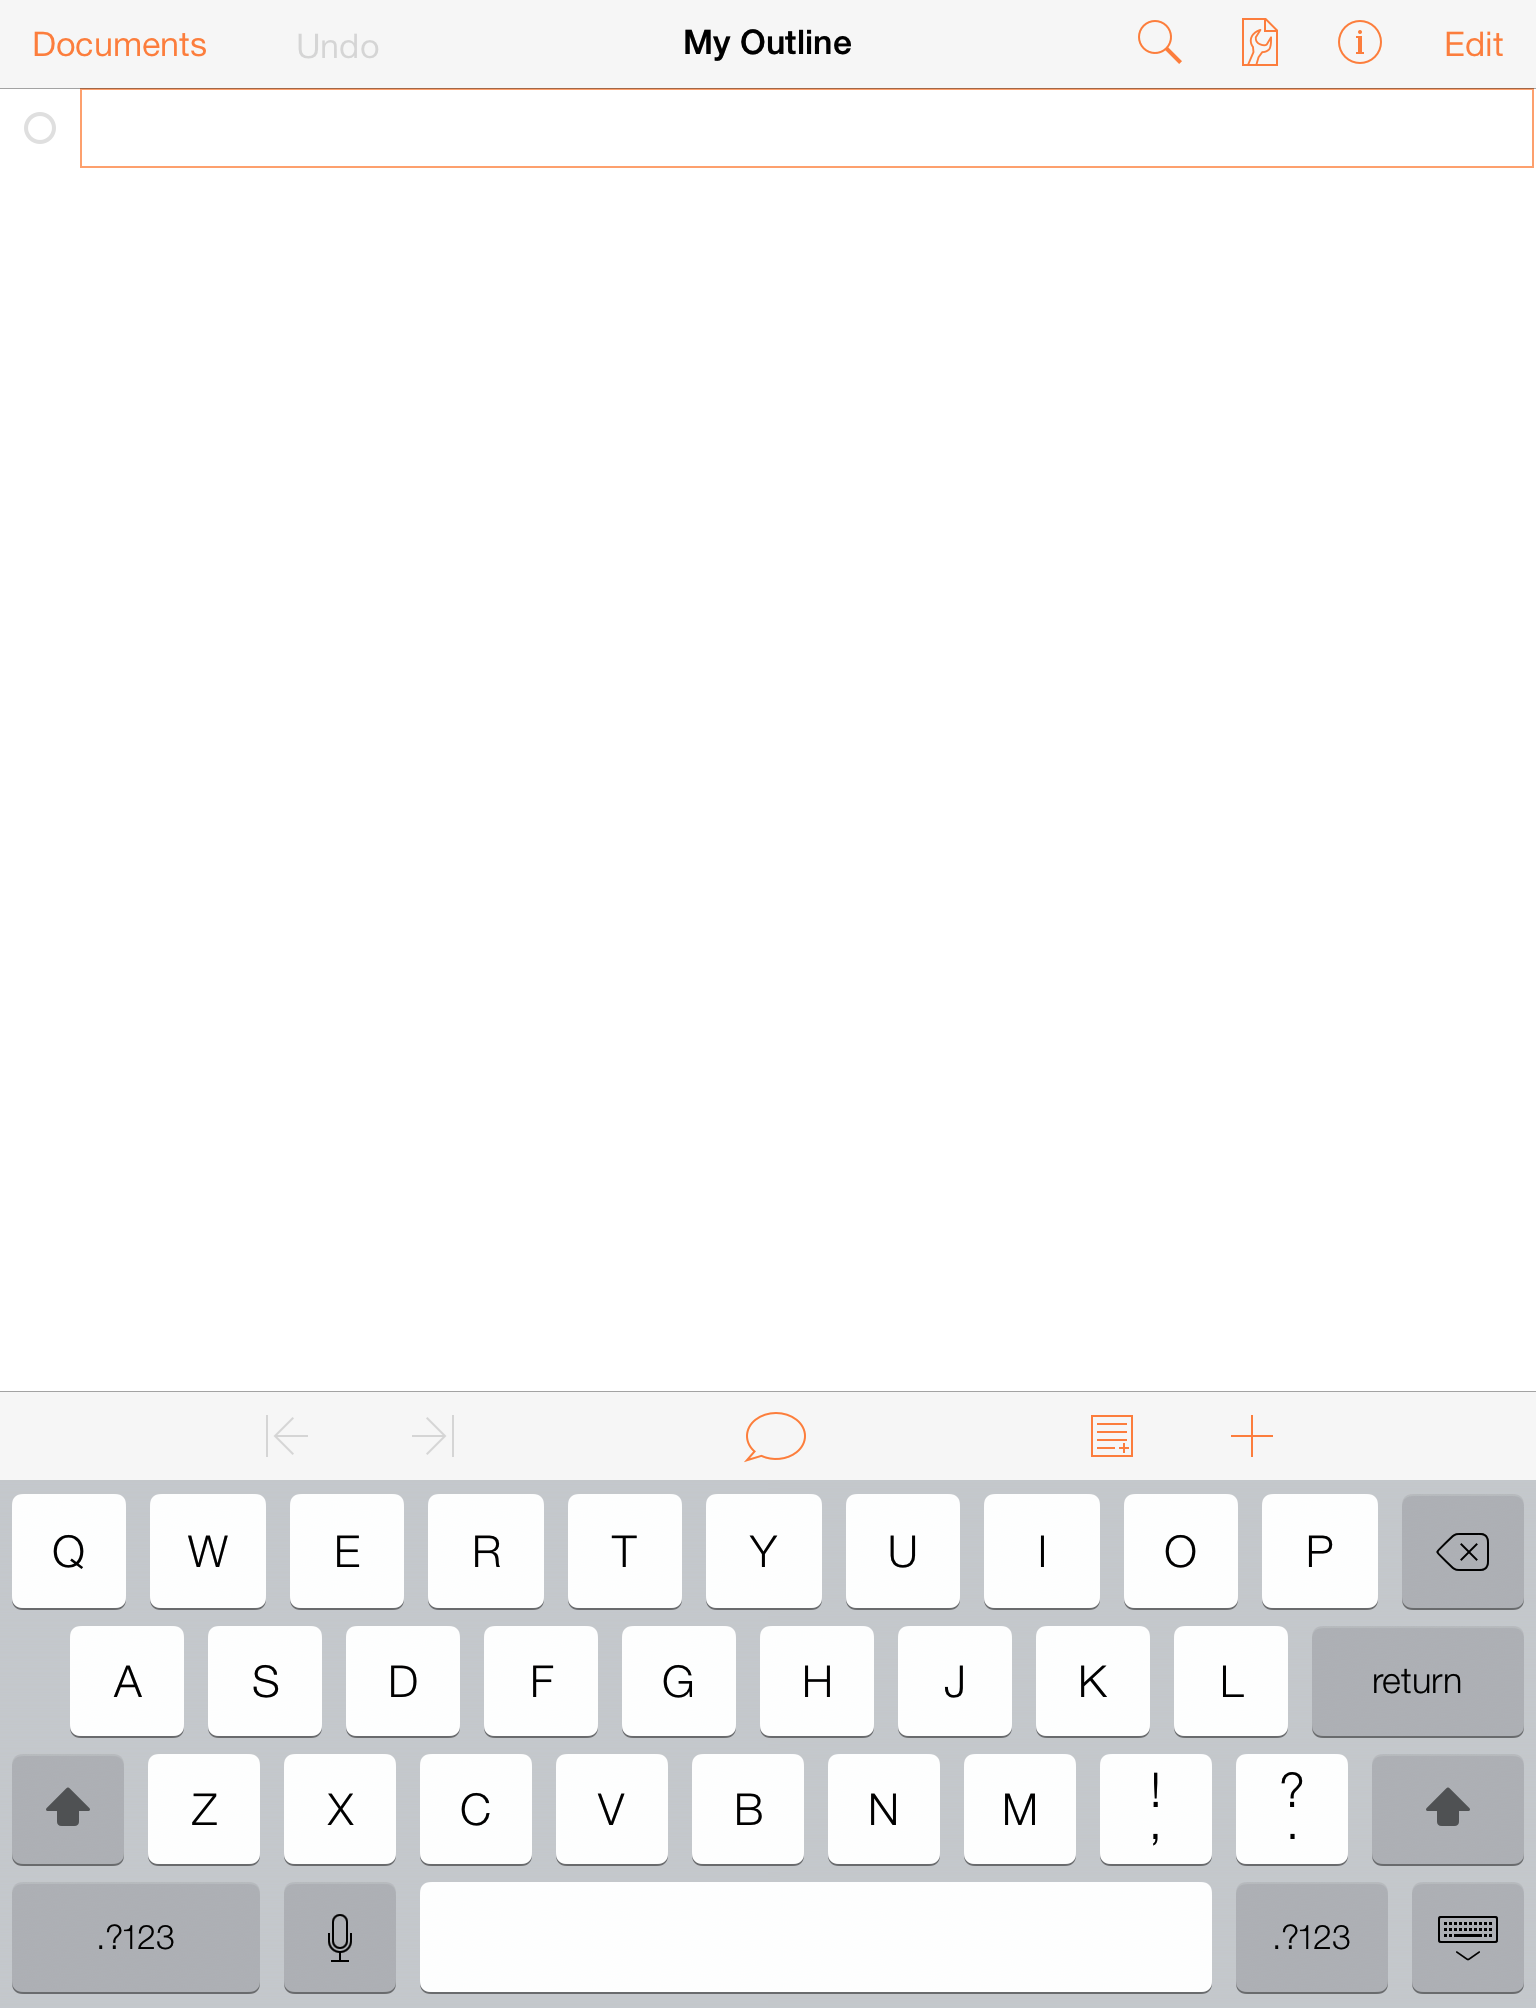
Before you start entering the titles of your favorite movies, let’s go ahead and change the default title of this document from My Outline to Favorite Movies.
Tap on My Outline to go into editing mode; this places a cursor at the end of the current title, and if you look closely, you’ll see a little × at the right edge of the title bar. Tap the × to clear the current title and then type in Favorite Movies, and then tap Return to accept the new title. Now you’re rolling!


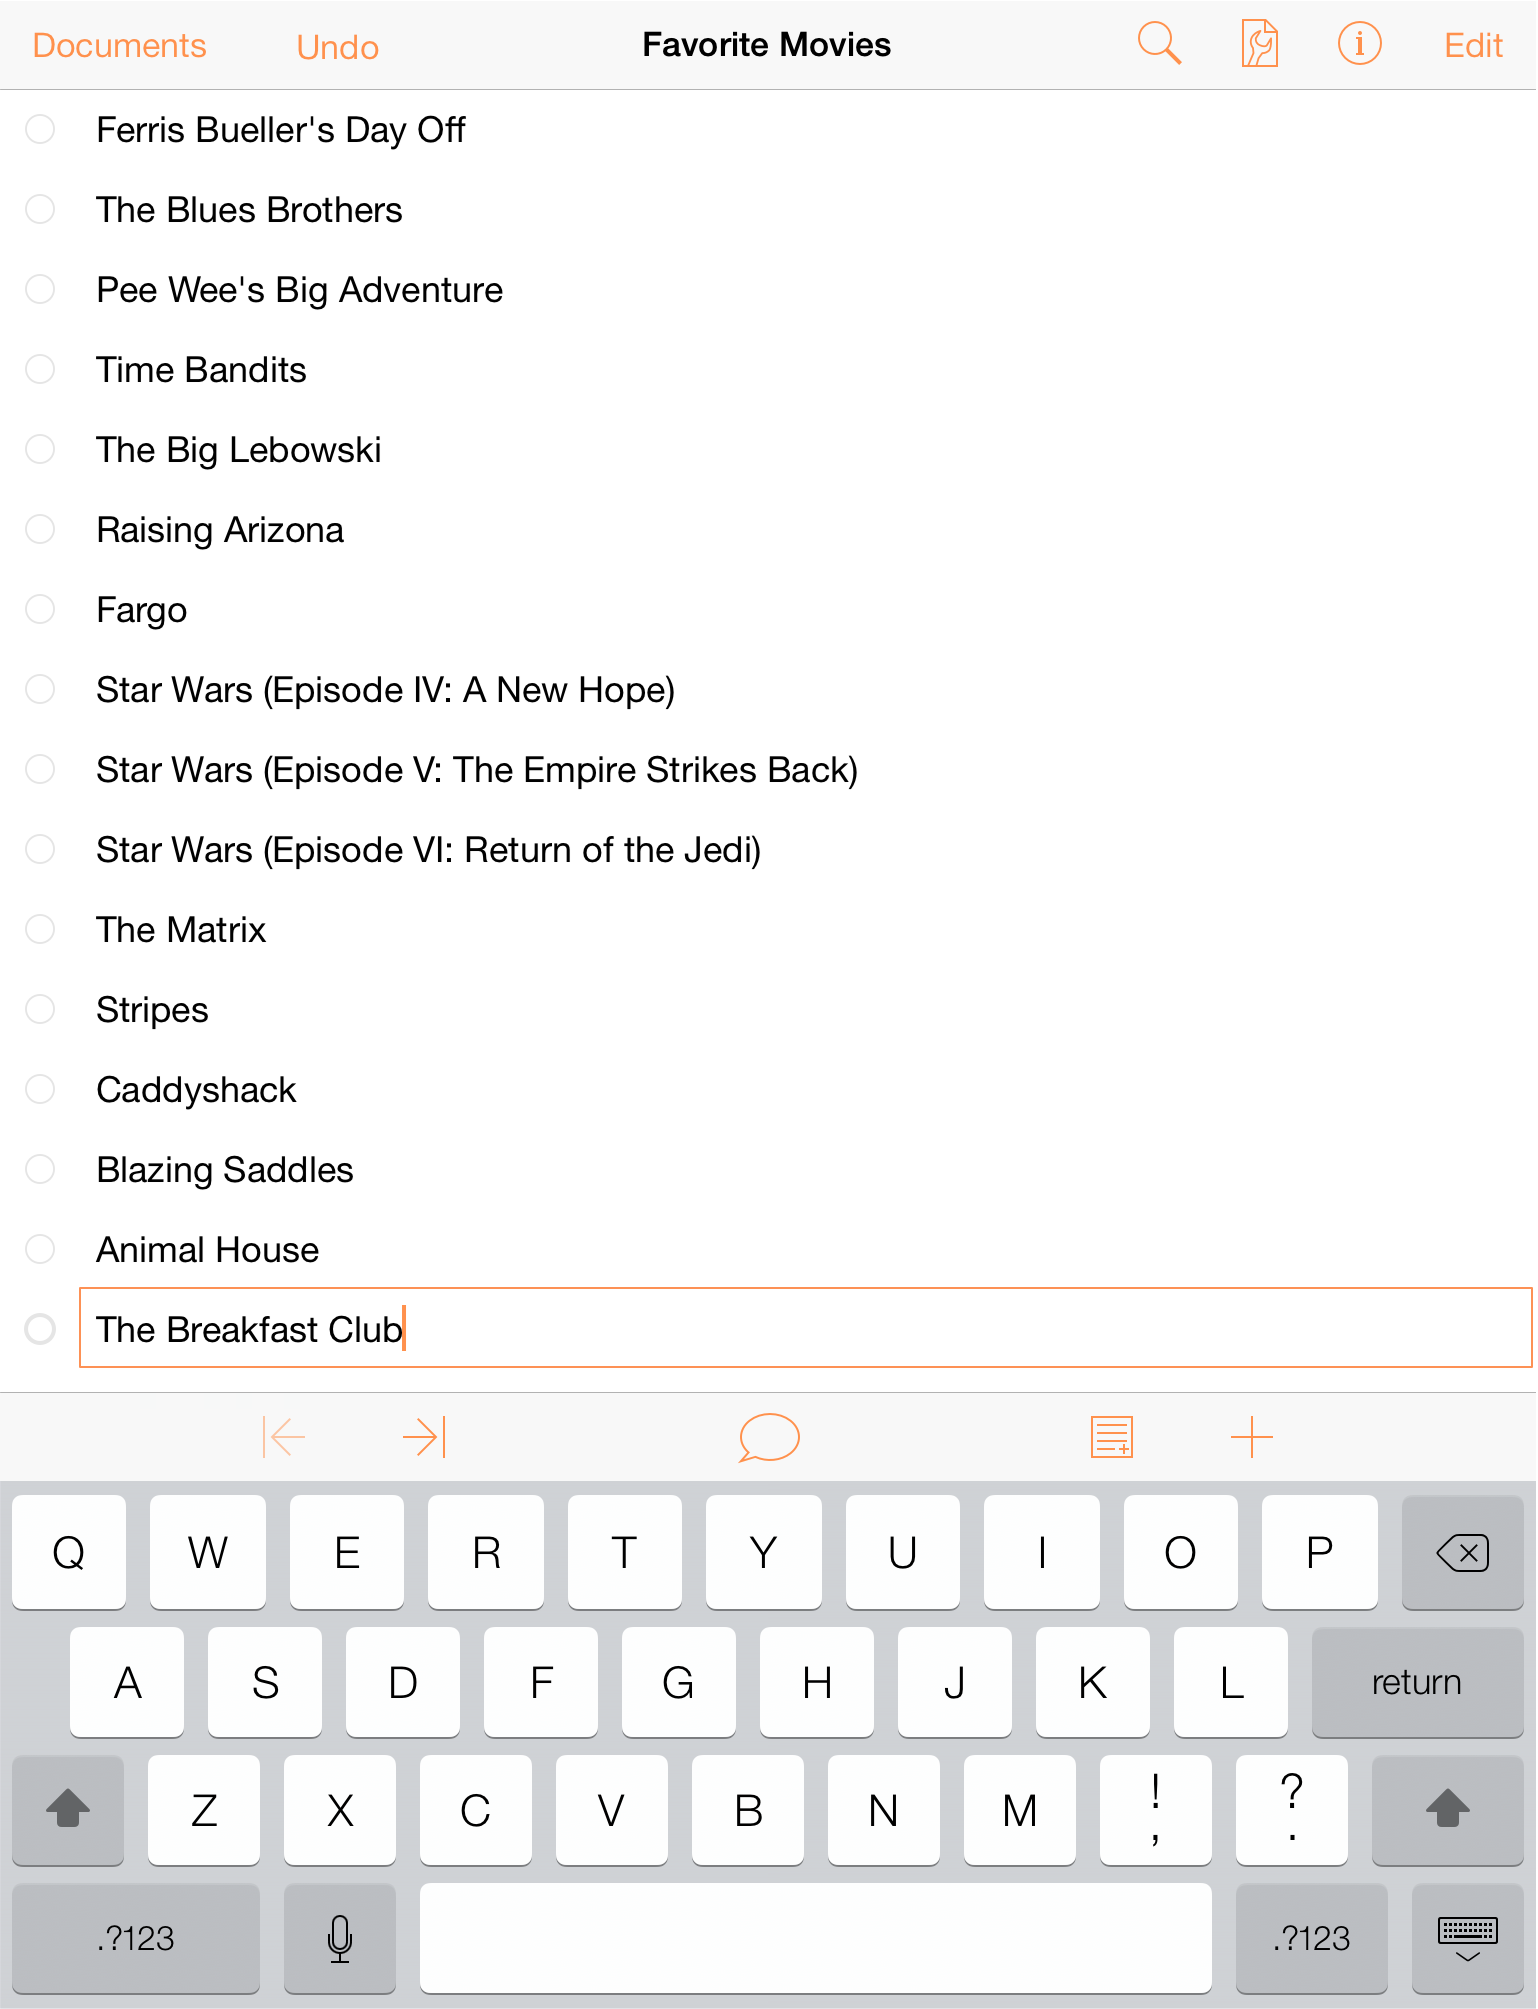
Enter the titles for a dozen or so of your favorite movies. When you reach the end of a title, tap Return to go to the next line.
Tip
Entry goes much faster if you have a Bluetooth keyboard paired with your iPad. In fact, we’ve added many of the keyboard shortcuts common in OmniOutliner for Mac to OmniOutliner 2 for iPad.As you can see, the titles are a bit disorganized, so let’s go ahead and organize these alphabetically. To move a line, press and hold on the Row Handle, and then drag and drop the line in a new location.
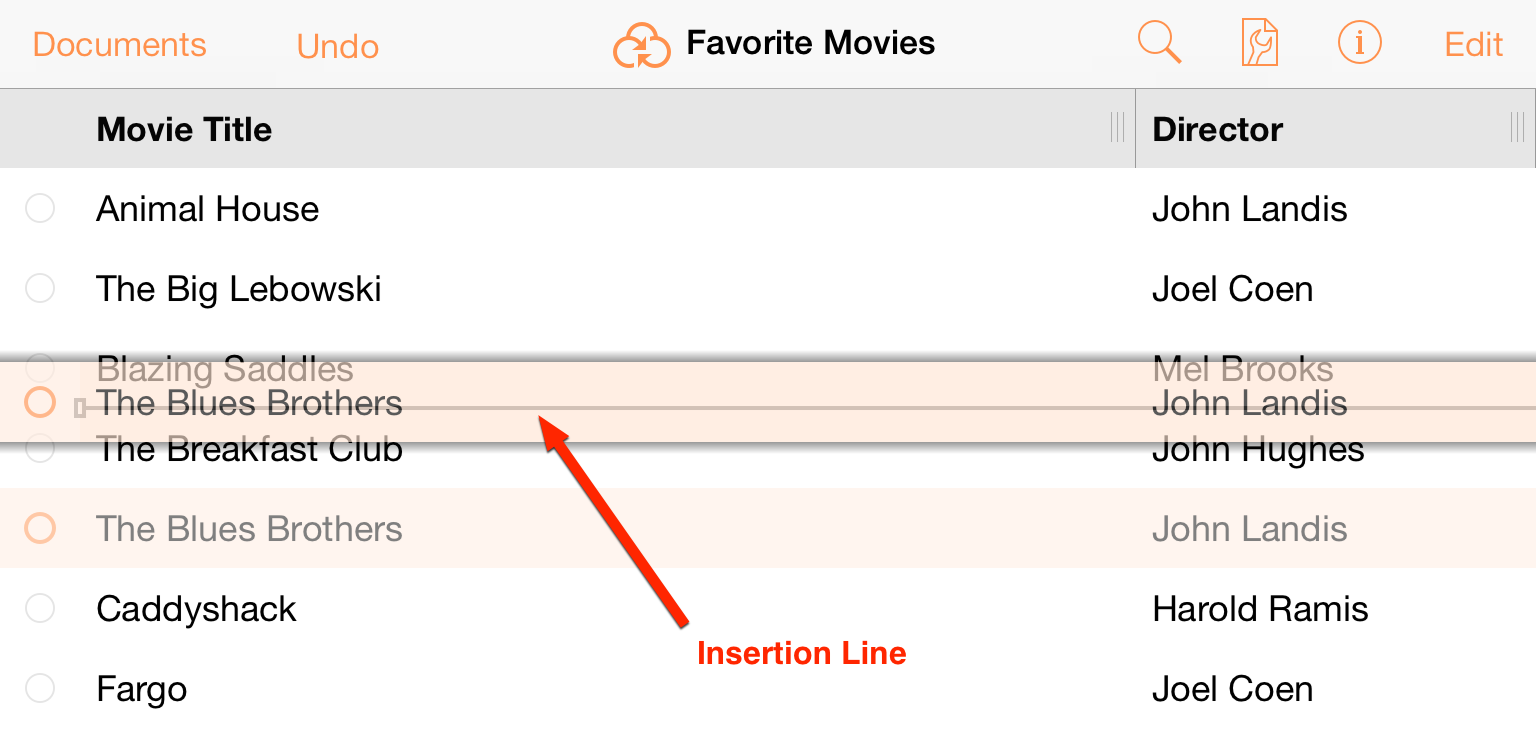
When you select a line, you’ll notice that it takes on a grayish-orange highlight, and that there’s a drop shadow behind the row. This is your indication that the line is selected and ready to move. As you move the lines around, an insertion line appears to indicate where the line will be placed when you release your finger.
With your movie titles in alphabetical order, let’s add a little more depth to the organization. There are three Star Wars movies (and only three Star Wars movies), so let’s group these together.
Tap Edit in upper-right corner of the navigation bar, and then tap to select each of the three Star Wars movies.

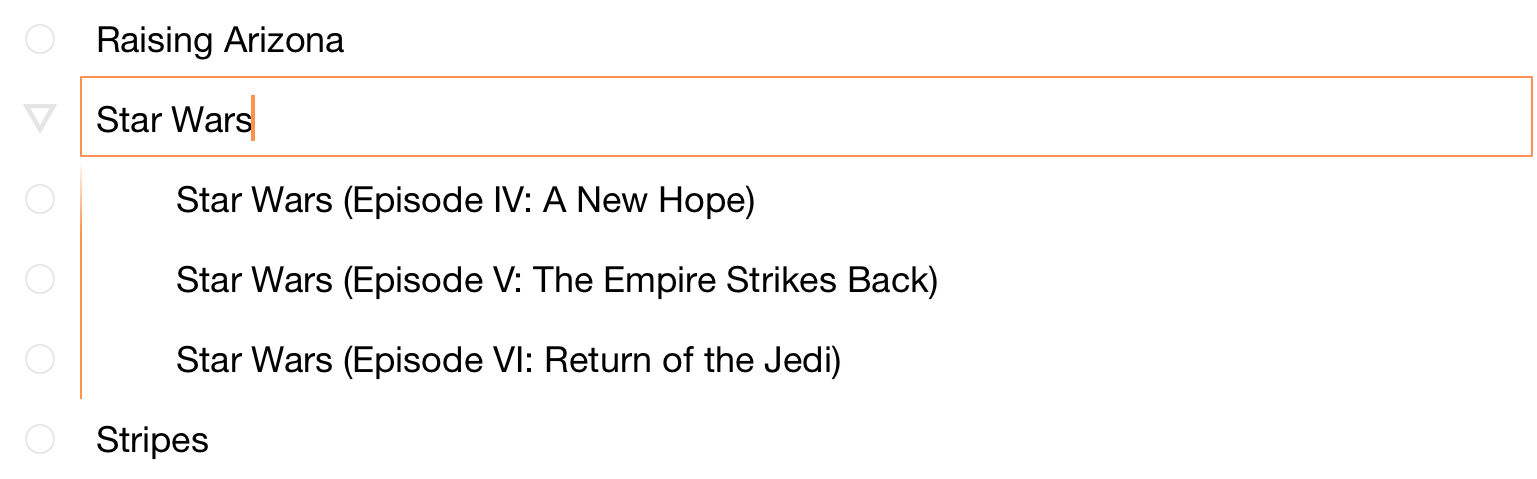
With the three movies selected, tap Group in the toolbar at the bottom of the screen. The three rows are indented and a new row is inserted above at the Aunt level; enter Star Wars to name the group.

Notice how the three movies are indented. If you tap the disclosure triangle to the left of Star Wars, the three movies are hidden from view until you tap the triangle once more.
Now let’s add a new column to the list so you can tack on the director’s name to each film. In the toolbar, tap Contents and then tap New Column at the bottom of the Columns tab. Enter Director in the Name field for the column.
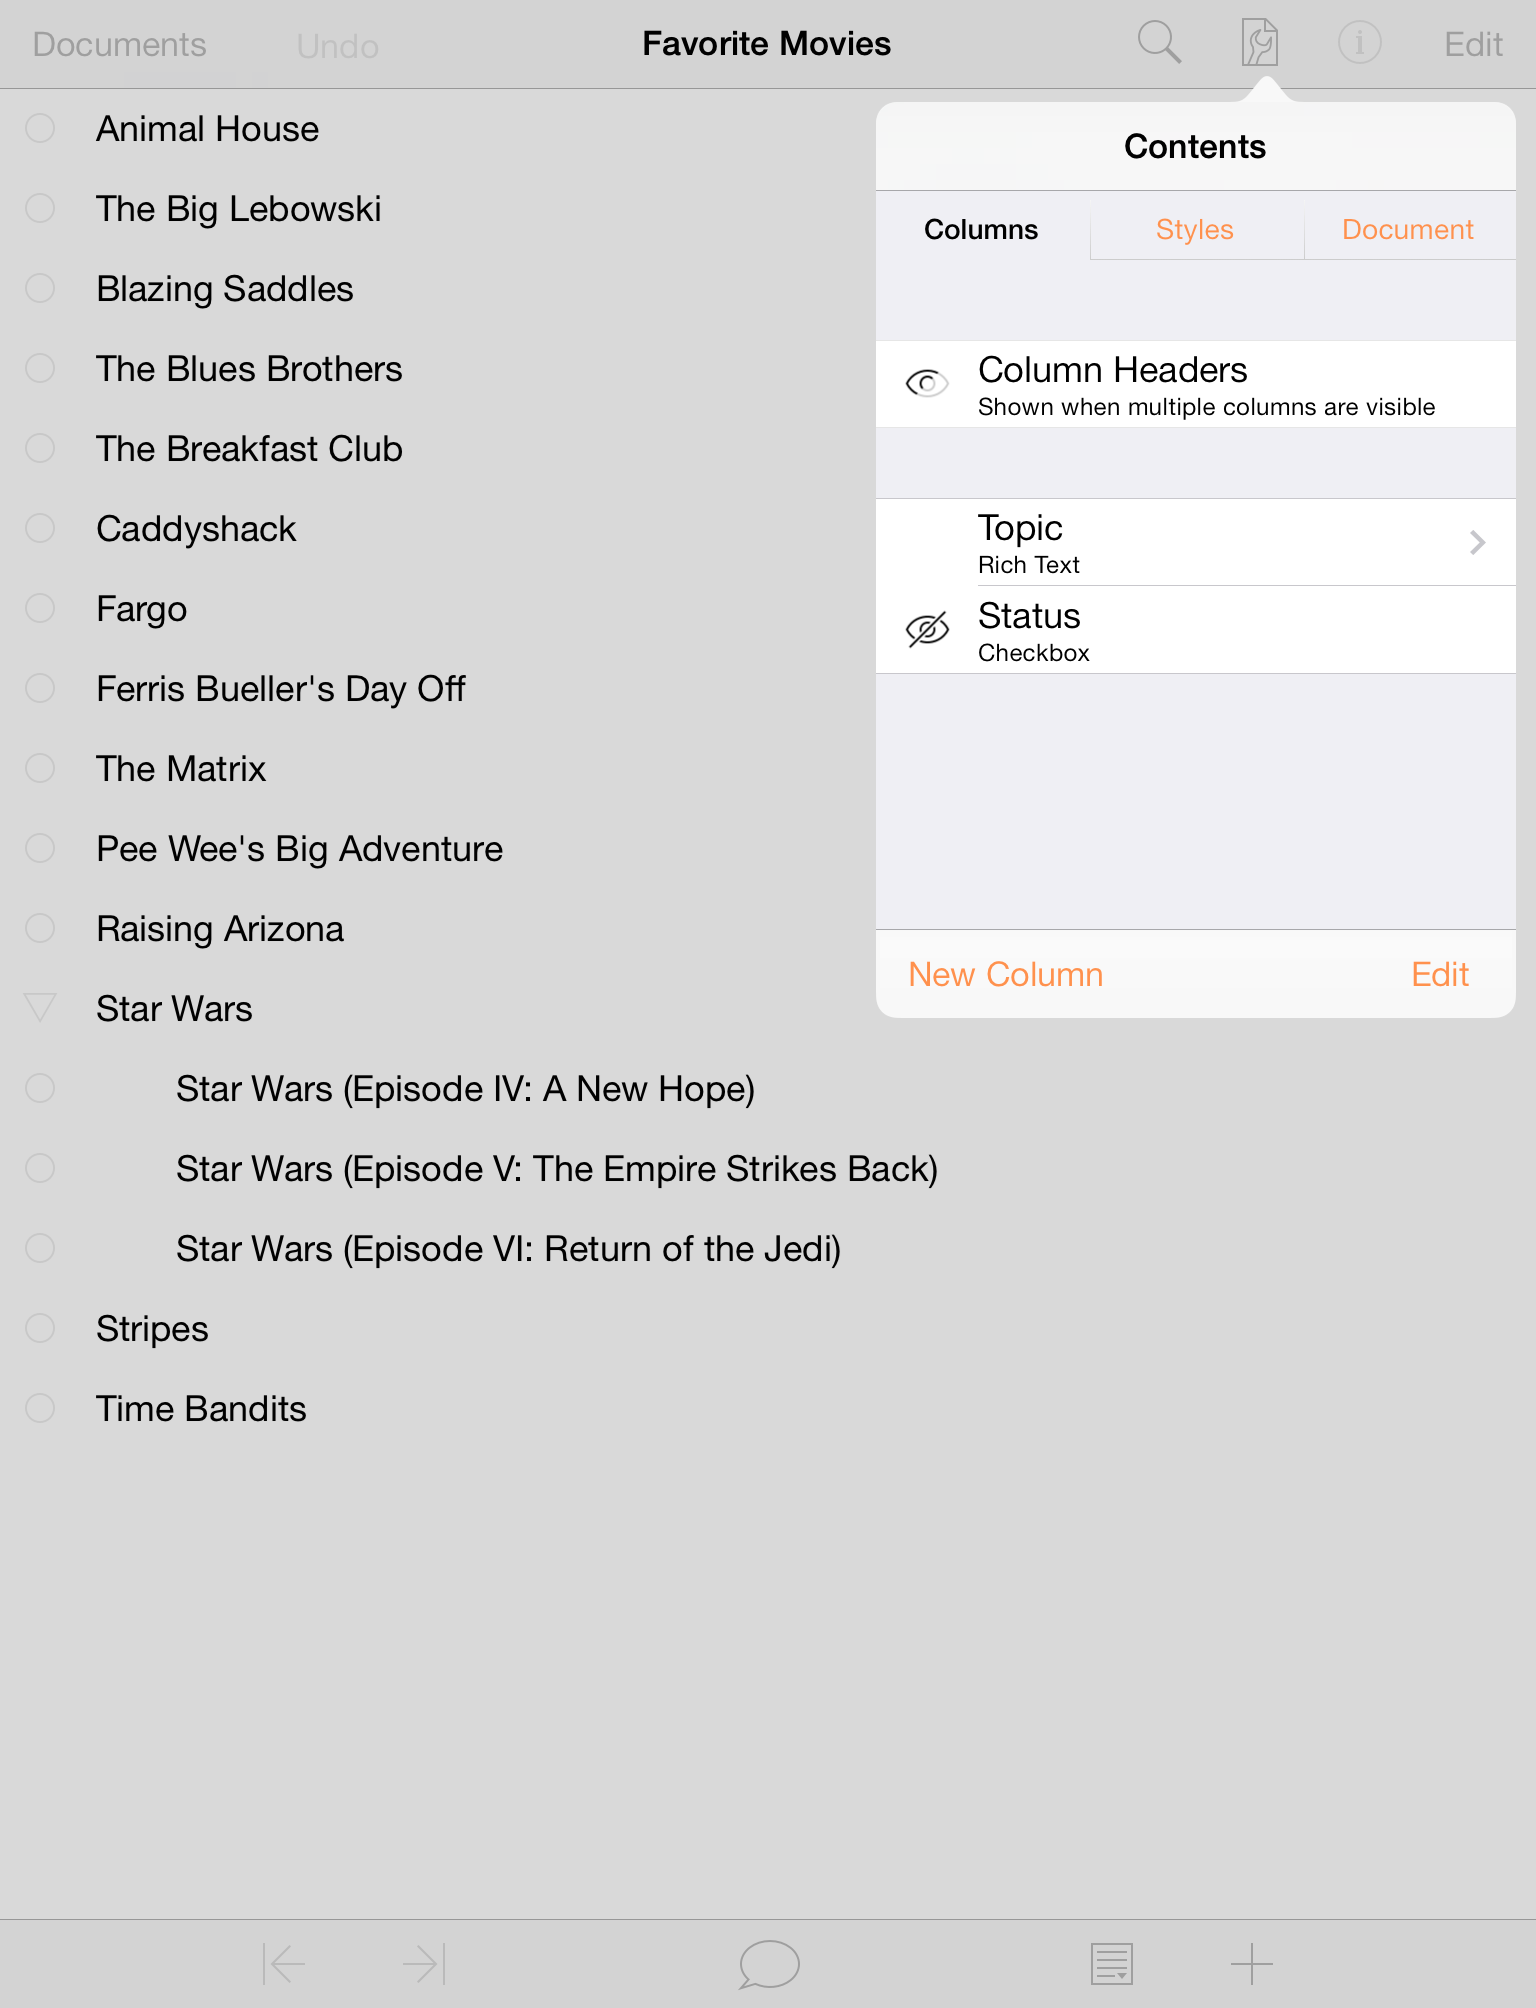
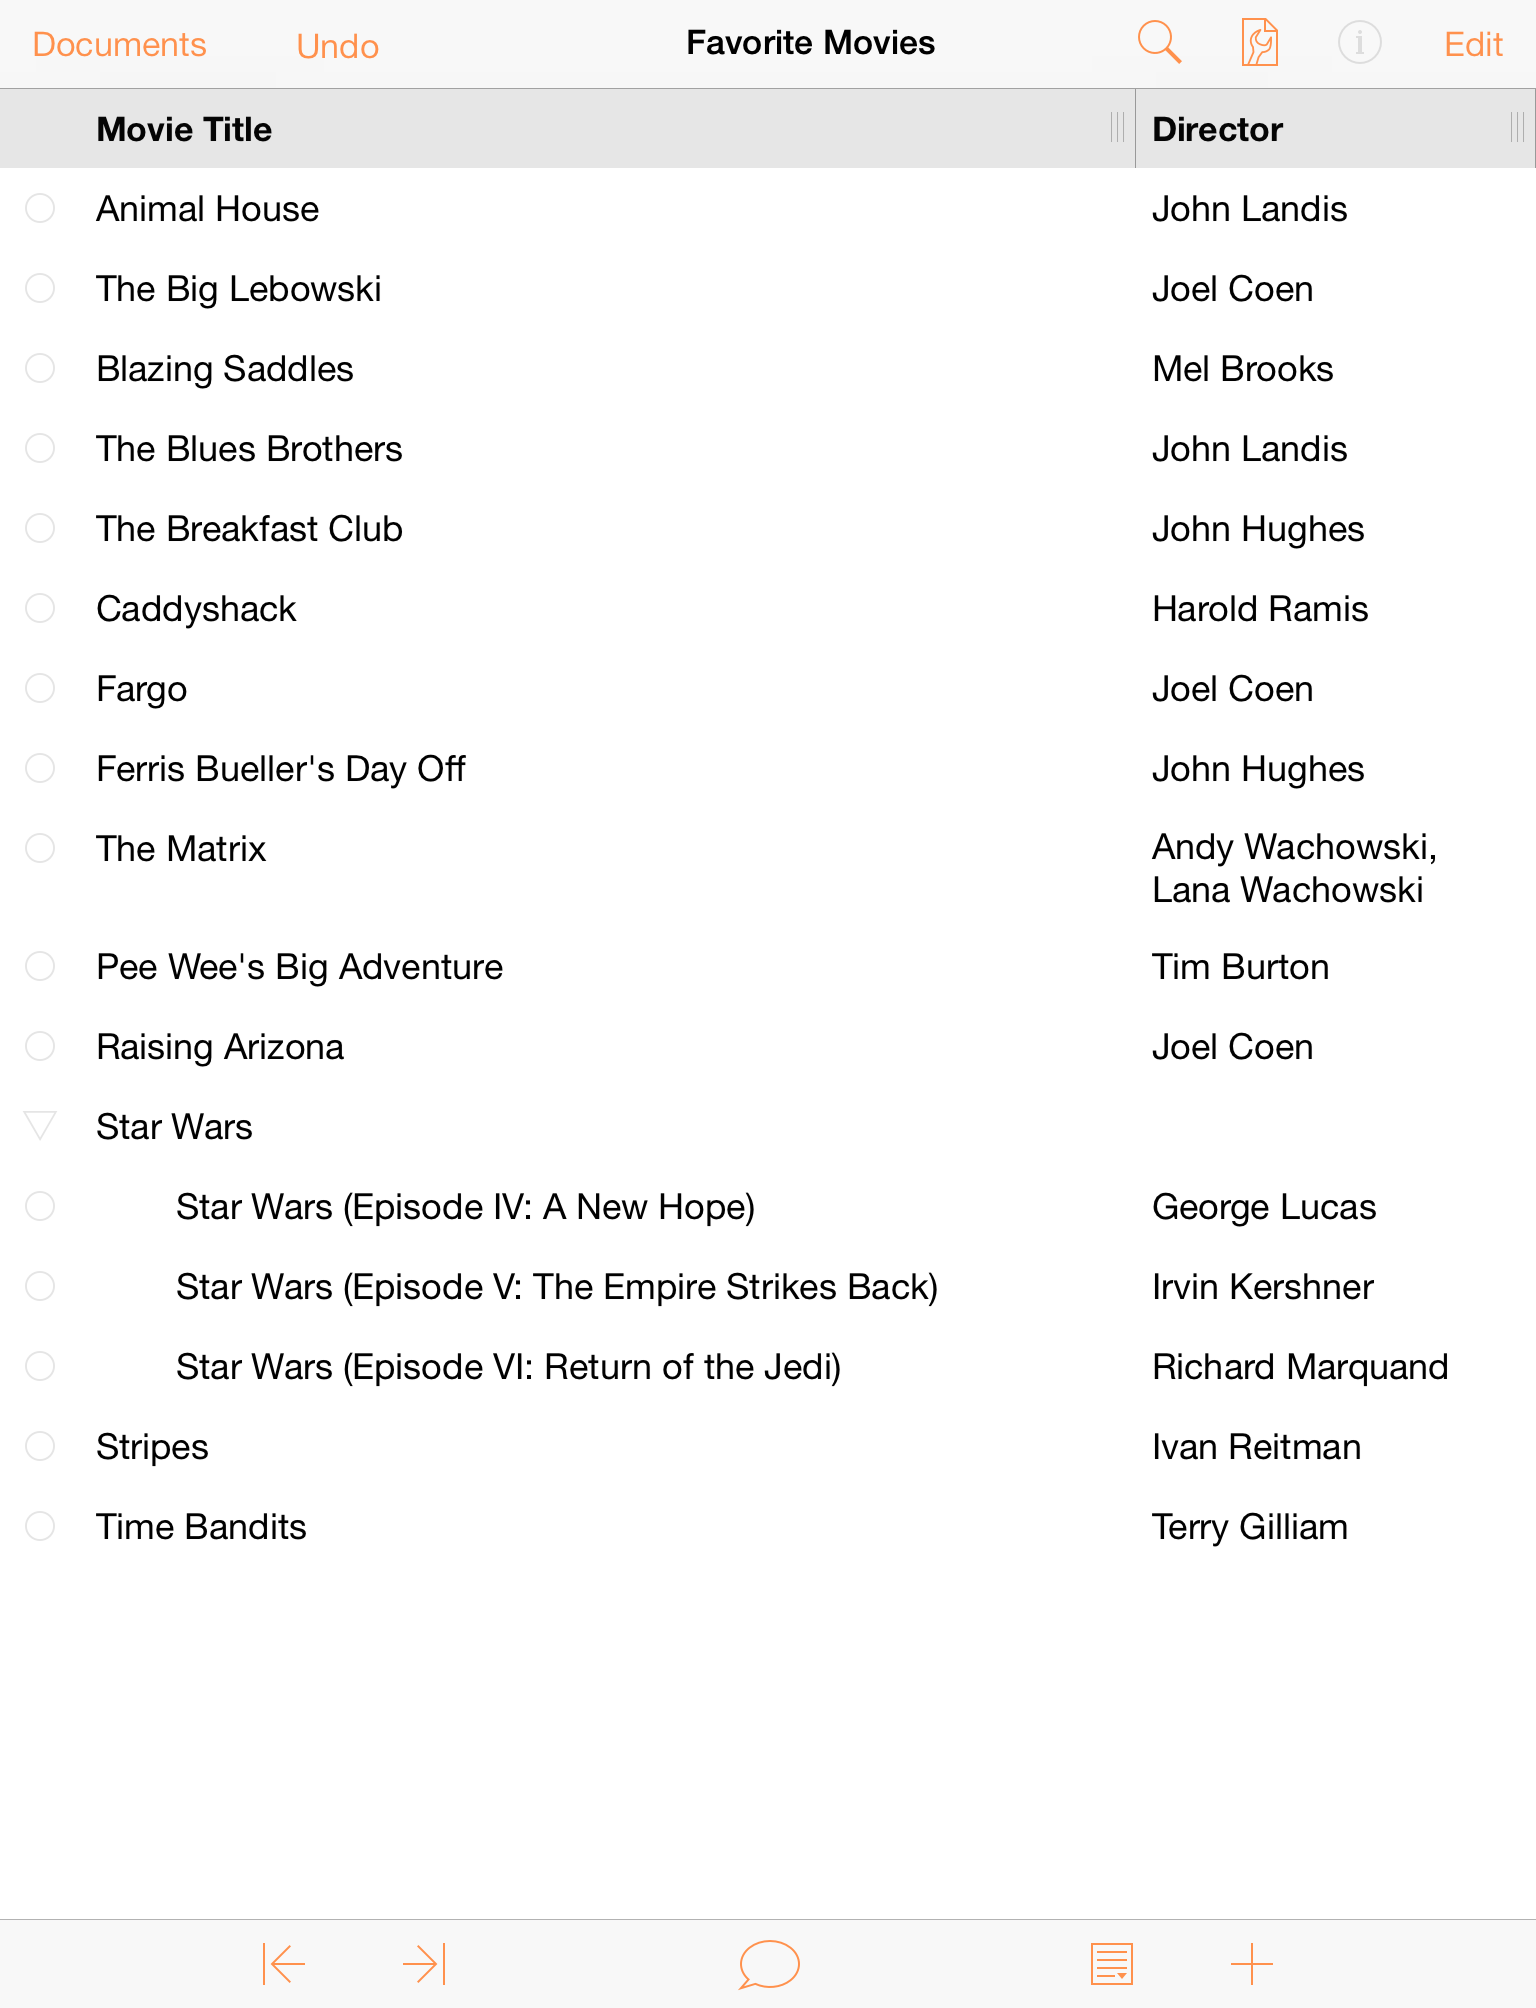
In navigation bar of the Contents popup, tap < Columns to see the list of columns in your document. Rename the first column by tapping Topic; delete the current column name and give it a new one, such as Movie Title. Your document should appear as follows:
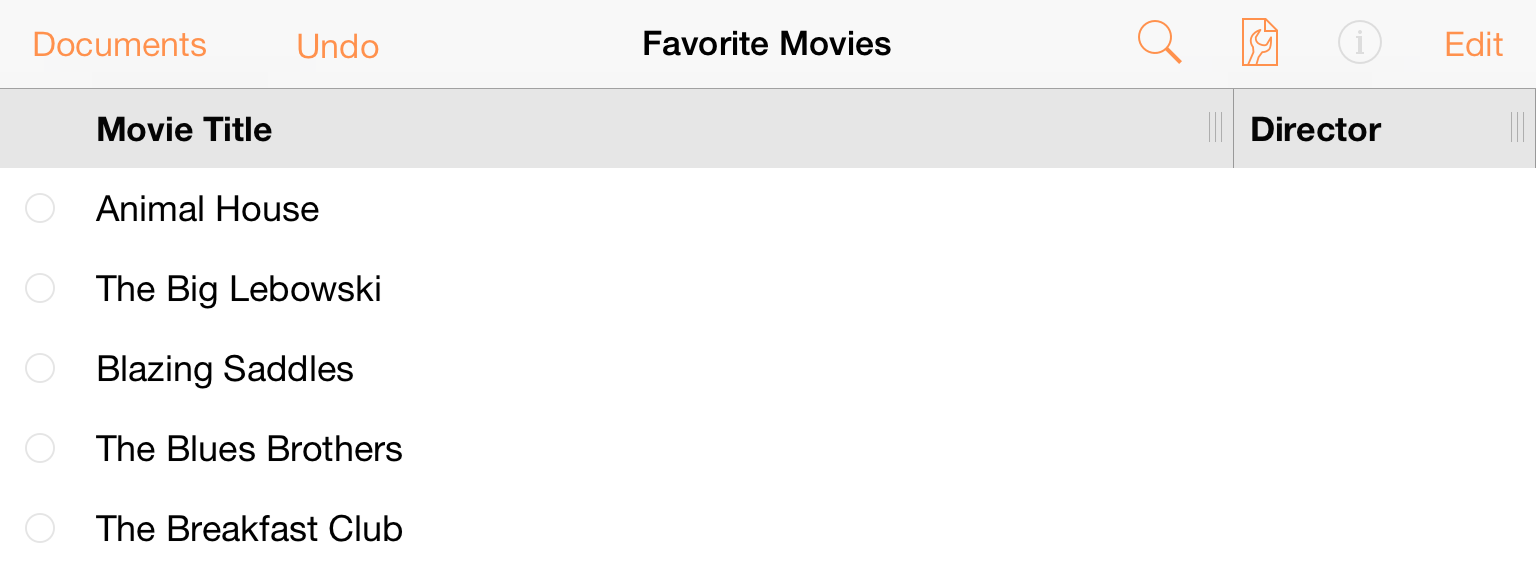
You’ll notice, too, that each column has a resizing handle at its right edge. You can press and drag these left or right to make the column as narrow or wide as you’d like. The text within that column will wrap to fit within the column width.
Enter the director’s names in the Director column. Don’t tap Return after entering a director’s name; that creates a new row (and if that happens, just tap Undo).
Tip
If you have a Bluetooth keyboard paired with your iPad, press the Down Arrow key to move downward through the cells in the Director column.To make entry of the directors’ names go faster, you can Copy the text in one cell and then Paste it in another if you find that there are any duplicates. To copy some text, double-tap on the word, and use the selection handles (or tap Select All in the contextual menu) to select the words you need. With the text selected, tap Copy to copy the text to the pasteboard.
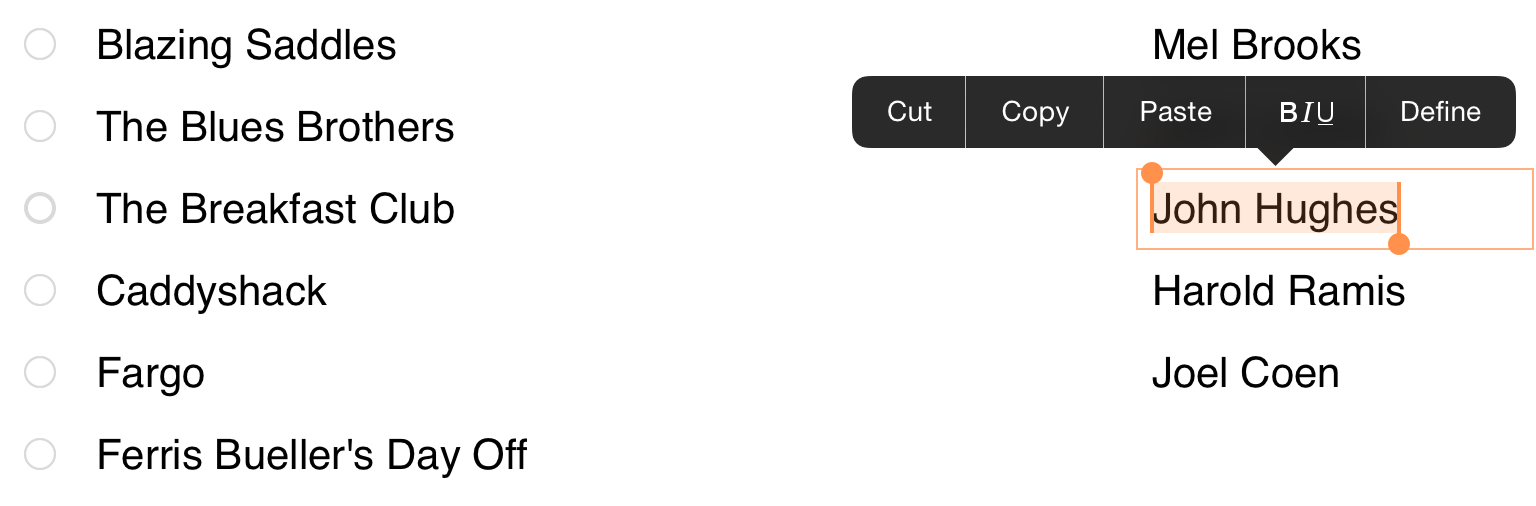
Next, double-tap in the cell where you want to paste the text. You'll notice that there are two different “paste” options in the contextual menu: Paste and Paste Plain:
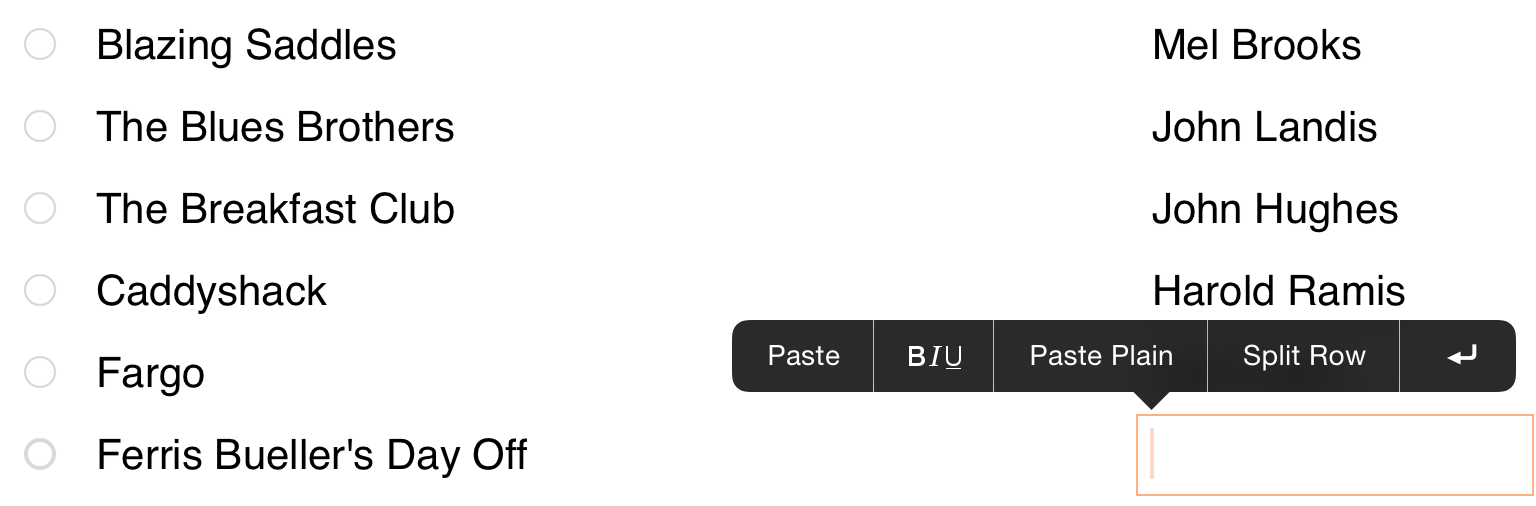
- Paste takes whatever is on the clipboard and pastes that into the cell, exactly as copied—styles and all.
- Paste Plain takes whatever is on the clipboard and pastes that into the cell, but without any styles that may have been applied. For example, if you copy some orange-colored text and choose Paste Plain, the text is pasted in, but it won't be orange. Instead, the pasted text picks up the style (or styles) used in that particular cell.
Tap Paste to place the text on the clipboard into the cell.
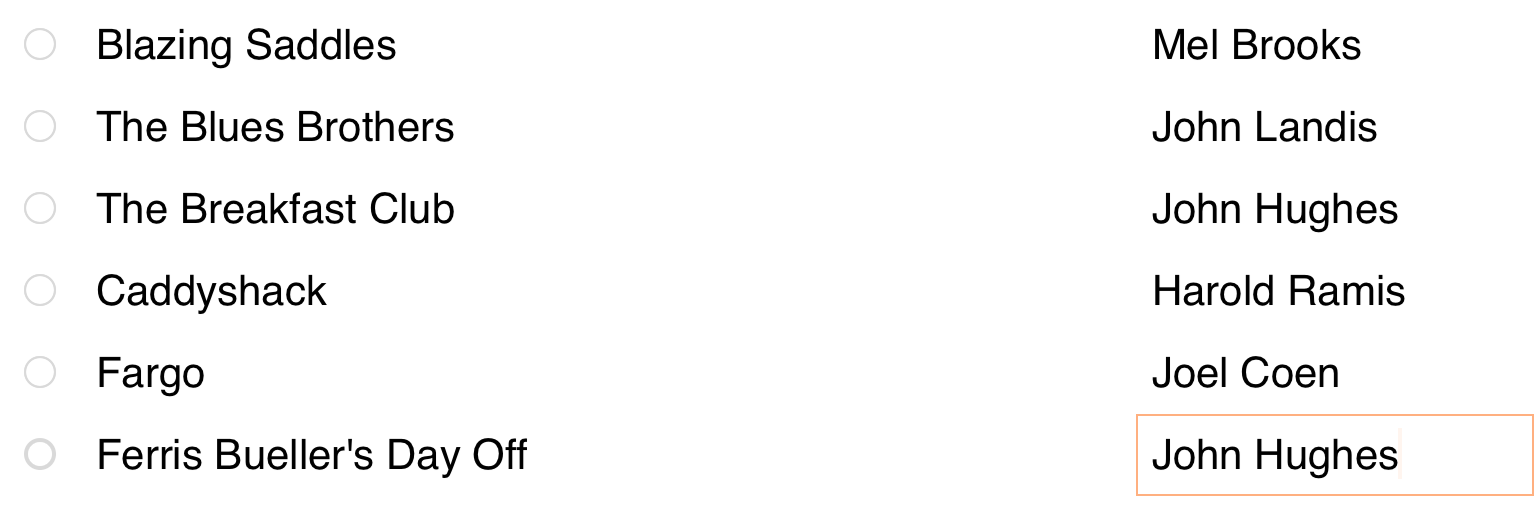
When you’ve finished filling in the Director column, your document should appear as follows:
Tip
Not sure who directed your favorite movie? Search on IMDb to discover all kinds of details about the movies in your list.
Of course, there’s plenty more that you could do with a document such as this. You could add notes about each movie, or another column for the year the movie was released or for your own star rating. Take some time now to explore in OmniOutliner and see what you can do. And always remember, tap Undo to revert recent changes.
When you’ve finished, tap Documents in the navigation bar to save your changes and add the Favorite Movies document to your Local Documents folder.