Importing from an Older Version of OmniOutliner for iPad
Because OmniOutliner 2 is a brand new app, it doesn’t share data with older versions of the app that you may have installed on your iPad.
The easiest way to bring files from an older version of OmniOutliner for iPad is to set up OmniPresence sync with an Omni Sync Server account, and then sync both versions to the same cloud folder.
If you have a sync account set up for your previous version of OmniOutliner already, you’ll want to use the same login information when you set it up for OmniOutliner 2 for iPad. If you’re starting fresh with a new account, you’ll need to set it up in both versions.
OmniPresence Sync in OmniOutliner for iPad 1.x
To check your sync settings in OmniOutliner 1.x, go to the document browser and choose Cloud Setup from the toolbar popover.
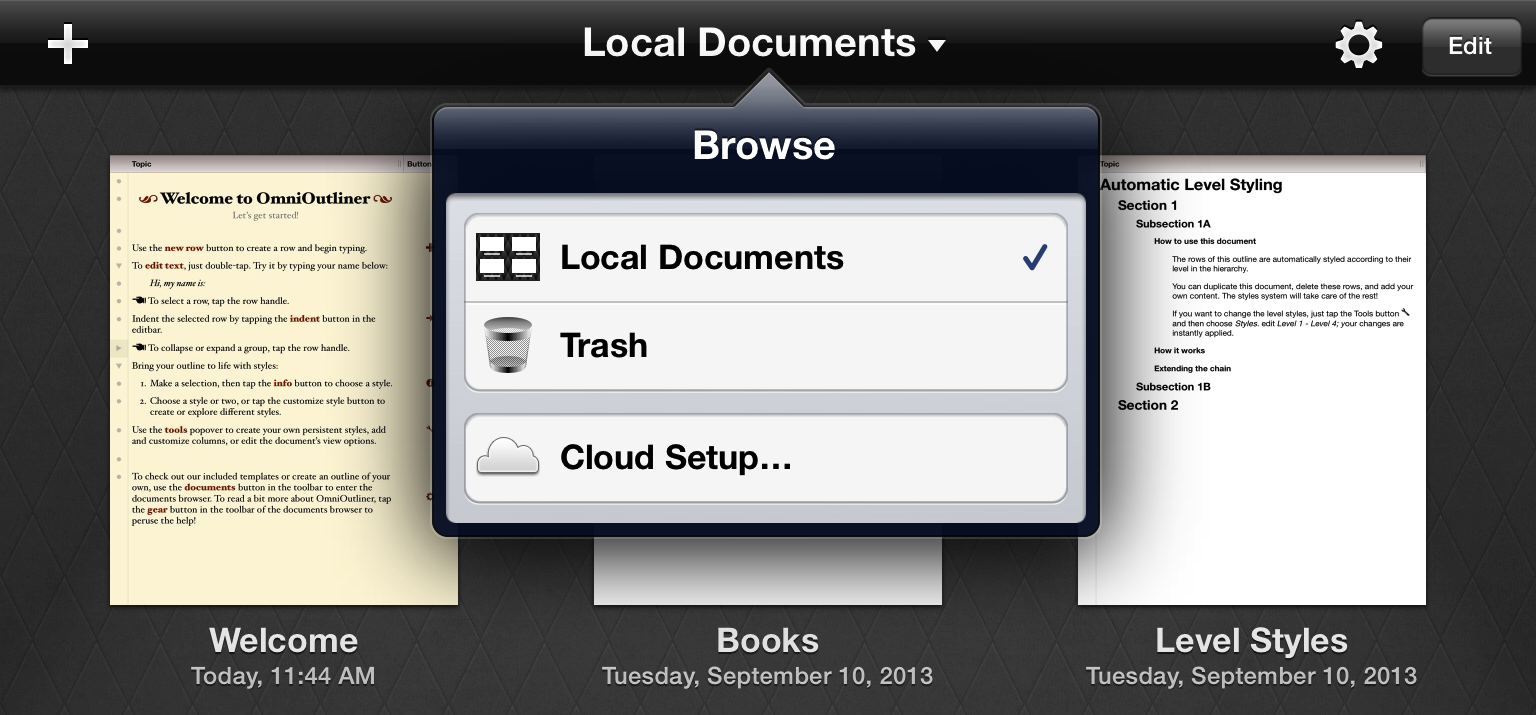
If you need to set up a new cloud account this is where to do it (you can also check your existing setup info here). Follow the onscreen prompts or refer to Syncing with OmniPresence in the in-app help for more detailed instructions.

If you have a cloud account already set up that you would like to use to migrate your data, make sure all the files you want to transfer are in your OmniPresence folder, then tap the sync icon in the toolbar. After using the same account information to set up cloud sync in OmniOutliner 2, your files will be available there as well.
Other Import Options
If you would prefer not to migrate your documents using OmniPresence Sync, other options are available.
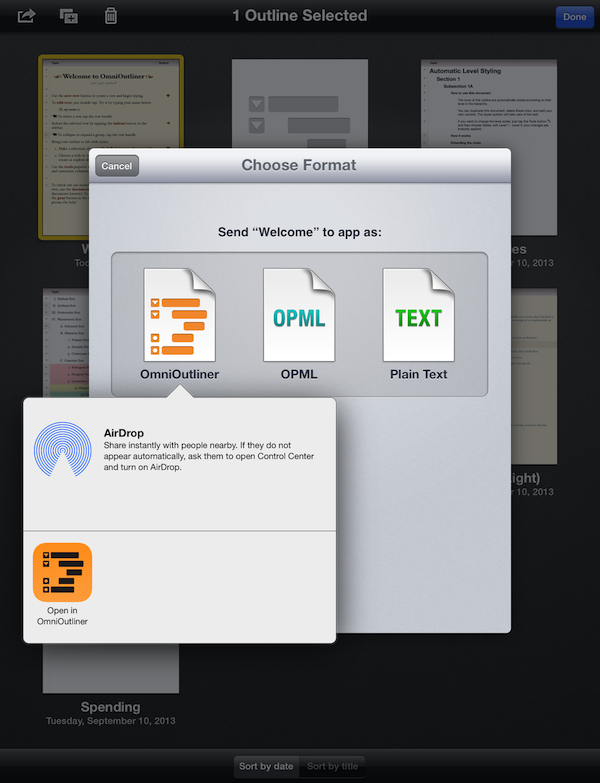
- With OmniOutliner 1.x and OmniOutliner 2 both installed on your iPad: Select individual documents in OmniOutliner 1.x and use Send to App from the Share button in the document browser toolbar to send them to OmniOutliner 2.
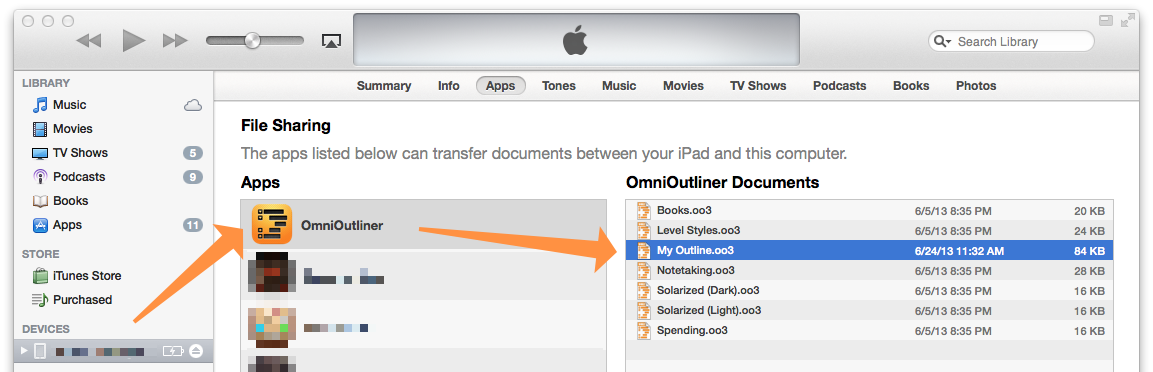
- Using iTunes 11 for Mac: Connect your iPad with OmniOutliner 1.x to your Mac, and follow these instructions to transfer Outliner documents to your computer. When you’re ready, use the same instructions to bring them from there to your iPad with OmniOutliner 2.