Using the Toolbar
Along the top of OmniOutliner’s window is the Toolbar. Packed with buttons and fully customizable—even at the per-document level if you have OmniOutliner 4 Pro—the toolbar makes it easy for you to create spiffy outlines.

At opposing ends of the toolbar, you’ll find buttons for hiding and showing the Sidebar and the Inspectors. Above those, you’ll find the standard OS X window controls for Closing, Hiding, and Expanding the window, and for popping into Full Screen mode.
At the center of the toolbar along the top, you’ll see a Document Icon which you might assume does nothing other than tell you what type of file this is. But if you hold down the Command key (⌘) and click that icon, you’ll get a tiny menu that shows you where the file is stored on your Mac. This is sometimes handy for when you’re working on duplicated files and you can’t remember where you saved the last revision.
Next to the Document Icon is the Filename. If you hover over the filename with the mouse pointer, a small downward-pointing triangle appears to its right. Clicking this triangle opens a small popup window, in which you can change the name of the file, add keyword/metadata tags to help make the file easier to find using Spotlight, or even move the file to another location on your Mac.

Customizing the Toolbar
As noted earlier, the Toolbar is packed with a variety of tools. However, you can customize the toolbar by adding additional buttons or rearranging their order, to suit your needs.
To customize the toolbar, choose View ▸ Customize Toolbar or Control-click on the toolbar and select Customize Toolbar. When you do, a sheet slides down from under the toolbar, revealing a slew of function-related buttons that you can drag up to the toolbar. For example, you could add the Group and Ungroup buttons to the toolbar. When you’ve finished making changes to the toolbar, click Done.
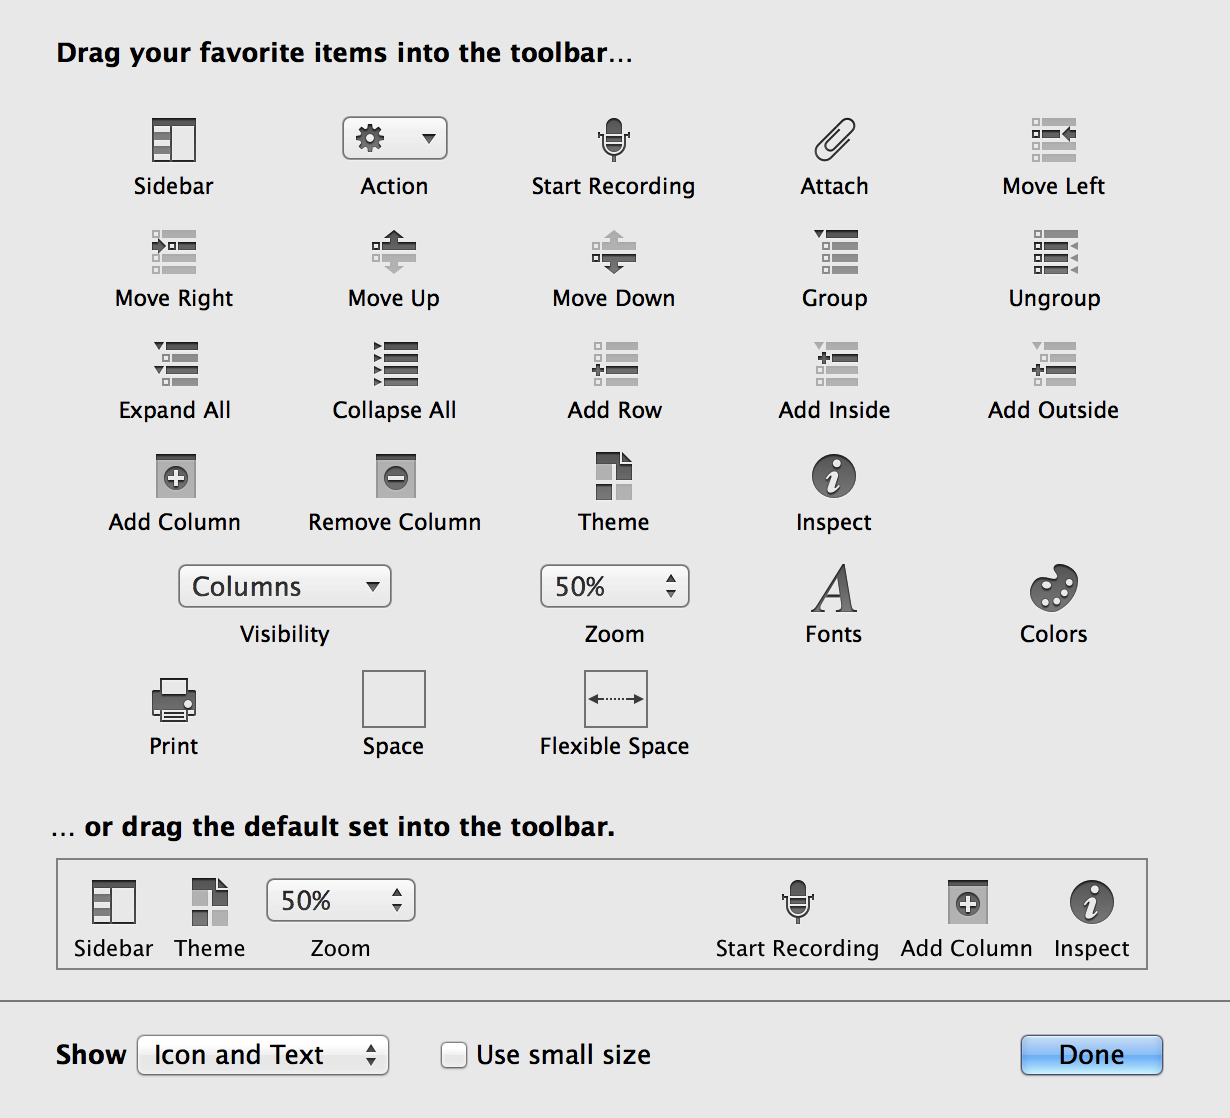
If you don’t like the changes you’ve made, or if you ever want to reset the toolbar to its default set, all you need to do is drag the bottom row up to the toolbar and then click Done to save the changes. The changes you’ve made to the toolbar are saved along with OmniOutliner’s preferences, so that you’ll see the same toolbar options with every document you create.
(Pro) If you have OmniOutliner 4 Pro, you can create document-specific toolbars by choosing View ▸ Create Document-Specific Toolbar.

You’ll start out with a bare-bones toolbar—containing only the Sidebar and Inspect buttons along with a long Flexible Space “button”—to which you can add whatever buttons you’d like. If you decide later that you no longer want that custom toolbar, choose View ▸ Remove Document-Specific Toolbar and the toolbar reverts back to the default button set.
Using the Toolbar’s Action Menu
If you've customized the toolbar to include the Action menu, you'll notice that it behaves slightly different from the Action menu you find in the Resource Browser.
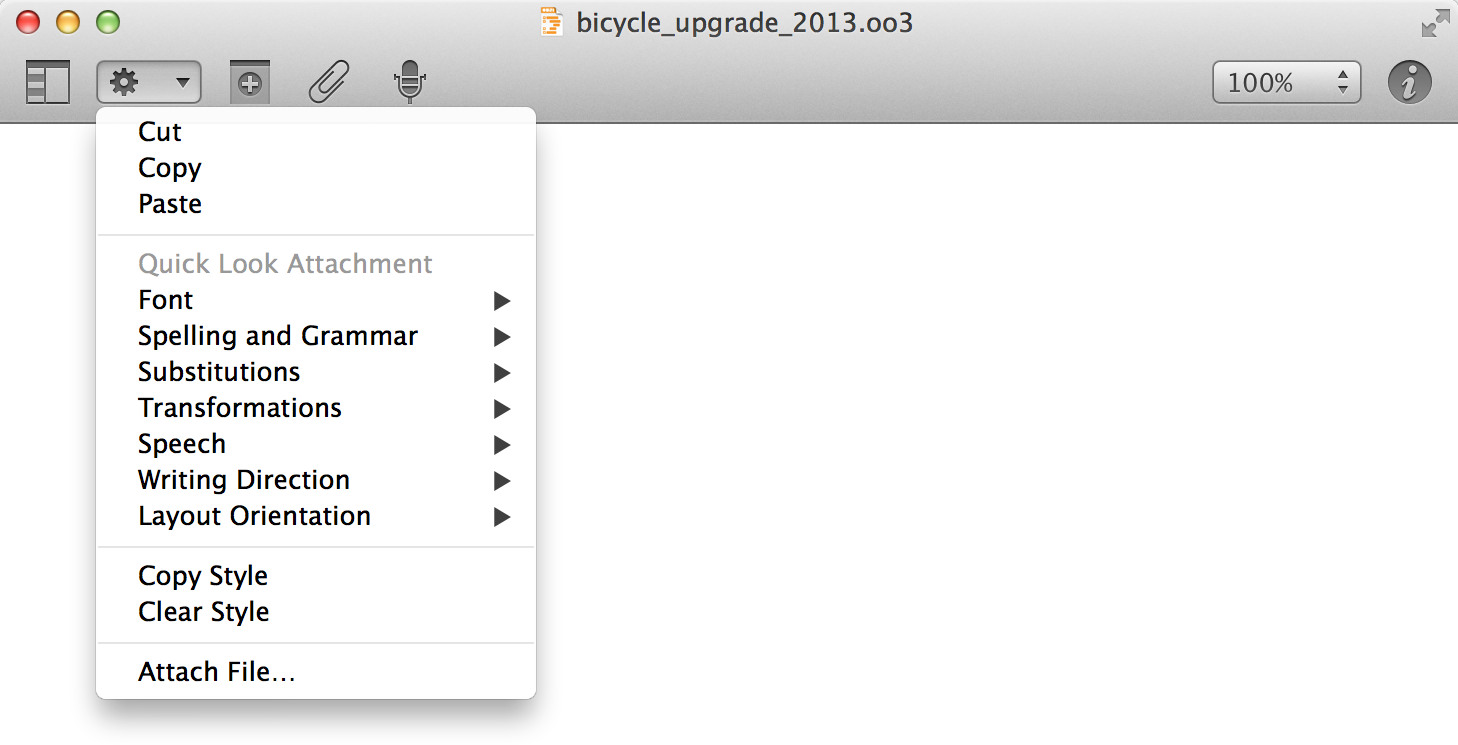
The toolbar’s Action menu includes many of the commonly used options that you’ll find in the Edit, Format, View, and Organize menus. Rather than spreading these out over four different menus, we’ve placed the ones we feel you’ll use most in this compact Action menu for every doc you’re working on.
Attaching Files
Outlines aren’t just about text. Sure, they mostly are, but every now and then you’re going to want to attach something—an image, a movie clip you’ve shot on your iPhone, a PDF file, another OmniOutliner file—to the document you’re working on. Fortunately, OmniOutliner can accommodate all your document-attaching needs.
To attach a file, you can do one of the following:
- Drag anything in from anywhere, including files from a Finder window or text and images from a webpage.
- Click the paperclip icon in the Toolbar.
- Choose Edit ▸ Attach File.
- Click the toolbar’s Action menu and choose Attach File.
When attaching files by any method other than dragging and dropping things into OmniOutliner, you are presented with a file chooser, that looks very much like a Finder window. Use the file chooser to navigate through your Mac’s hard drive until you locate the file you’d like to attach.
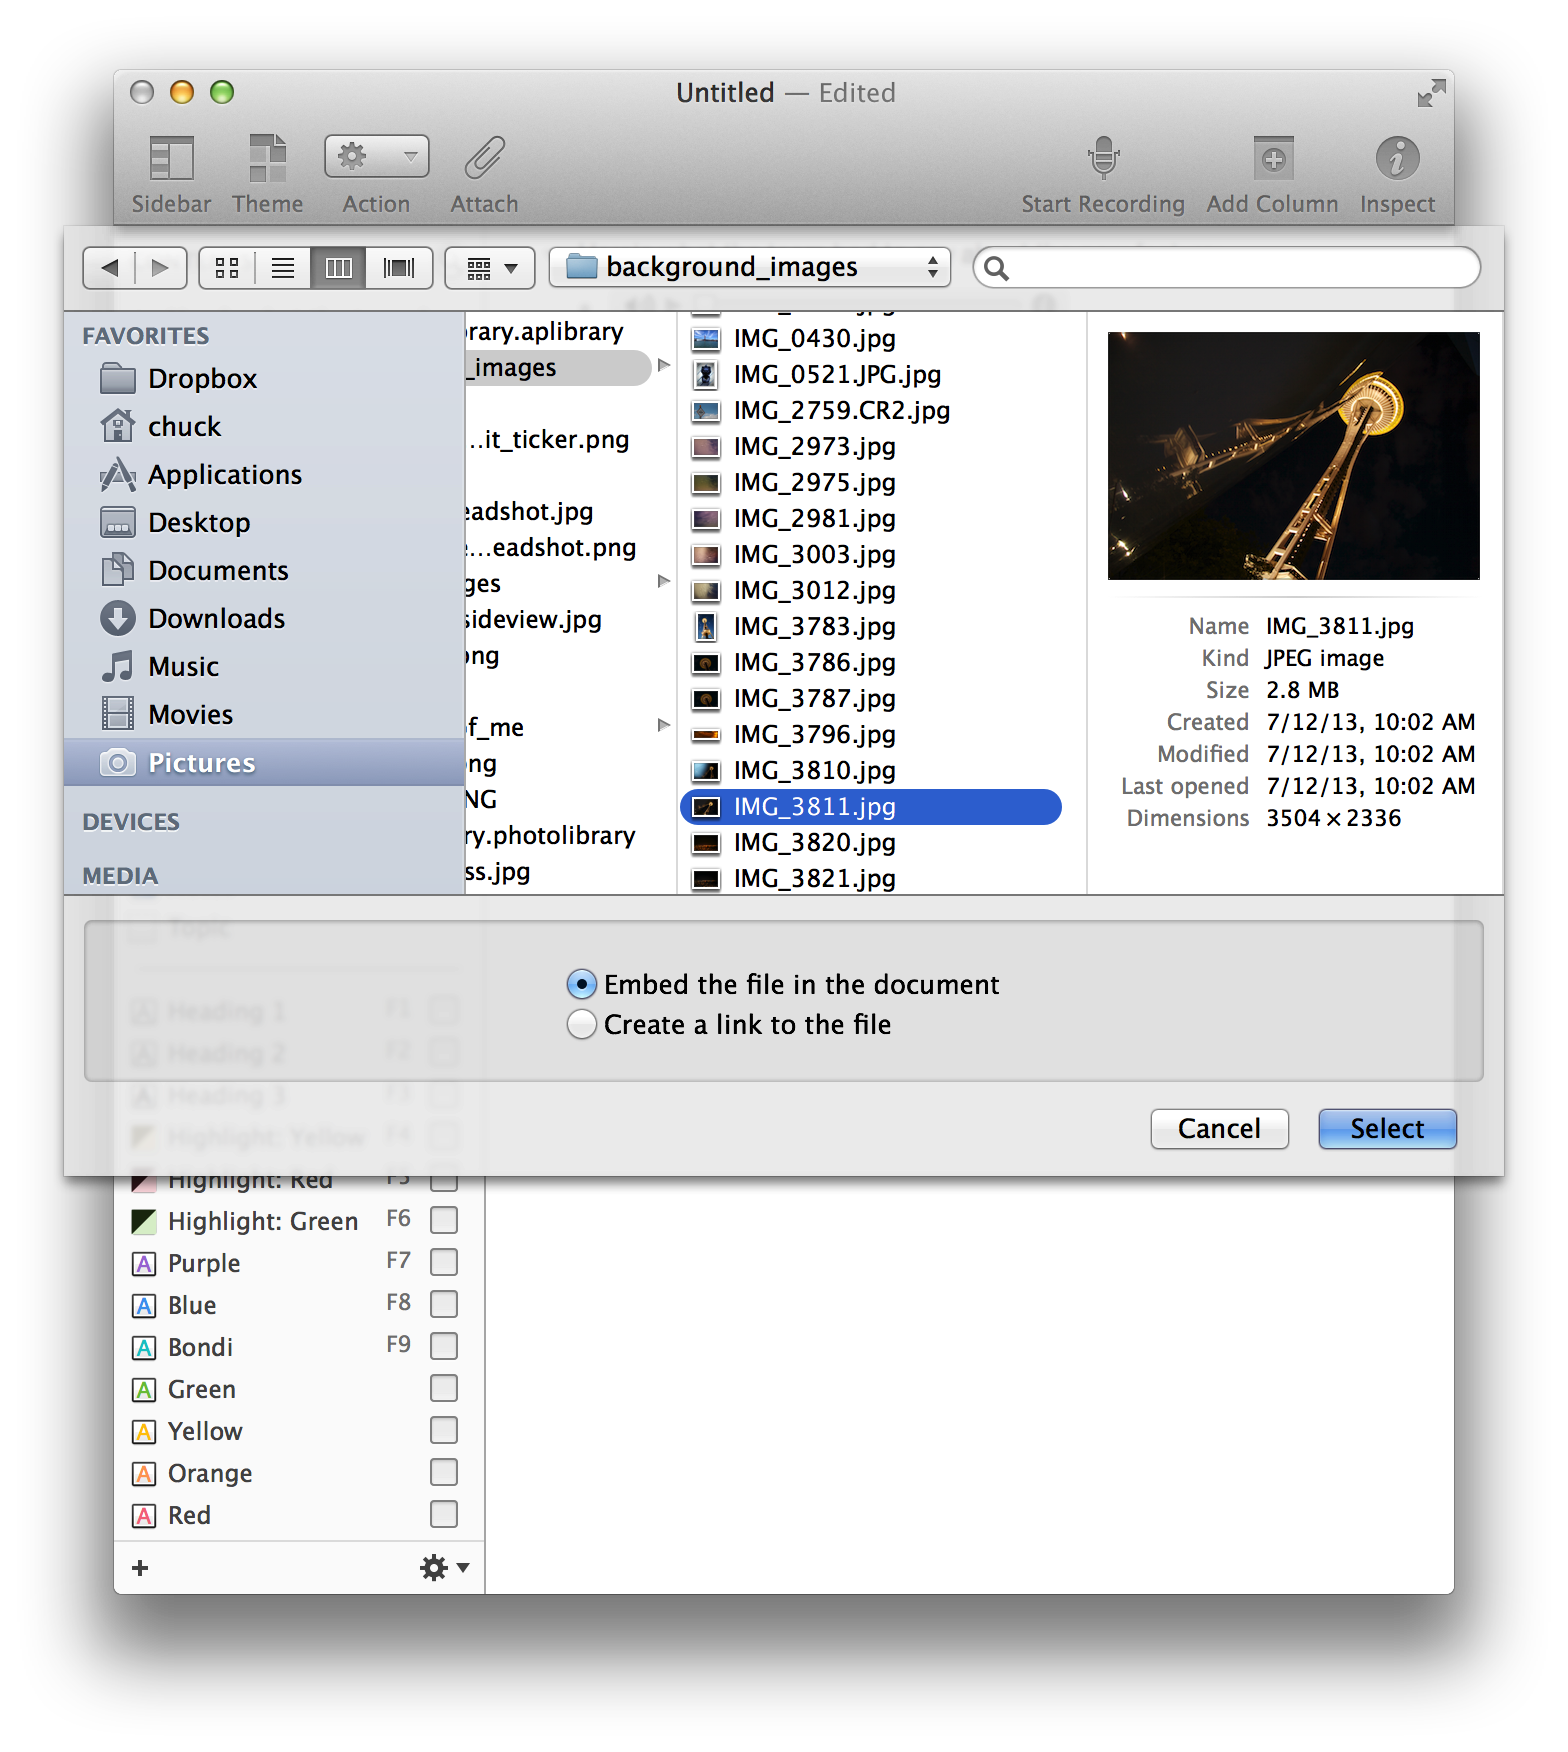
In the chooser, you’ll notice two options that affect how the file is attached to your OmniOutliner document:
- Embed the file in the document — The default, this is fairly obvious what happens: A copy of the file you’ve attached is embedded within the OmniOutliner file you’re presently working on.
- Create a link to the file — Rather than embedding an exact duplicate of the file, as with the previous option, this copies the file’s location on your Mac’s hard drive into the OmniOutliner document.
You may not notice the difference between those two options when you’re working on your system. Attach a file using either option and the files appear within your Outline. The big difference, comes into play when you send your OmniOutliner document to someone else. For that, you’ll want to go with the default option (Embed the file in the document) so the person you’re sending the file to will also receive the attachment. If you choose the other option, all they’ll see is an icon and the filename of the file you’ve attached from your Mac. The problem is, because that file is on your Mac, they won’t be able to view or open that file.
Note
If you’re the only person who will ever use your OmniOutliner files, you might consider using the second option (Create a link to the file) instead of embedding attachments. The linking option makes your OmniOutliner files smaller (since the attached file isn’t included), and you can still view and access these attachments since the files reside on your Mac.
The disadvantage, however, comes when you delete a file that you’ve attached as a link. All you’ll see is the file’s icon and its filename. Do that, and even you won’t be able to view the attachment, no matter how hard you try.
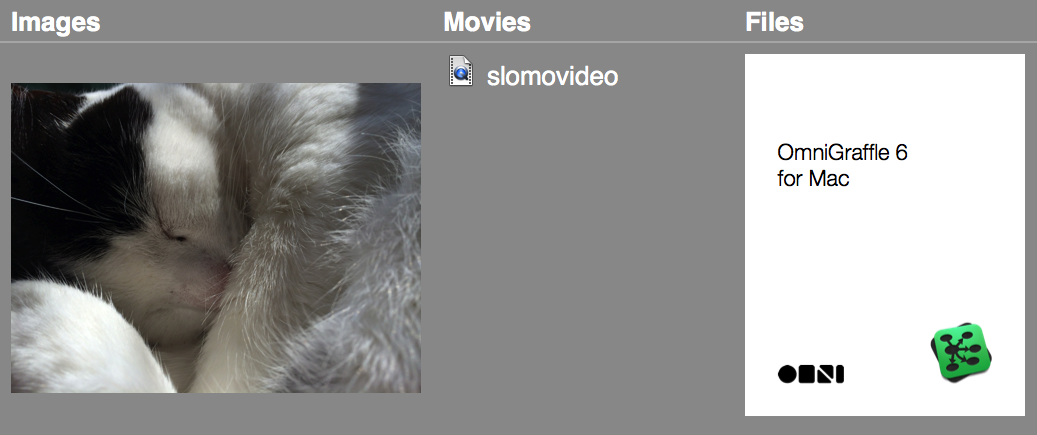
When you attach an image or PDF file, a preview automatically scales to the width of the column in which it appears. Other types of files appear as an icon with their filename.
If you click an image or PDF file you’ve attached, the following popover menu appears:
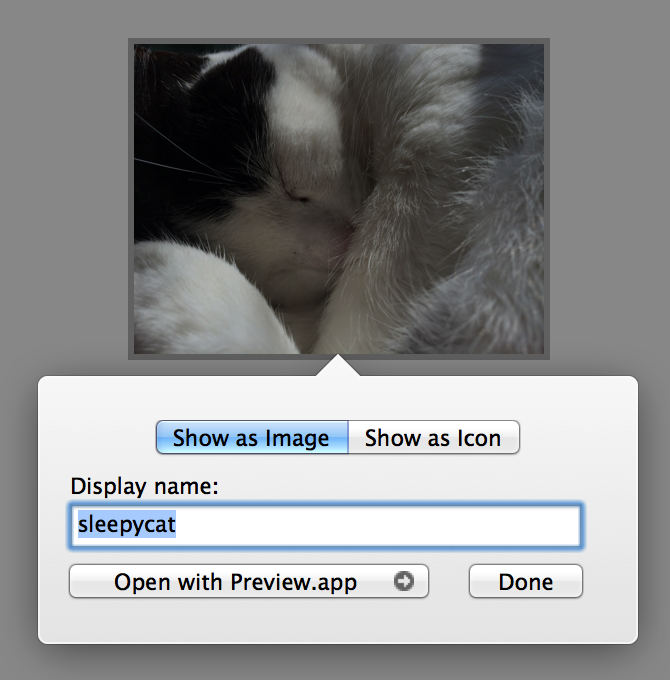
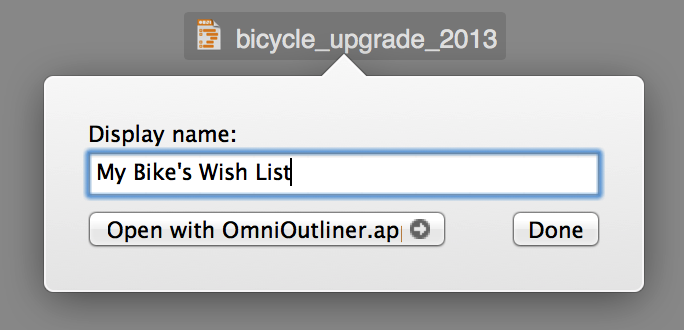
You can choose to have the attachment Show as Image or Show as Icon, and you can change the Display name for the attached file from its filename (the default) to something more descriptive. Non-image files won’t have the Show as Image and Show as Icon buttons along the top. To open the file, click the Open with button, which recommends an app to use based on the kind of file you’ve attached.
Recording Audio
One of the many cool features in OmniOutliner 4 are the improvements we’ve made to its audio recording capabilities. To record something, click the Start Recording button in the toolbar; it’s the one that looks like an old-timey microphone. OmniOutliner starts recording the instant you click that button. When you press that button, you’ll also notice a couple changes in the user interface.

First, the text for the microphone button in the toolbar changes from Start Recording to End Recording. The button also has a small Stop button applied to it. The other change you’ll notice is a red Recording bar appears just beneath the toolbar. If you’ve used OmniOutliner 2 for iPad, this looks very familiar.
In the center of the Recording bar, you’ll see a button to Pause recording, which changes the Recording bar’s color to gray, and a checkmark button (Save) to stop recording. In the gray bar, you’ll notice that Recording has changed to Paused, and the Pause button has been replaced with a Resume button.

Click the Resume button to continue recording where you left off, or click the checkmark (Save) button to stop recording. When you stop recording, an audio player clip shows up in your Outline.

Note
Clicking the checkmark or the End Recording button in the toolbar has the same effect: your audio recording will cease and an audio file is saved into your Outline.
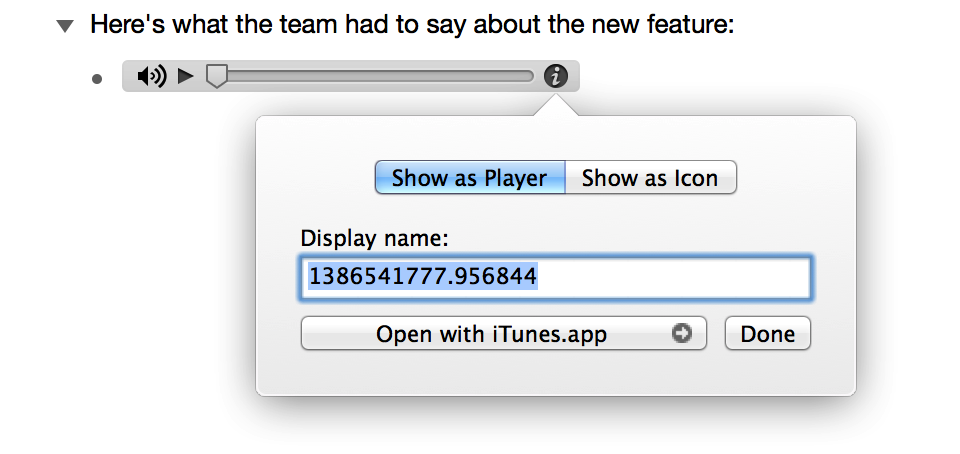
Much like attachments, if you click an audio clip’s Info button (the little i icon at its right edge), a display options popover appears. Here you can opt to have the audio clip show up as a player (the default) or as an icon. More importantly, you can change the audio clip’s Display name from a random number string, to something more descriptive. This is particularly important if you choose Show as Icon at the top of the popover.
Tip
If you’re using OmniOutliner to take notes while in a meeting, why not just record the meeting as it happens? That way, you can have a full audio recording of the meeting within the same document you’re using for your notes. OmniOutliner can record up to six hours of audio in one stream.
Be sure to read the Audio Recording Preferences section later in this guide for more information about audio recording options in OmniOutliner.
