Using the Resource Browser
Unless you’ve set OmniOutliner’s preferences differently, the first thing you’ll see when you launch OmniOutliner is the new Resource Browser. The Resource Browser (File ▸ Resource Browser; Command-N or Shift-Command-N) makes it easy for you to open a recently-saved file, or to create awesome looking documents by starting out with a Template.
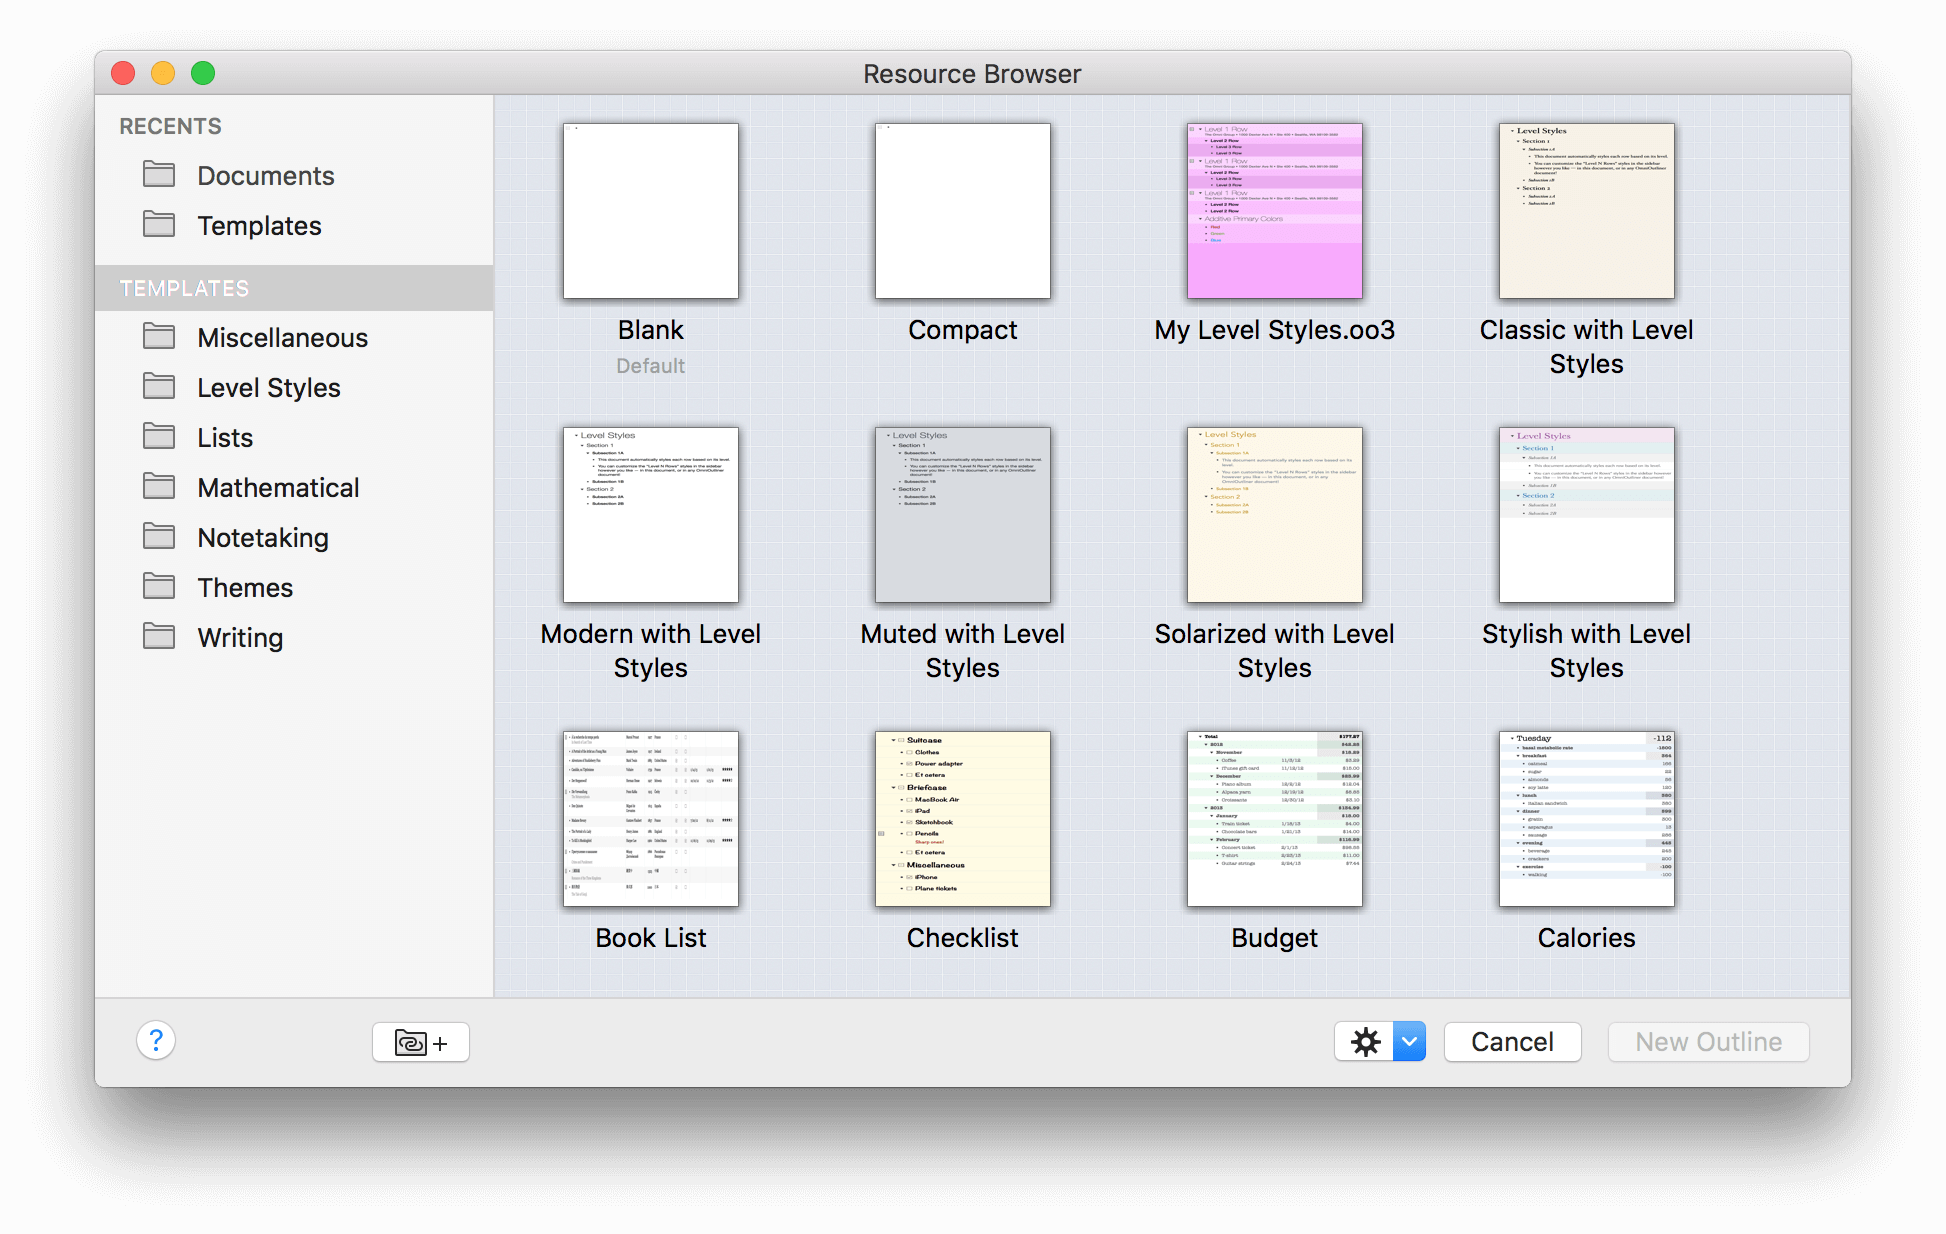
The sidebar on the left makes it easy for you to choose a file that you’ve recently worked on, or to select one of the pre-styled templates that we include with OmniOutliner 4.
The Recents section is similar to choosing File ▸ Open Recent from the menu bar. You’ll find a list of recently-opened files from which you can select and open quickly.
The Templates section offers a quick and easy way for you to open one of the pre-styled templates we’ve included with OmniOutliner. If you’re not sure which template to choose, you can click on one and tap the Spacebar to open a QuickLook view of the template file.
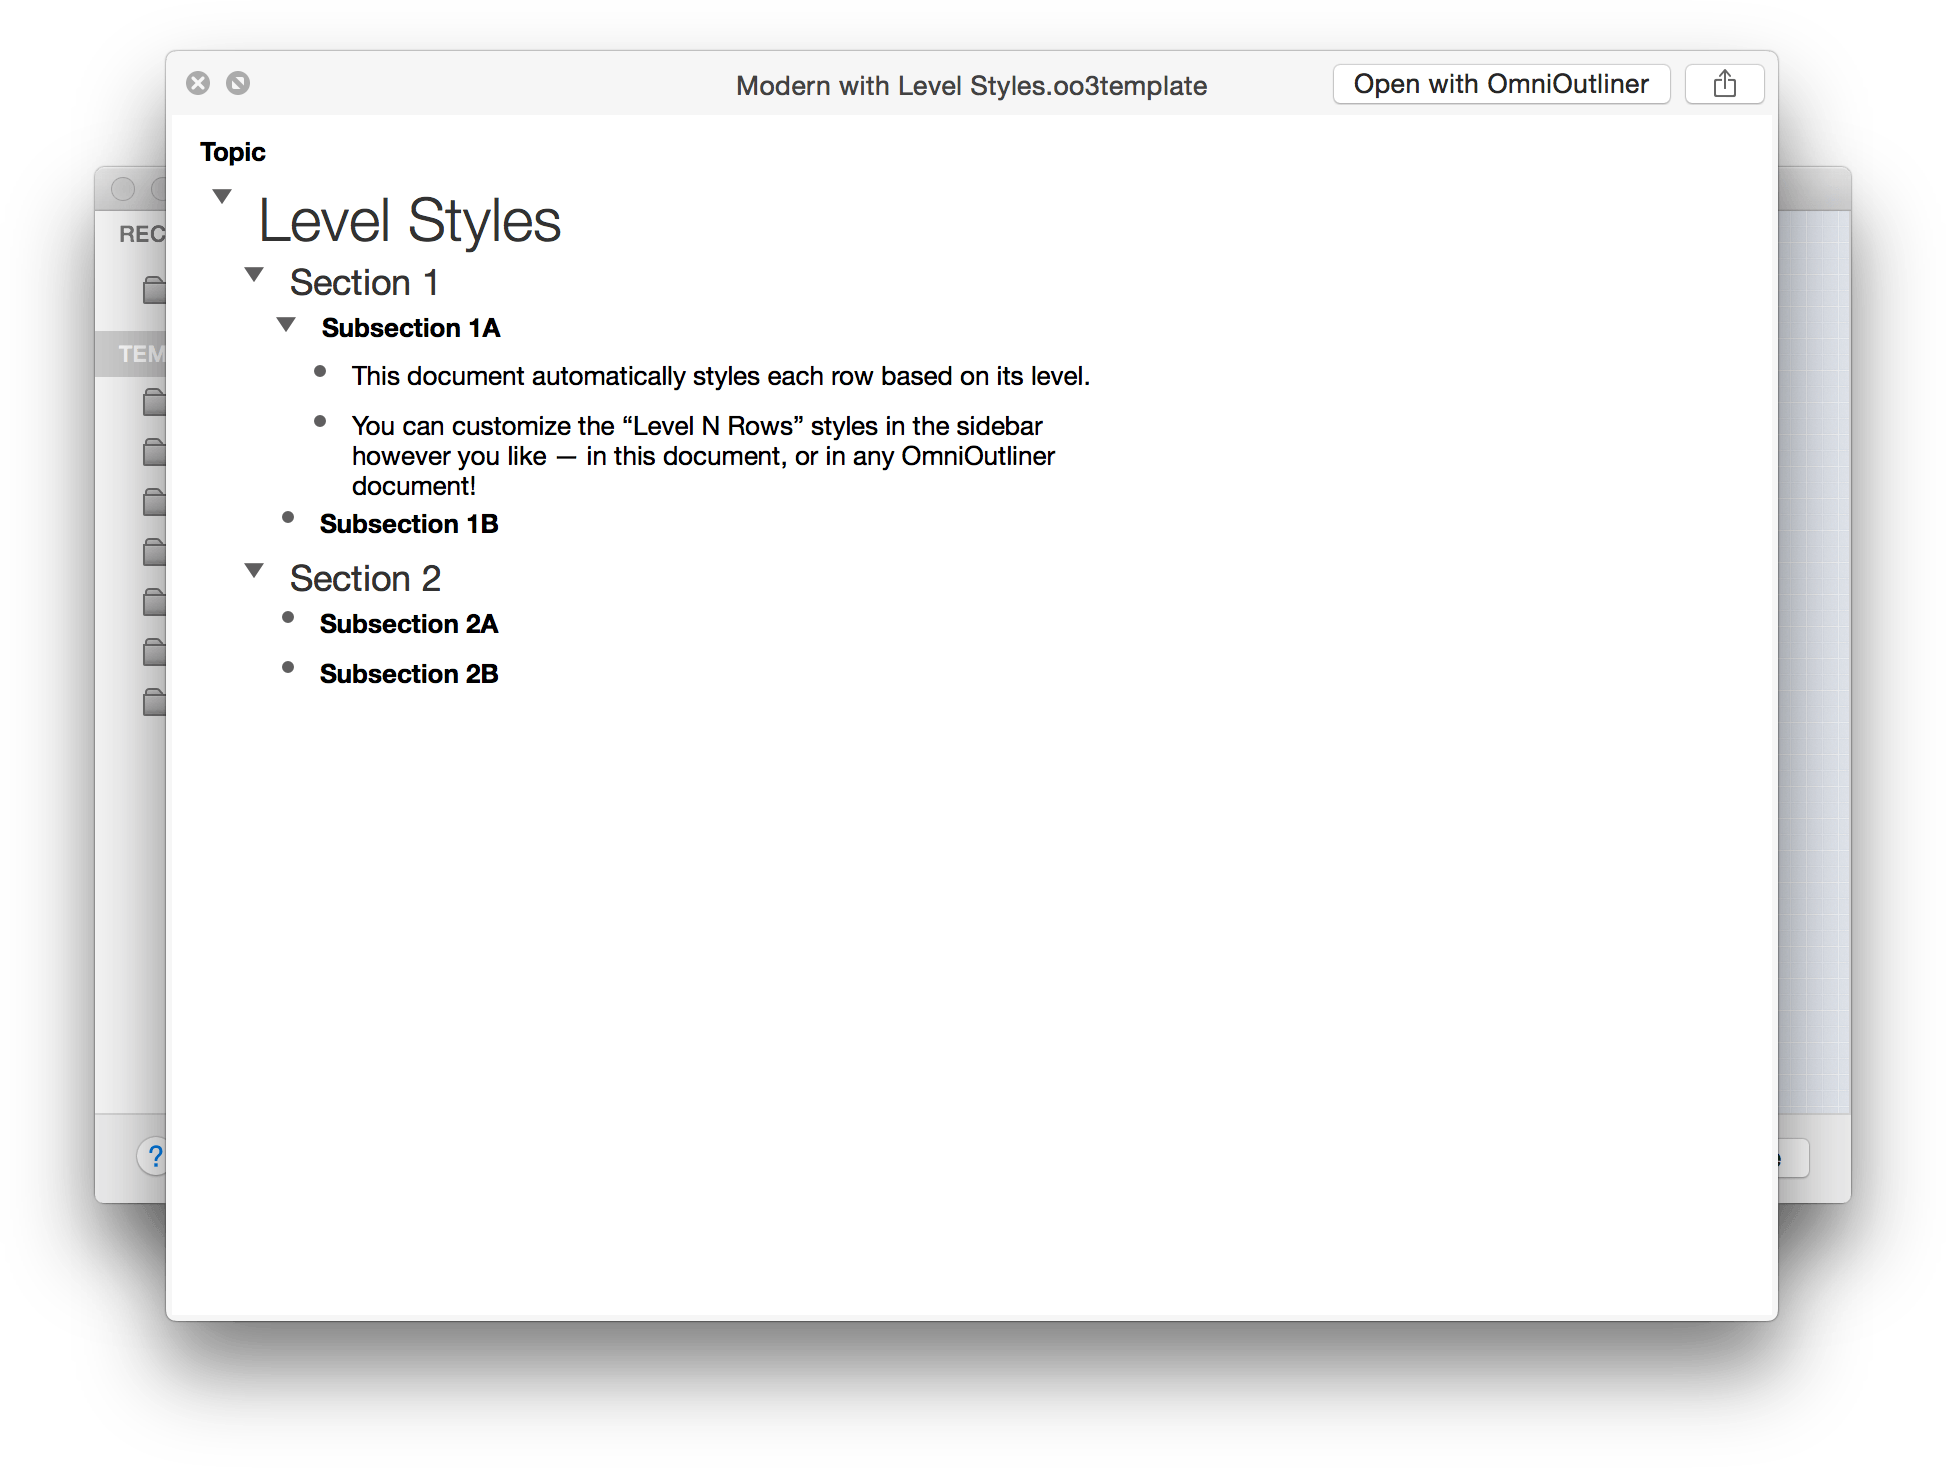
To close the QuickLook view, just tap the Spacebar again and the preview window goes away.
Managing and Working with Templates
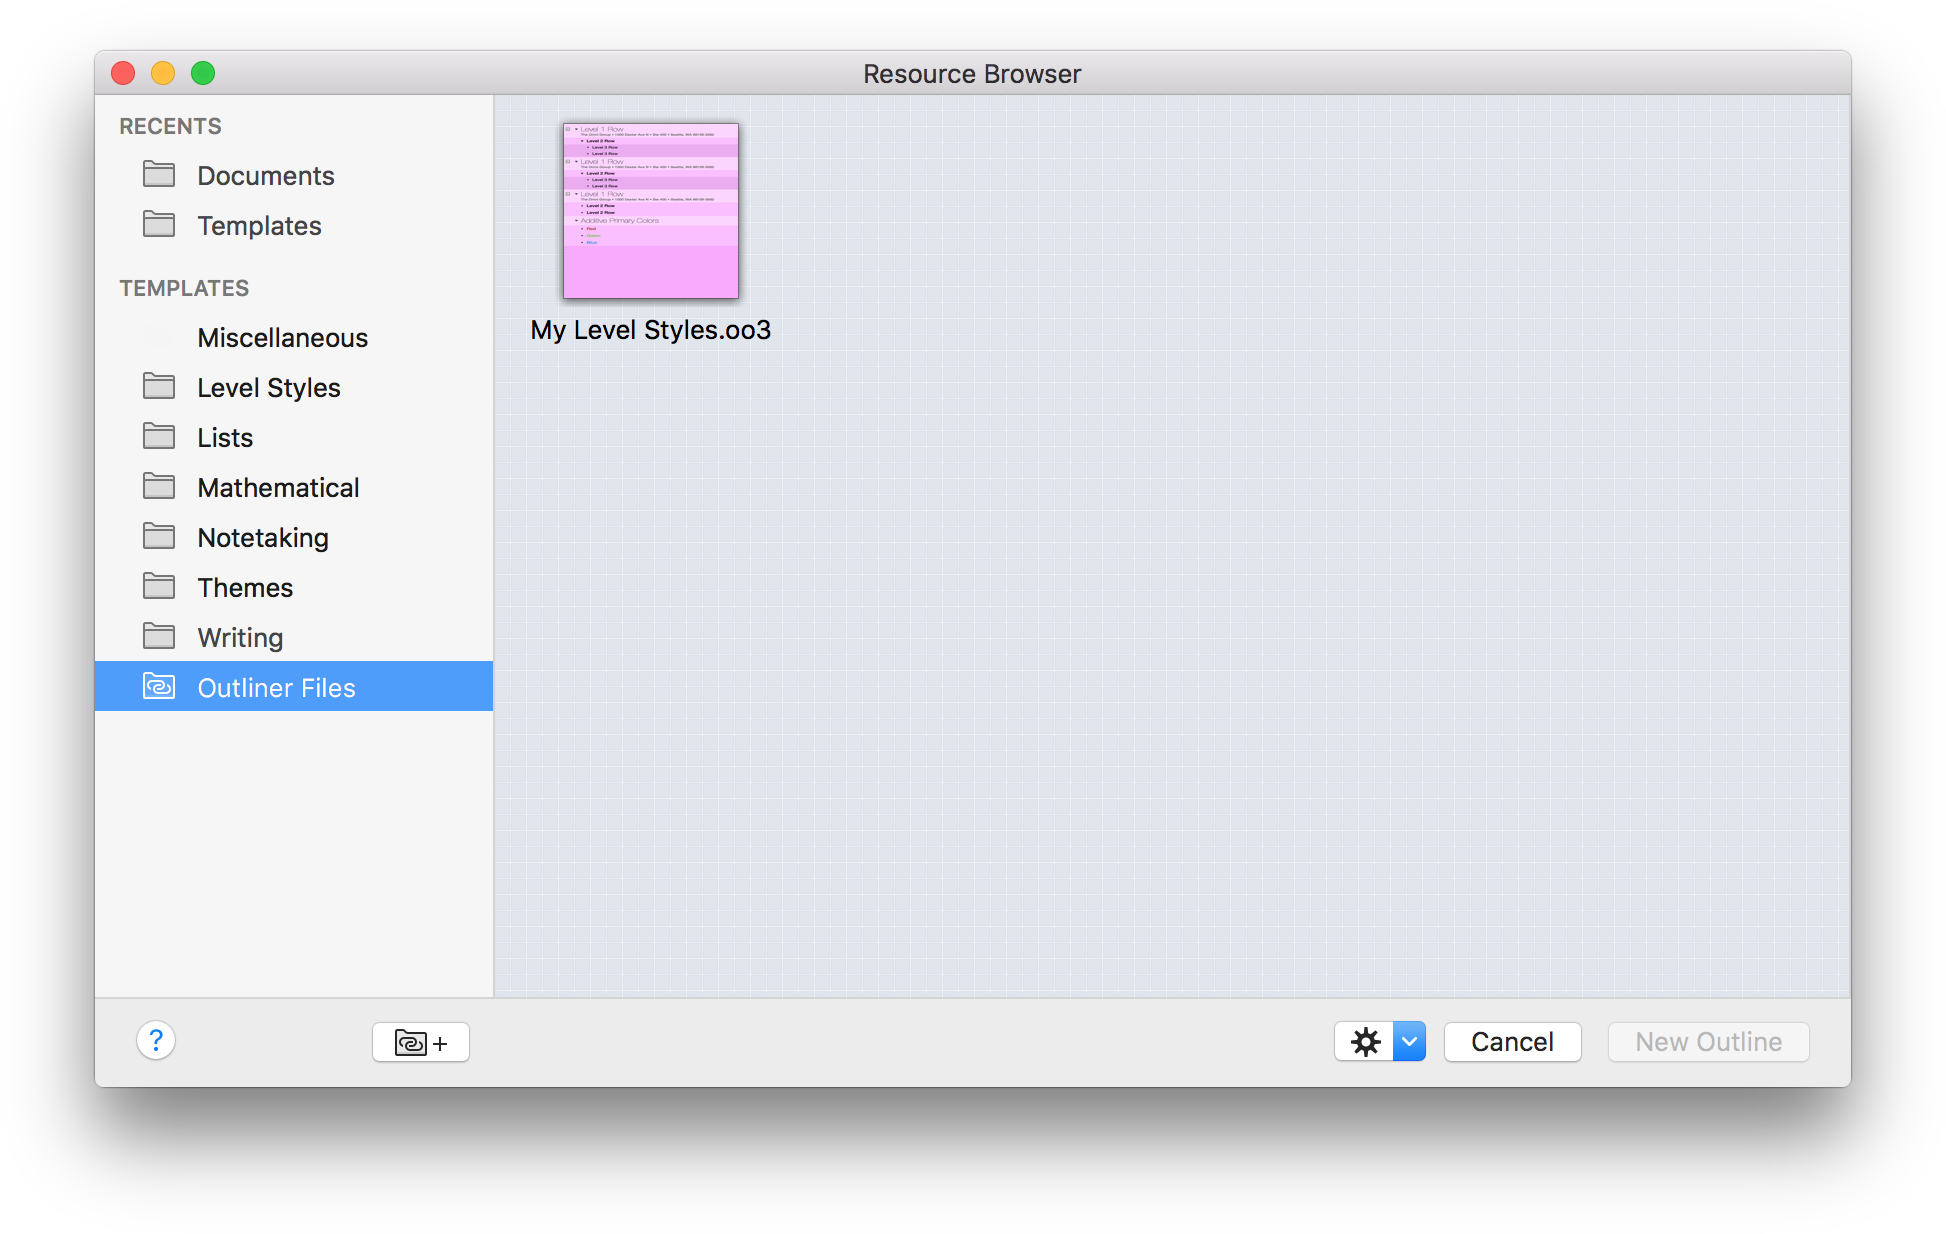
Any file that you save as a template (File ▸ Save As Template) is available from the Resource Browser in the Templates section.
To manage your templates, use the Action menu at the bottom of the Resource Browser; it’s the one that looks like a small gear ( ). First, select one of the templates, and then click the Action menu and choose Show in Finder. A new Finder window pops open and places you inside the Templates folder. Once here, there’s no limit to what you can do with the templates. You can change their names, move the ones you don’t want to the trash, or add subfolders so you can categorize template files for certain tasks.
Linking Template Folders on your Mac to OmniOutliner
As noted in the previous section, when you create a new template in OmniOutliner, the default location where those files are saved is buried deep within OmniOutliner’s container. As a result, many users have taken to storing their OmniOutliner templates in a more convenient location, such as on Omni Sync Server, a subfolder within the Documents folder in their Home directory, or somewhere else in the cloud. The only problem with doing this, however, is that your OmniOutliner templates don’t appear in the Resource Browser.
In OmniOutliner v4.4, we added the ability to add a Linked Folder to the Templates section of the sidebar. Start by clicking ![]() . Next, choose a folder in the sheet that appears and click Open to add the folder to the Resource Browser’s sidebar.
. Next, choose a folder in the sheet that appears and click Open to add the folder to the Resource Browser’s sidebar.
To remove a Linked Folder from the Resource Browser’s sidebar, first select the folder in question, click  , and then choose Remove Linked Folder.
Using the Resource Browser’s Action Menu
Use the Action menu ( ) to open or create new templates, reveal where a particular resource lives on your Mac in the Finder, move an object to Trash, or set a particular template that you’re fond of as the default.
If you would like to import your OmniOutliner 3 templates, you can choose Add Resources to Library to select a file or template you’d like to add to OmniOutliner’s library.
You can use the Restore option in the Action menu to restore any of the default templates that you might have trashed earlier. Even if you delete these files from the Templates folder, copies of the templates files reside within the app.
Let’s say that one sleepless night you decided that you didn’t need any of the templates we’ve included with OmniOutliner. Blurry-eyed, you open the Resource Browser, and then one by one, choose Action ▸ Move to Trash. After all that work, you empty the trash, close your laptop and drift off to sleep. Then, around 5:38 a.m. you awake with a start and have this incredible idea for what you know will be a best-selling novel. Great. You’ve trashed the Book Draft template. What are you going to do? Fortunately, we thought about this for you. If you choose Action ▸ Restore ▸ Templates you can choose from any (or all) of the templates we’ve included with OmniOutliner and put them back on your Mac.