Tutorial I: Getting Started
Step 1: Create a Project
For the purpose of this tutorial we'll be looking at the development process of a game being put together by an independent team of intrepid designers, coders, and testers.
Starting off in the document browser, tap the New Project button.

This opens the project editor, where a first task is waiting to be customized or edited. Before we get to that, let's rename the project to something more interesting.
Tap My Project in the toolbar to edit the project title.

Step 2: Choose a Start or End Date
When setting out to build a project, one of the most important aspects is the timeframe. This, in turn, is dictated by any deadlines or start constraints that exist for the project.
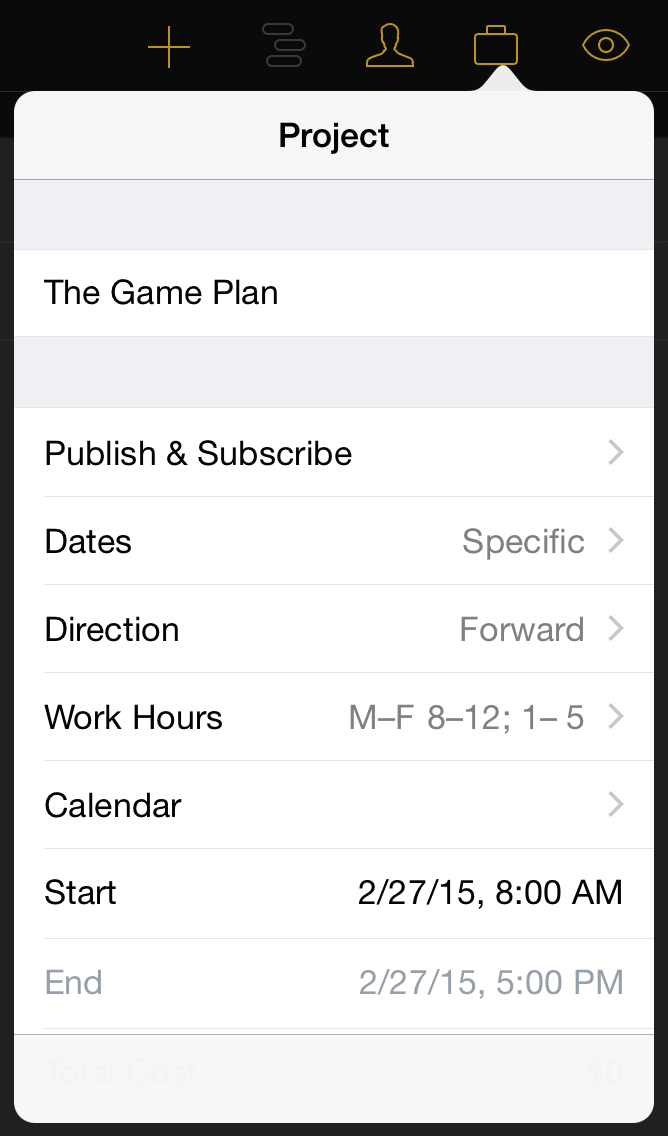
In the case of our game development scheme, we don't have a hard deadline for the project to be finished - we want it to be done when it's ready (but as soon as reasonably possible). To indicate this, we'll go to the project inspector and set the start date as today.

Conveniently, this is the default setting for any new project.
Note
If you're planning a project in the abstract without a fixed start or end date, you can change the dates from Specific to Undetermined until the timeframe is more set in stone. You'll get dates that display as T+1d, T +2d... instead.
If you're planning a project with a specific do-or-die deadline, you'll want to switch the direction from forward to backward and put the deadline date in the End field. Tasks will be scheduled back from this date, filling in the time from project completion to the present.
Step 3: Create Milestones
Milestones are the anchor points in your project that mark important shifts in focus or unlocking a new phase of the project. Clarifying these will help break a dauntingly large project down into more manageable sections, and help dictate the tasks leading up to and following the milestone.
To create a milestone, tap and hold the new task button until the option appears:

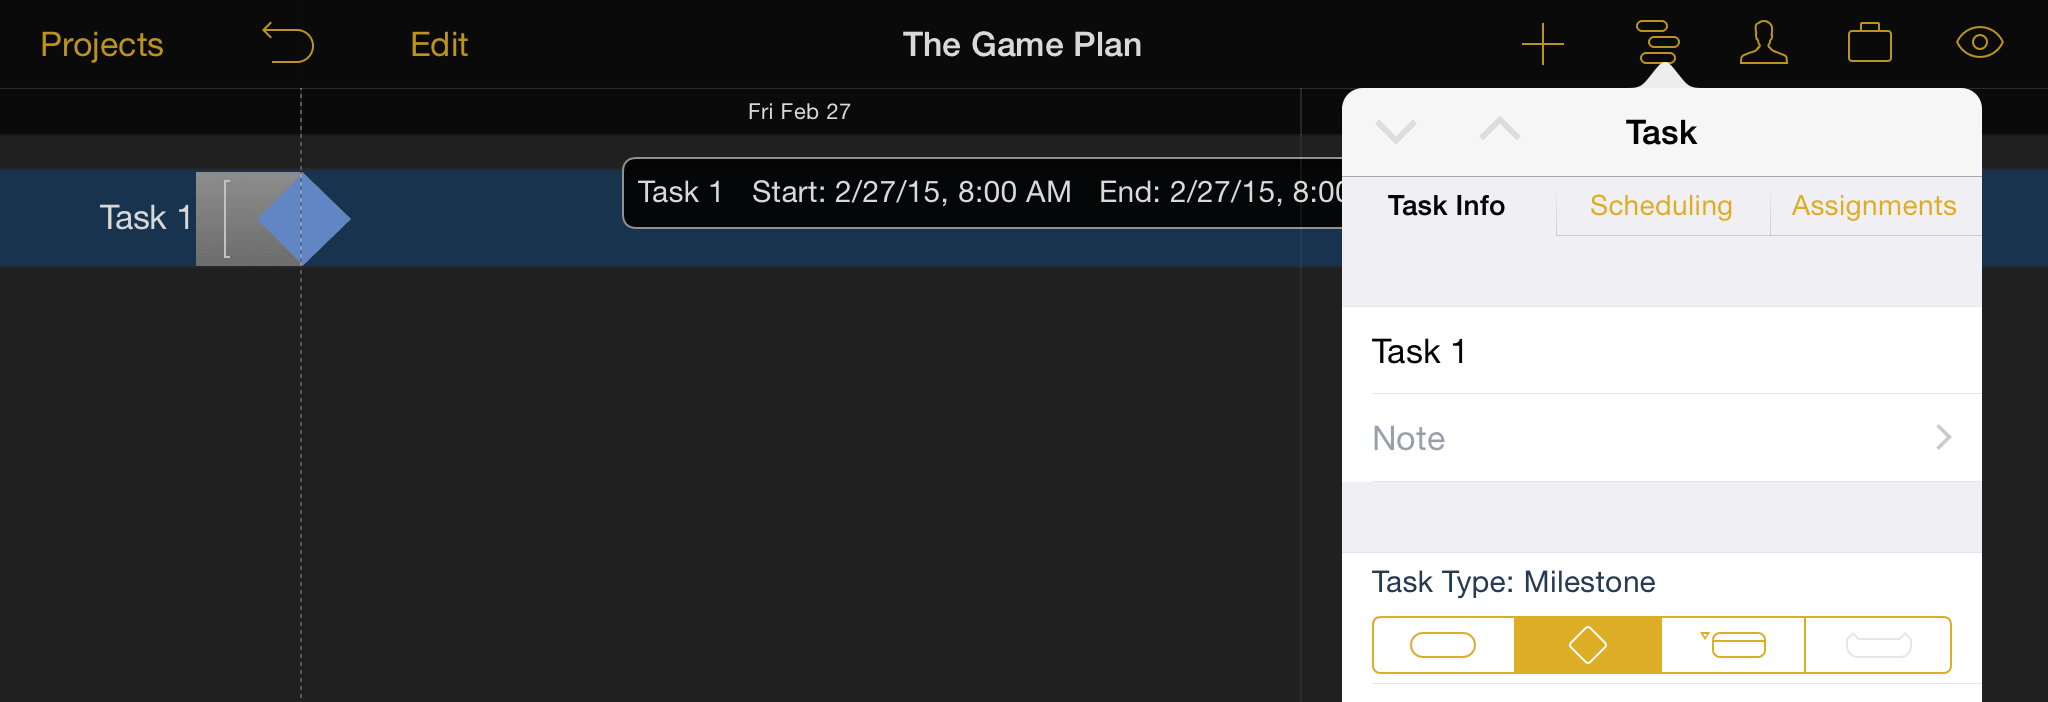
Alternatively, tap the currently existing task ("Task 1") to select it, then open the task inspector. You can change the task type from a regular task to a milestone here.

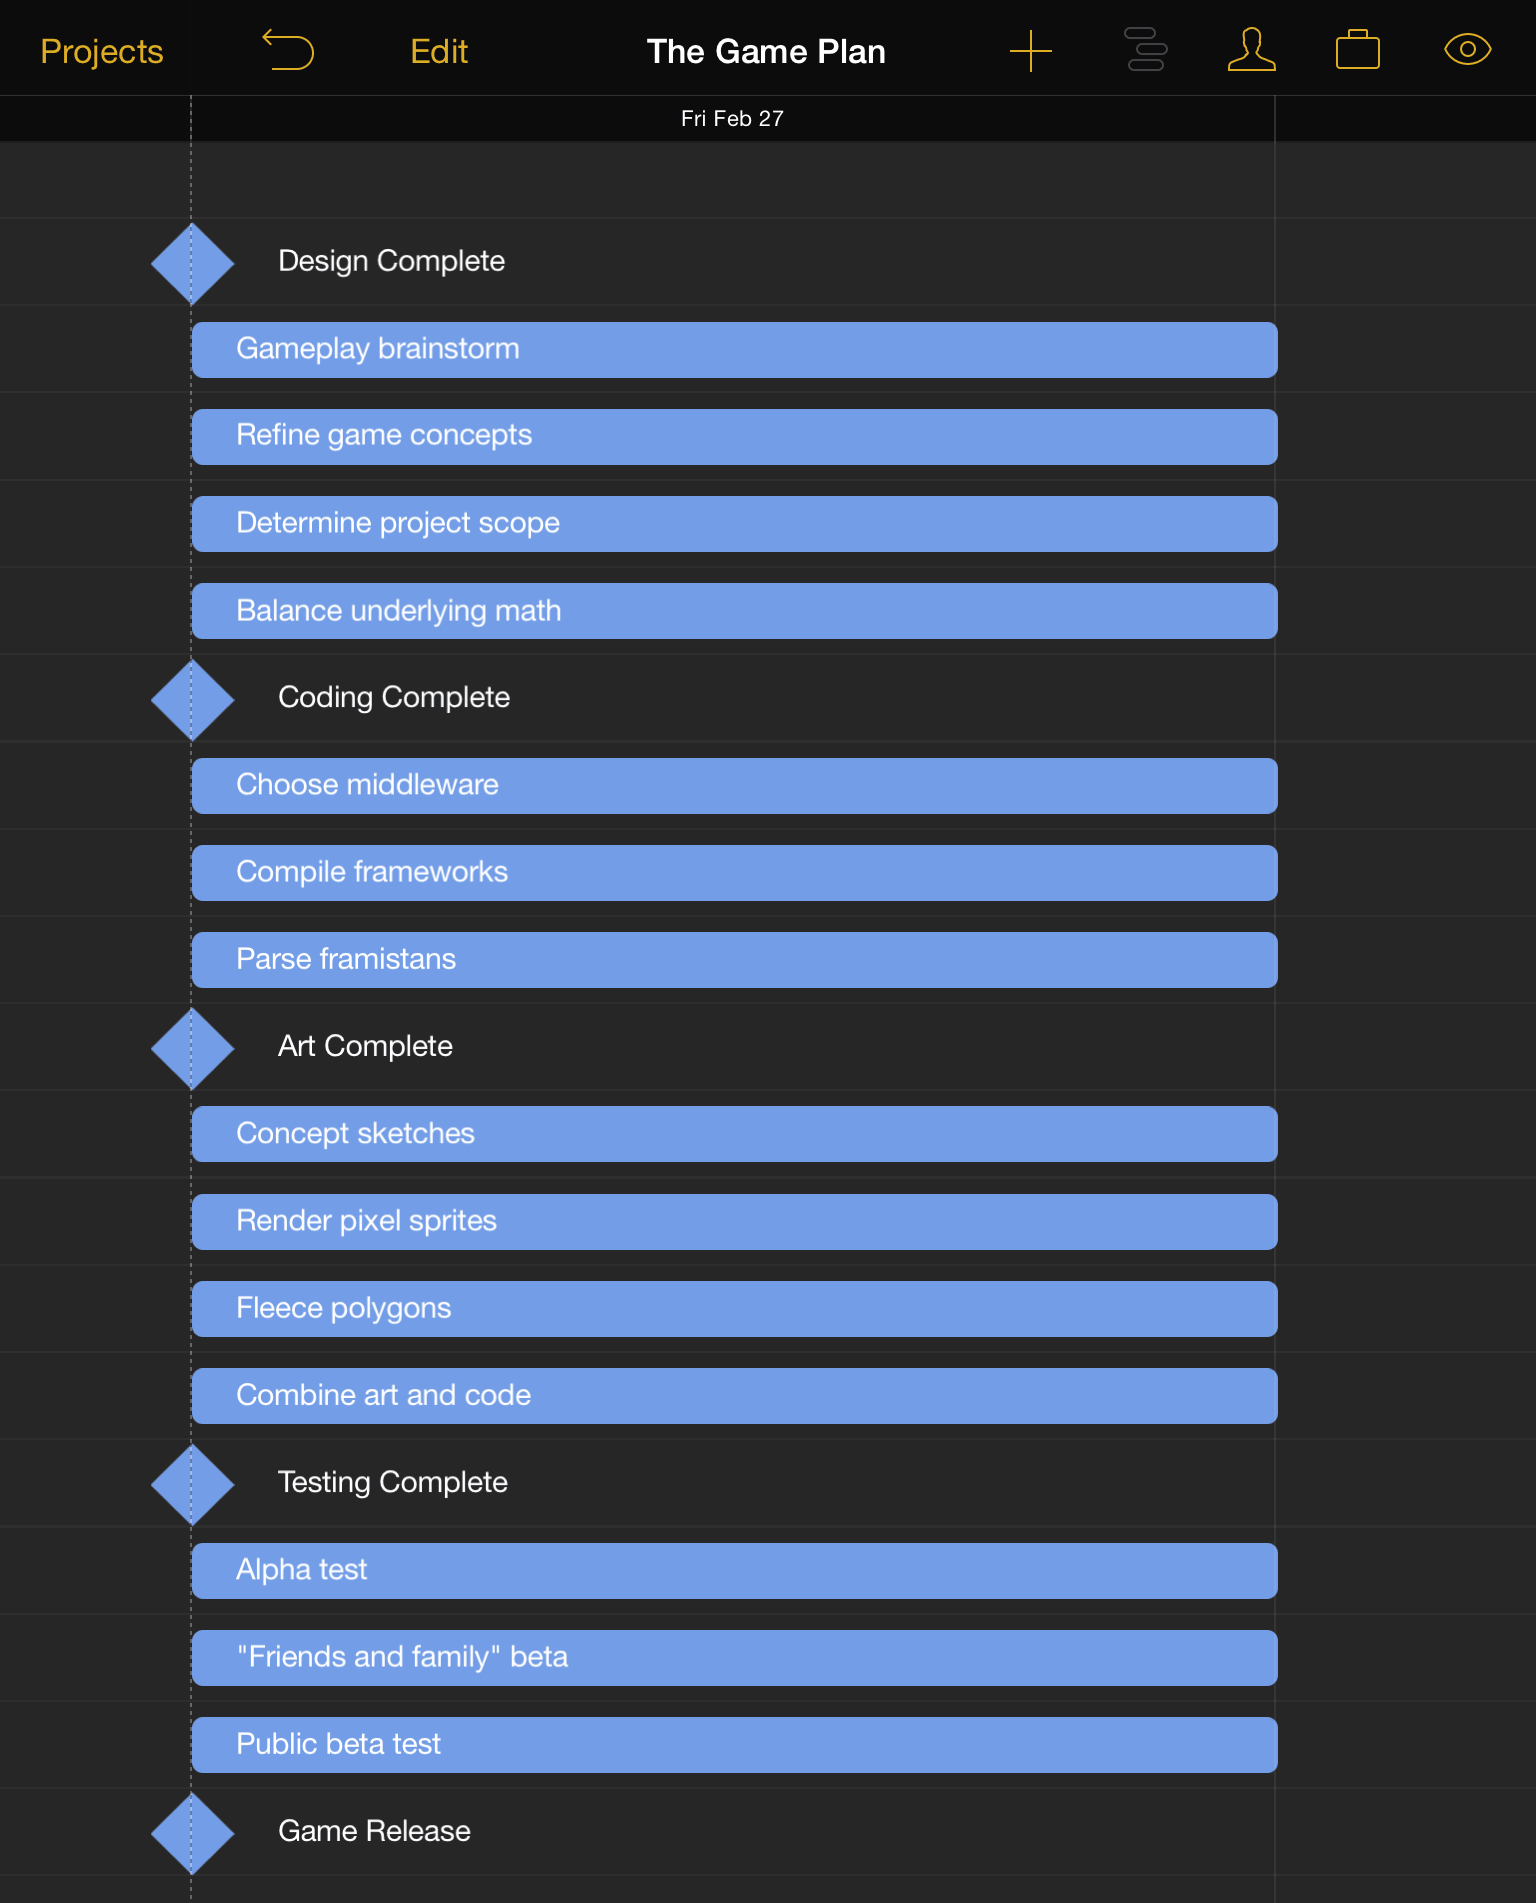
We'll change the name of "Task 1" by double-tapping it or editing the name field in the Task Info tab, create a few more milestones for our game plan, and then go on to reinforce our milestones with tasks.
Step 4: Create Tasks
Create a task by tapping the new task button.
New tasks appear below the currently selected item in the Gantt view, or at the bottom of the list if no tasks, milestones, or groups are selected.

For our project we'll create several tasks beneath each milestone that they're related to. Since we now have more items than will fit on the screen at once, pinch vertically on the Gantt view to change the view scale.
