Preferences
OmniPlan Preferences contain a variety of useful configuration options, and are accessible in-app from the OmniPlan menu or with the keyboard shortcut (⌘,).
General
The way that the Tab and Return keys work can be customized to suit the way you work. These options are in the General pane of Preferences, available from the OmniPlan menu.
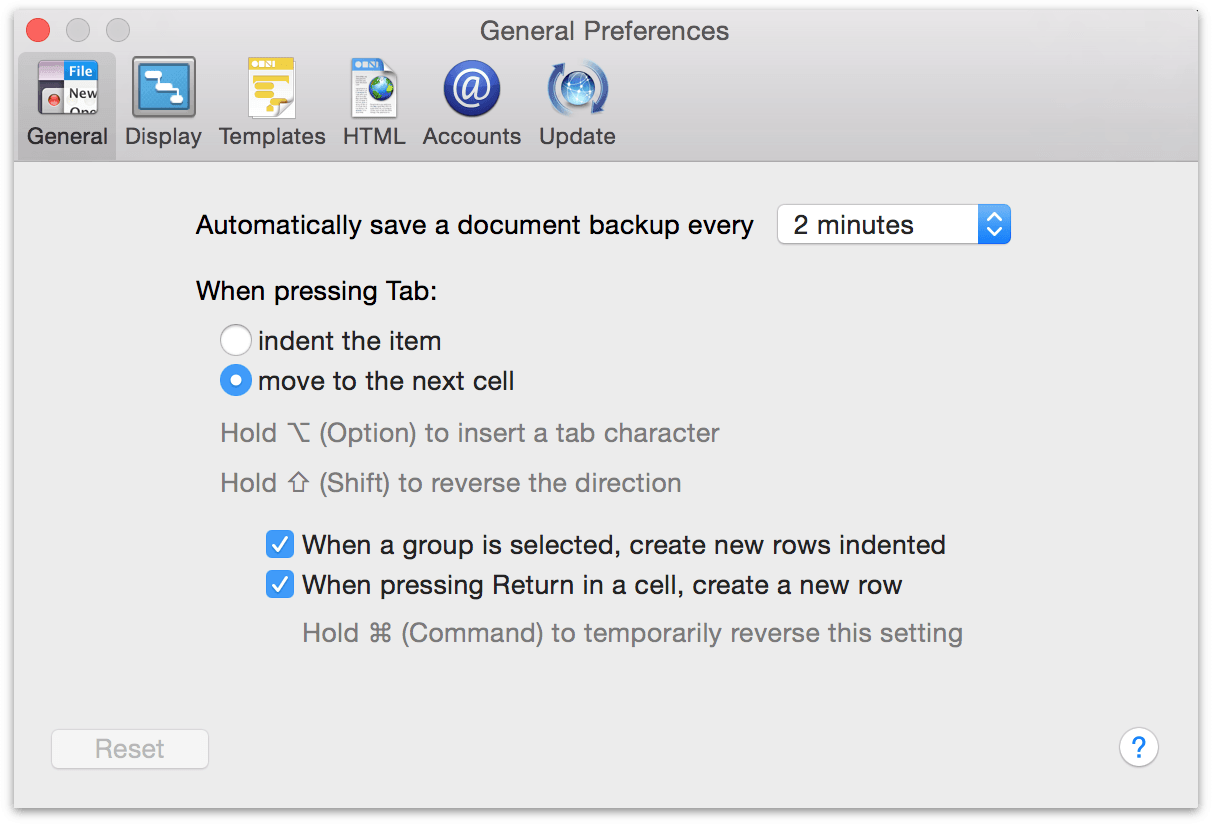
When pressing Tab — You can set the Tab key to do one of two things:
Indent the currently selected item in the outline, thus making it a child of the item above it; pressing Shift-Tab outdents the selected item.
Move to the next cell in the outline; pressing Shift-Tab moves to the previous cell.
Either way, the Indent and Outdent commands in the Structure menu (and their keyboard shortcuts, ⌘[ or ⌘] by default) will always work.
You can always press Option-Tab to type a tab character at the insertion point.
When pressing Return in a cell, create a new row — When you are done editing the contents of a cell in the outline, you might press Return to finish editing. If this preference is turned on, a new item is then created. Otherwise, the editing just ends and the current item becomes selected.
Whether this setting is on or off, pressing Return while not editing a cell always creates a new item.
You can hold Command while pressing Return to temporarily change the setting; for example you could press Command-Return to finish editing and create a new item, even if the setting was turned off.
Display
The Display preferences are the second pane of the preferences window, available from the OmniPlan menu.
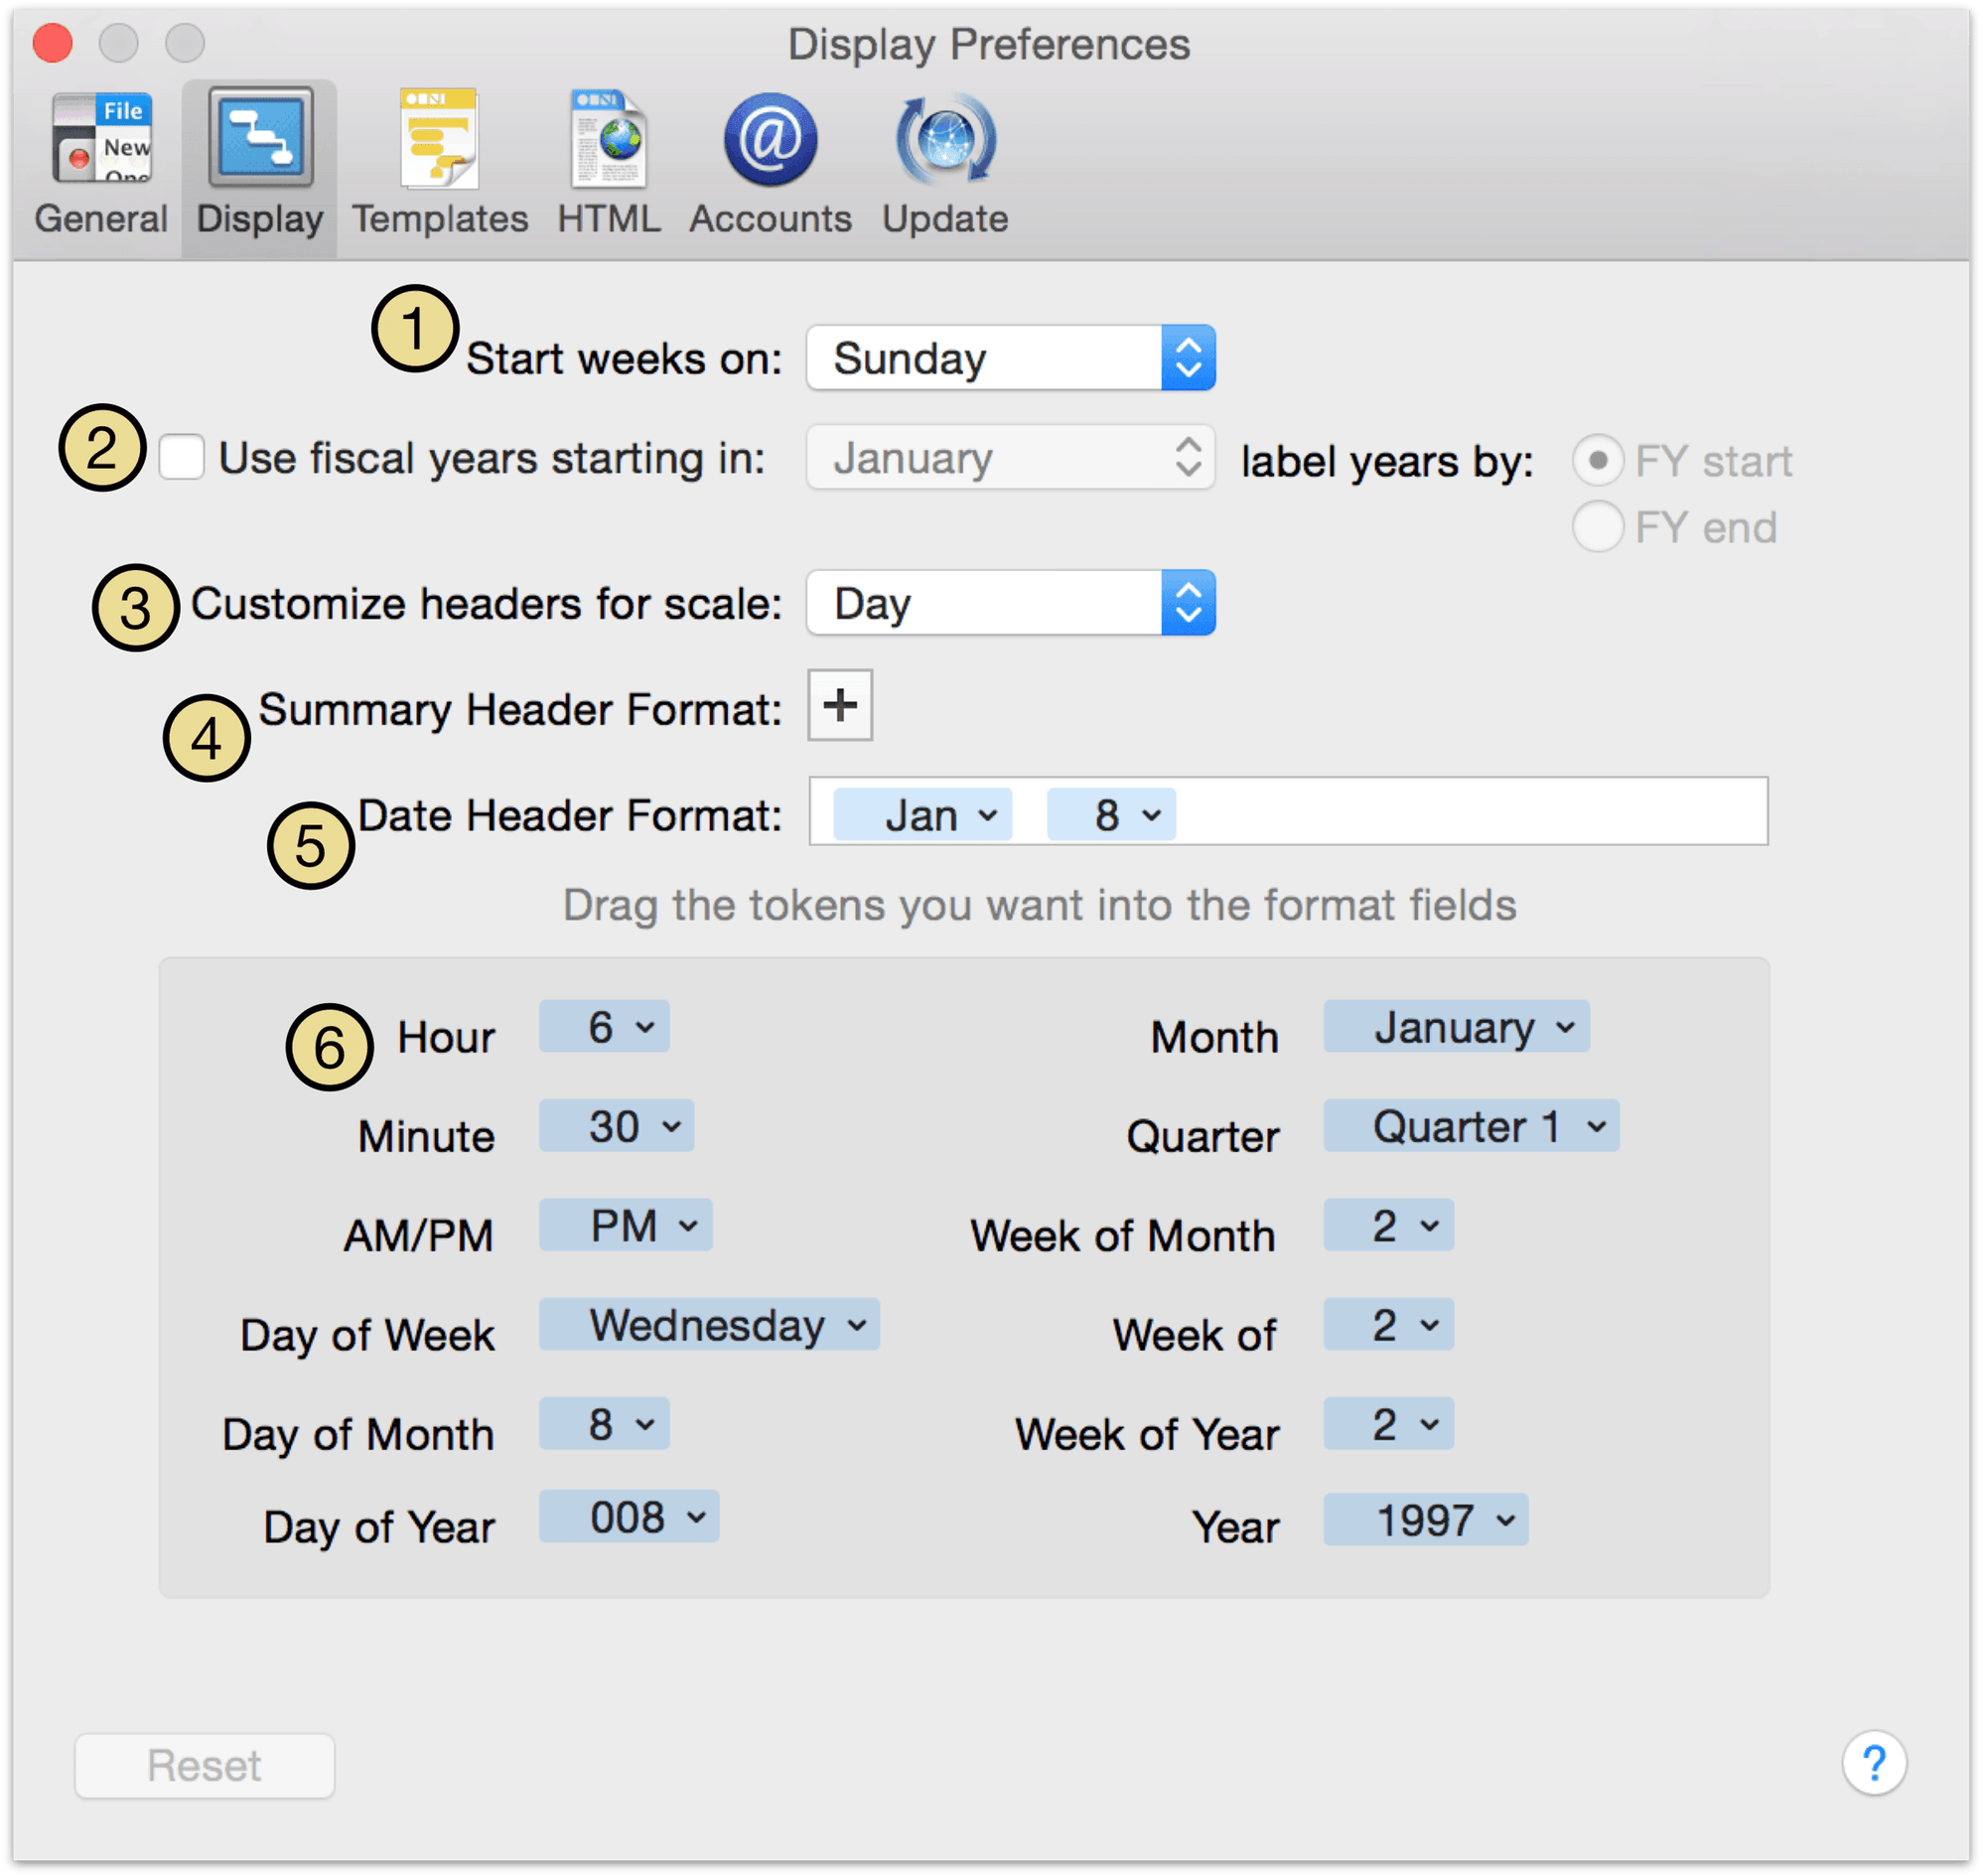
Choose which day OmniPlan should consider as the first day of the week.
Turn on Fiscal Years and specify when they start or end.
The pop-up menu determines which chart header scale you are editing. The different time scales appear in the headers of the Gantt chart, resource timeline, and work week chart, depending on the zoom scale.
Click the plus button to add a summary header to the current scale; this makes an extra layer of headers above the normal one in the Gantt chart and the resource timeline. This extra layer gives you more room to show, for instance, the week above the day, or the month above the week. The summary header format can be customized in the same way as the regular date header format, by dragging tokens from the box below and by typing directly into the field. Here we have a summary format that displays the word “Week” followed by the number of the week. To get rid of the summary header, just click the minus button to the right of the field.
Here’s where you can assemble a date format. Drag tokens from the box below, and type spaces or characters wherever you want them to appear. Some tokens offer information about the date at the beginning or end of a week or quarter. This is so that you can, for example, create a week format which indicates the first and last days of the week. Here we have a format that displays the short name of the month, followed by the date.
Tokens can be dragged to the format field above to construct a date format. Click the triangle on the right side of a token to change the display of the token. For example, this token represents the month; you can choose to display the month as a full word (January), an abbreviation (Jan), a two-digit number (01), or a one-digit number (1).
Templates
The Templates pane of Preferences provides a list of included templates that you can use as the source for a new document. Two are included with the app by default (a completely empty plan and one set up with Automatic Leveling turned on), and you can create your own from a currently open plan by choosing Save as Template from the File menu.
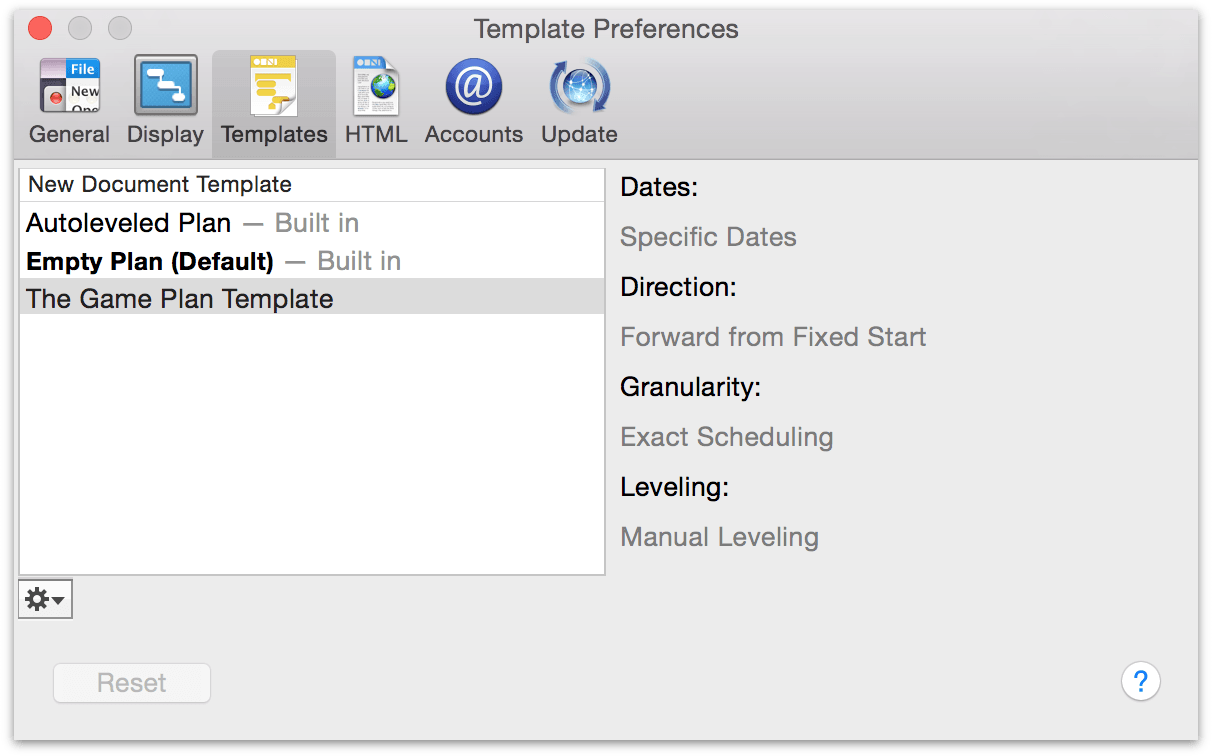
Edit the list of available templates using the gear menu beneath the document list. If there are settings you use frequently for new project files, you can choose a template to set as the default; otherwise, create new projects from templates by choosing New From Template… from the File menu. For more on templates, see Using Templates.
HTML
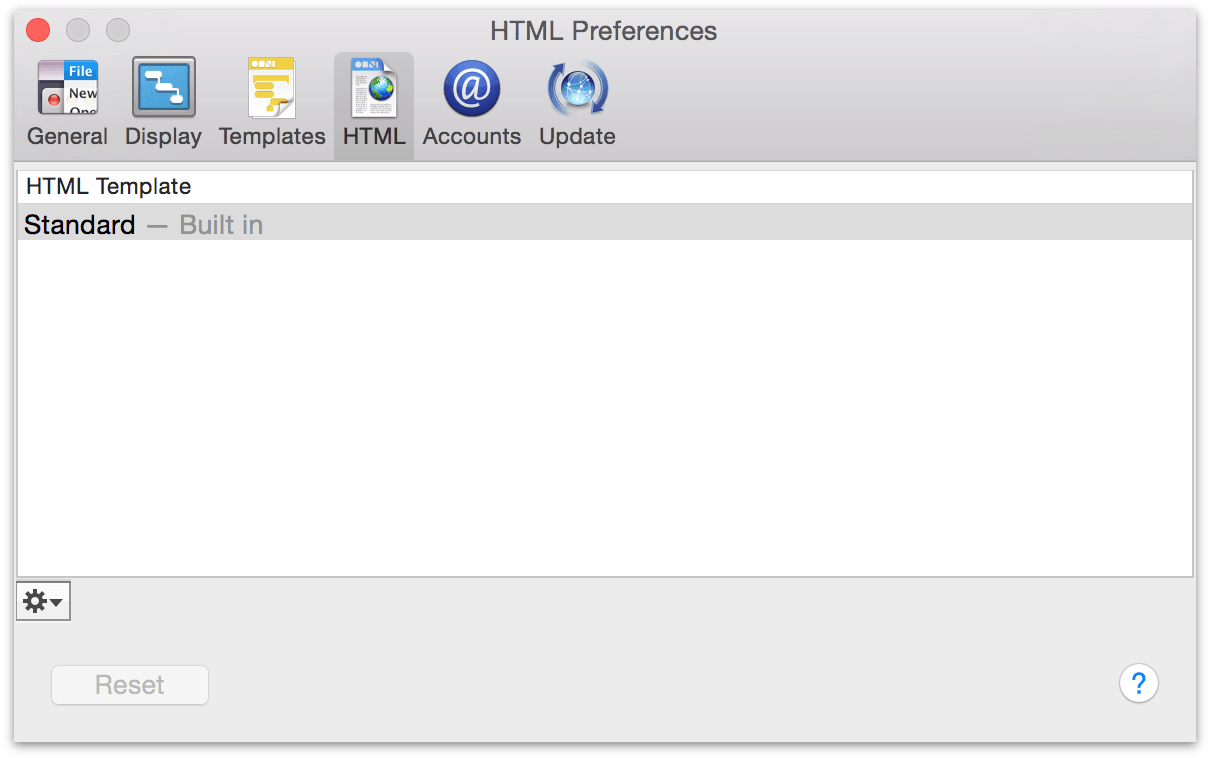
Printing and export of OmniPlan files relies on a set of HTML and CSS files that describe how the destination document should look. A standard format for these is included with the app, but if you’d prefer to customize the appearance and presentation of your project when printing or exporting, you can create a new copy of the HTML template from the gear menu on this pane, save the copy in a folder you designate, and edit the HTML and CSS to suit your needs.
Accounts
Manage your WebDAV and Omni Sync Server accounts for publishing and subscribing on the Accounts pane of Preferences. A quick start guide for getting synced can be found below.
Creating a Sync Account
When multiple users will be contributing to and editing an OmniPlan project, you can easily keep everyone on the same page by storing the project in a server repository.
First, set up a server account in the Accounts section of Preferences, found in the OmniPlan menu.
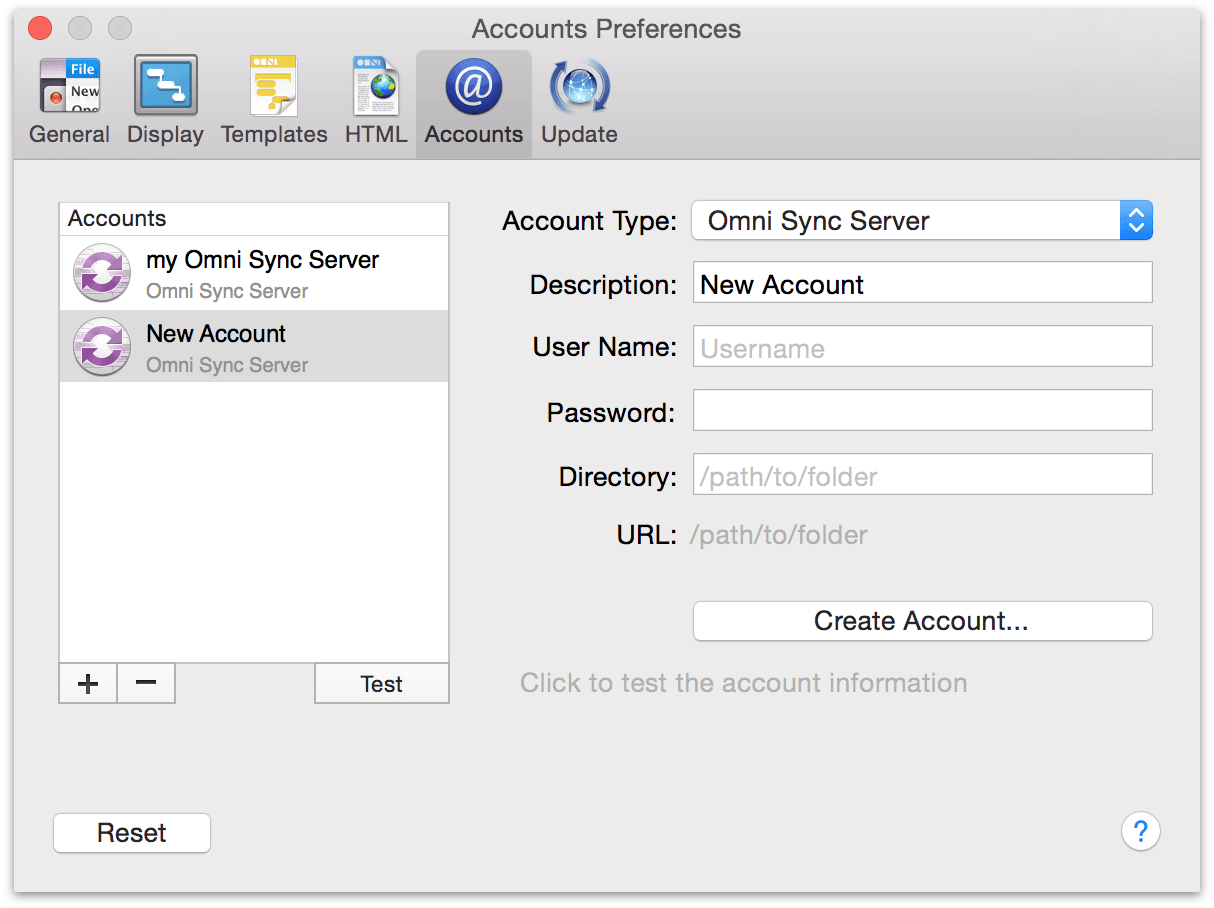
Click the plus sign under the accounts list to create a new account, then choose an account type from the dropdown: CalDAV, Google, Omni Sync Server (the default), and WebDAV. The Omni Sync Server option is recommended for users seeking a free and robust syncing solution, while a self-hosted WebDAV server may be preferred for confidential projects where data privacy is the highest priority.
To sync via Omni Sync Server, enter your account information or click Create Account to create a new account online. You’ll get feedback at every step of the process as your account data is validated.
Note
When adding an Omni Sync Server account in OmniPlan the user name field only requires the part of your email address that precedes the "@" symbol, and the directory field can be left blank.
Publishing and Subscribing
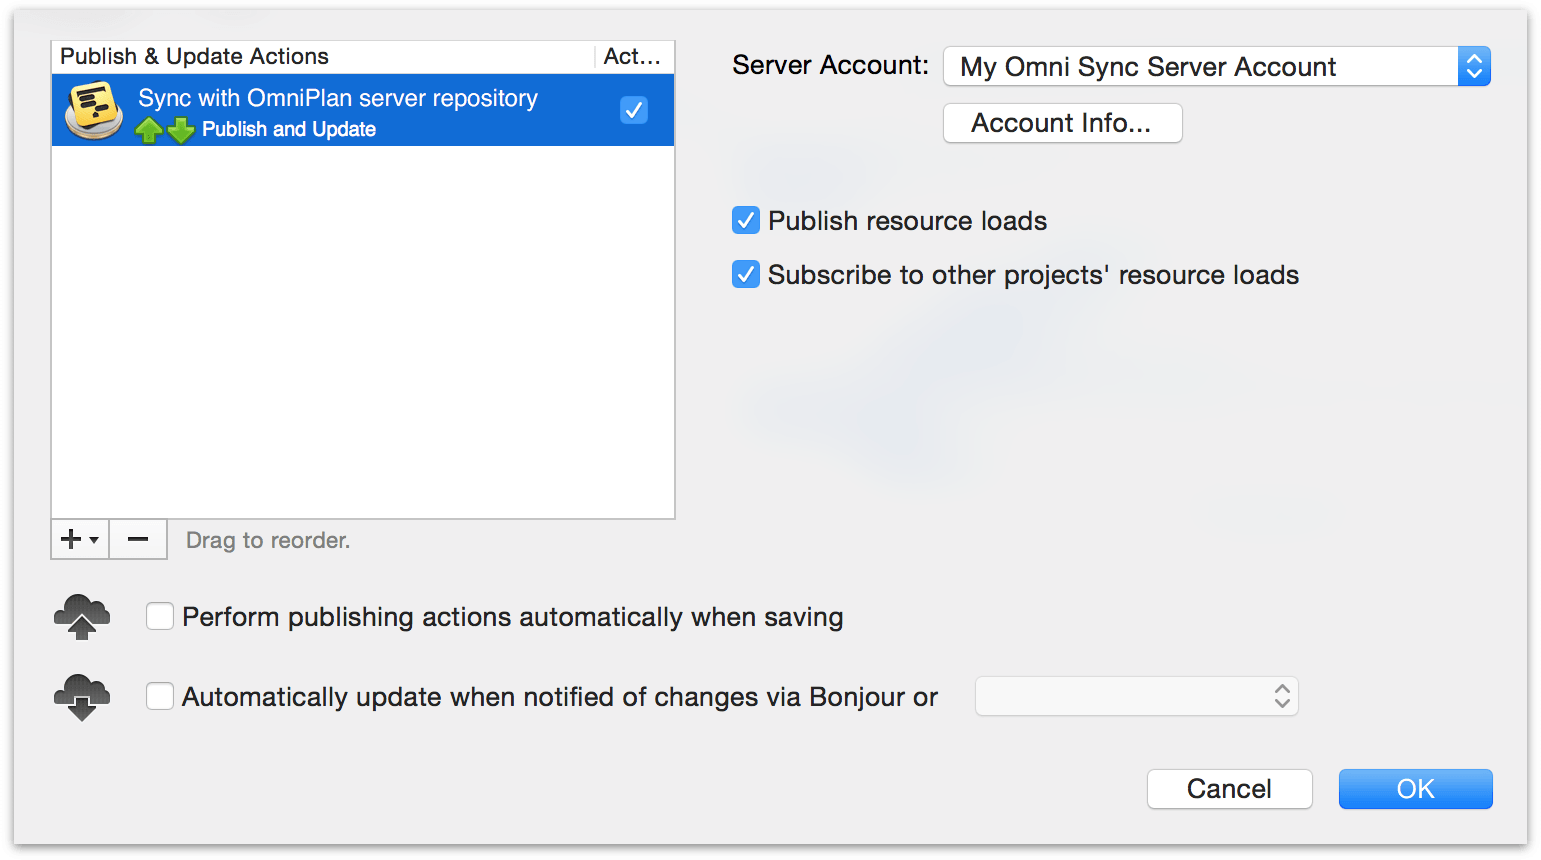
Next you’ll want to visit the Configure Publishing & Subscriptions screen, accessible via the Projects menu. Click the plus sign at the bottom of the Publish & Update Actions window to choose the type of syncing or subscription you’d like to set up for this project. Choosing Sync entire plan with OmniPlan server repository will make the project accessible to everyone else with access to the account you’ve just set up in Preferences, and updates to the project file will be synced for all users.
Warning
Because OmniPlan relies partially on your system time to determine the scheduling of synced project updates, making changes to the Apple system clock when working on a project with publishing or subscription enabled will result in an error and should be avoided.
Update
OmniPlan can automatically use your internet connection to check for new and updated versions of itself; you can get to these options by choosing Preferences from the OmniPlan menu, then clicking Update.
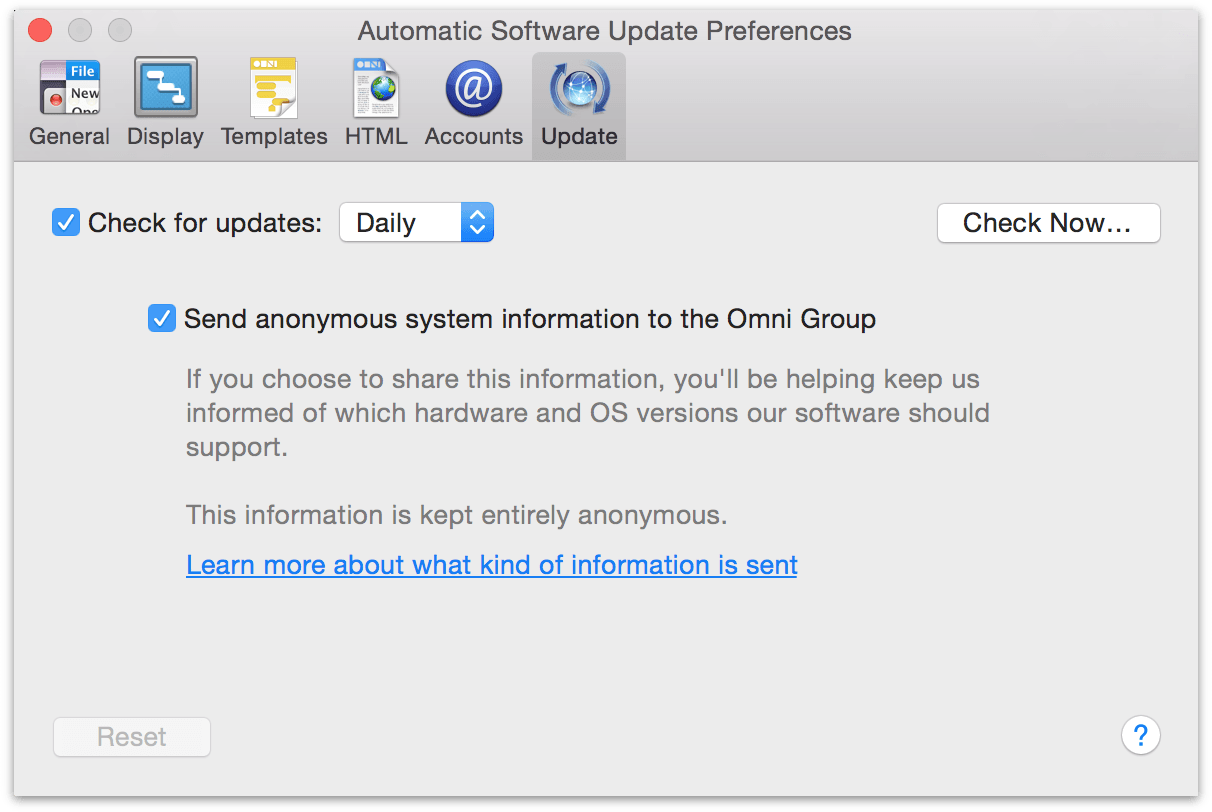
If the Check for Updates checkbox is selected, you will be notified when there is a new version of OmniPlan ready for you to enjoy. Click the Check Now… button to look for the newest version once right away.
You can select the Send anonymous system information to the Omni Group checkbox to volunteer some information about your computer’s configuration when you check for updates. For details about what kind of information we collect and how we use it, click the Learn More link on the preference pane.