Installing and Configuring OmniPresence
OmniPresence starts out its life on your Mac just like any other Mac app you install. You download a disk image, and drag the app icon to the Applications folder. However, unlike other Mac apps that show up in the Dock when you launch them, OmniPresence never shows up in your Dock. Instead, OmniPresence spends its life as a menu bar extra—one of those black icons—at the top of the screen.
Note
If you have turned on the Use dark menu bar and Dock option in System Preferences, your menu bar extras are white instead of black.
With the Account Name and Password for your Omni Sync Server account in-hand, this chapter takes you through the process of downloading, installing, and configuring OmniPresence on your Mac.
Downloading OmniPresence from our Server
OmniPresence is only available for download from our website; it isn’t available on the Mac App Store.
Click this link to download OmniPresence. OmniPresence is packaged within a disk image (a file ending with a .dmg file extension), which is saved to the Downloads folder on your Mac.
Installing OmniPresence
To install OmniPresence, follow these steps:
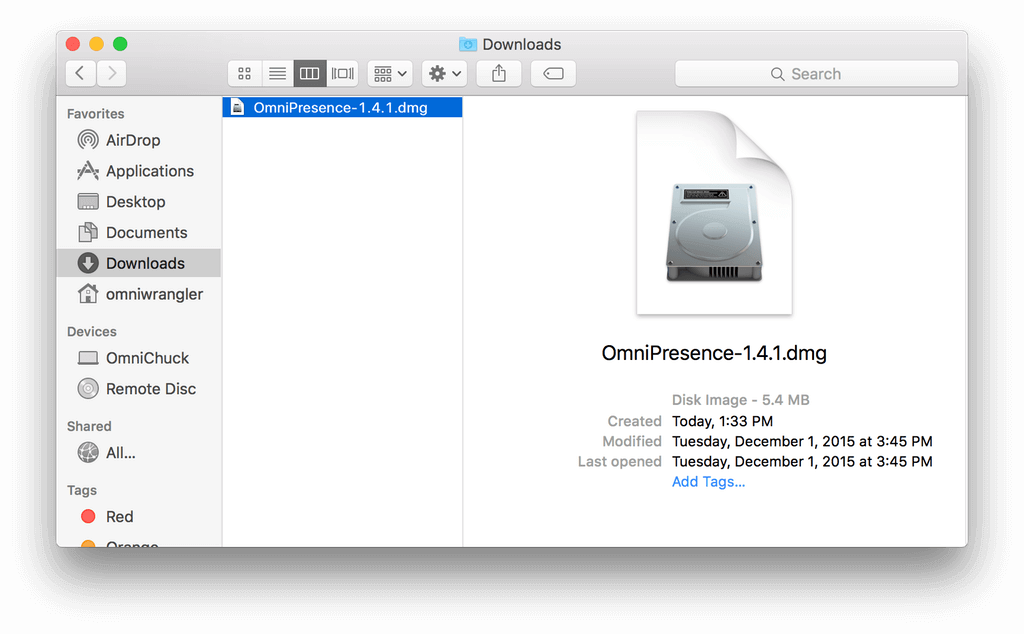
- Double-click OmniPresence-1.4.1.dmg to open the disk image. This opens the disk image, mounting it under the Devices section of the Finder’s sidebar.
Note
The filename you see might be slightly different. As of this writing, OmniPresence for Mac is at version 1.4.1 (thus the filename, OmniPresence-1.4.1.dmg). If you see a different number in the filename, don’t be worried; just go ahead and double-click that one. It just means that our engineering team have been hard at work to improve OmniPresence for Mac. - After agreeing to our license, you’re presented with the following window:
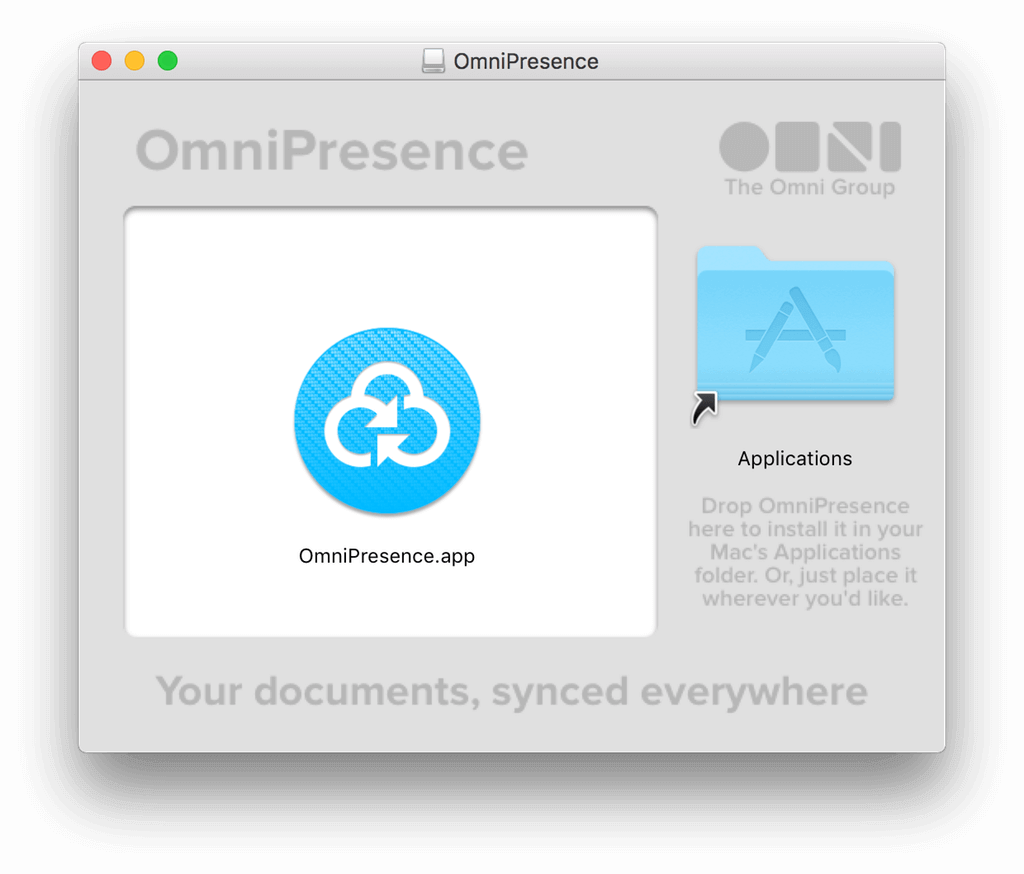
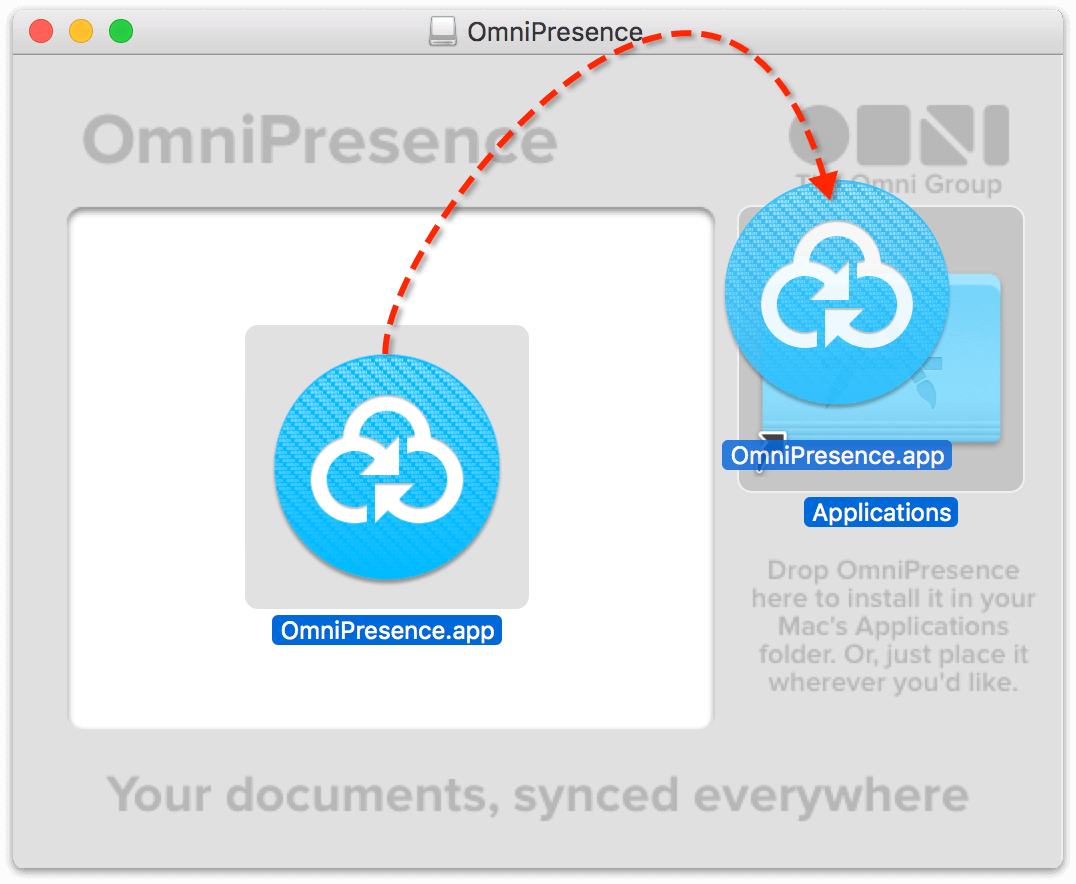
- Drag and drop the OmniPresence.app icon onto the Applications folder to install OmniPresence on your Mac:
- Close that window by pressing Command-W.
- In the Finder’s sidebar, click the eject button next to OmniPresence’s disk image; this unmounts the disk image so you can delete the disk image file from your system.
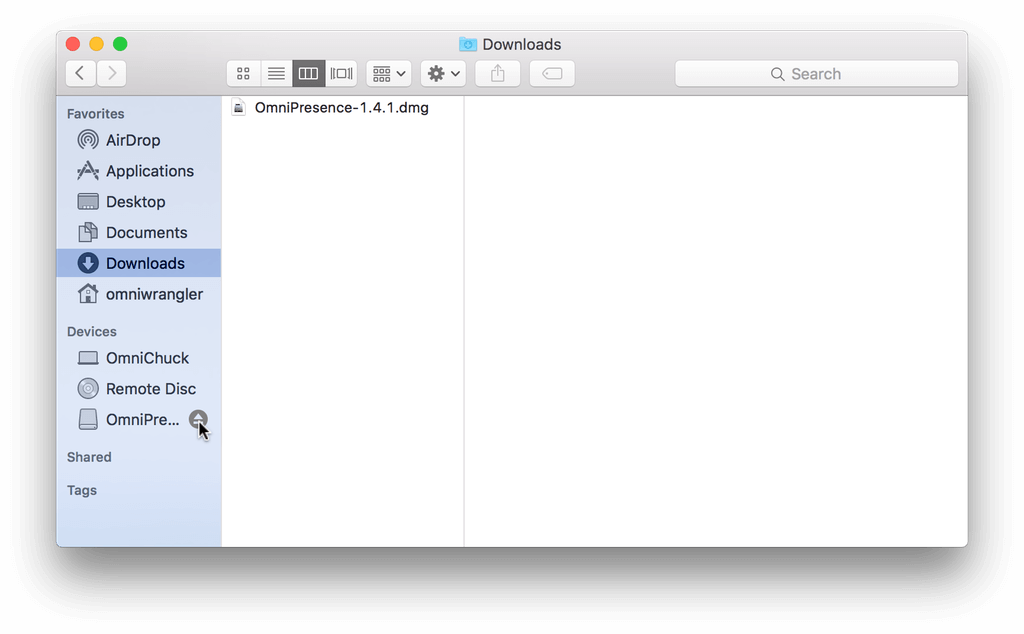
- In the Finder window, return to the Downloads folder. Select the file OmniPresence-1.4.1.dmg and press Command-Delete to move the file to the Trash. The next time you empty the Trash, that disk image is purged from your system, saving you precious disk space.
With OmniPresence installed, now it’s time to set up a synced folder for OmniPresence to sync to, and then connect to Omni Sync Server.
Starting OmniPresence and Connecting to Omni Sync Server
With OmniPresence installed, it’s time to get it started and connect to your Omni Sync Server account.
Follow along...
- In the Finder window, choose Applications in the Finder’s sidebar. (If you don’t see it there, choose Go ▸ Applications, or use Shift-Command-A.)
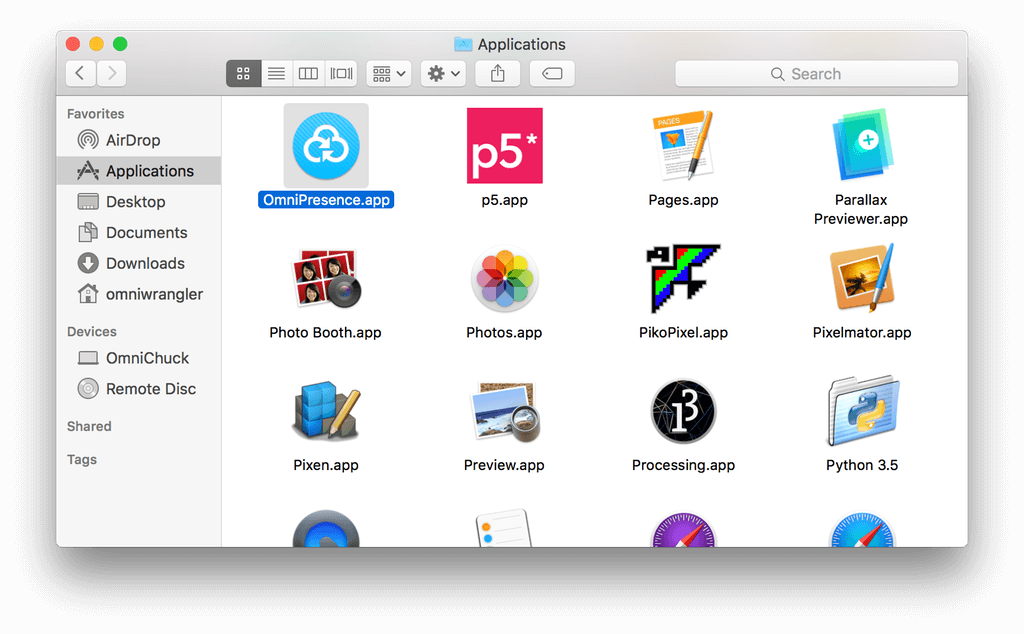
- Scroll down in the list of applications installed on your Mac and locate OmniPresence.app.
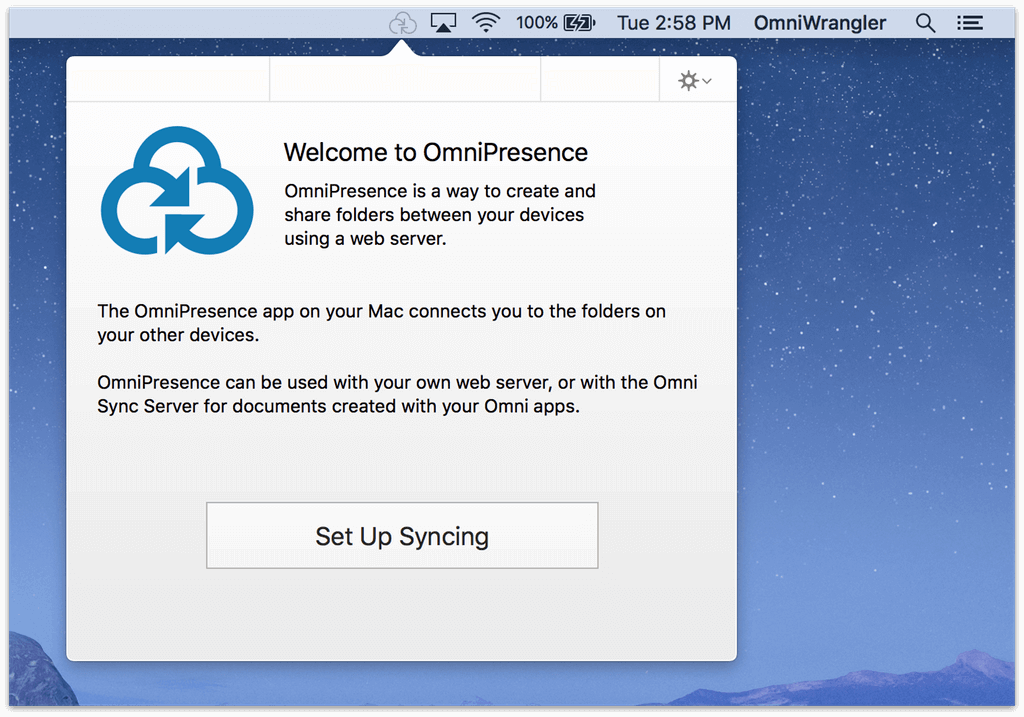
Double-click the OmniPresence.app icon to open the app. You’ll notice that, unlike other Mac apps, OmniPresence’s icon doesn’t appear in the Dock. Instead, OmniPresence installs a menu bar extra —
 — in the menu bar at the top of the screen.
For more details about using OmniPresence’s menu bar extra—and the icon’s various states—see Using OmniPresence on Your Mac.
- Click Set Up Syncing:
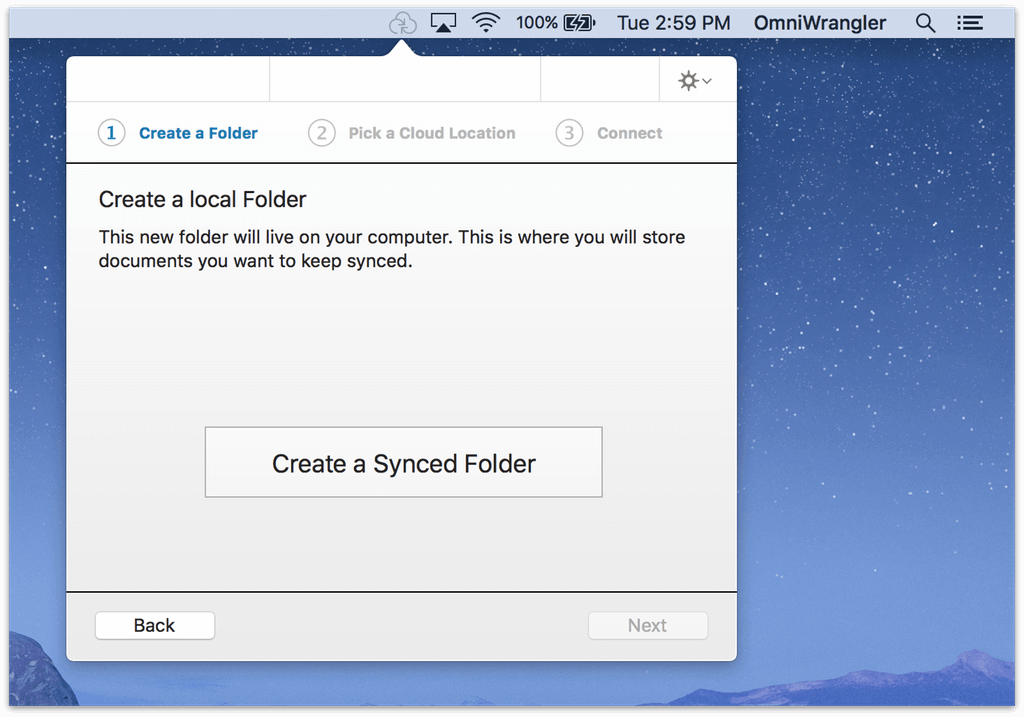
- Click Create a Synced Folder:
In the sheet that appears, you have the option to name the OmniPresence folder that lives on your Mac. We’ve pre-filled the New Folder field with OmniPresence, but you can change this to whatever you’d like.
You have total control over where the sync folder is stored on your Mac. For example, you could create it within the Documents folder, or you could opt to have your OmniPresence folder reside at the bottom level of your Home folder.
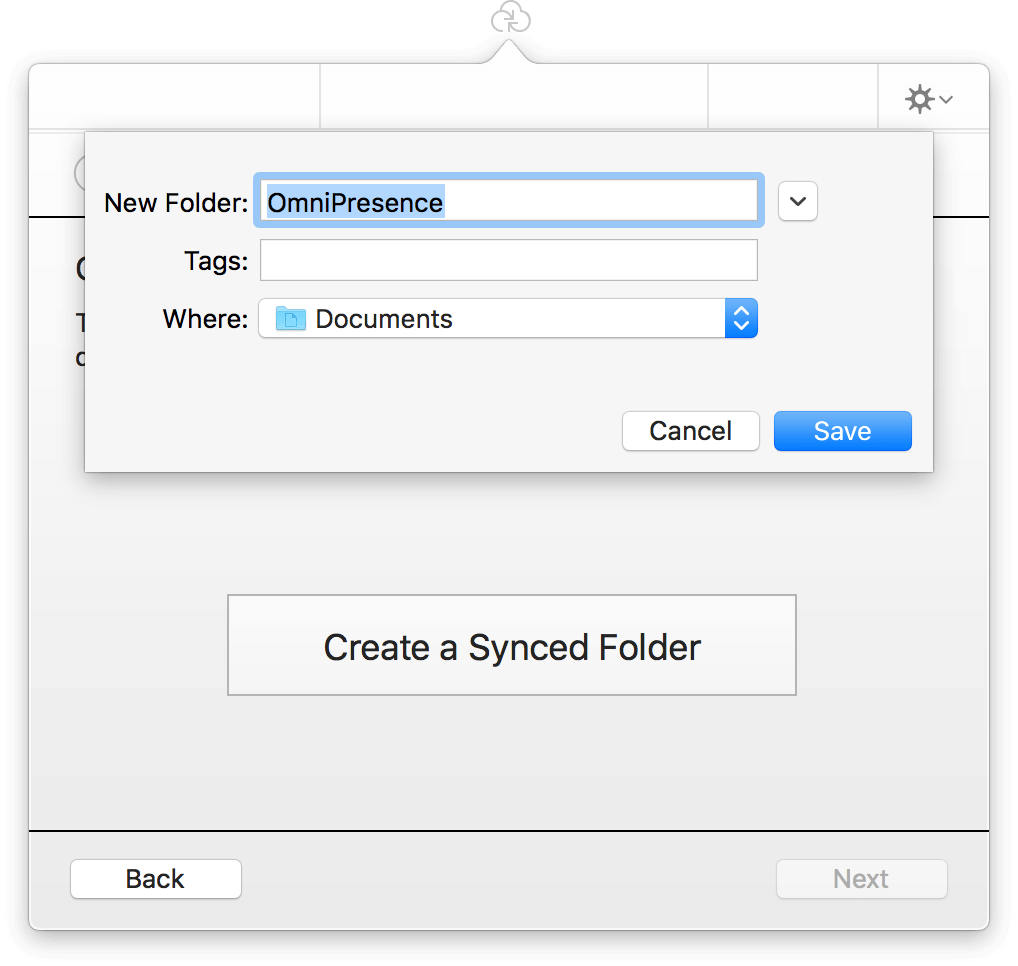

When you’ve settled on a name and location for your OmniPresence folder—or if you’ve decided to go with the default options—click Save. This creates the folder OmniPresence uses to synchronize your files.
After creating the OmniPresence folder, your next task is to choose a server in the cloud where OmniPresence stores your synced files.
You have two options to choose from:
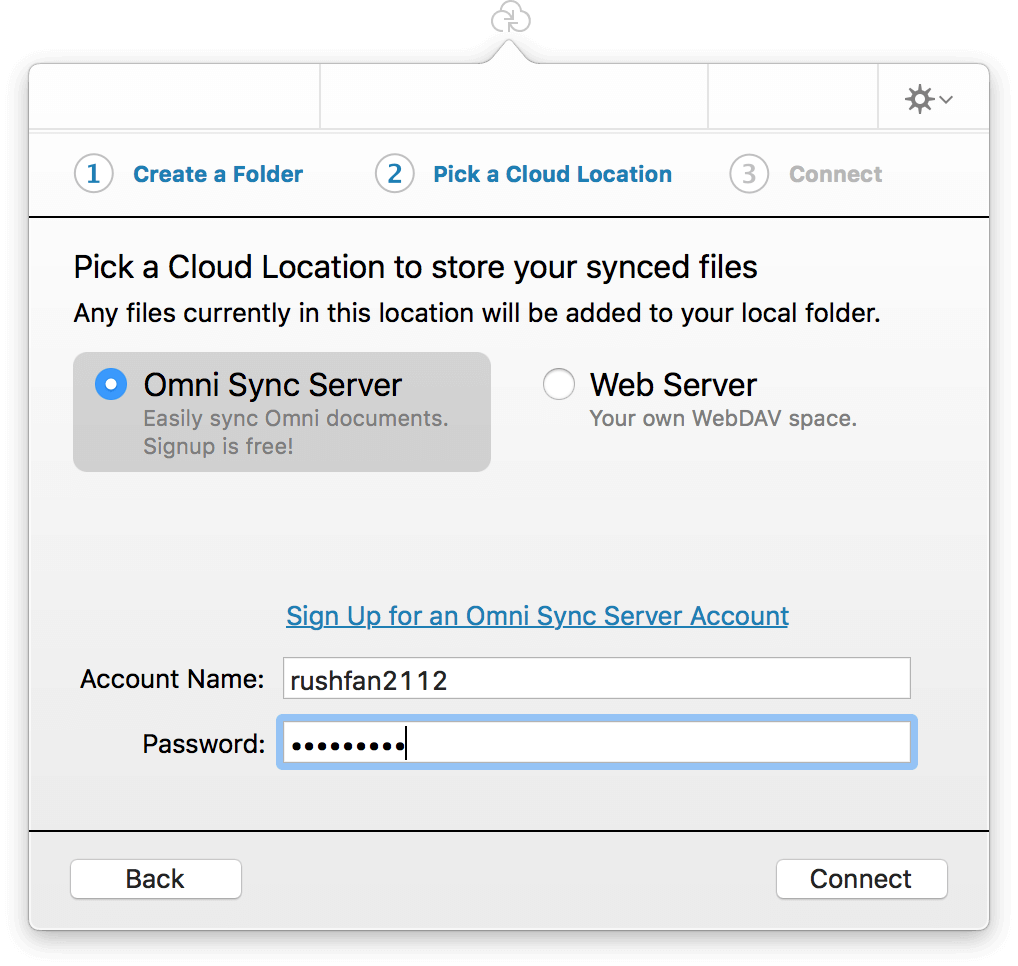
- Omni Sync Server: This is Omni’s free file server, which has specifically been designed to work in unison with OmniPresence.
- Web Server: This could be your own WebDAV server, or a WebDAV server hosted by a third-party provider.
If you have an Omni Sync Server account, enter your Account Name and Password in the applicable fields and click Connect.
Note
If you haven’t already set up an Omni Sync Server account, click Sign Up for an Omni Sync Server Account. This opens your default web browser and transports you to the Omni Sync Server site where you can sign up for an account and set your password.-
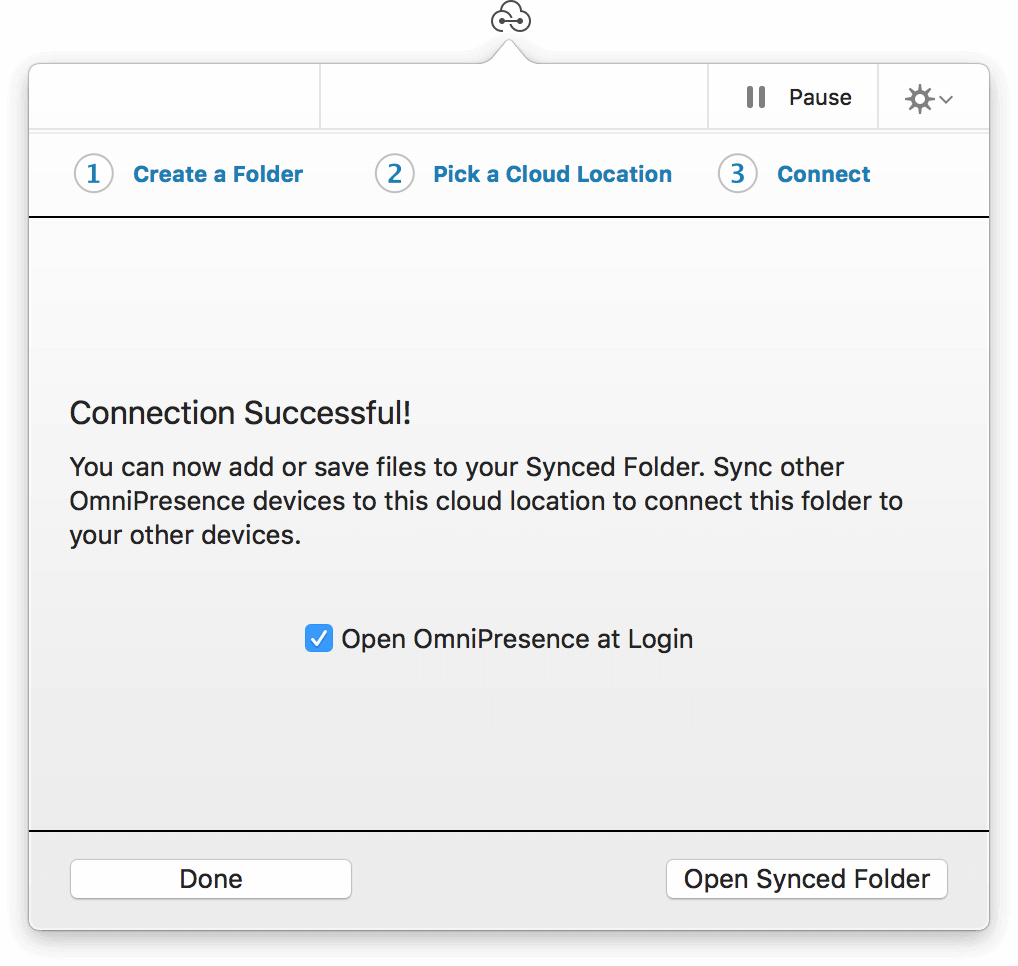
After clicking Connect, OmniPresence connects to the server you’ve chosen and tests for server compatibility. This is more of an issue with third-party WebDAV servers than it is for connecting to Omni Sync Server, which has been designed to work with OmniPresence.
If everything is okay, OmniPresence makes the connection and lets you know if it is able to connect to Omni Sync Server (or the WebDAV server you’ve specified).

-
If you would like OmniPresence to start up whenever you log into your Mac, click the checkbox for Open OmniPresence at Login.
-
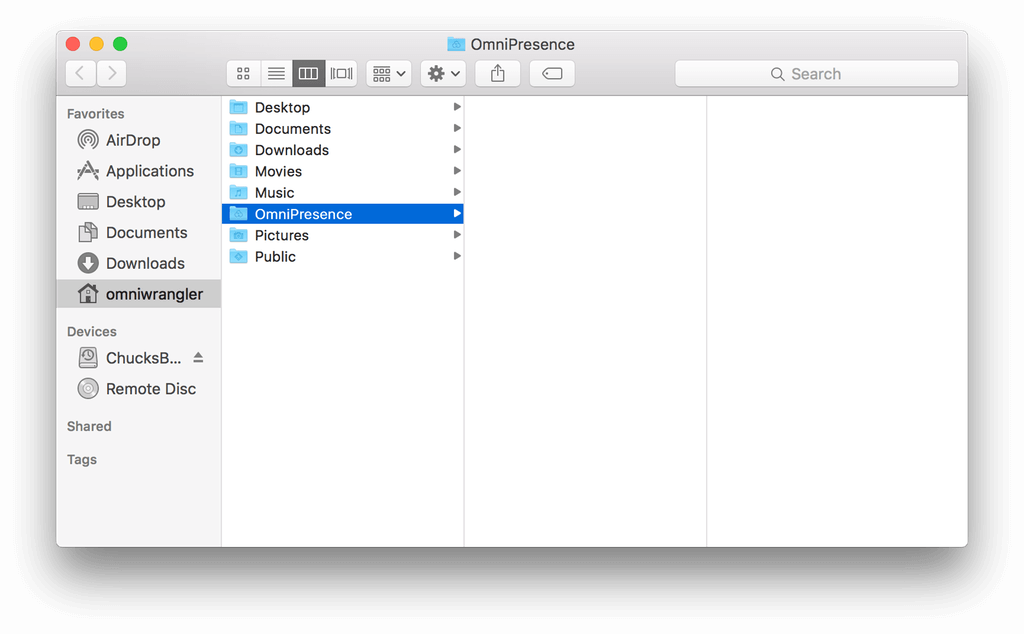
At the bottom of that window, click Done if you’re finished, or click Open Synced Folder to open a Finder window displaying your new sync folder.
If you’ve already synced with OmniPresence on another device, OmniPresence automatically starts populating this folder with your existing synced files. Otherwise, add files to this folder to start syncing them with the server.
Once OmniPresence connects with Omni Sync Server, you’re ready to go. Whenever you create files with OmniGraffle, OmniOutliner, or OmniPlan, be sure to save them to your OmniPresence folder. And, if you have OmniGraffle, OmniOutliner, or OmniPlan for iOS, don’t forget to connect to Omni Sync Server on your device so your files will be with you wherever you go.