If you are interested in self-hosting your own OmniFocus data, but don’t know how to manually configure your own server, you might want to try WebDAVNav Server. This free app makes it (relatively) quick and easy to host a WebDAV server on your Mac. This article walks through the basics of how to set things up to use with OmniFocus.
Helping to troubleshoot a self-hosted WebDAV server, including WebDAVNav Server, is not something our Support team can assist with.
While we hope this guide can help, we don’t make the web server software, so we cannot provide support for it. If you’re absolutely stuck, send us an email, and we’ll see if we can point you in right general direction toward some helpful resources from around the web, but we make no guarantees.
Before you get started, you’ll likely want to create a new folder on your Mac that you will use with WebDAVNav Server (this will be where data synced to the server gets stored). We recommend creating a folder like “webdav” or “webdavnav” at the root level of your home folder, but the choice is yours!
-
Download WebDAVNav Server from the Mac App Store.
-
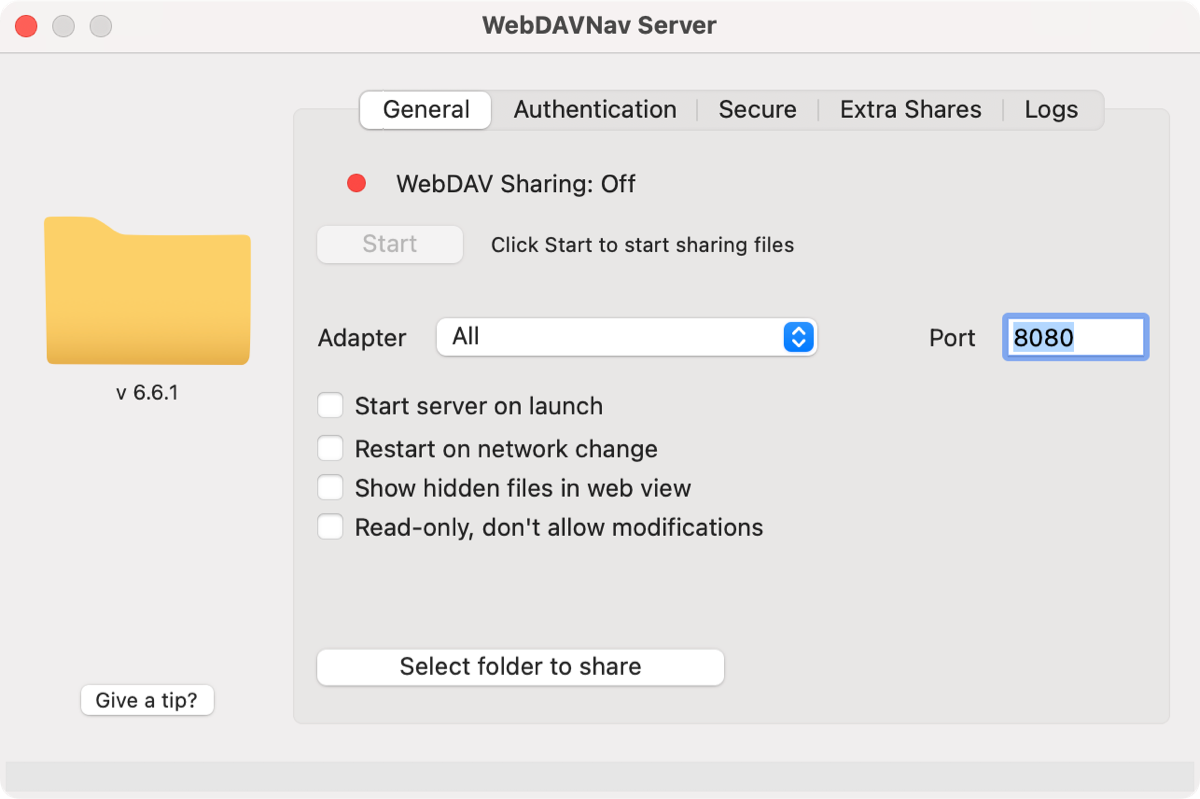
Open the app. It will start out on the General tab.

-
Click Select folder to share. In the file picker that appears, select the folder you want WebDAVNav Server to use, and click Open.
-
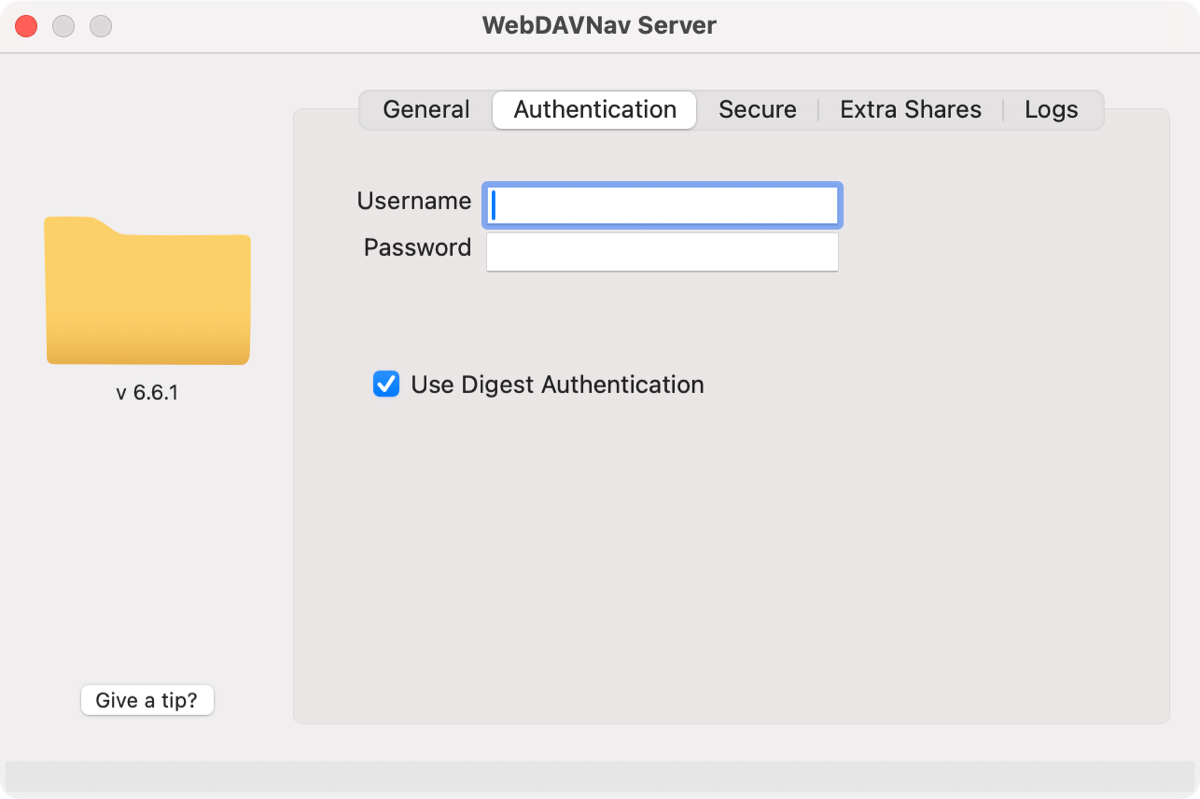
Switch to the Authentication tab, and pick any username and password. These will be the credentials you use to connect to the server in OmniFocus.

-
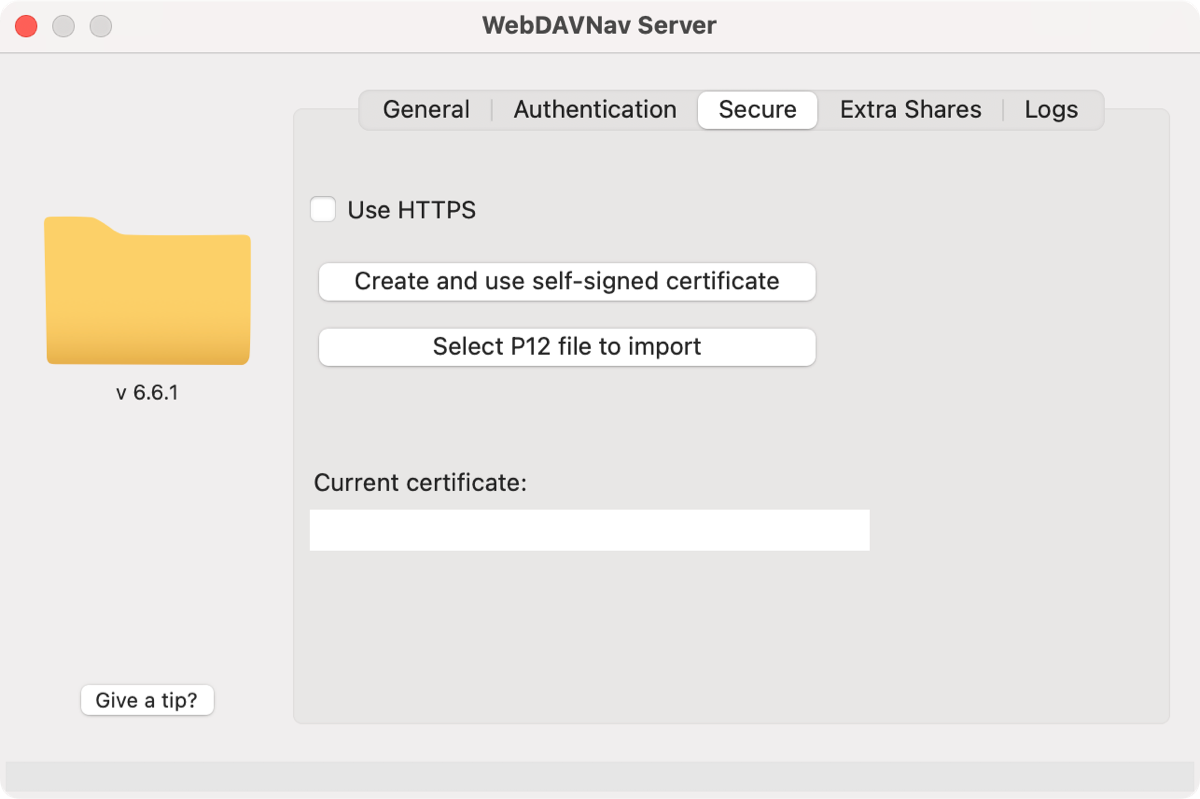
Switch to the Secure tab, and enable Use HTTPS. This will encrypt the communication between apps and the server, so that others on your local network won’t see your data.

Older versions of OmniFocus may not work well with Use HTTPS enabled. If you will be syncing to a copy of OmniFocus 3 or earlier, we recommend leaving this option disabled. Your OmniFocus data is still secure since OmniFocus uses is own end-to-end encryption.
If you do disable Use HTTPS, just remember to enter the start of your server address as
http://when configuring OmniFocus. -
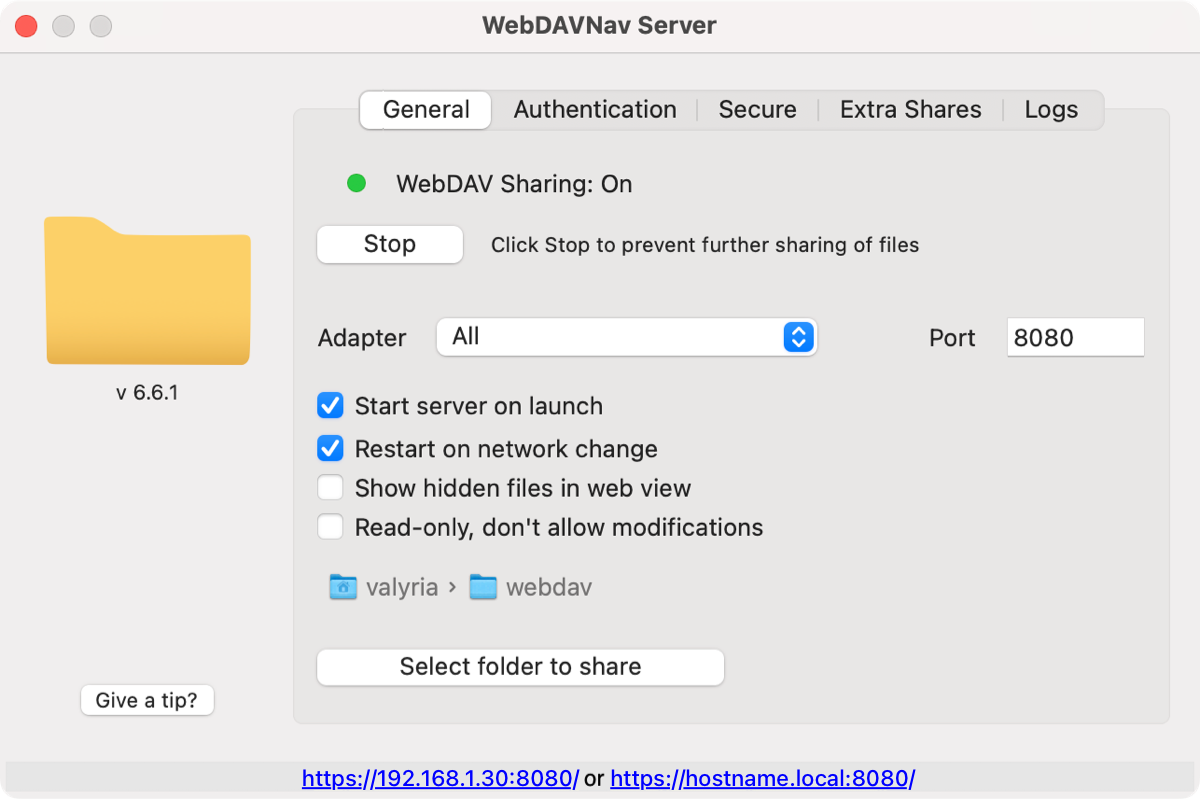
Return to the General tab, and click Start. Your personal WebDAV server is now running!

You can now configure other devices on your local network to sync with your server, using the numeric or named address given. The numeric address may change every time you connect to a network, so we recommend using the https://[hostname].local:8080 option, which should only change when your computer name changes.
We’ve heard from some users that using all lowercase letters for your Mac’s local hostname works better.
