Flowcharts are different from a traditional diagram, in that their intended purpose is to detail the progression of steps, or stages, in a process or activity. Also, flowcharts employ different shapes to denote the type of step in the process. For example, the following shapes — among many more — are available in the Shape inspector:
Compact-list
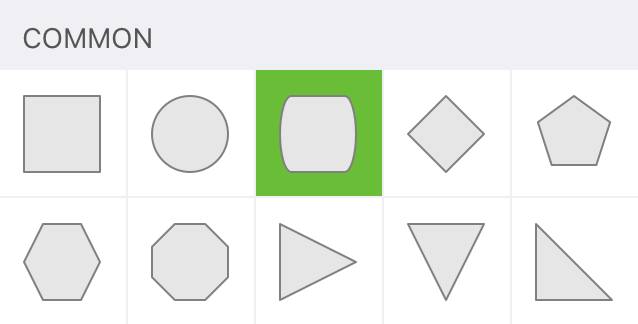
- Use a Rounded Rectangle shape to denote the start and end of the process.
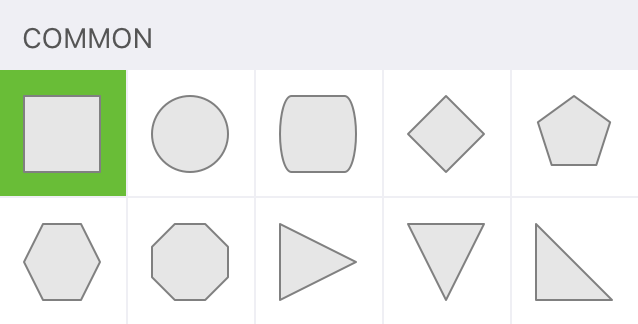
- Use a Rectangle shape for basic steps in the process.
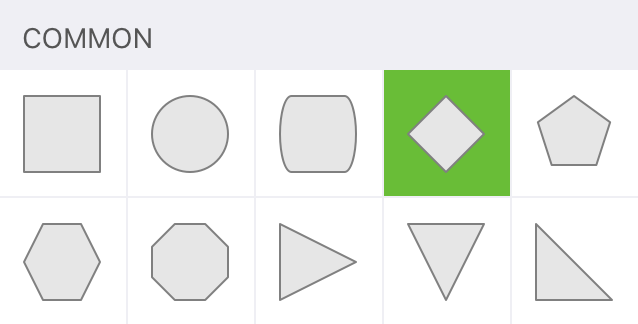
- Use a Diamond shape for decision points in the process.
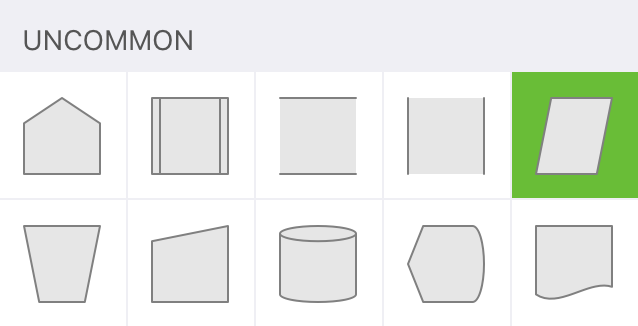
- Use a Parallelogram to indicate when input, such as a meeting, or when output, such as distribution of meeting notes, takes place.
To create a flowchart, do the following:
-
Create a new document and use the Blank template.
-
In the tool palette, double-tap to select the Shape tool.
-
In the toolbar, tap the Inspect button
 to open the Inspectors Bar, then choose the Shape inspector.
 -
In the Shape inspector, choose the Rounded Rectangle shape and draw a pill-shaped object on the canvas.
-
In the Shape inspector, choose the Diamond shape and draw a single diamond on the canvas.
-
In the Shape inspector, choose the Rectangle shape and draw a single rectangle on the canvas.
-
In the Shape inspector, choose the Parallelogram shape and draw a single parallelogram on the canvas.
-
In the tool palette, tap the Selection tool.
-
Tap the canvas and choose Select All from the contextual menu.
-
Tap one of the selected objects and choose Duplicate from the contextual menu.
You now have two copies of each object type on the canvas. Using the Selection tool, move the objects around to reflect the following process flow:
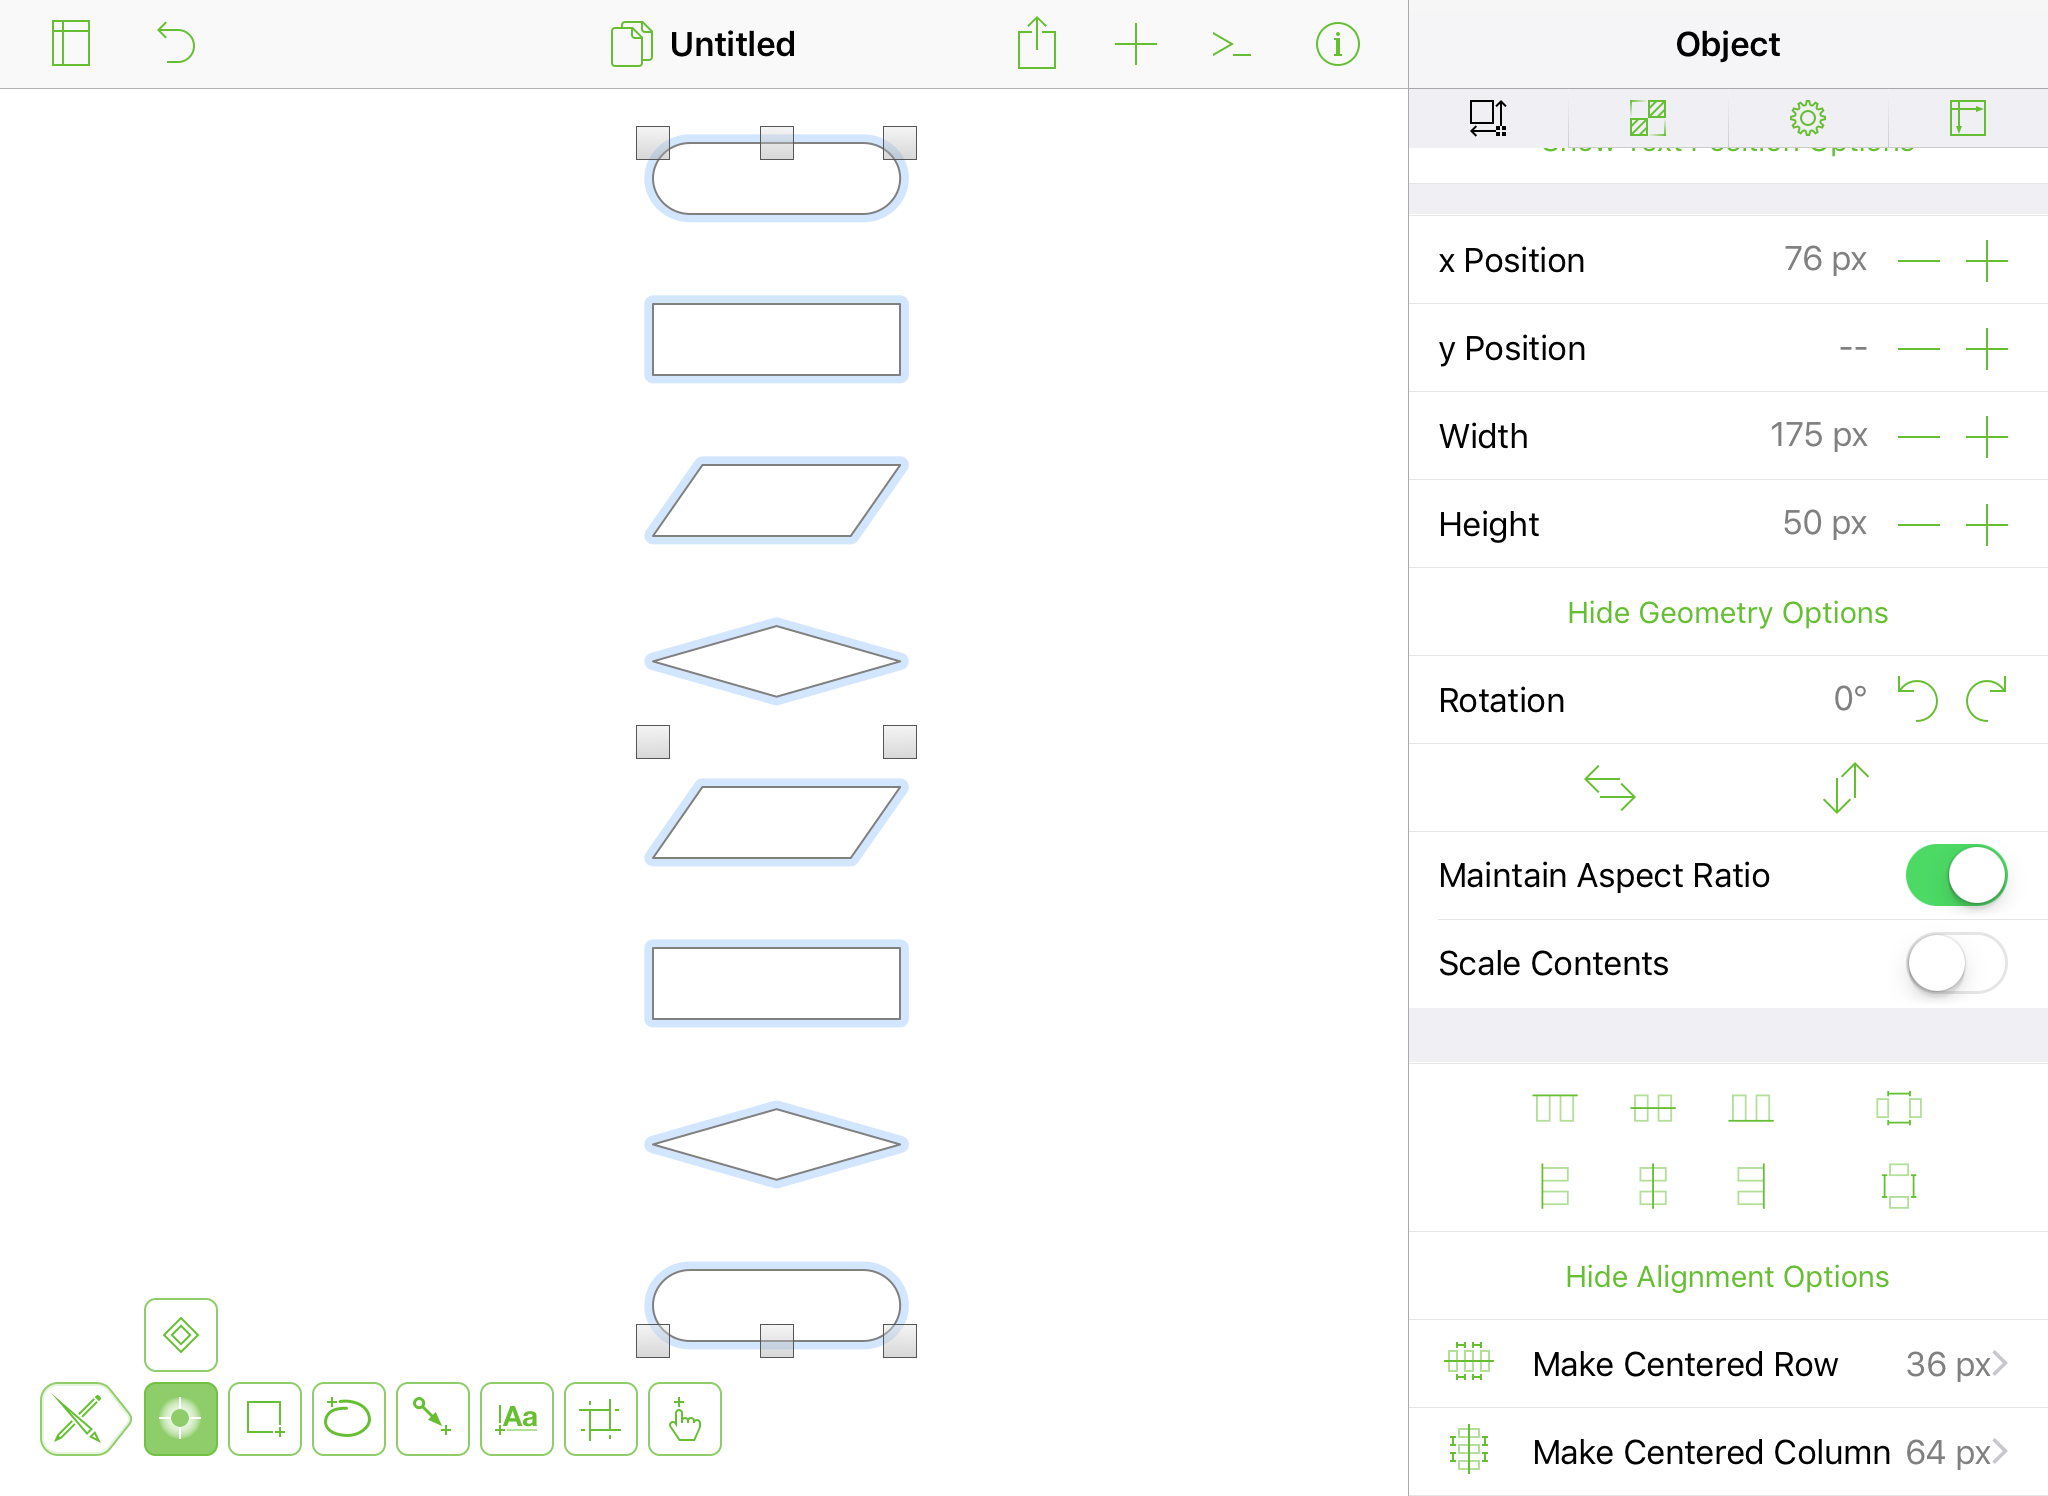
-
Double-tap and use the Text tool to add labels to the objects in the flowchart as follows:
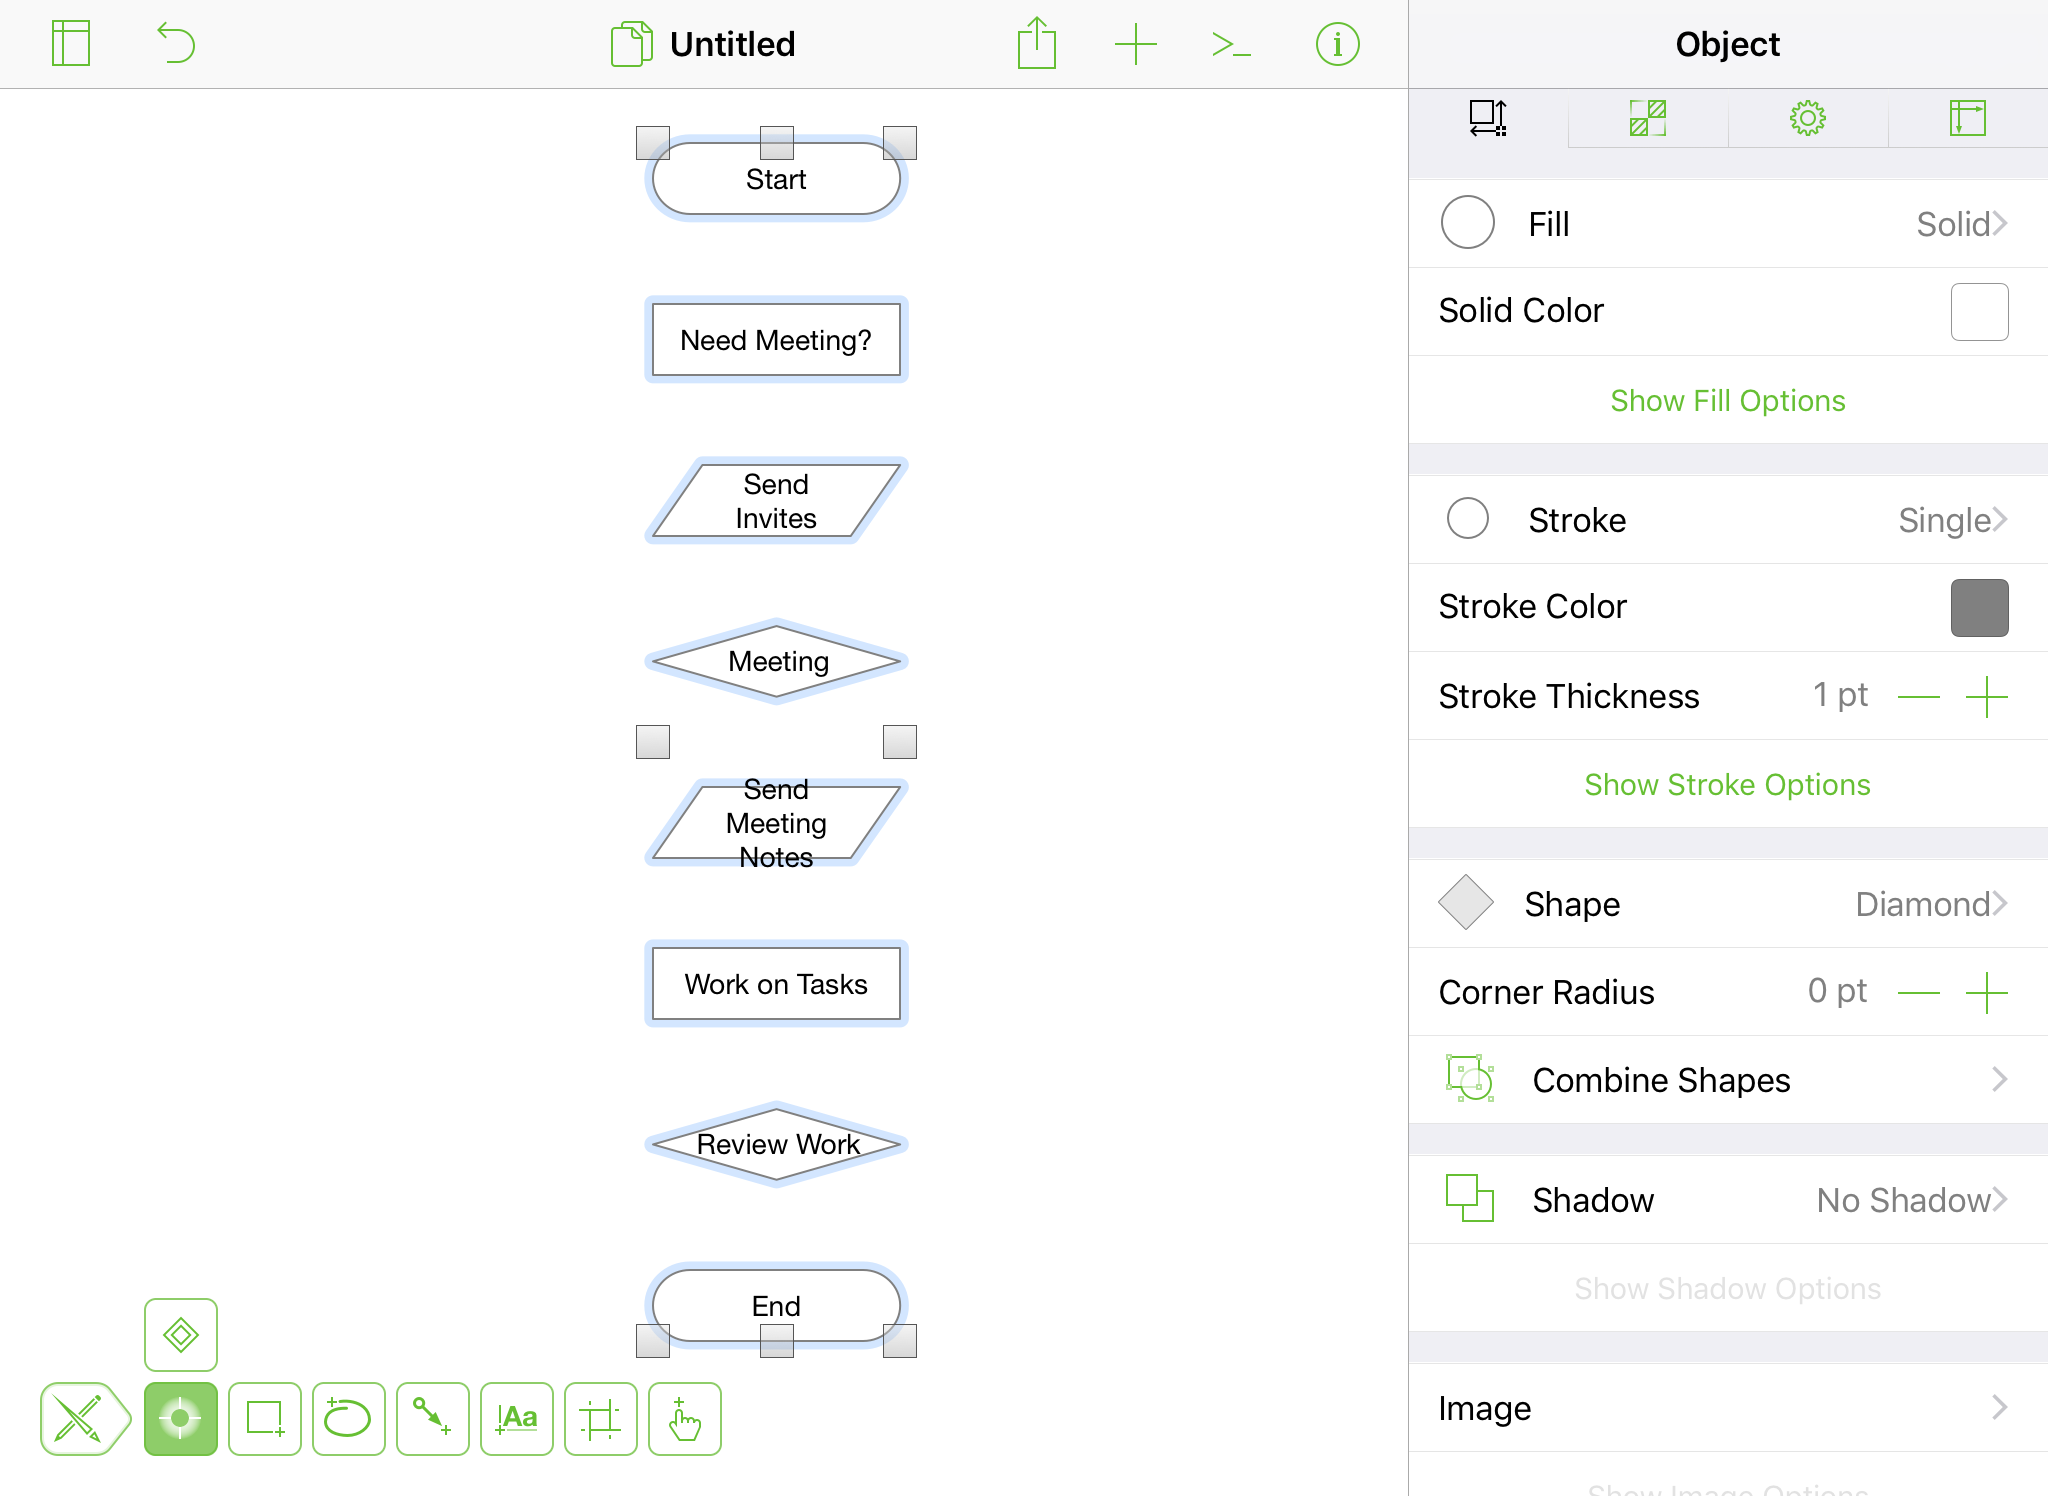
-
Double-tap and use the Line tool to draw connecting lines between each object in the flowchart:
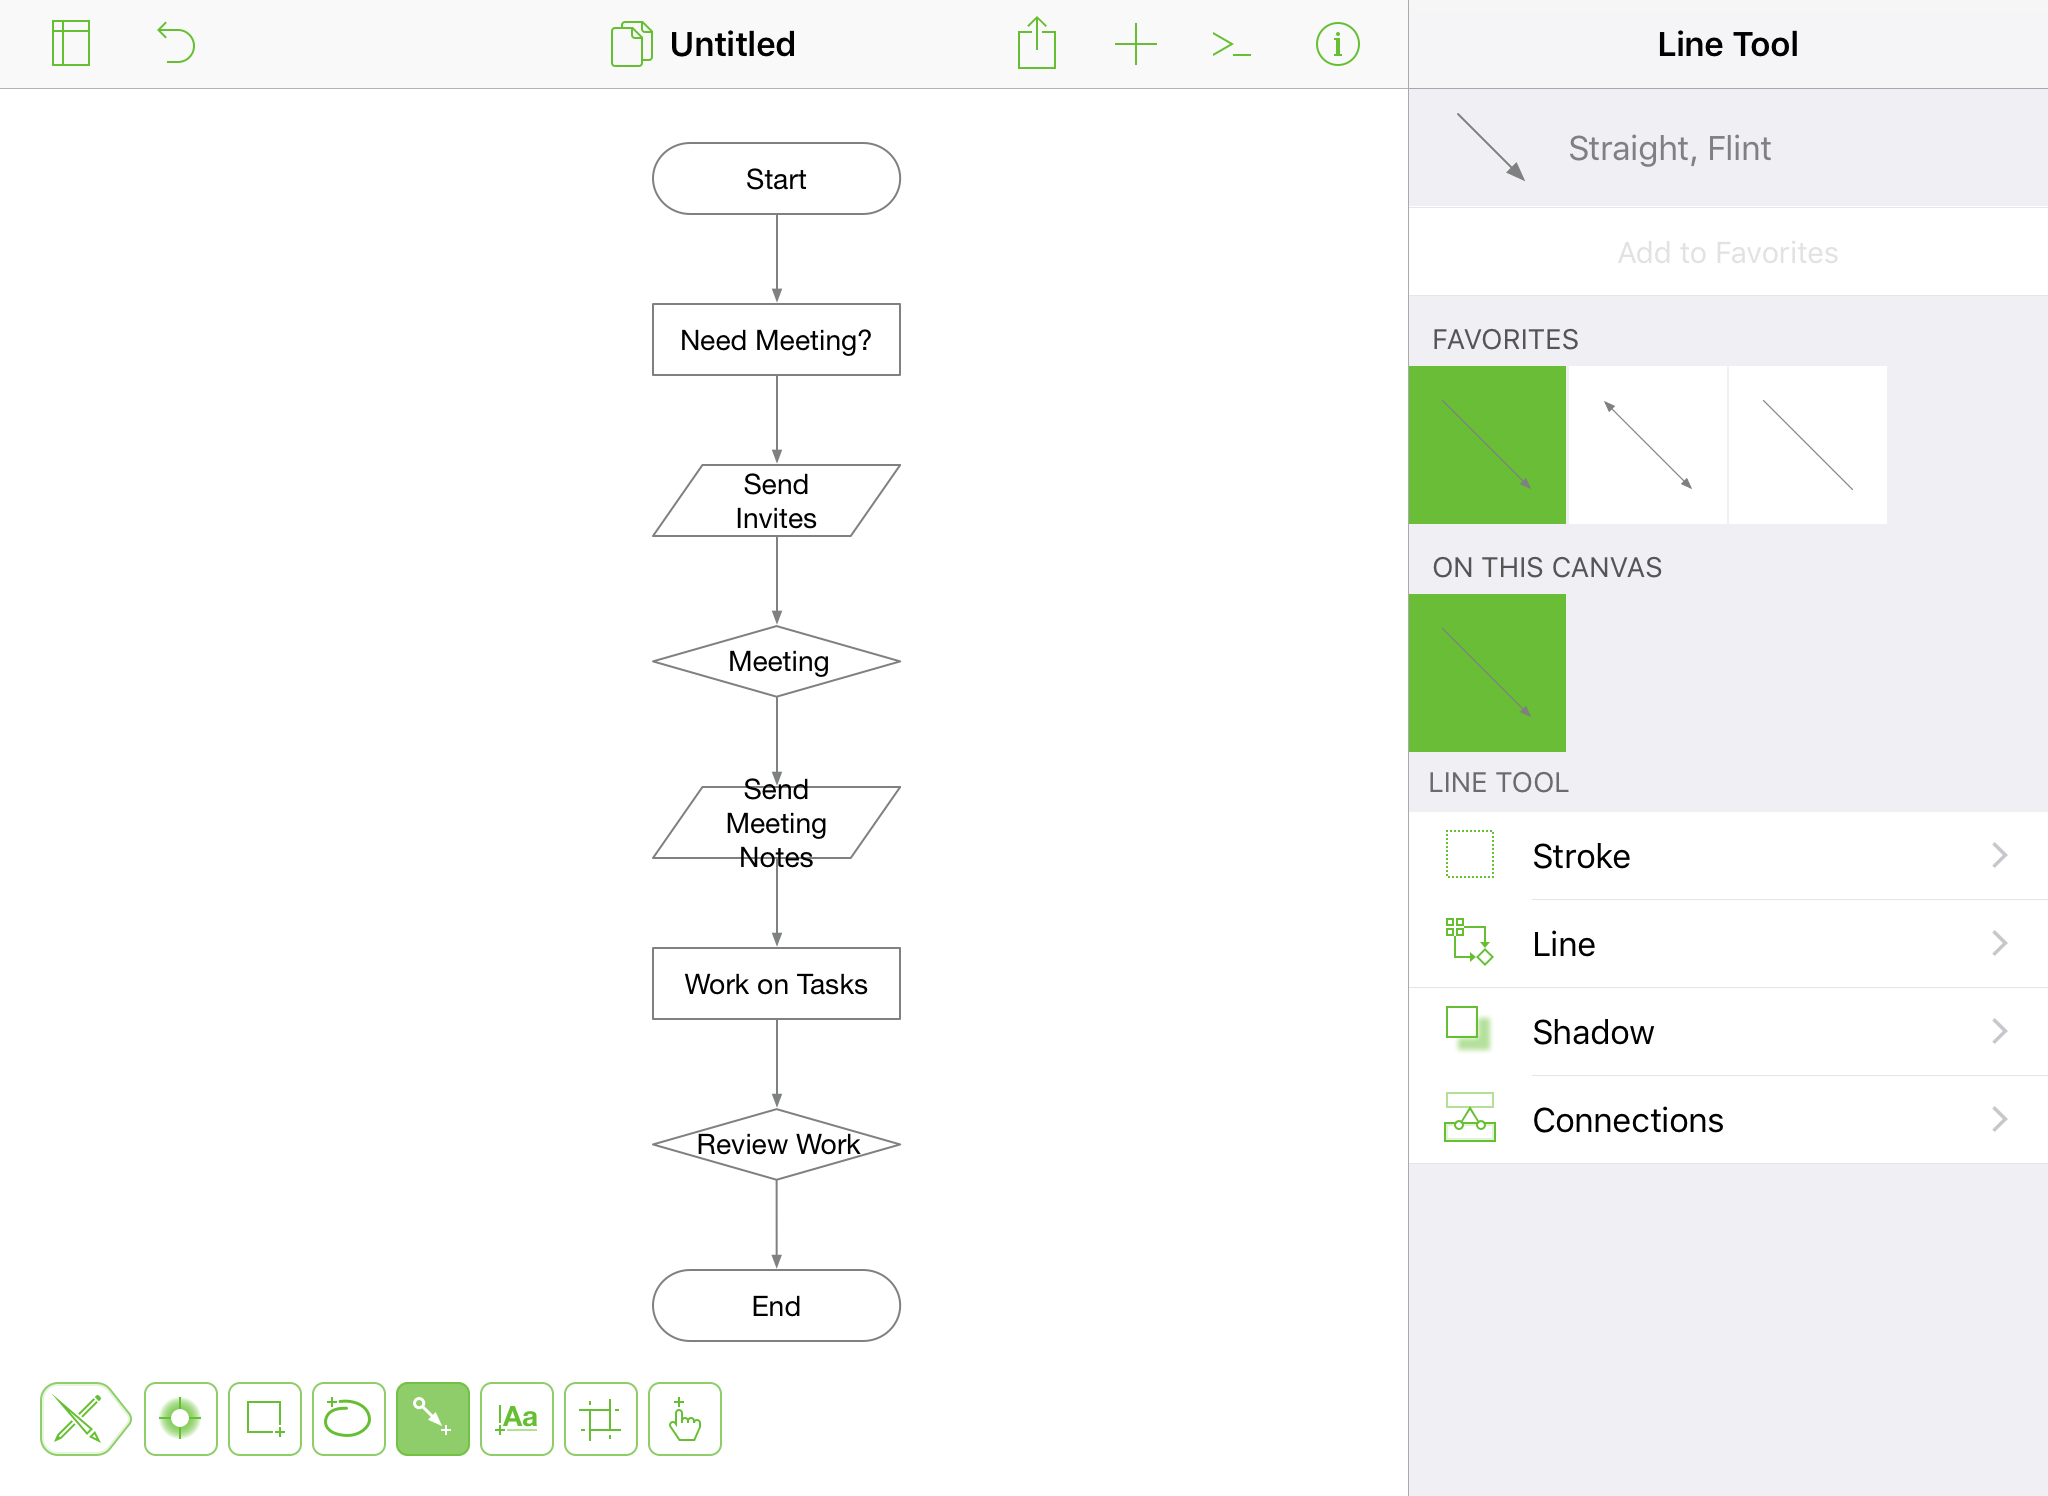
With the basic flowchart in place, you can use the tools and inspectors to change the fill colors of the objects, change the font used for the labels, and more.
