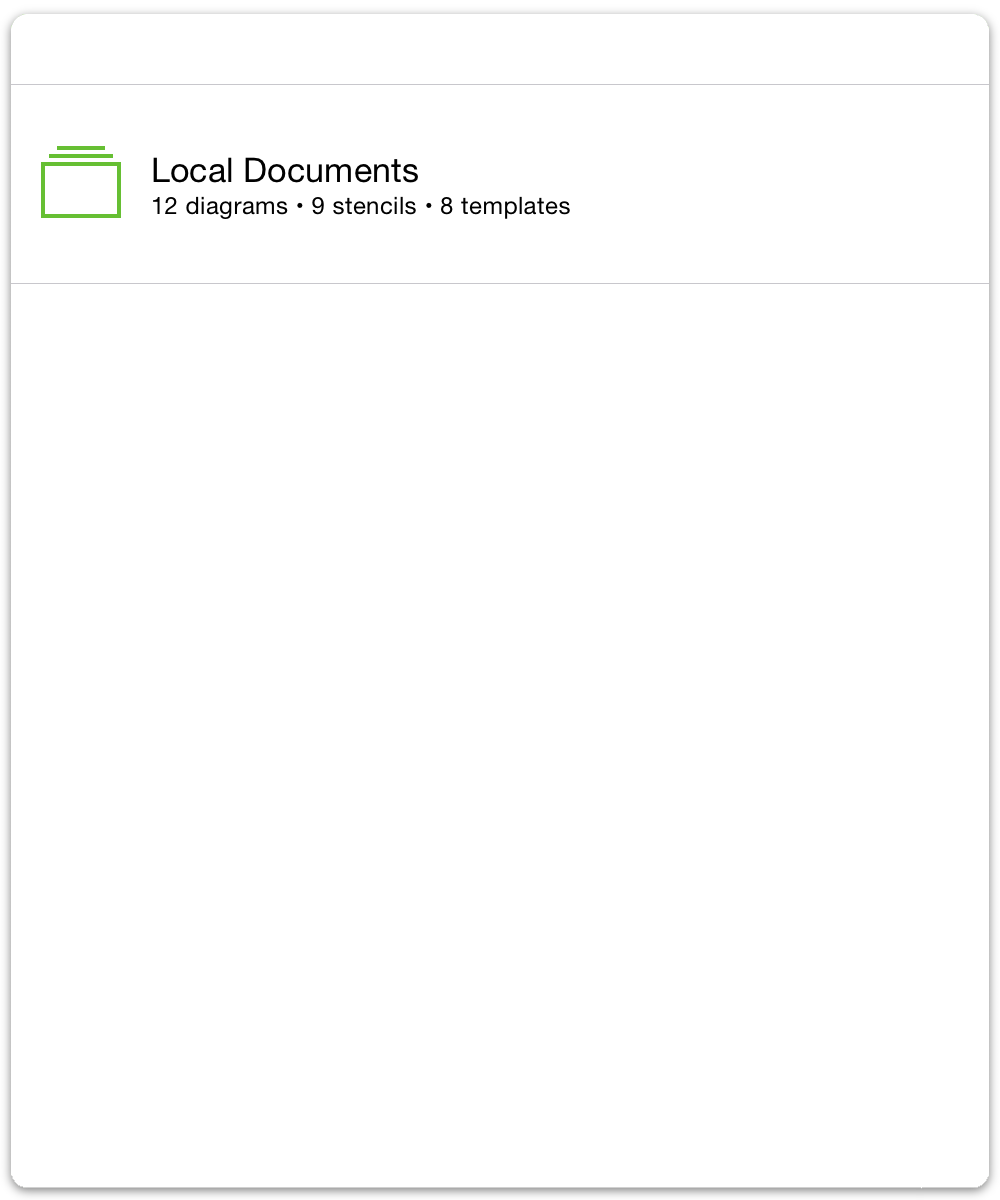
Getting Synced
OmniPresence offers a way for you to store your OmniGraffle documents in the cloud and sync them with other devices. To use OmniPresence you’ll need access to a standard WebDAV server such as the Omni Sync Server (signup is free!).
The Apache server included with OS X Yosemite Server and WebDAV servers available through many web hosting providers are also great options if you’d prefer to set up your own. If you would like to sync your OmniGraffle documents with your Mac you’ll also need OmniPresence for Mac.
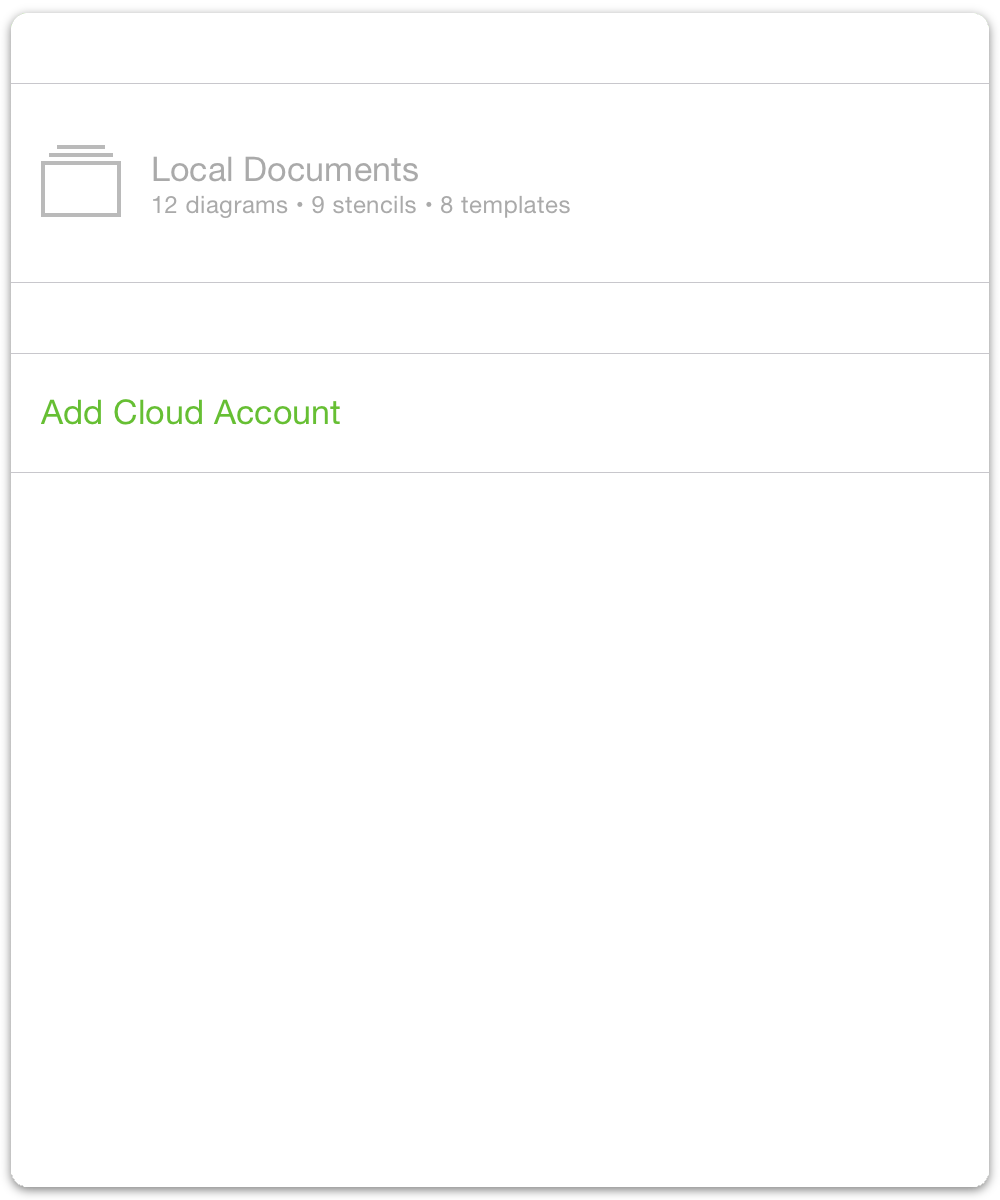
On OmniGraffle’s Locations screen, tap Edit at the far-right of the navigation bar.
Tap Add Cloud Account.
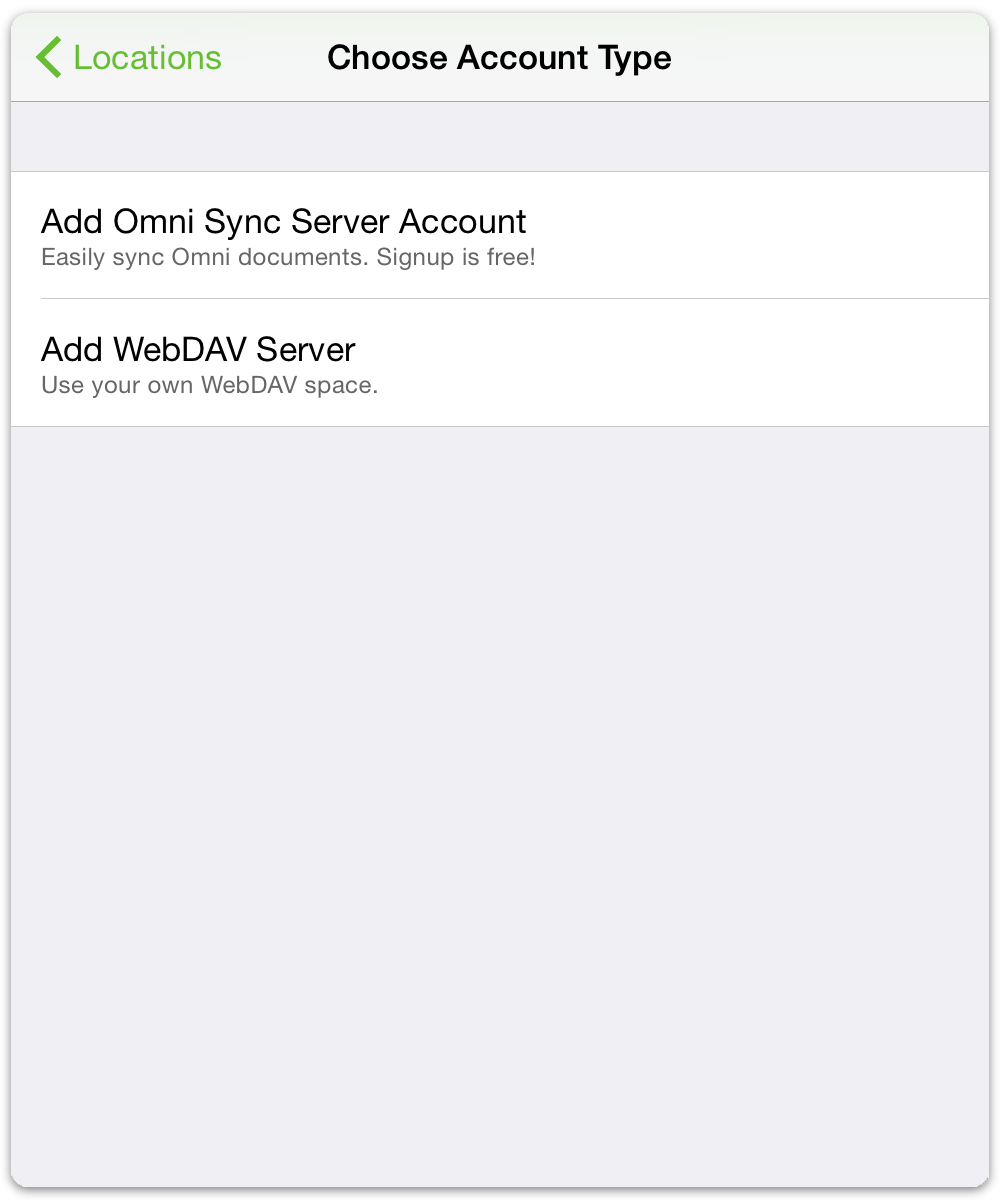
Choose which type of account you’d like to add. If you have an Omni Sync Server account, tap the first option; or if you have your own WebDAV server (or subscribe to an OmniPresence-compatible WebDAV server) tap the second option.
Enter the Account Name and Password used to sign into your cloud account (either Omni Sync Server or a WebDAV server), and then give the folder a Nickname to display on the Locations screen.
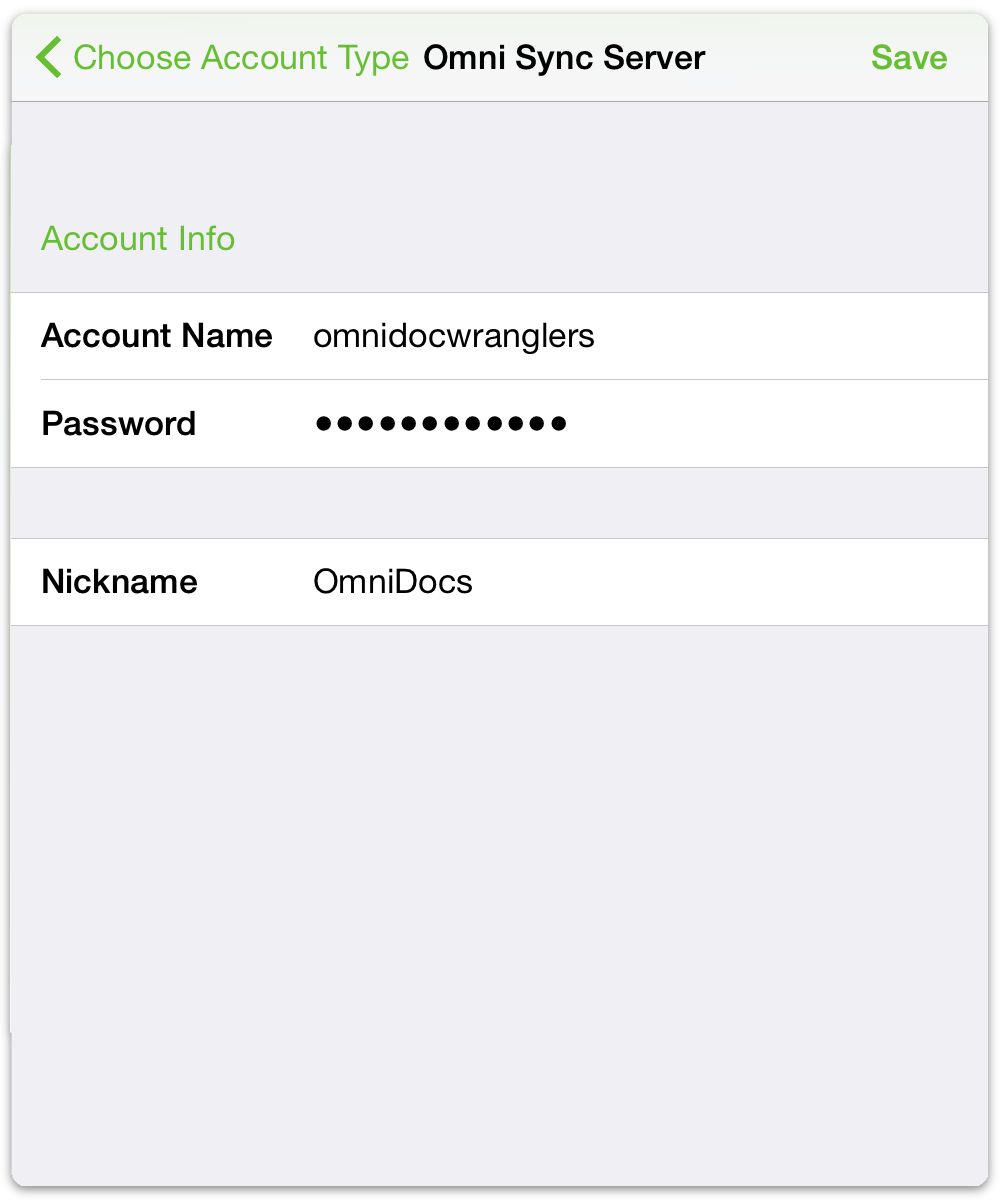
When you’ve finished entering all of that information, tap Save.
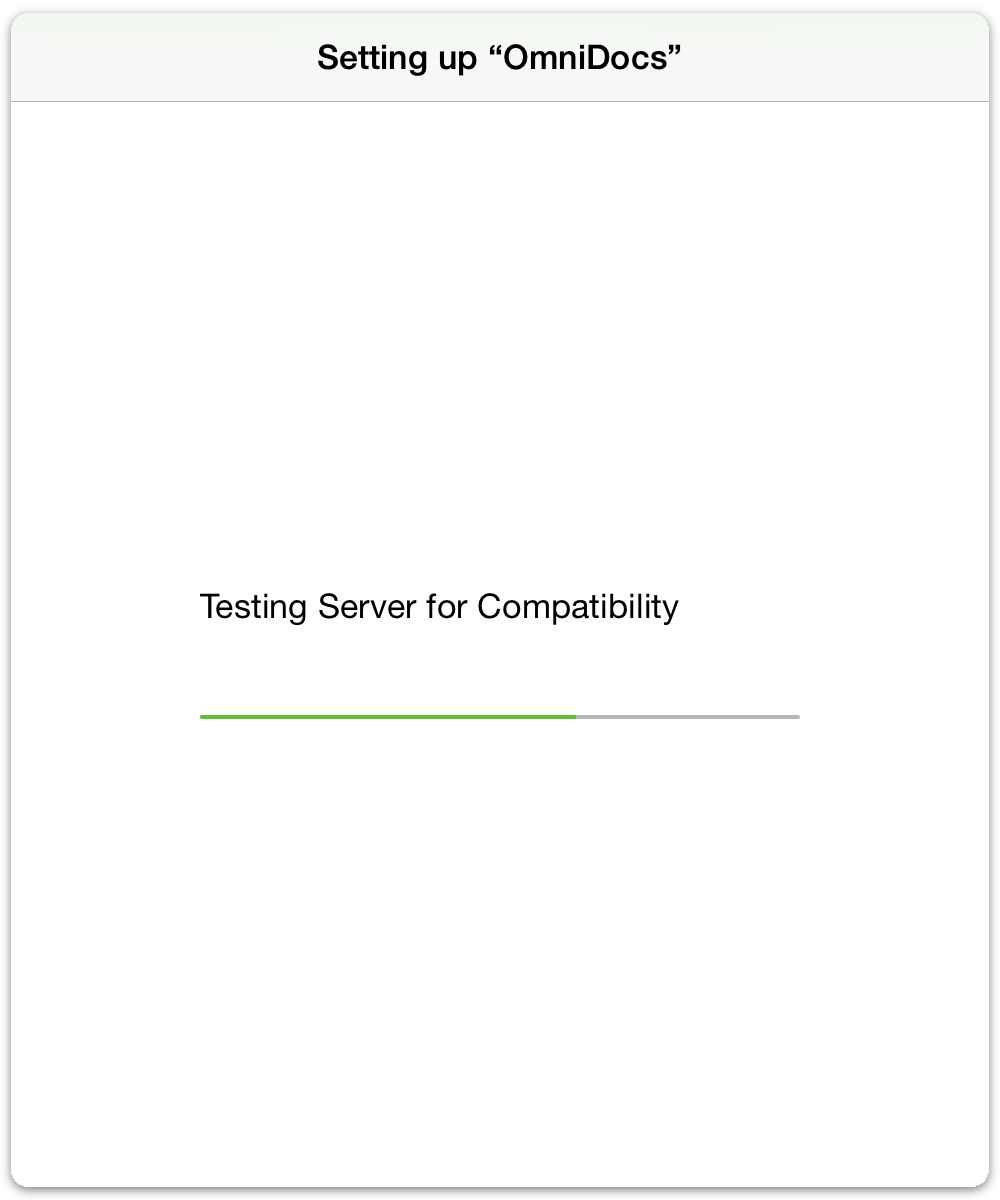
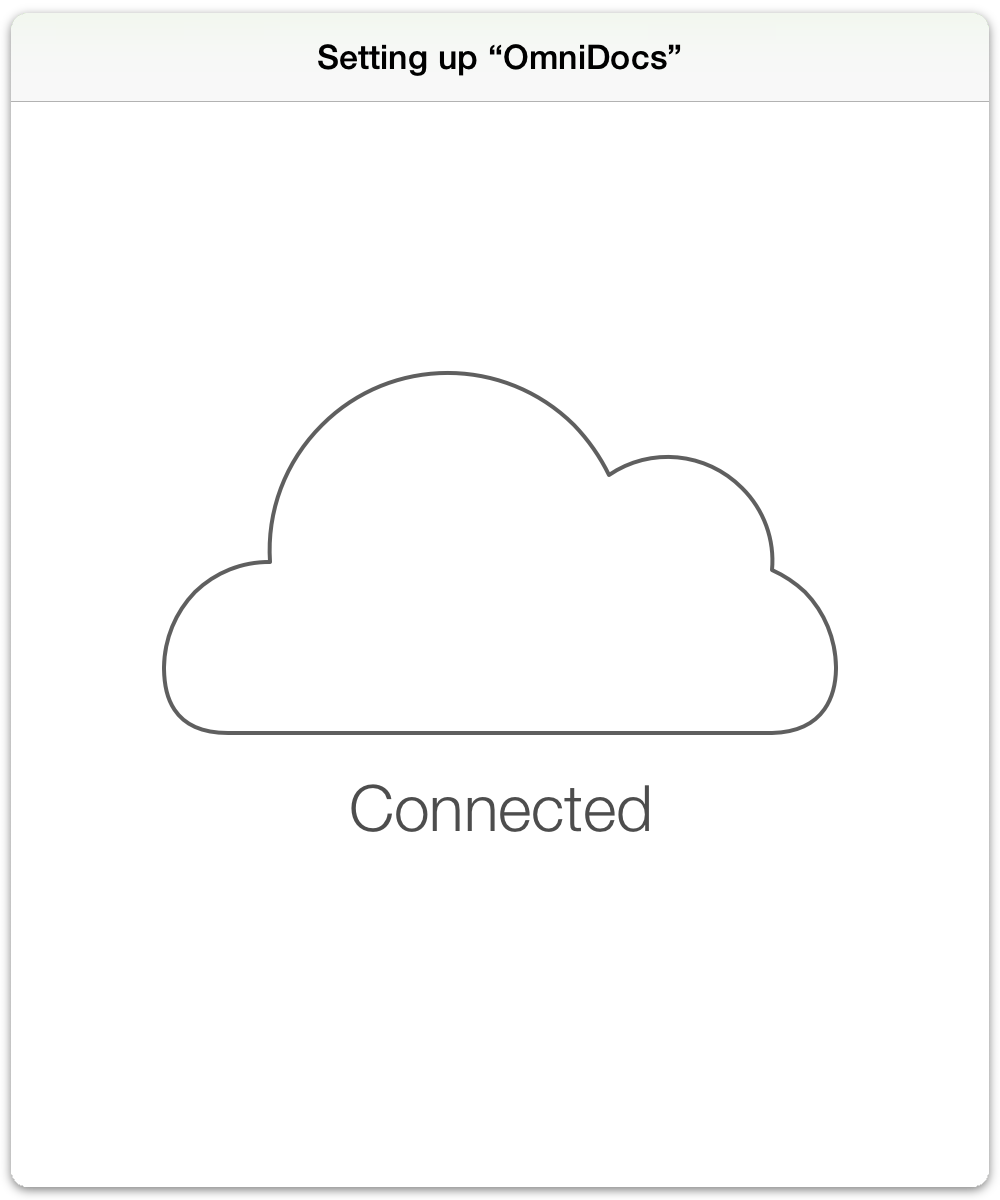
OmniGraffle connects to the server you’ve chosen, and then lets you know when it has successfully configured your cloud account.
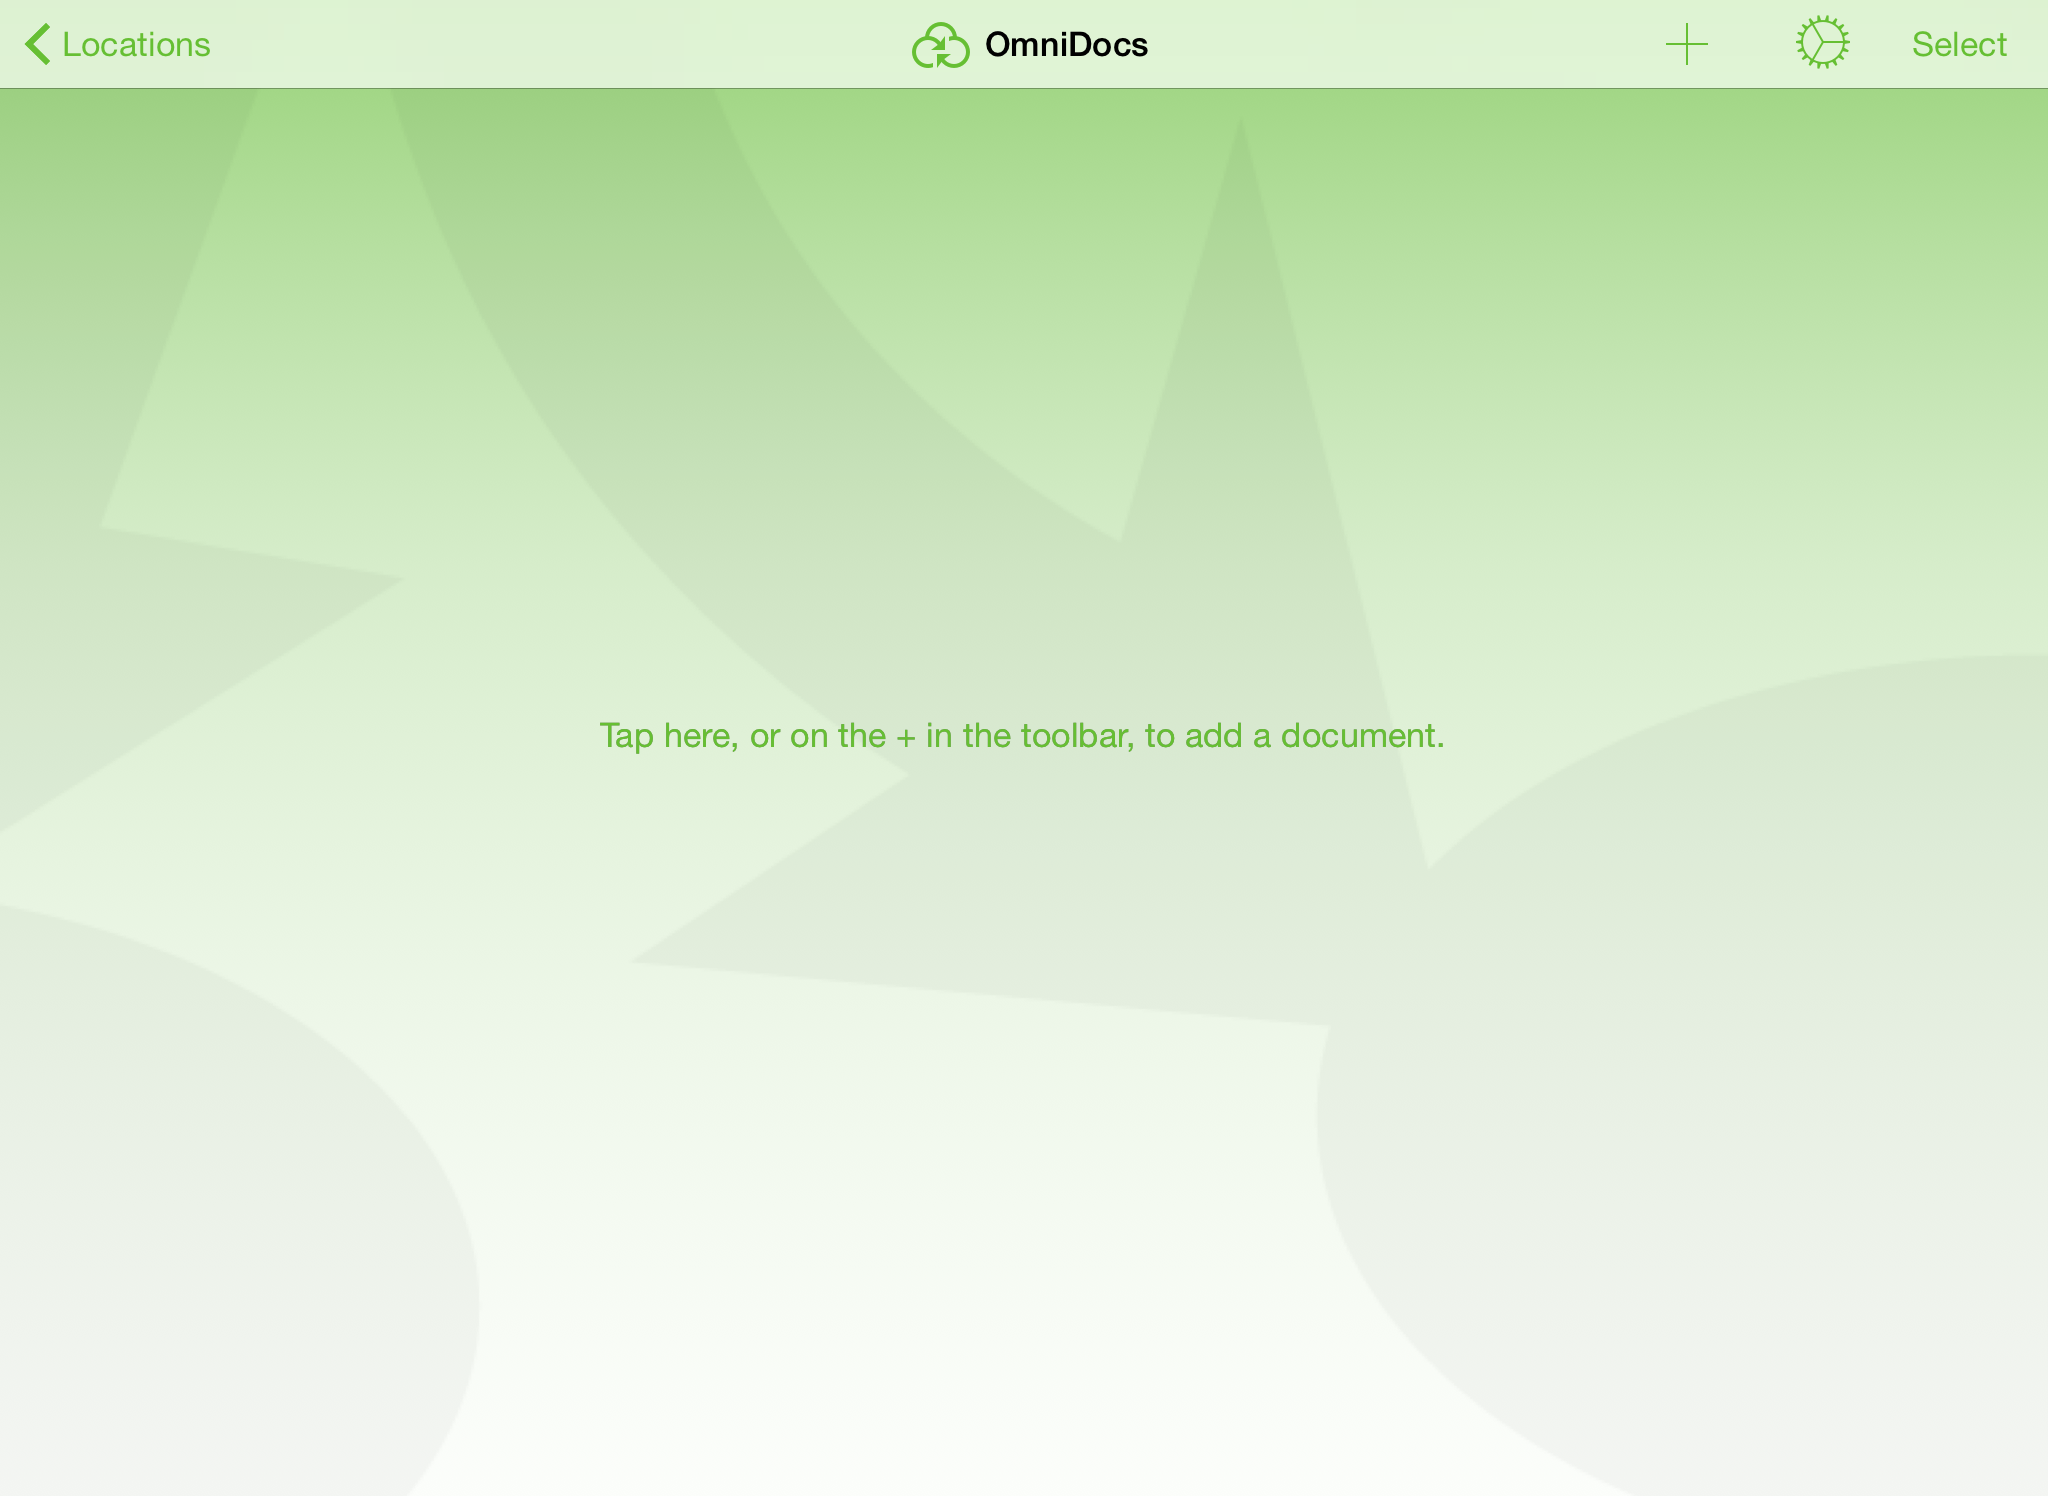
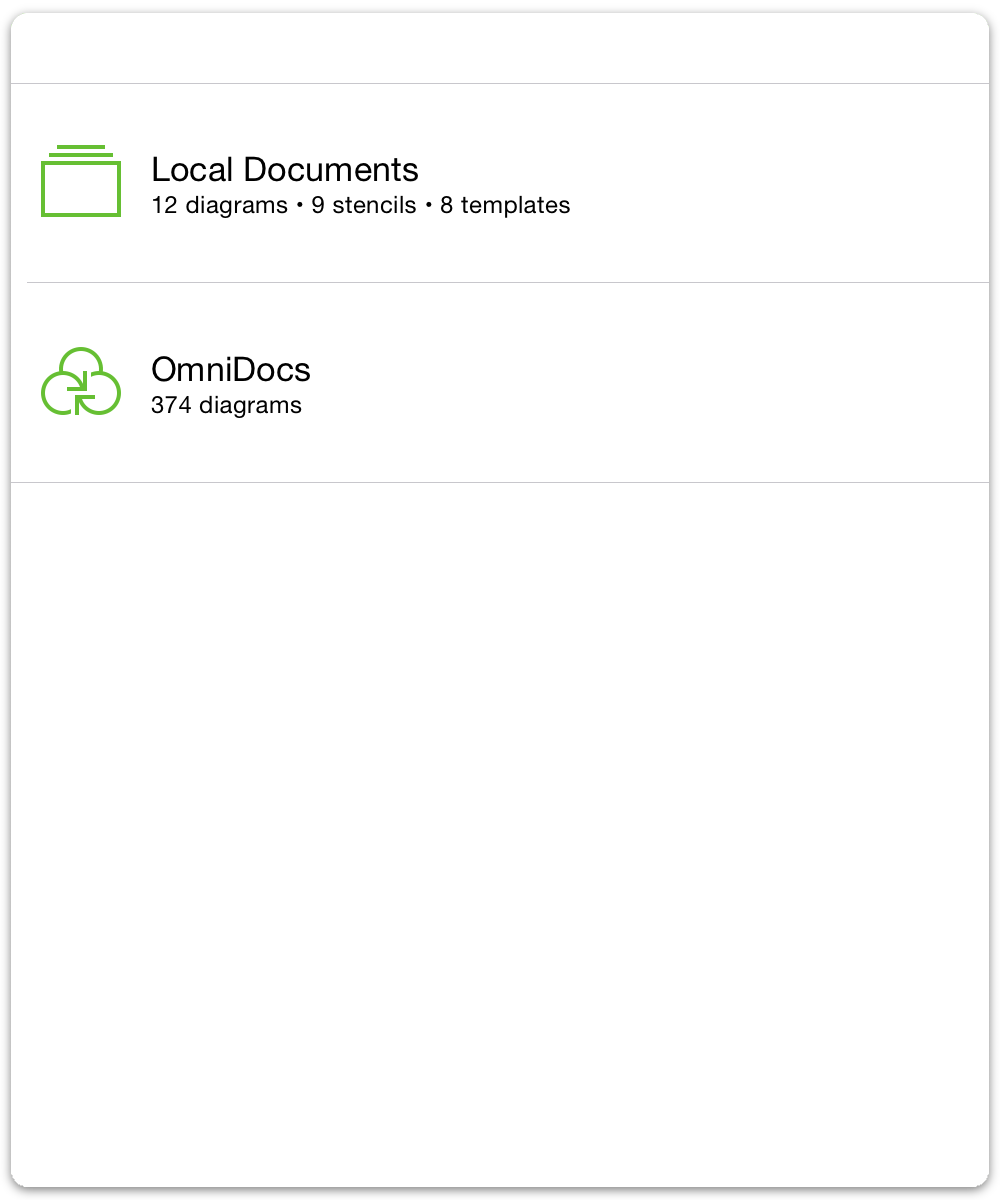
Tap Locations in the toolbar at the top-left of the screen to see the file locations you’ve configured.
If you want to add another account, tap Add Cloud Account and run through Steps 3–6 to configure that account. You can also opt to Use Cellular Data for syncing your files with the cloud. If you enable this option, however, be warned that doing so could have an impact on your cellular bill, particularly if you are in the habit of creating or sharing large multimegabyte files.
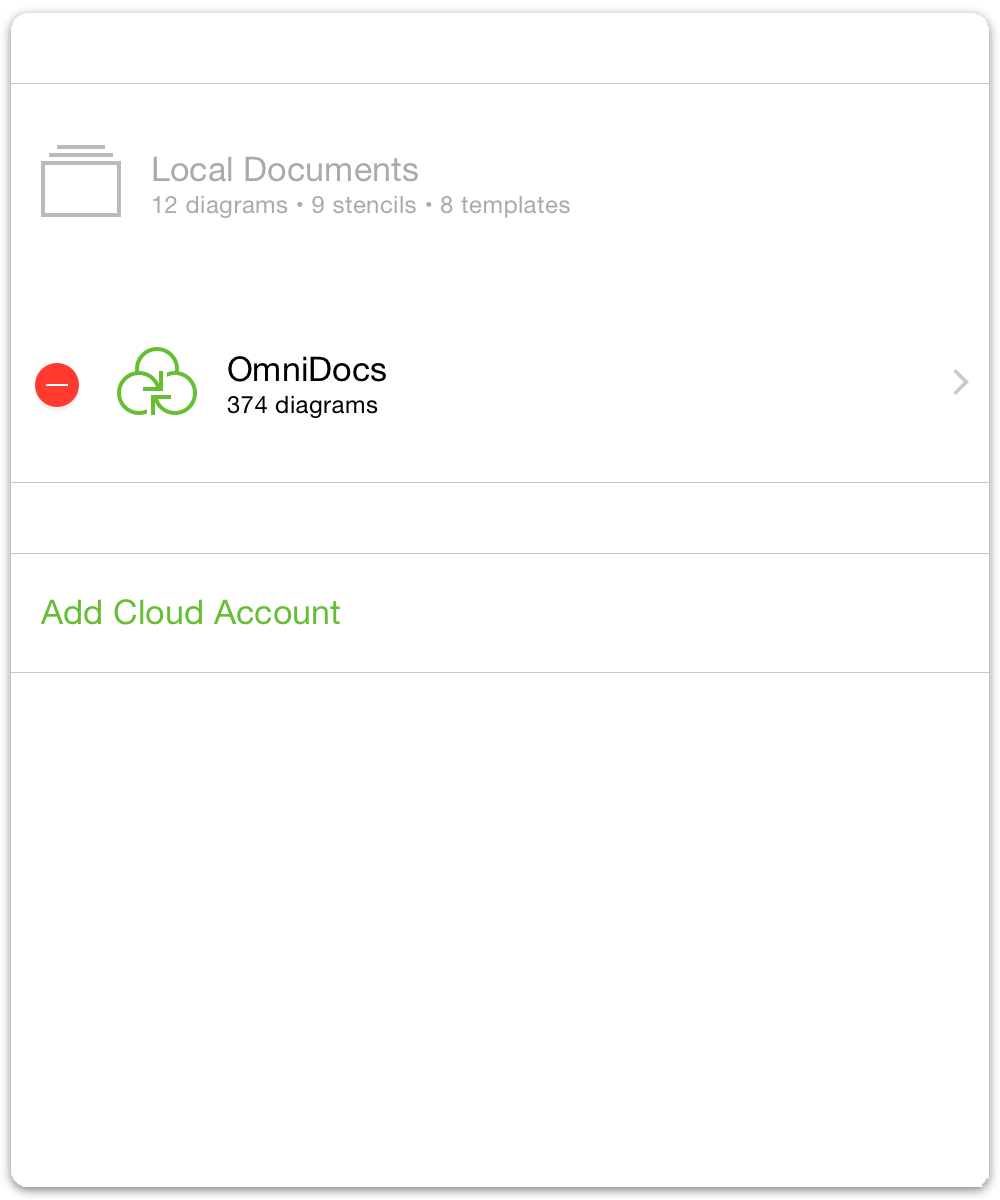
When you are finished configuring your cloud accounts, tap Done in the upper-right corner of the toolbar. This saves the settings and returns you to the Locations screen in OmniGraffle. Tap a folder to see what’s inside.
Files stored in an OmniPresence-enabled folder sync automatically whenever changes are made to them. To stop syncing a file, just move it back to Local Documents.
To disconnect a synced folder from OmniGraffle, go to the Locations screen and tap Edit to delete the folder from your list of OmniPresence accounts.
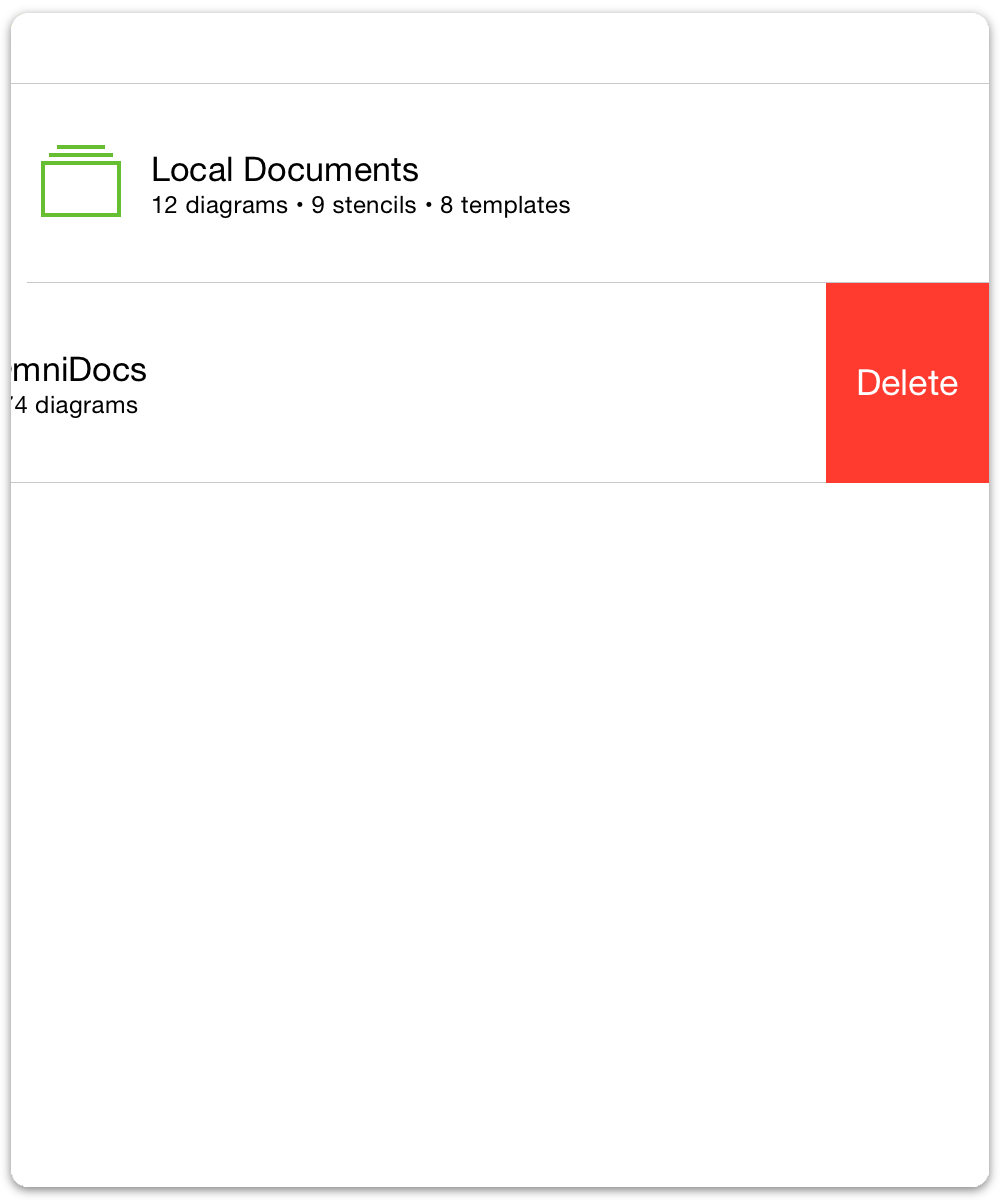
Note that this does not delete the contents of the folder; the files remain in the cloud, but they won’t be available on your device until you reconnect the cloud account.
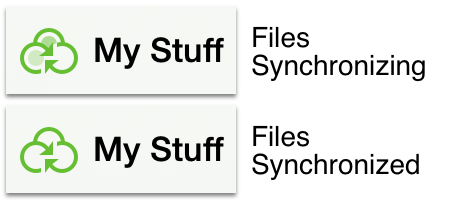
The OmniPresence button appears in the toolbar next to the folder name when you’re viewing a synced folder. It animates to indicate a sync is in process, and if needed you can tap it to prompt a sync as well.
With Omni Sync Server, we never ever look at your data without your permission. For example, when we’re working with you to restore a corrupt file or isolate a particular issue you’re having with our server. Beyond that, you can rest assured that your data is safe and secure on Omni Sync Server.
Warning
When you expose files and folders on your computer to the Internet (even with strict password protection), you assume some risk. Make sure you understand this risk before setting up a server, and be sure to keep your server up to date with the latest security patches. If you’d prefer not to host your own server, you can sign up for a free Omni Sync Server account or use another standards-compliant WebDAV host to sync files with OmniGraffle.