Using OmniGraffle on iOS
To make OmniGraffle usable across Apple’s oeuvre of iOS devices, we’ve had to make some big UI changes between OmniGraffle v2 and v2.1. The purpose of this chapter is to show you how we have adapted the Universal release of OmniGraffle for iOS.
With OmniGraffle for iOS, there are essentially two classes of screen size to consider: large (iPad, iPad mini, and iPhone 6 Plus), and small (iPhone 6 and below, and iPod touch). The two places where you’ll notice the biggest difference between large and small screens are:
- When you are in a document and working with the Drawing Tools
- When accessing the Contents sidebar
Note
If you’ve never used OmniGraffle on iOS, this section’s for you. Heck, even if you have used OmniGraffle before, you should take the time to read through this, too.
Using OmniGraffle on Large Screens
When using OmniGraffle on large-screened devices, such as the iPad or iPhone 6 Plus, you’ll find that we have taken full advantage of all that space.

Notice that the Document Toolbar is located above the Canvas, the Canvases sidebar is on the left of the Canvas, and that all of the Drawing Tools are located beneath the Canvas. The only real difference you should notice between using OmniGraffle on iPad vs iPhone 6 Plus is that the screen on the iPhone 6 Plus isn’t as tall.
To hide the Canvases sidebar, tap ![]() in the Document Toolbar; the sidebar goes into hiding, giving you full access to the entire canvas.
in the Document Toolbar; the sidebar goes into hiding, giving you full access to the entire canvas.
Tap ![]() to bring the Canvases sidebar back onto the screen.
to bring the Canvases sidebar back onto the screen.
Note
If you are using OmniGraffle for iOS in portrait mode on iPhone 6 Plus, the Canvases sidebar slides in and out from the bottom of the screen, much like it does on smaller screens.
Using OmniGraffle on Small Screens
When using OmniGraffle on small-screened devices, such as the iPhone 6 or iPod touch, you’ll find that we’ve had to make some slight changes to the user interface.
For starters, you’ll notice that both the Canvases sidebar and the Drawing Tools are hidden from view.
To access the Canvases screen, tap ![]() in the Document toolbar at the top of the screen. When you do, the Canvases screen slides up, giving you access to everything you would expect to find in the sidebar on a larger screen. Tap Done in the upper-right corner of the screen to return to your Canvas.
in the Document toolbar at the top of the screen. When you do, the Canvases screen slides up, giving you access to everything you would expect to find in the sidebar on a larger screen. Tap Done in the upper-right corner of the screen to return to your Canvas.
To access the Drawing Tools, tap ![]() at the lower-right corner of the screen. When you do, the Drawing Tools slide up along the right side of the screen. Tap to select a tool, or double-tap to make a tool “sticky” so you can use it repeatedly.
at the lower-right corner of the screen. When you do, the Drawing Tools slide up along the right side of the screen. Tap to select a tool, or double-tap to make a tool “sticky” so you can use it repeatedly.

Now that you have a good handle on where OmniGraffle differs between screen sizes, it’s time to examine some of the more common features in the interface:
- Above the Canvas is the Document Toolbar.
- Beneath the Canvas are the Drawing Tools.
- To the left (or sliding up as another view on smaller screens) is the Canvases sidebar.
Each of these are discussed in the remainder of this chapter. Now might be a good time to grab your favorite iOS device, open up OmniGraffle, and follow along as we cruise through the rest of the UI.
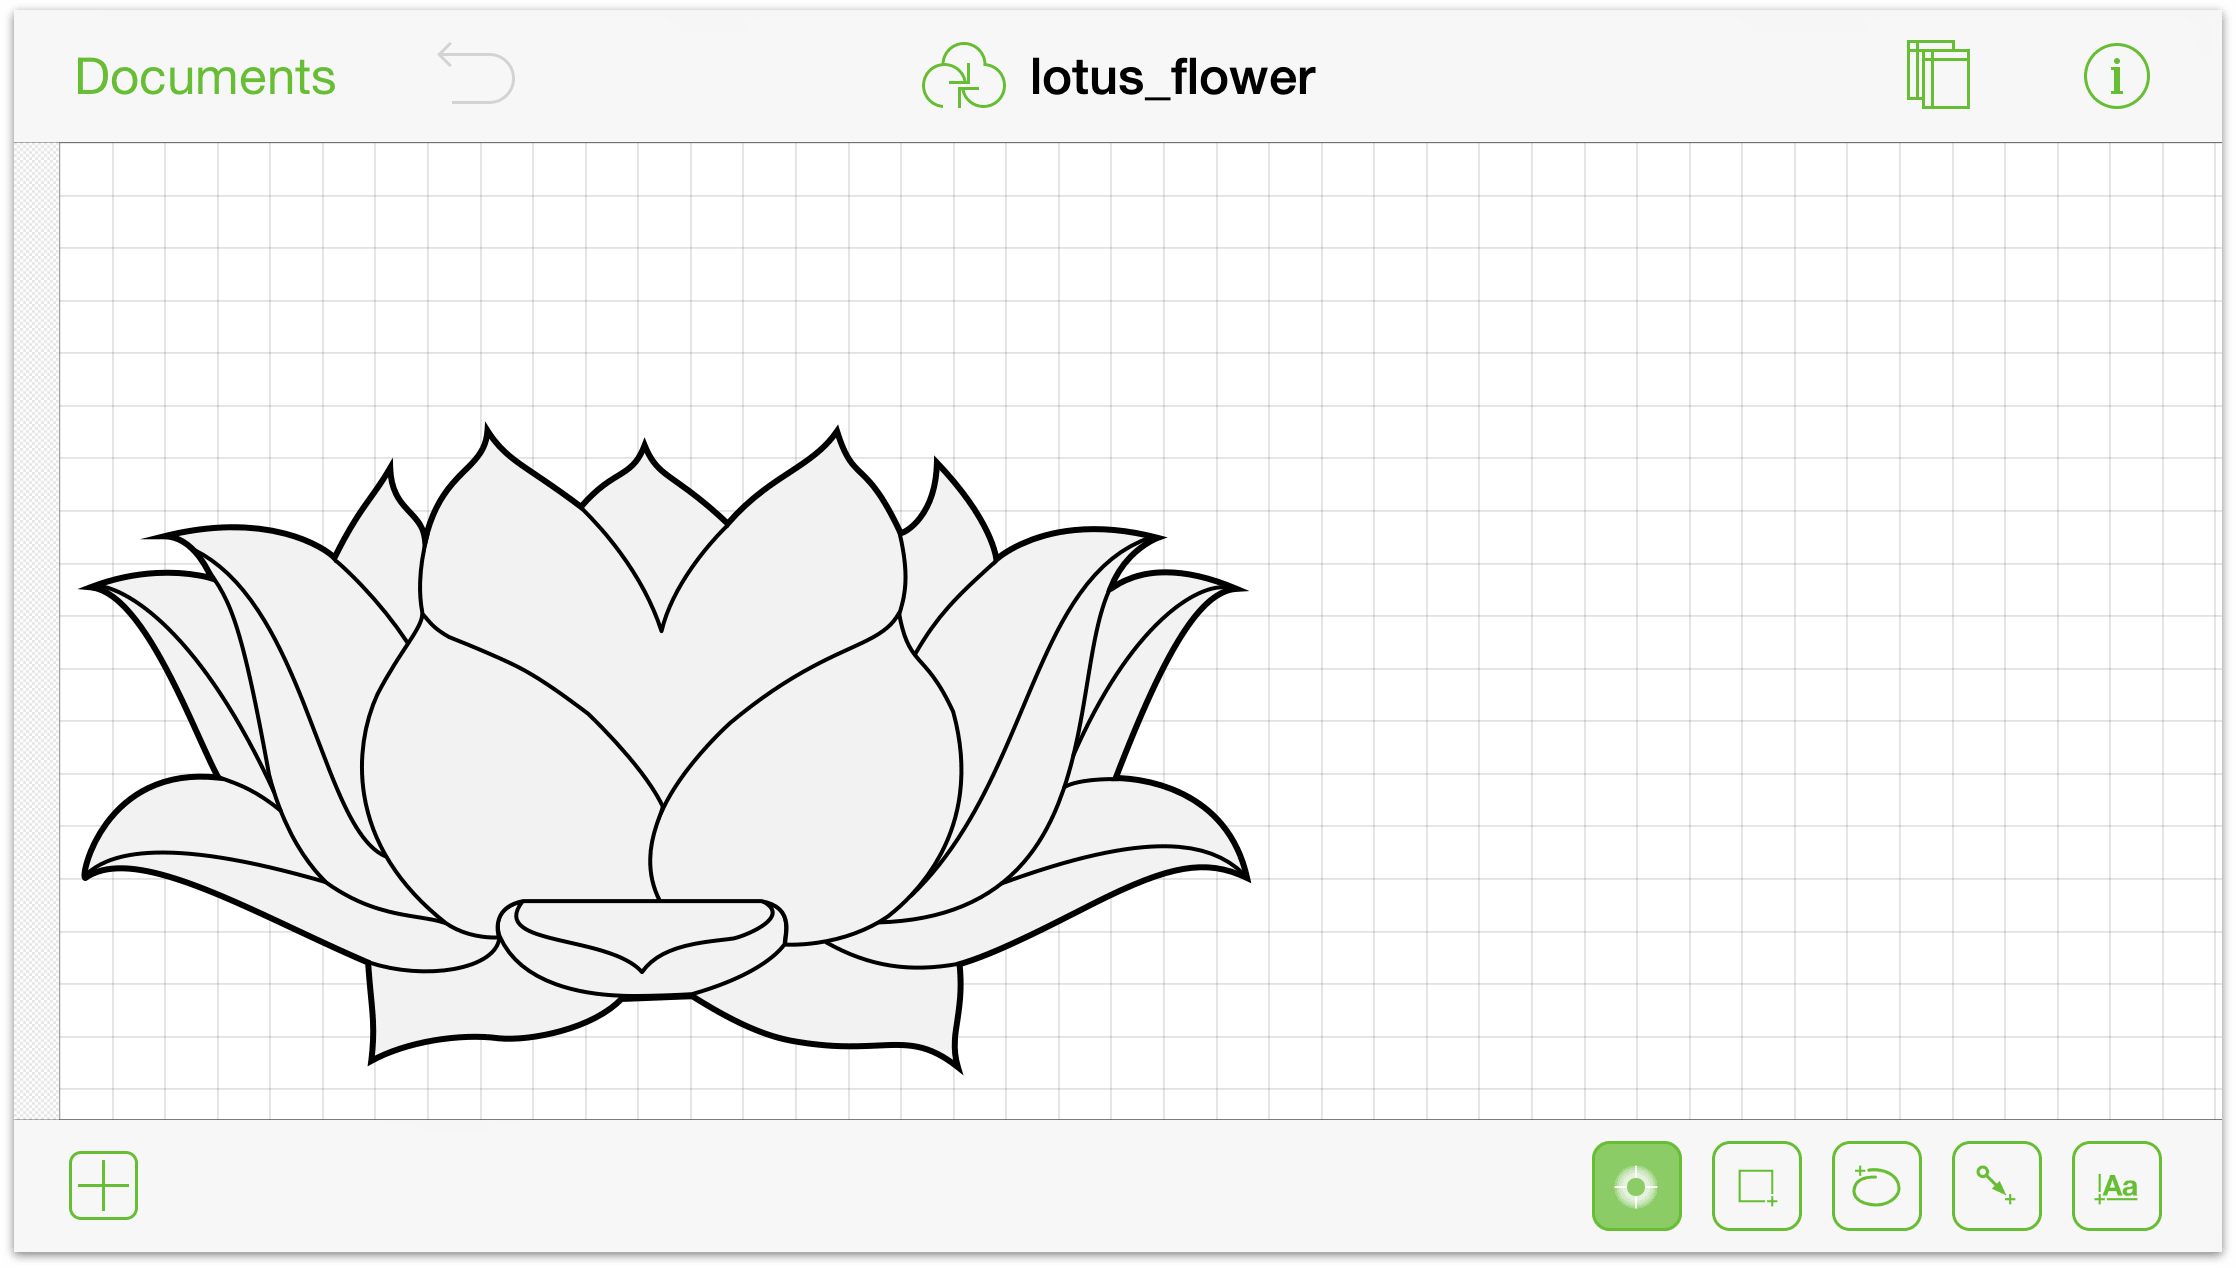
Using the Document Toolbar
The Document toolbar is found above the Canvas and contains most everything you need to use OmniGraffle:
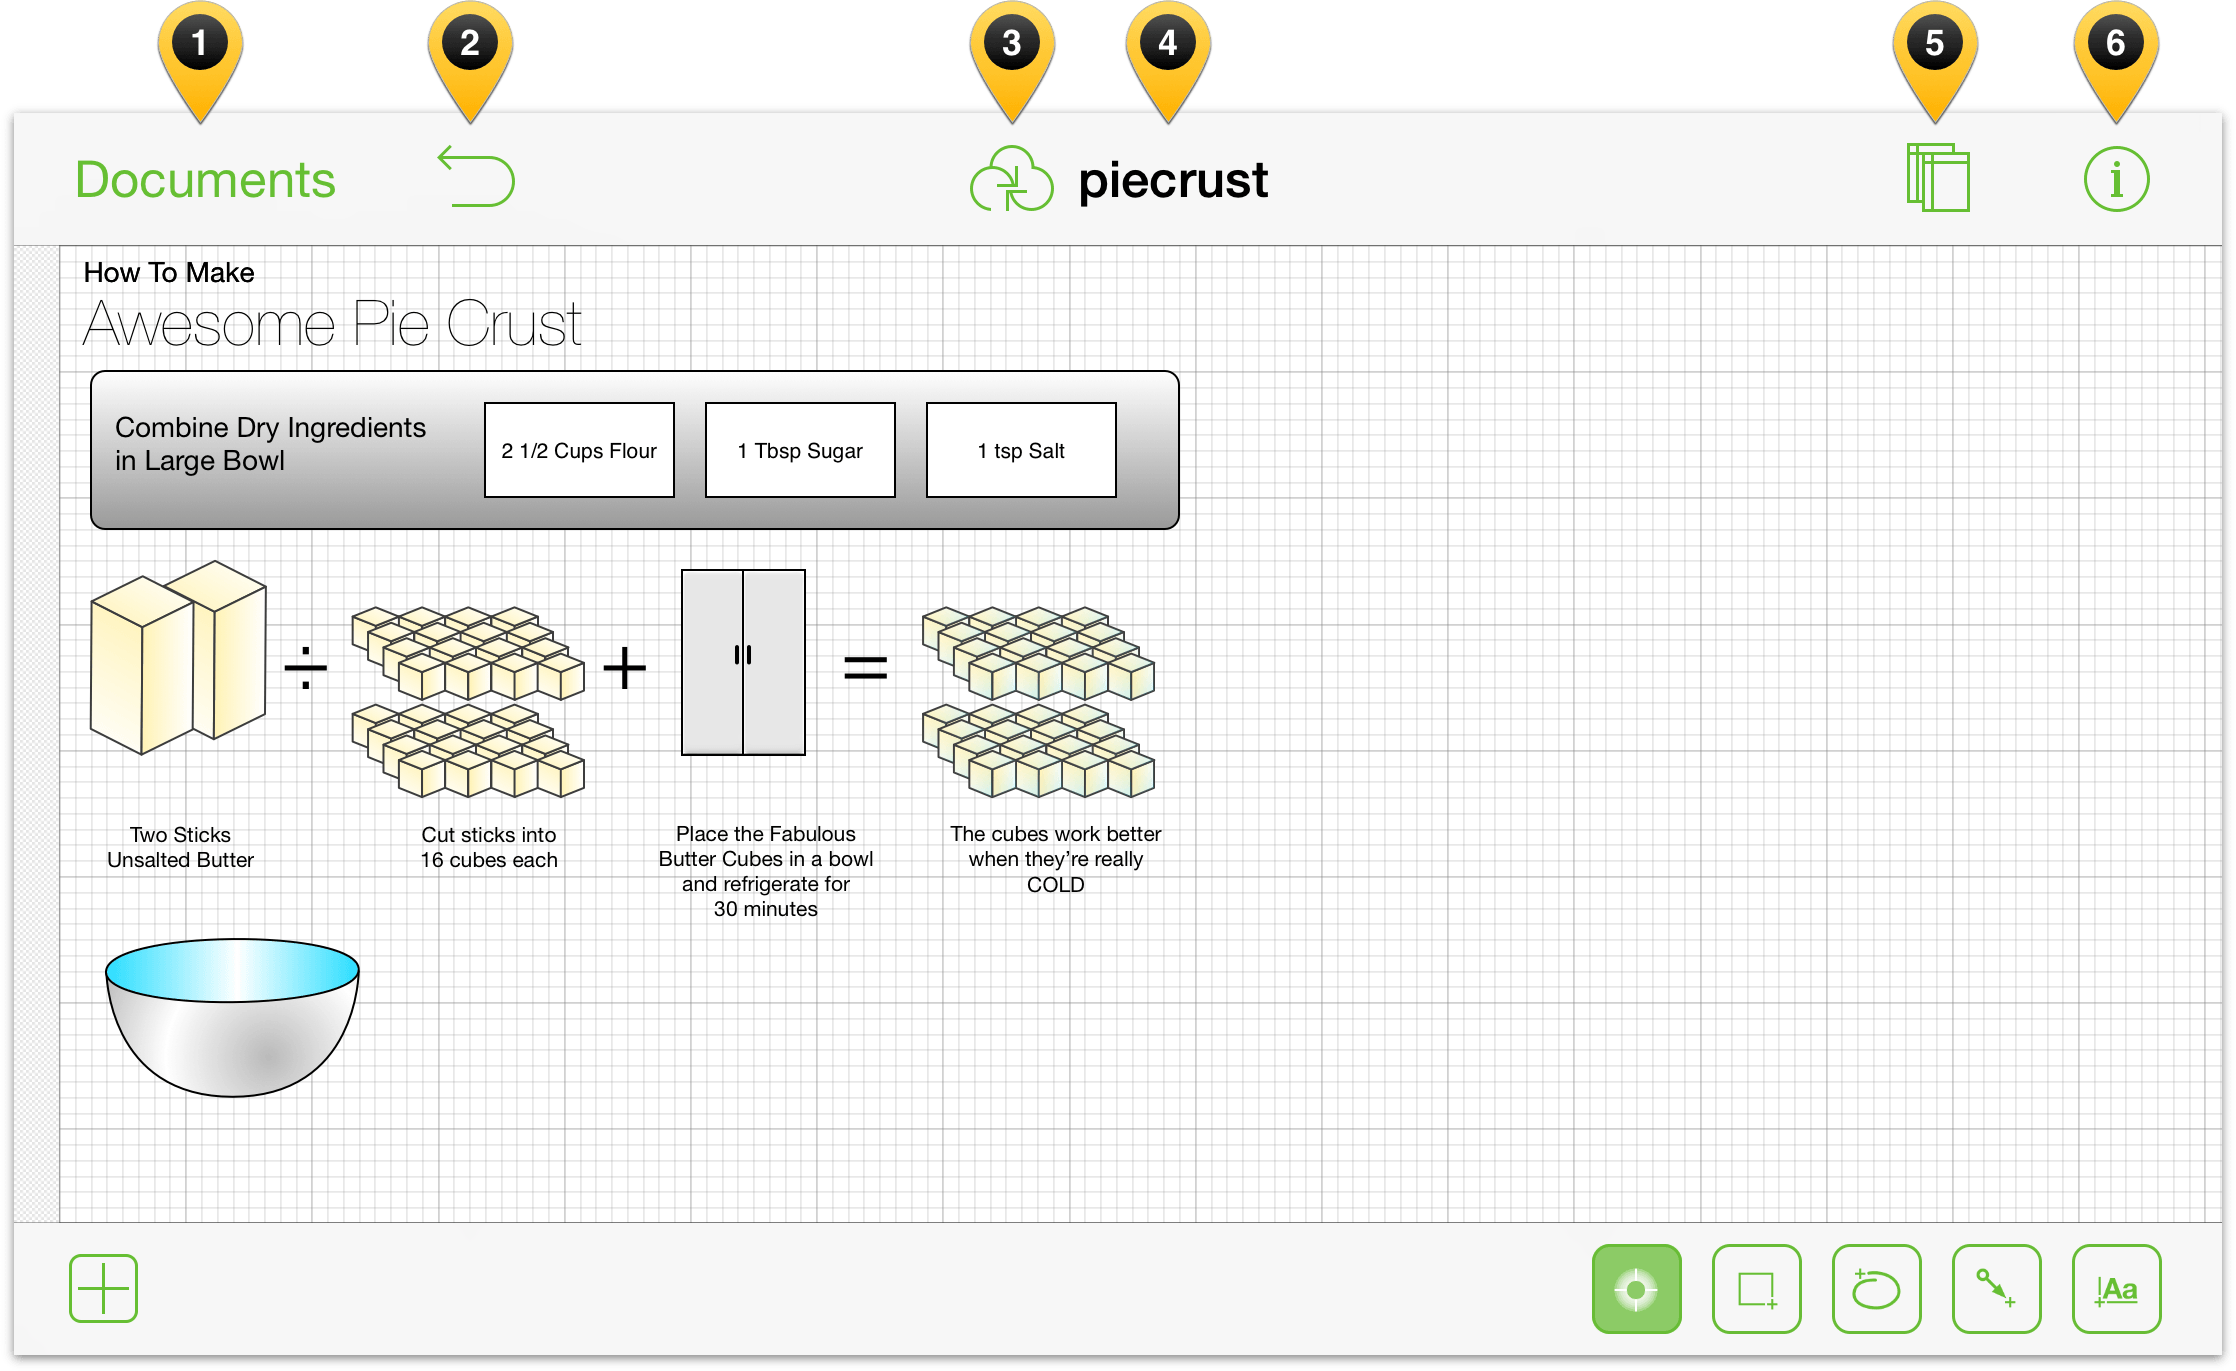
The buttons and doo-dads in the toolbar include:
Tap Documents to close the file you’re working on and return to the Document Browser.
Tap
 to undo the last change; touch and hold to Redo.
Tap
 to synchronize files with a cloud account. (See Adding a Cloud Account.)
Double-tap the Document Title to change the name of the file you’re working on.
Tap
 to show and hide the Canvases Sidebar.
Tap
 to make style and property adjustments to the current selection or Canvas.
Using the Drawing Tools
Whenever you want to draw some sort of object on the Canvas—which is pretty much the whole point of using OmniGraffle—you will use the Drawing Tools. As noted earlier, the Drawing Tools are available beneath the Canvas on large-screened iOS devices. To access the Drawing Tools on small-screened iOS devices, just tap ![]() . There are six basic buttons in the Drawing Tools bar:
. There are six basic buttons in the Drawing Tools bar:
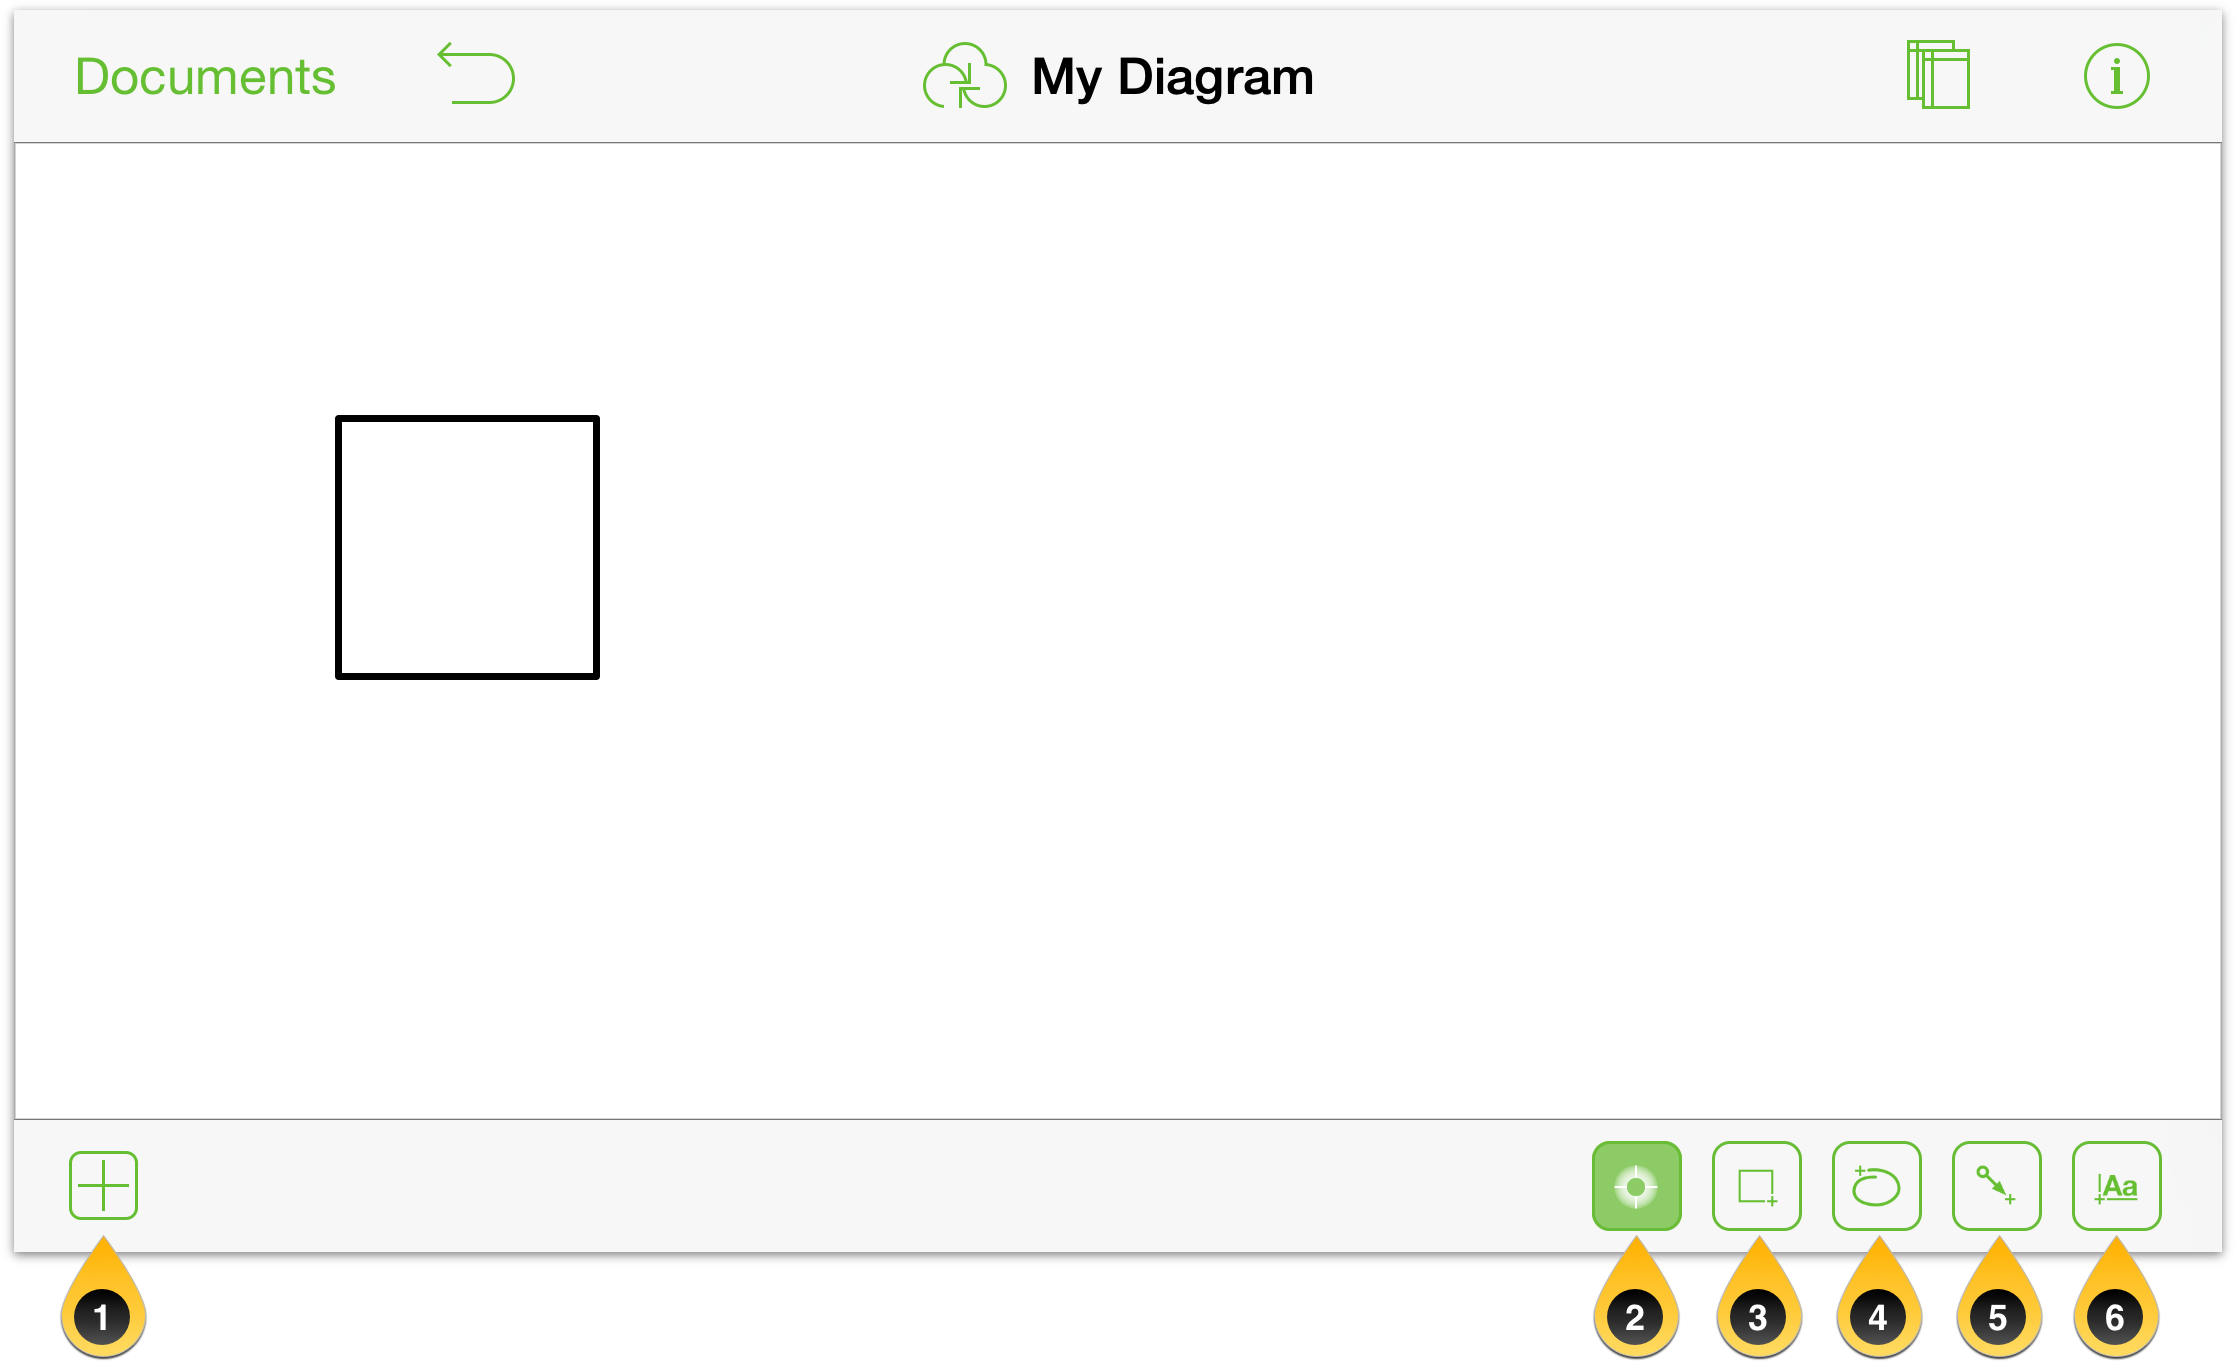
The tools are as follows:
- Stencils — Tap
 to choose a stencil to drag to the Canvas. You can search through your available stencils, or search Online for any OmniGraffle stencils hosted on Stenciltown, our free stencil repository.
 The Selection tool is used to select, move, and resize objects on the Canvas.
The Shape tool is used to draw shapes (circles, squares, and so on) on the Canvas.
The Freehand tool is used to draw freely on the Canvas. Tap anywhere on the Canvas and drag your finger around to create your own shapes. If the end of the drawing nears the beginning, OmniGraffle will close the shape.
The Line tool is used to either connect two objects together with a line, or to draw a free-standing line on the Canvas. If you begin or end your line on a shape, the line automatically attaches to that shape.
The Text tool is used to add a text label to objects and lines, or anywhere on the Canvas. Tap an existing label to edit; double-tap to select a word.
The tool buttons take on a different look, depending on whether the tool is inactive, selected, or sticky:
A tool is inactive when it has a white background:


A tool is selected (or in-use) when it has a light green background:


A tool is sticky when it has a dark green background:


Tools become sticky, or persistent, when you tap its button twice.
Note
The Selection tool is always persistent when it is active (). This makes it easy for you to move and style objects without having to tap its button twice to make it stick.
Introducing the Action Tool (Pro)
A fixture of OmniGraffle for Mac for some time, the Action Tool has made its way over to OmniGraffle Pro for iOS in v2.2. If you have purchased the upgrade to OmniGraffle 2 Pro, you’ll find the Action Tool at the far right edge of the Drawing Toolbar.
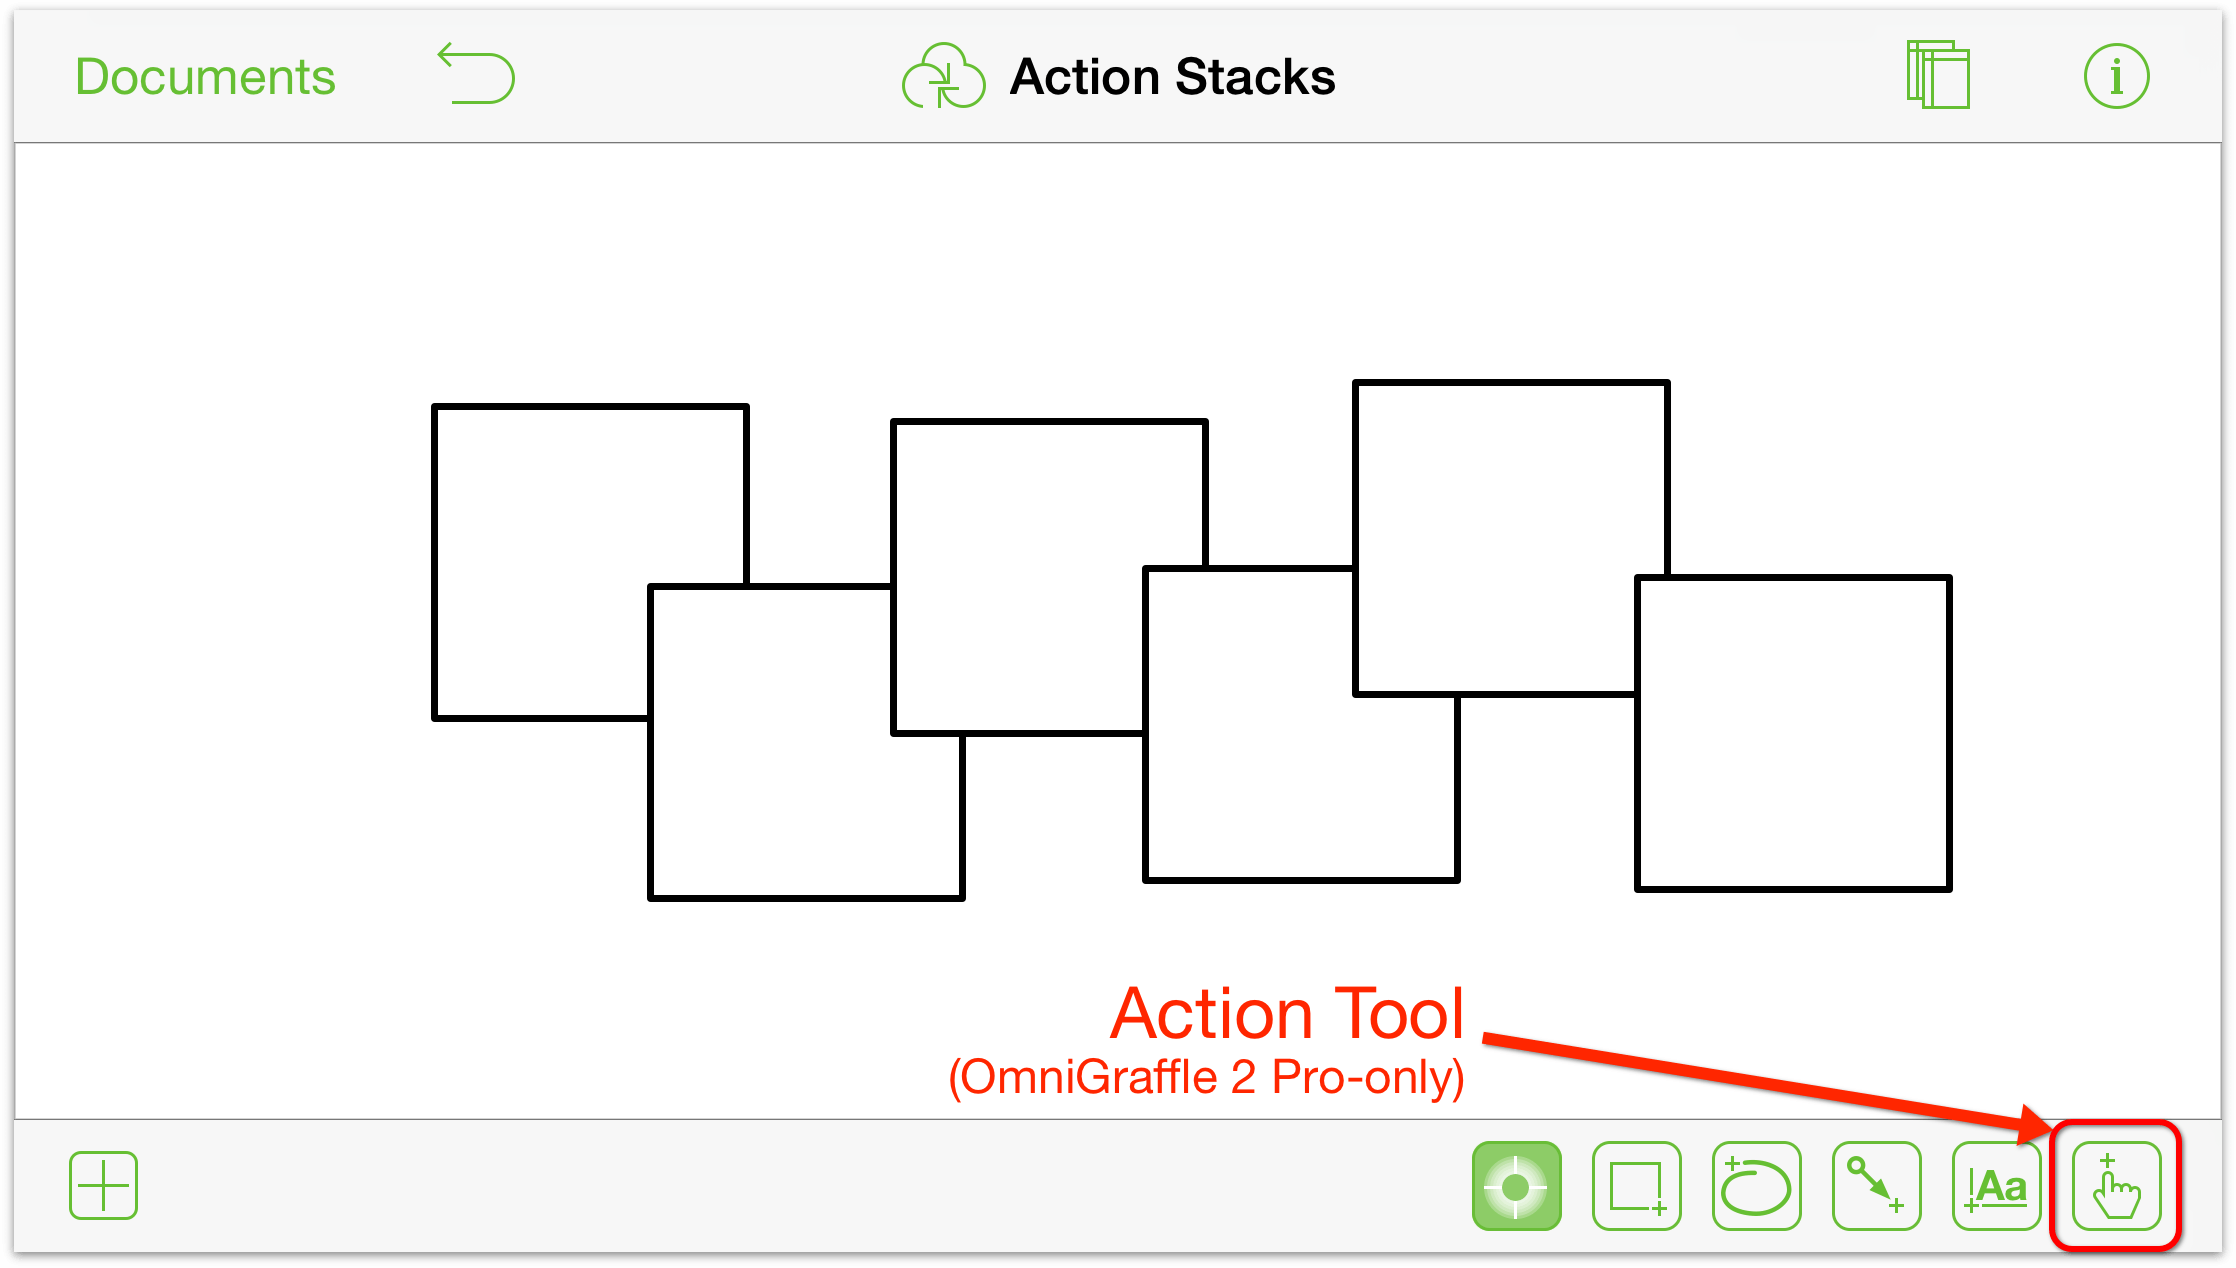
As with the other tools, the Action Tool takes on a different appearance depending on its state:
 means the Action Tool is inactive
 means the Action Tool is Selected
 means the Action Tool is Highlighted
 means the Action Tool is Sticky
For more information on how to use the Action tool, see Interacting with Objects Using the Action Tool, later in this chapter.
When you select the Shape, Freehand, Line, or Text tool, you’ll notice that another button appears to the left of the button. This is known as the tool preview button, because it shows you exactly the type of thing you’re about to draw.
Pressing a tool’s preview button pops open an Info window which reveals details about that tool’s preset options, shows a list of Favorites which you can choose from, and also shows things of that type On This Canvas. You can also create a Custom Style from this window.
Go ahead and try this out:
Tap
twice; your toolbar should appear as follows: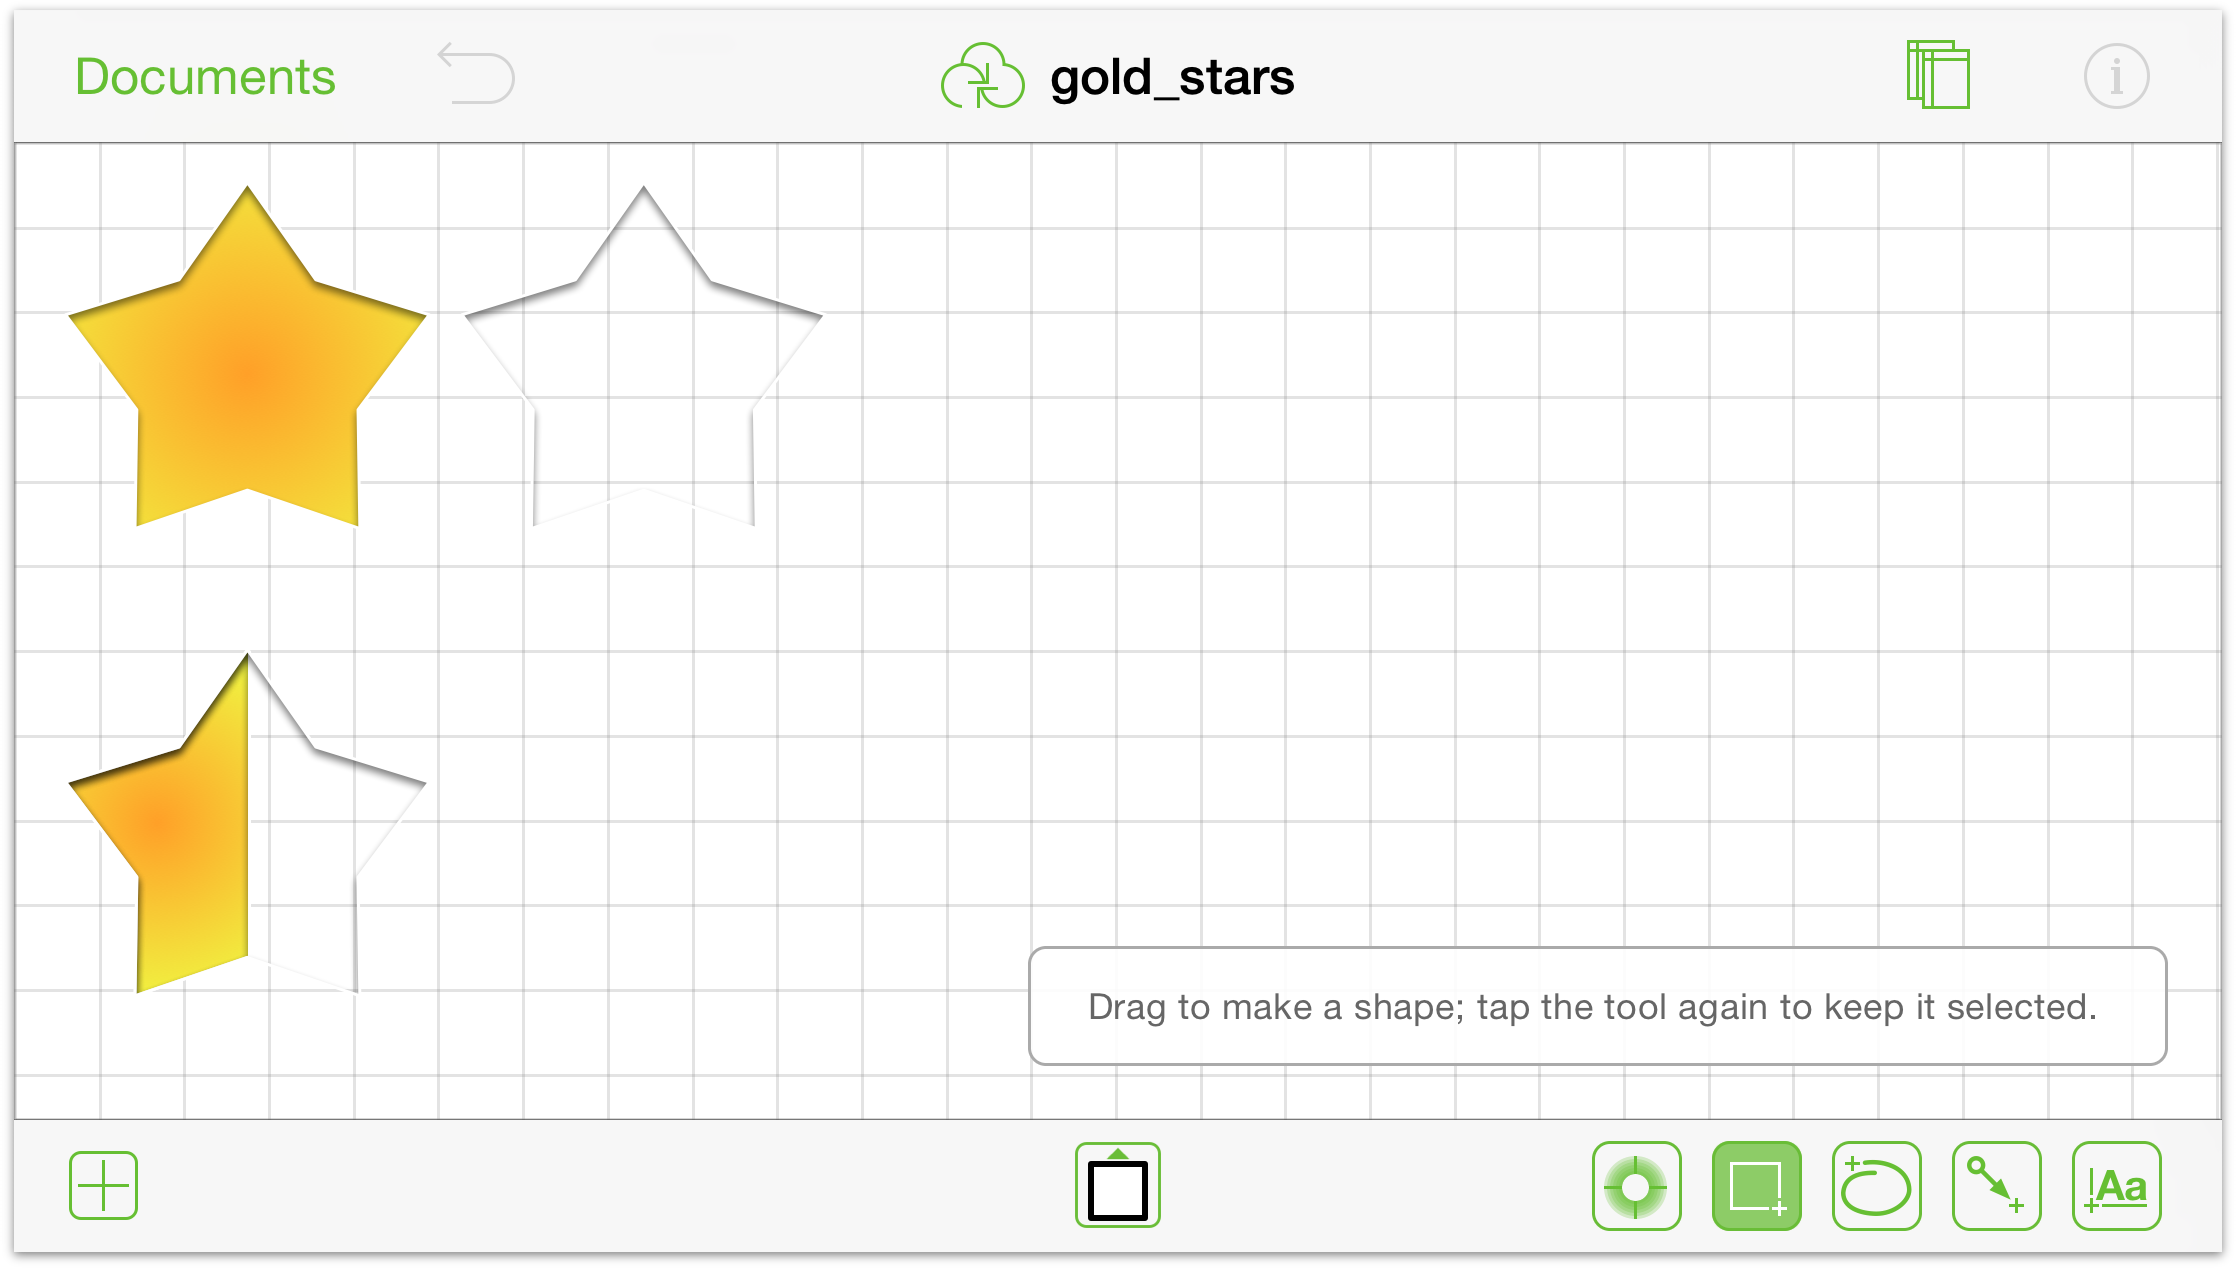
Tap the tool preview button to examine the styles, choose another shape, or create a custom style for the shape.

Tap the circle object under Favorites. You’ll notice that the tool preview button changes to display the circle.
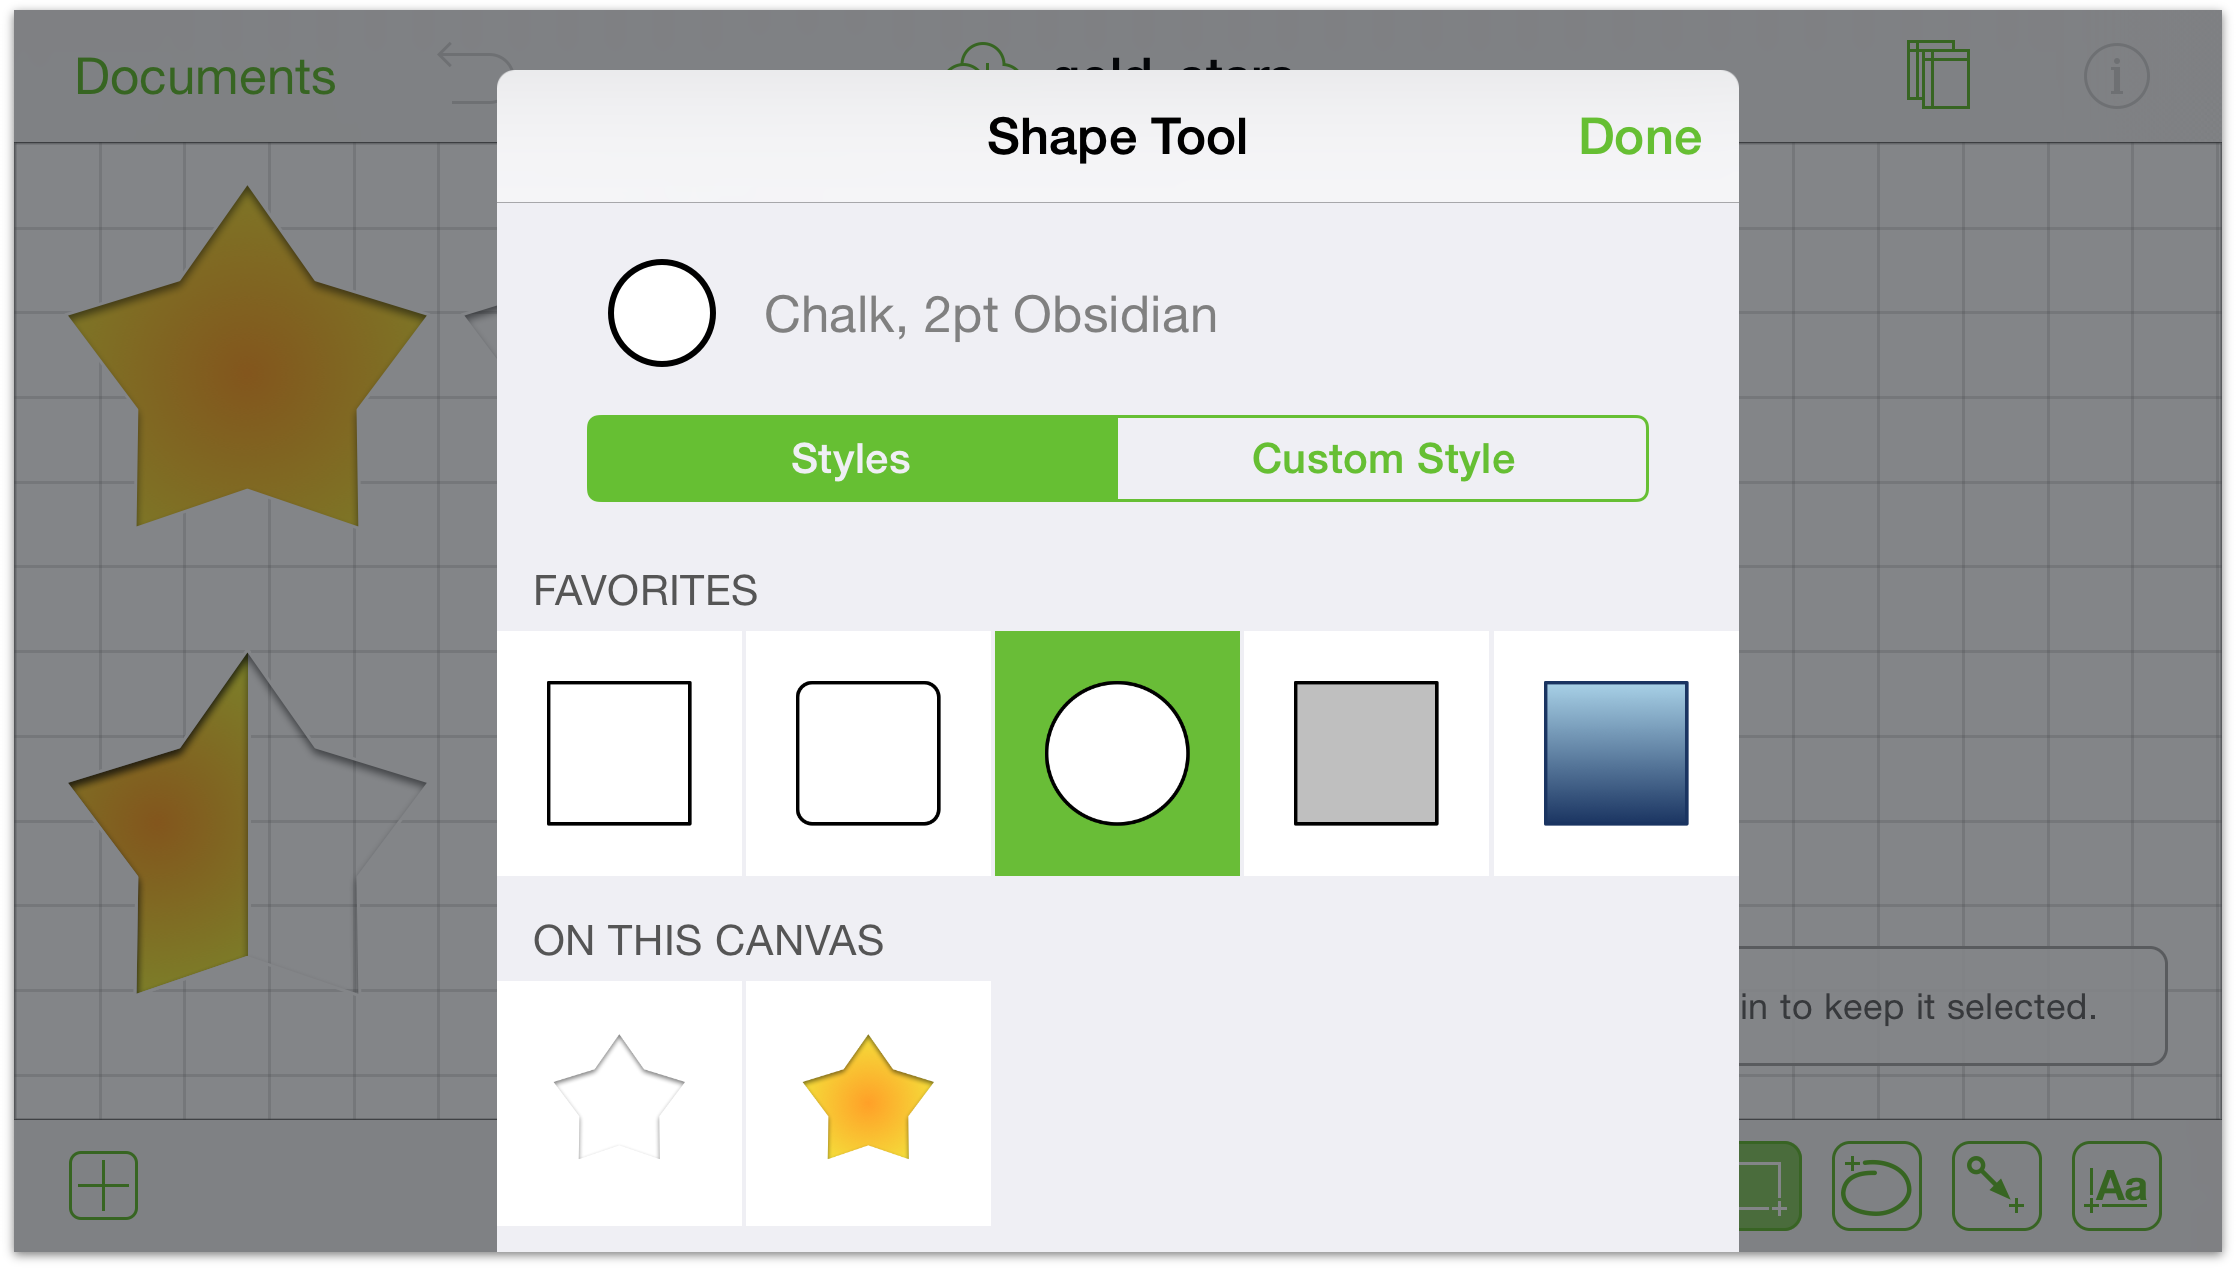

Take some time to try out the remaining tools to see which options are available in their respective Info windows.
Using the Point Editing Tool
New in OmniGraffle v2.1 is the Point Editing Tool. You use the Point Editing tool to add, remove and select the points of an object.
Everything you draw in OmniGraffle consists of points. A line, for example, has two points: a start and an end point. A square has four points; one at each corner. The Point Editing Tool gives you the ability to take any object and turn it into something really amazing.
To use the Point Editing Tool, first select an object on the Canvas and then tap ![]() in the Drawing Tools bar.
in the Drawing Tools bar.
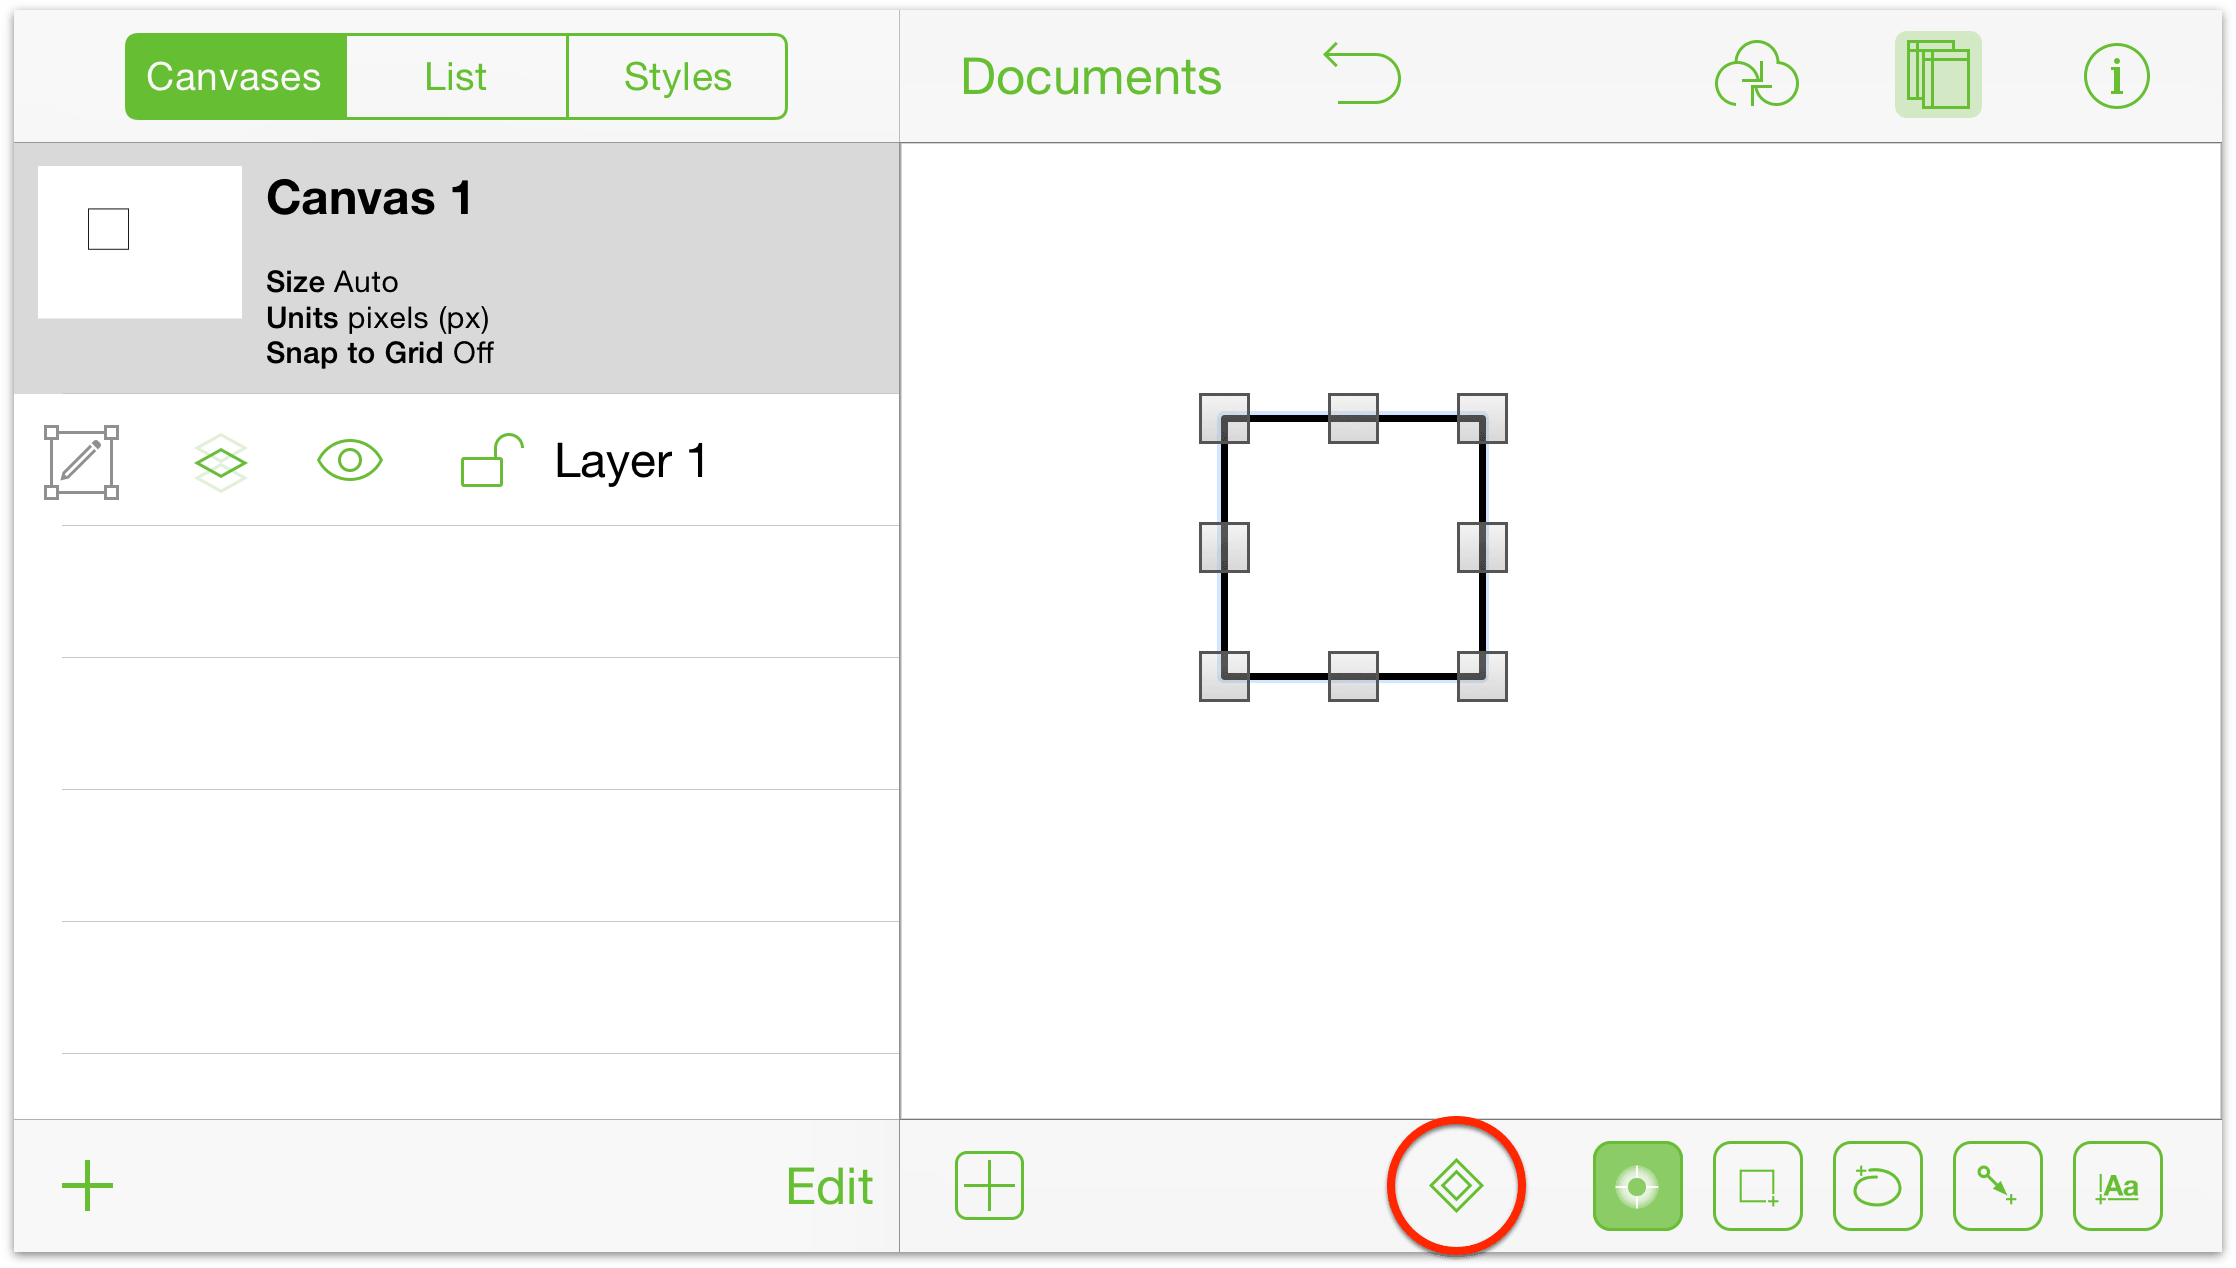
After tapping the Point Editing Tool, you’ll notice that three more buttons appear in the Drawing Tools bar; these are the Add, Remove, and Point Selection tools.
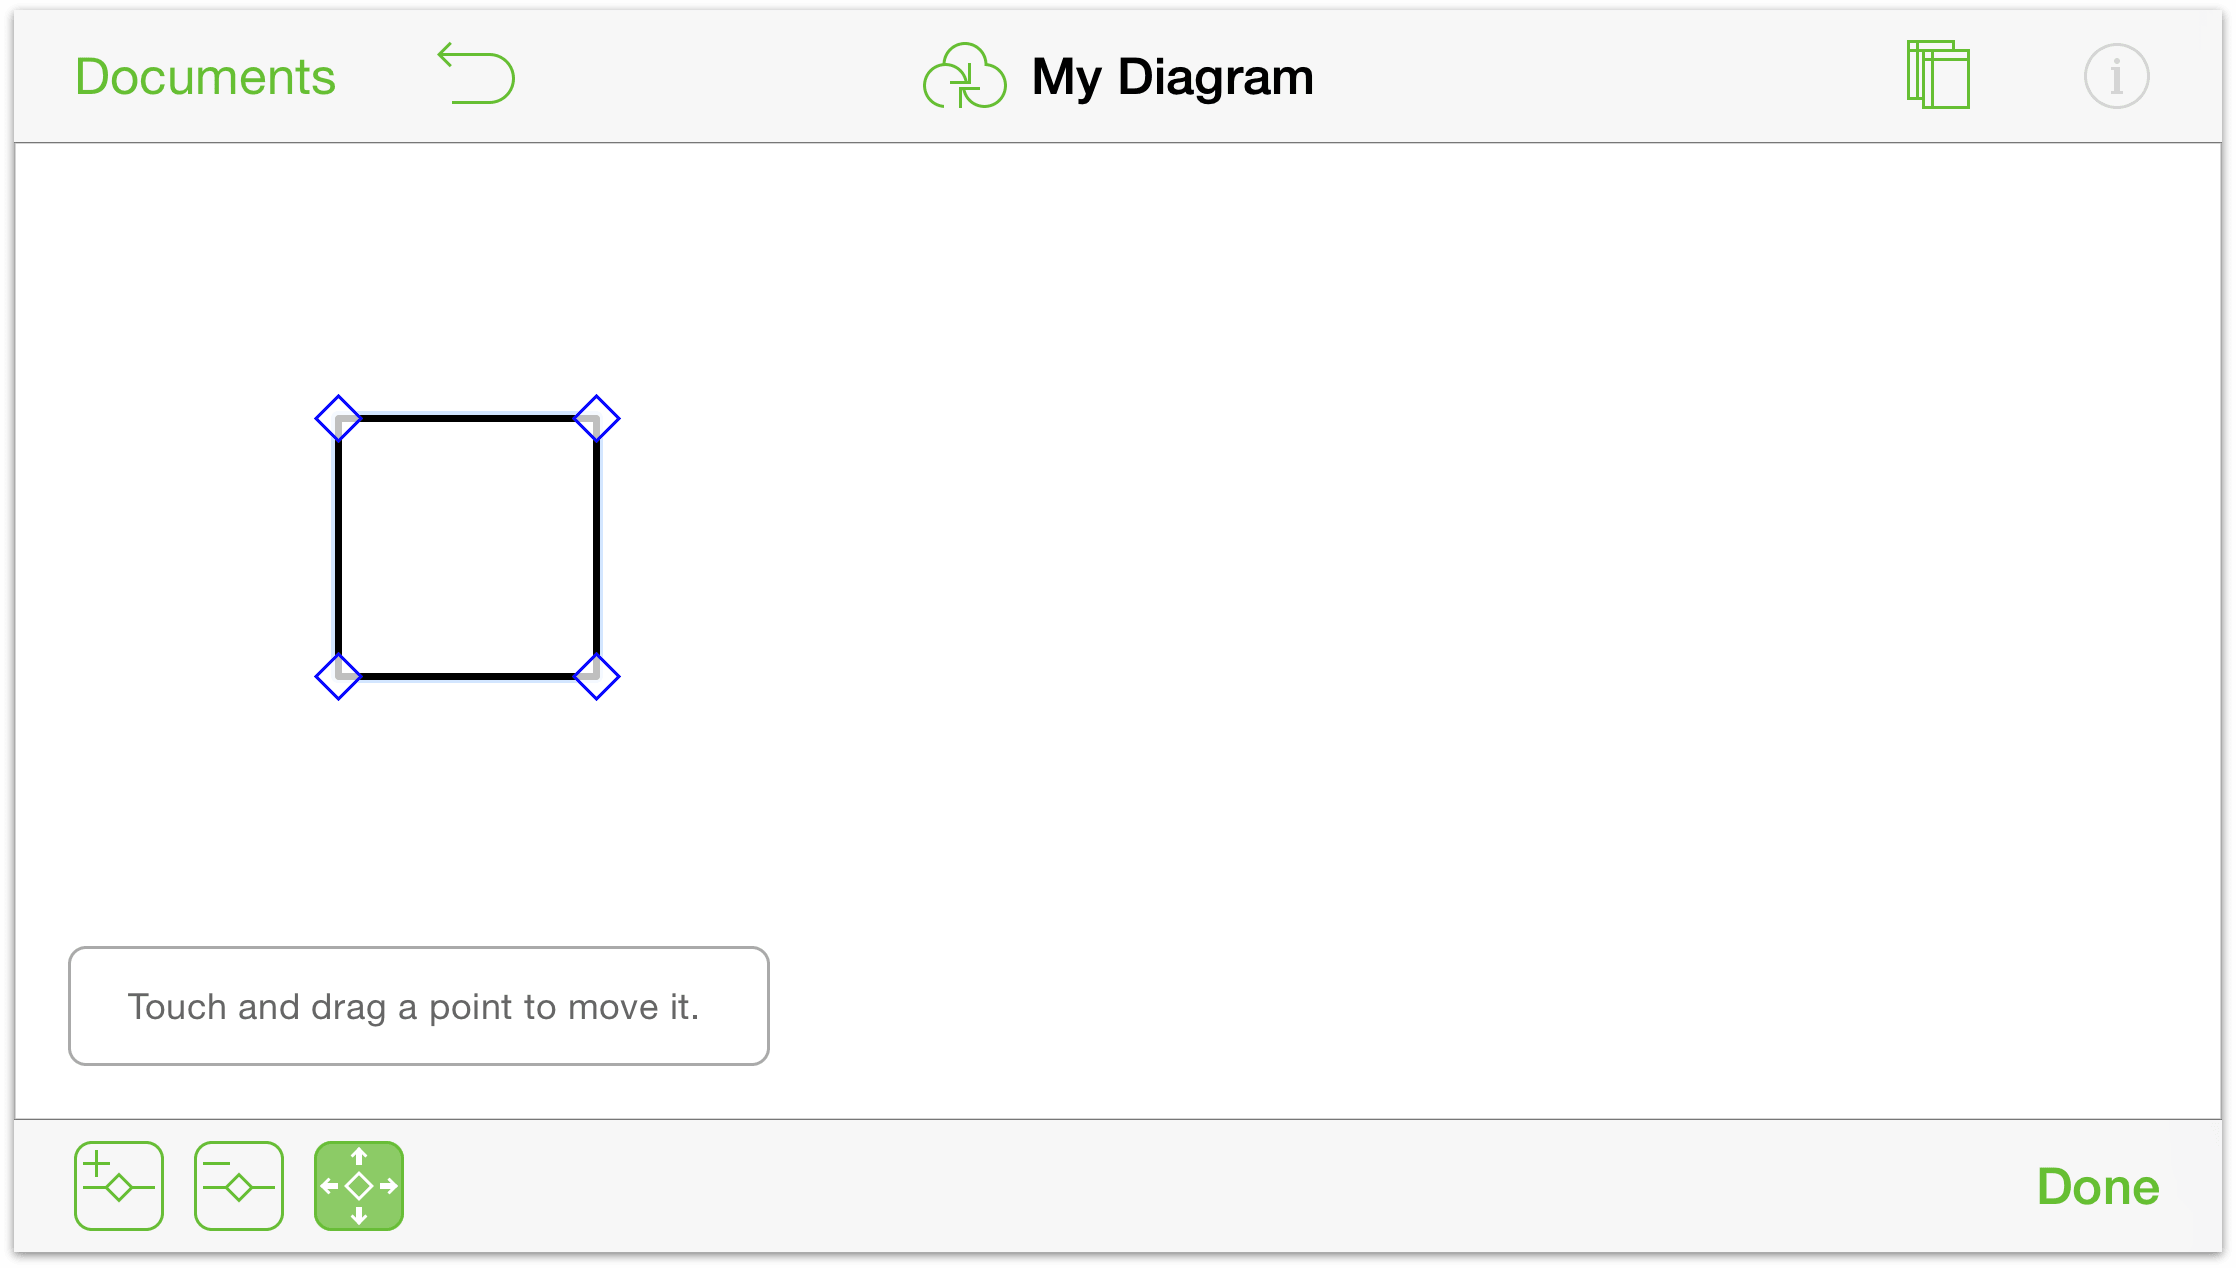
- Point Selection — Tap to select this tool, and then tap and drag a point on an object to distort its shape. (The Point Selection tool is selected by default whenever you tap the Point Editing Tool.

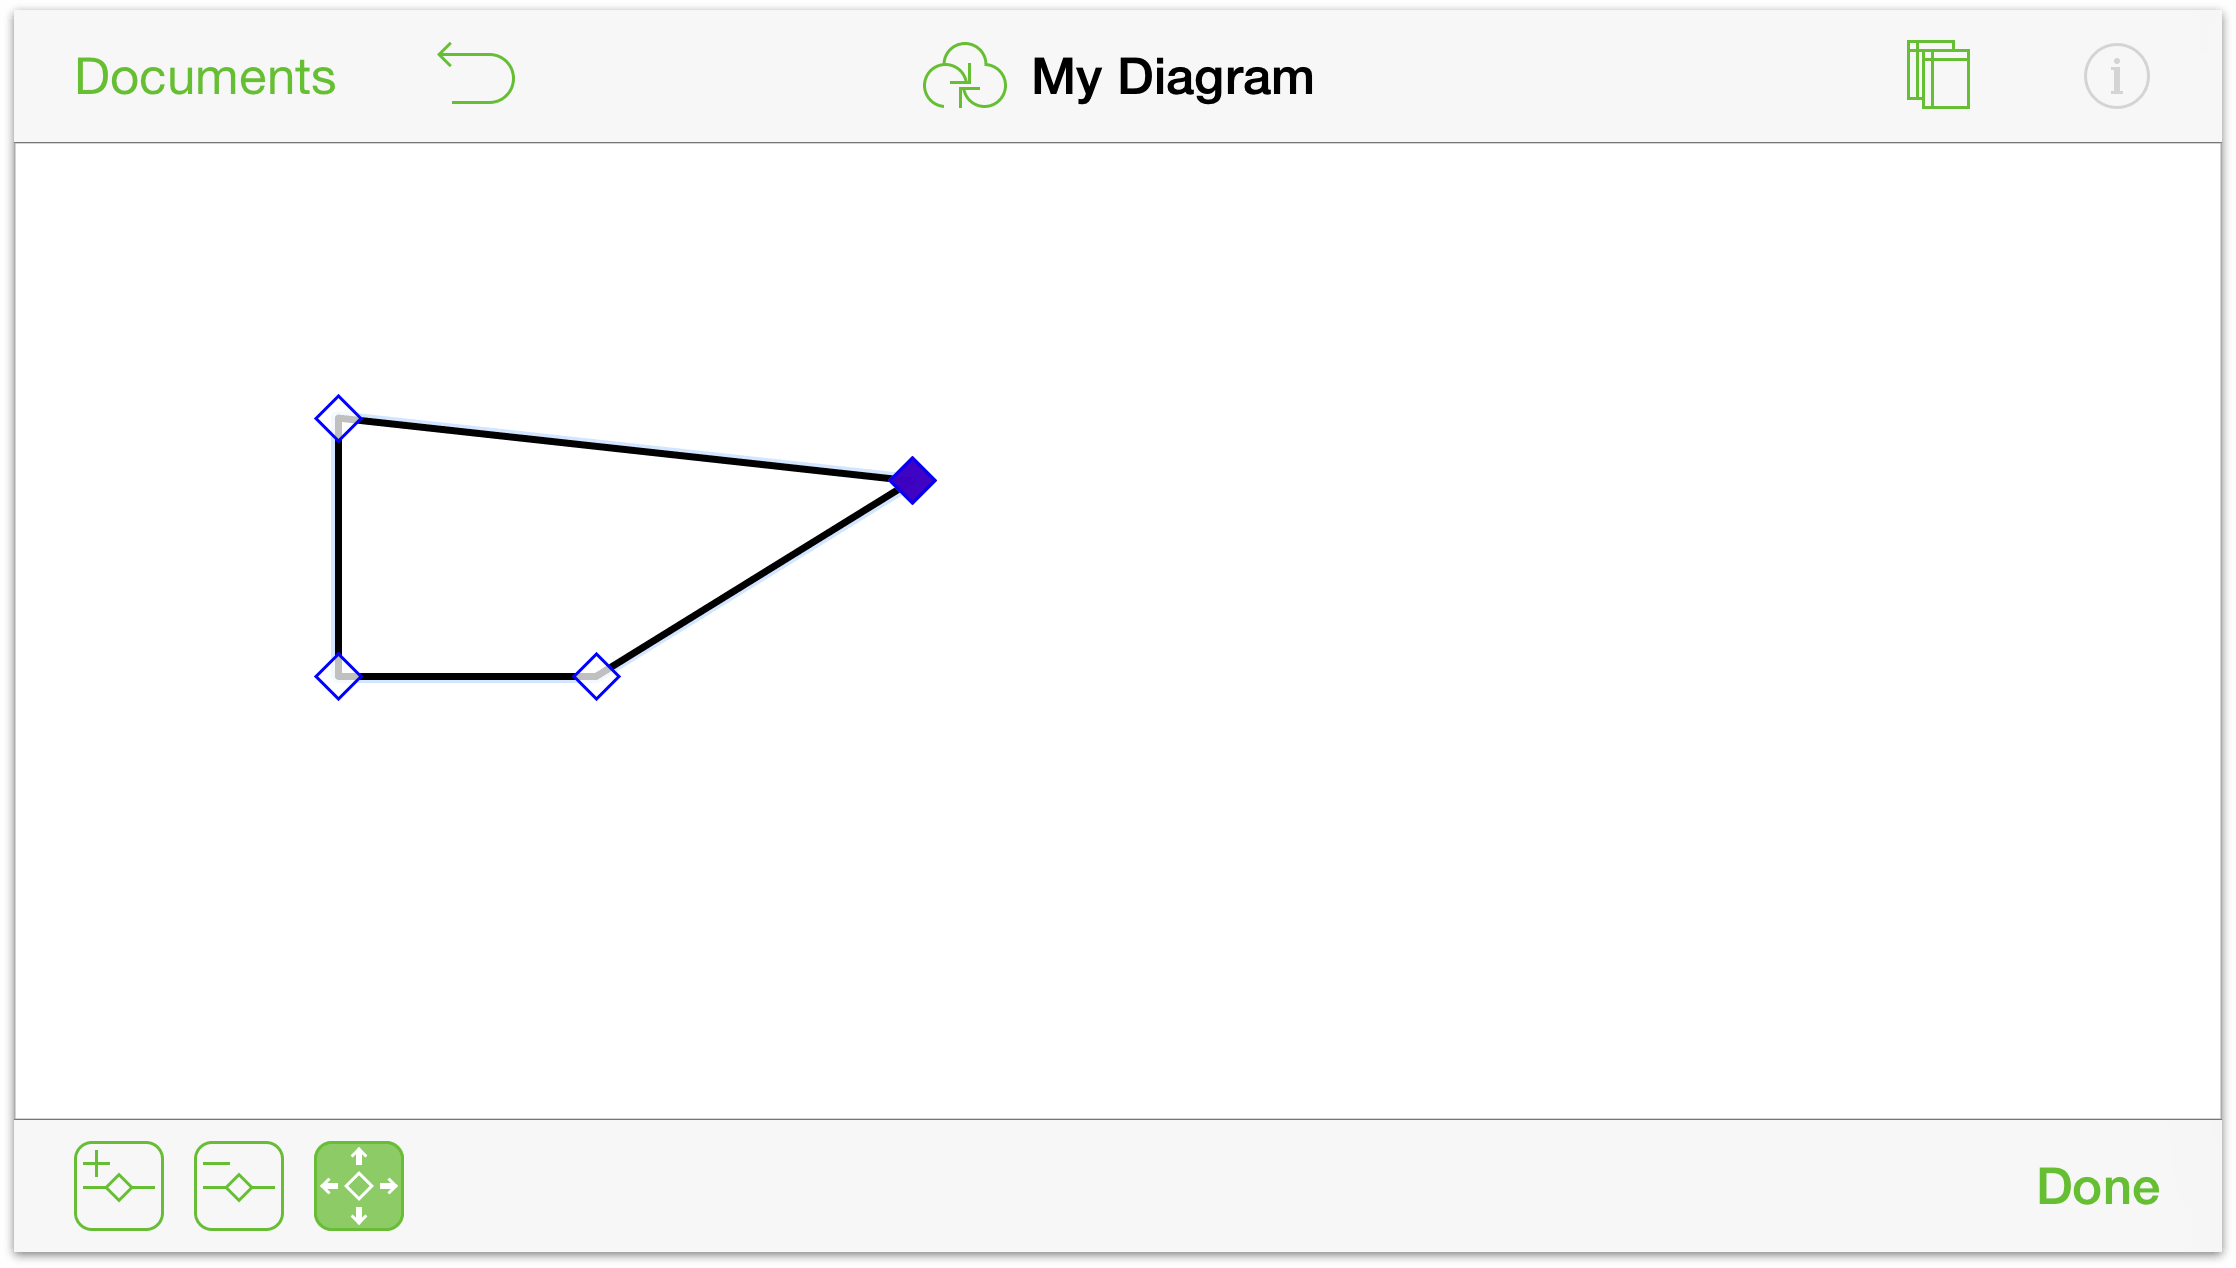
- Add Point — Tap to highlight this tool, and then tap anywhere on an object’s outline to add a point.


- Remove Point — Tap to highlight this tool, and then tap a point to remove it from the object.

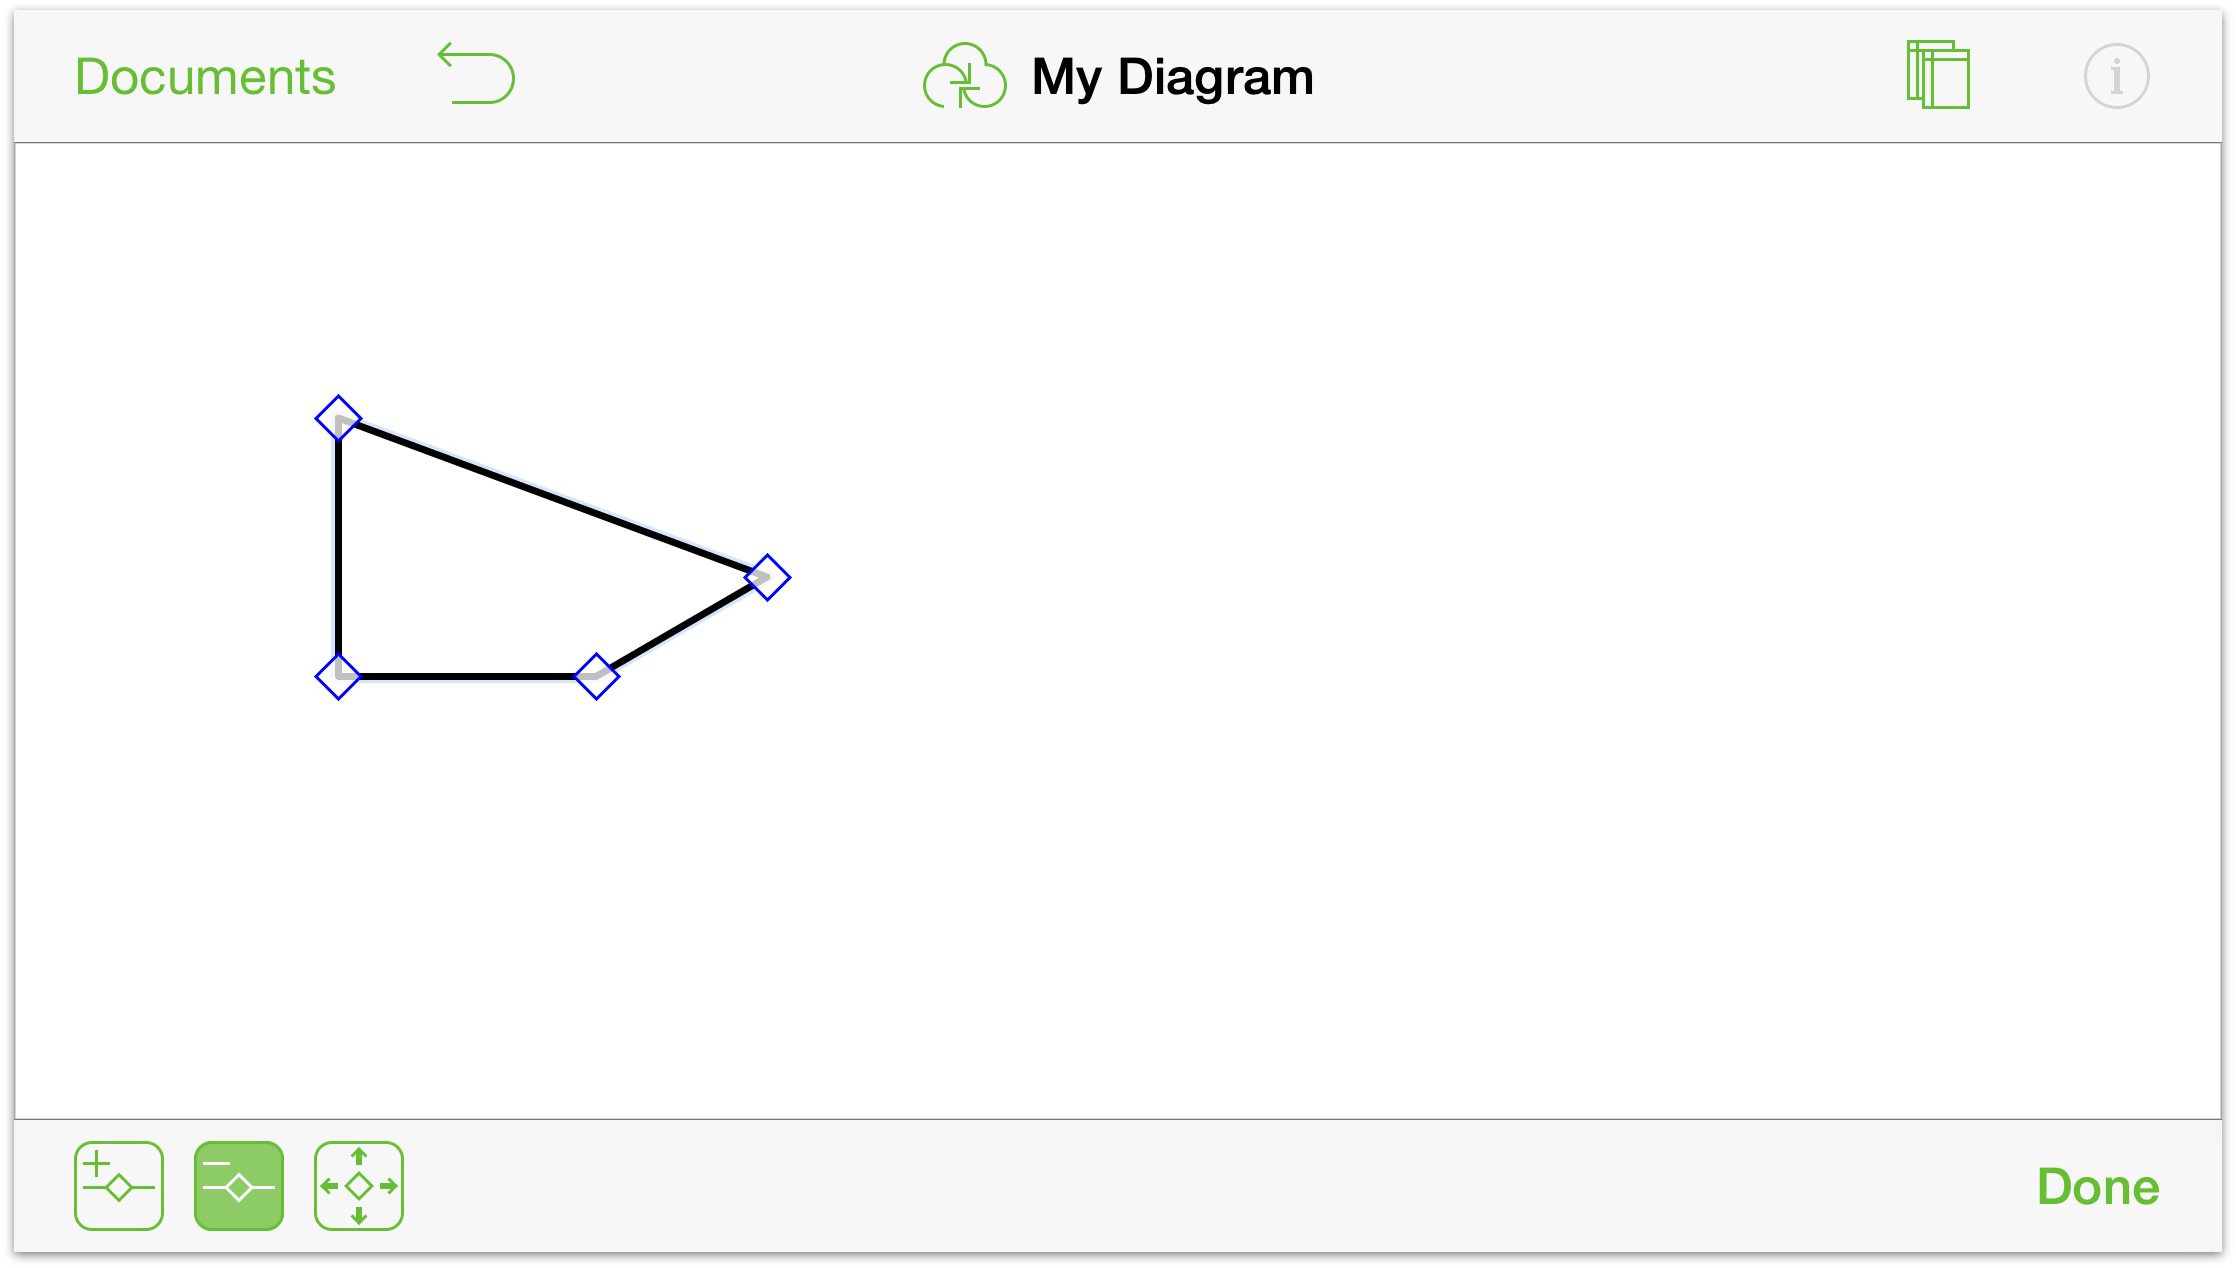
When you have finished using the Point Editing Tool, tap Done to continue your work.
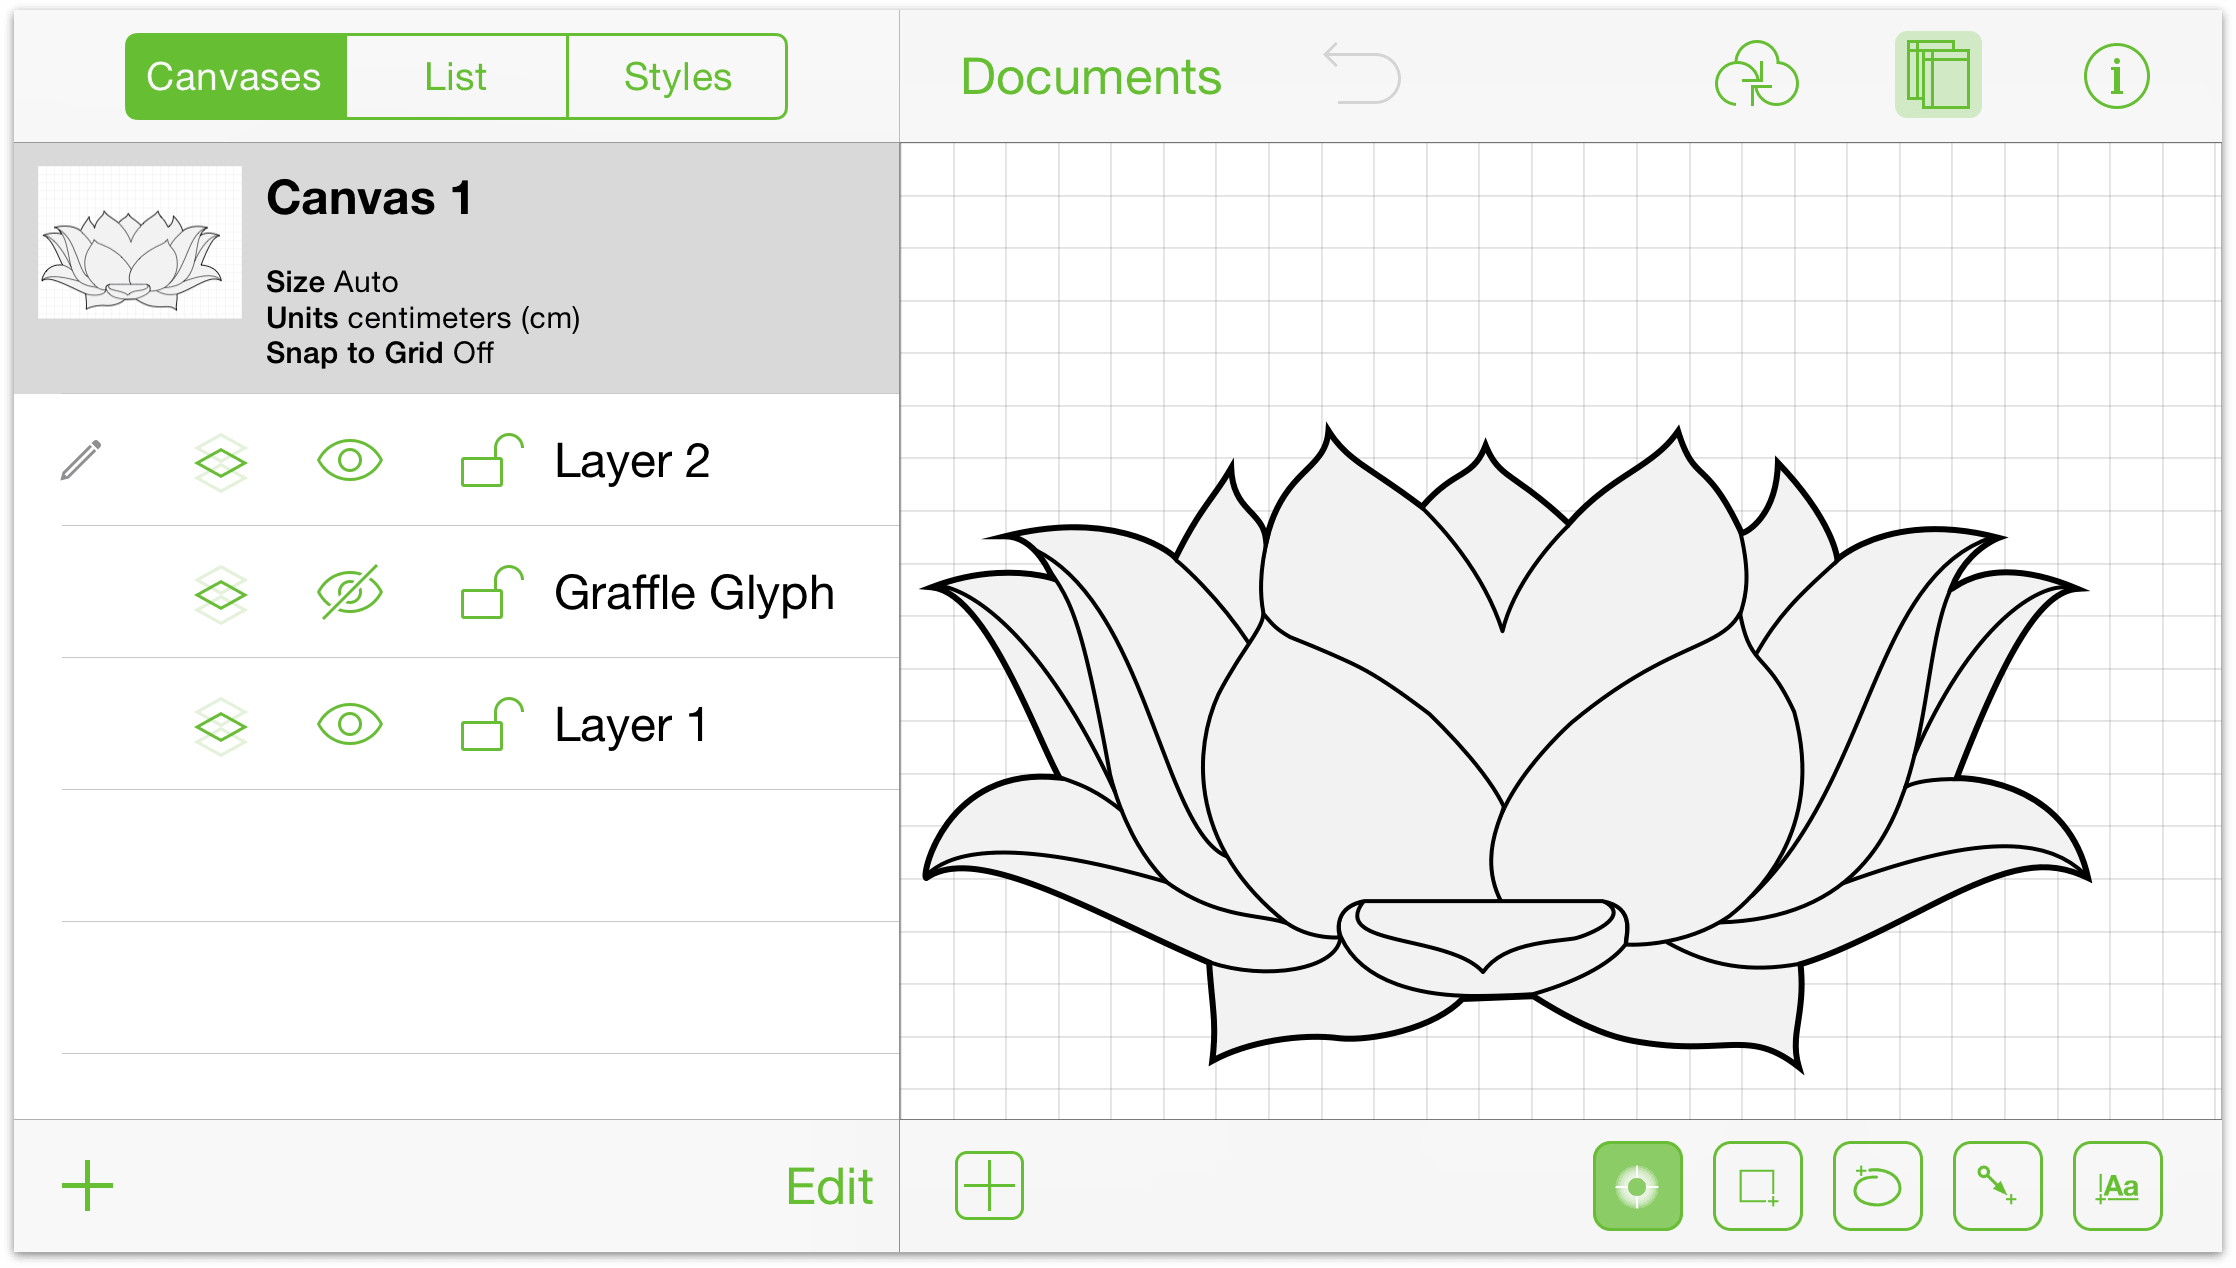
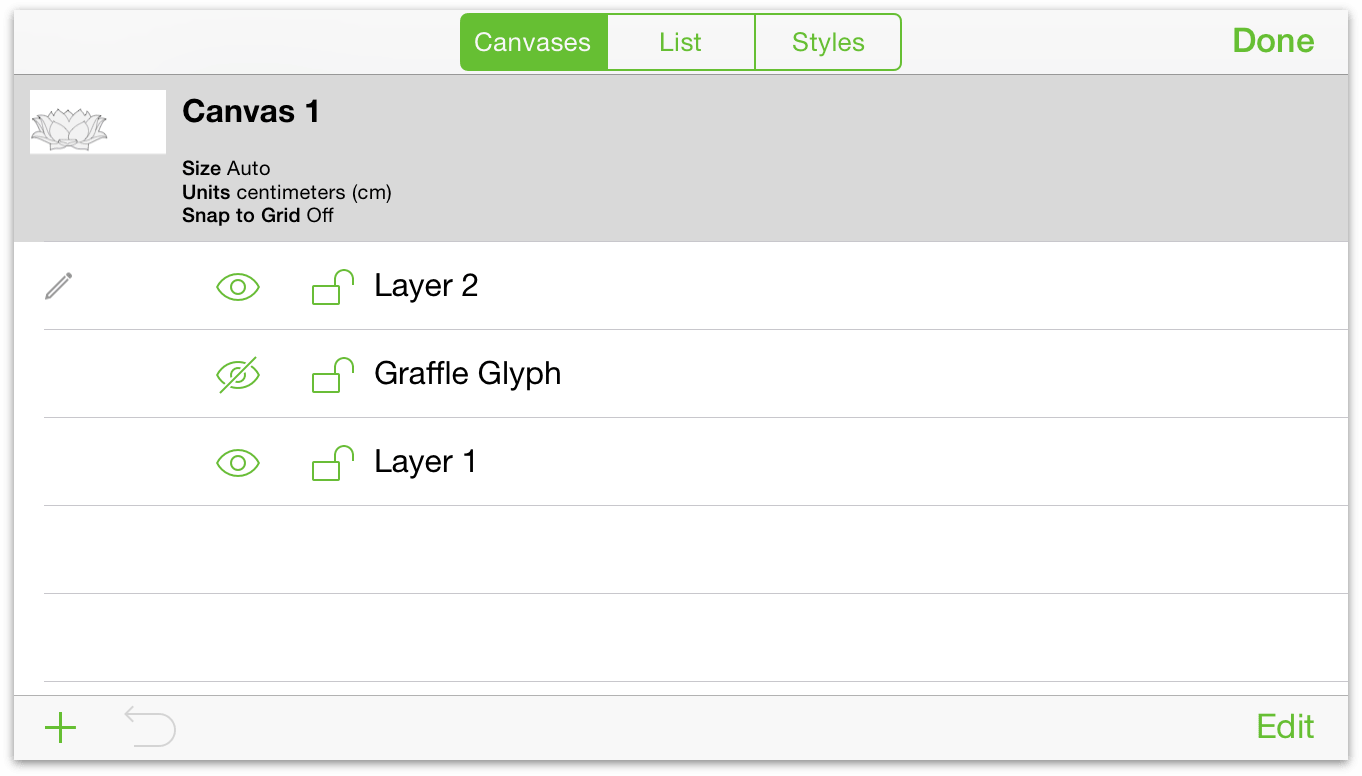
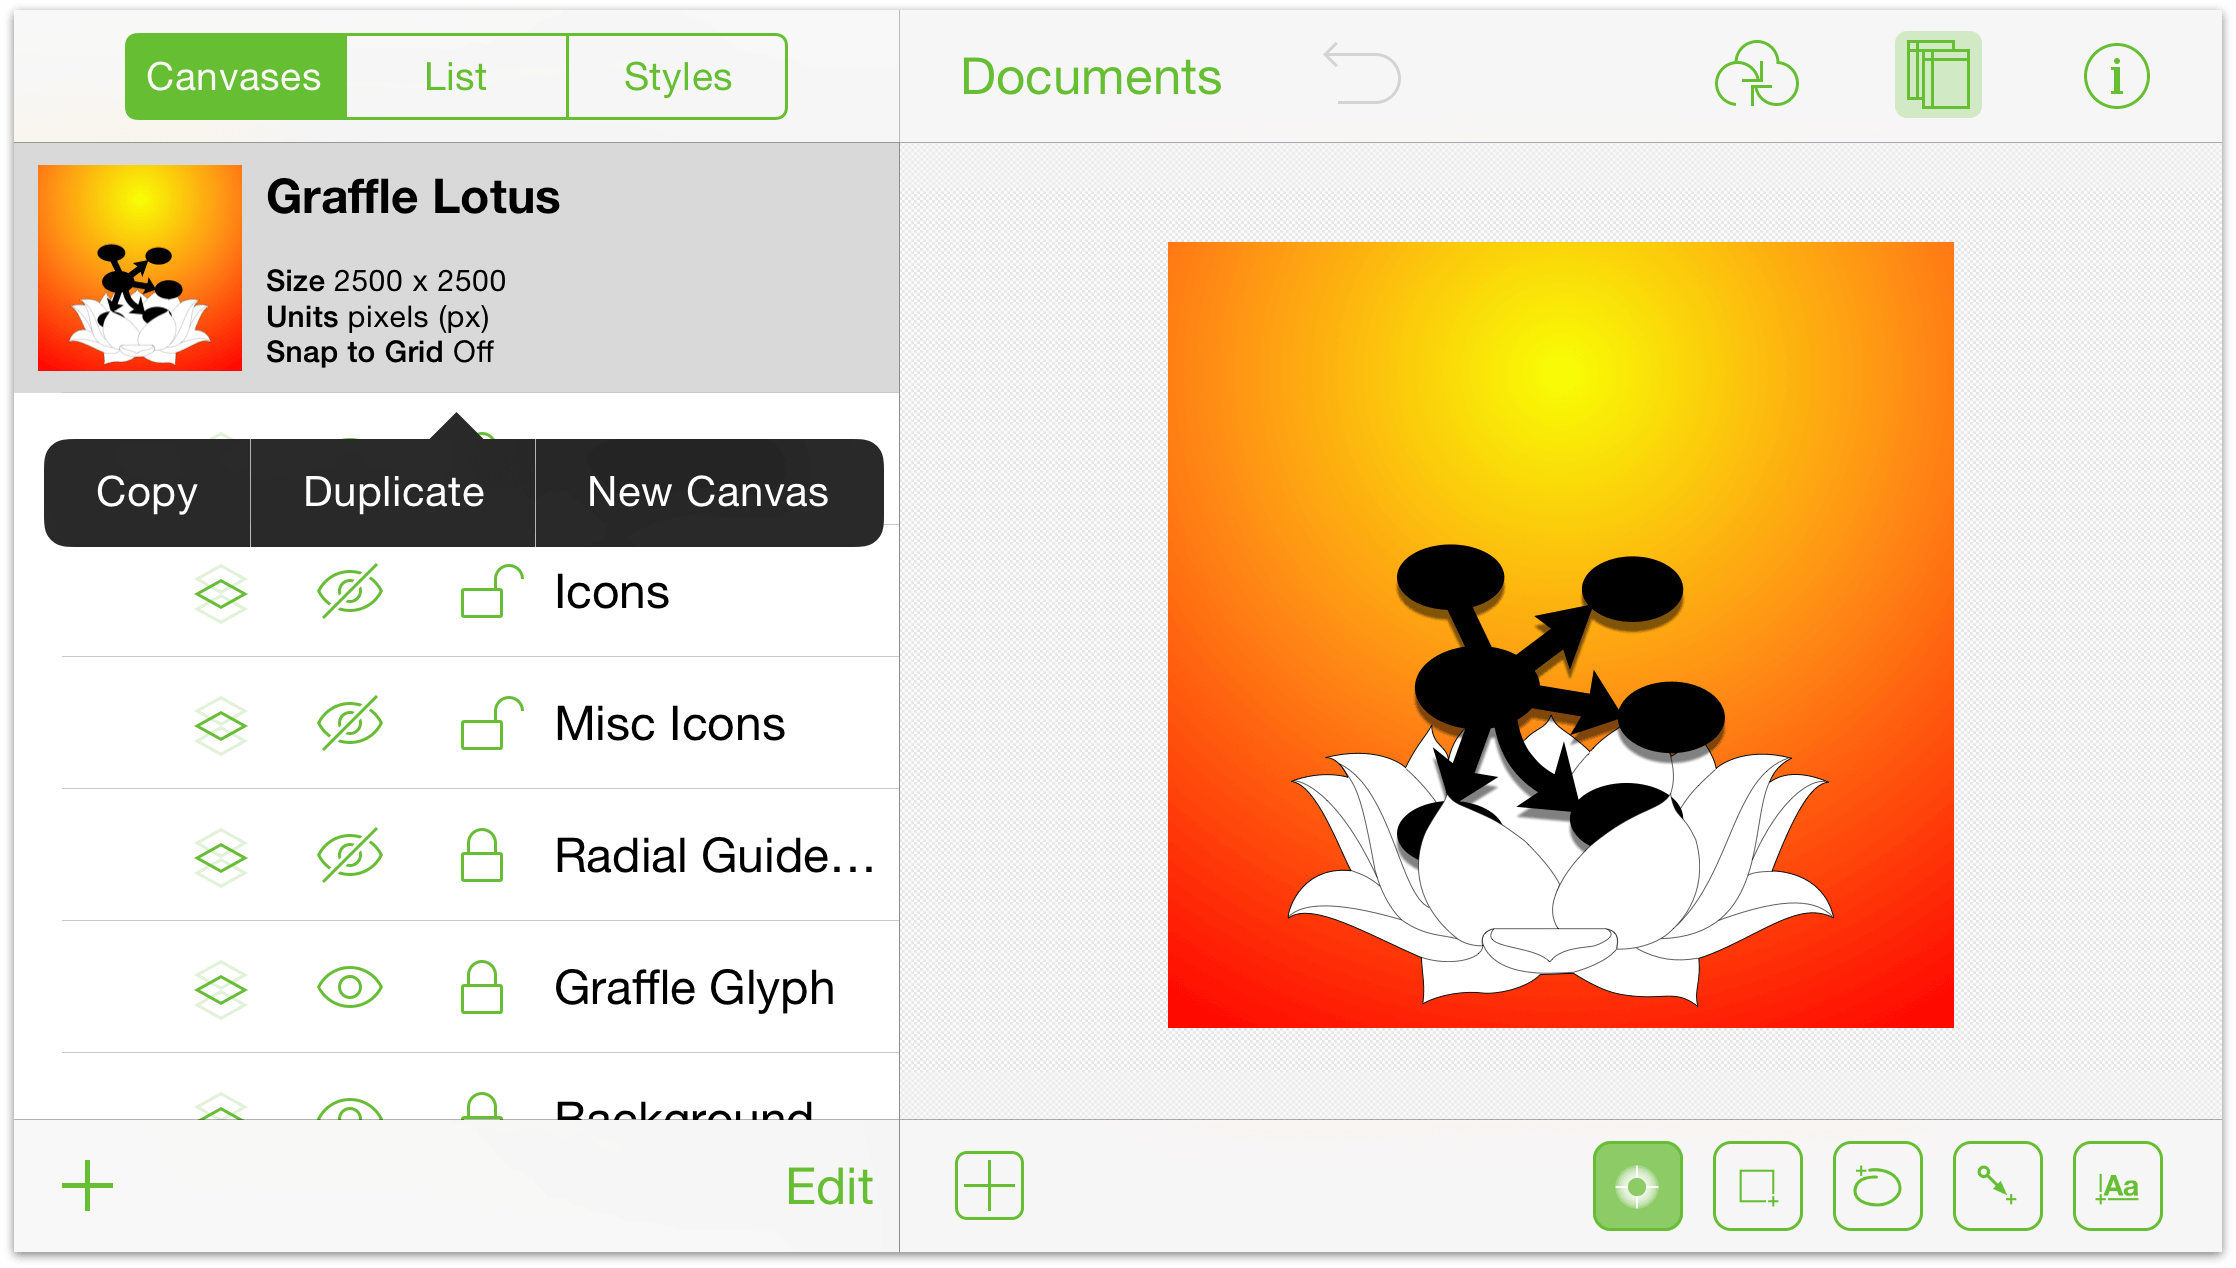
The Canvases Sidebar
The Canvases sidebar contains information about your canvases, their layers, the objects that exist on those layers, and the styles applied to groups of objects.
To open and close the Canvases sidebar, tap ![]() in the Document toolbar. If you have used OmniGraffle 6 for Mac, you’ll notice that the sidebars look quite similar.
in the Document toolbar. If you have used OmniGraffle 6 for Mac, you’ll notice that the sidebars look quite similar.
To view and manage your Canvases:
Tap Canvases at the top of the sidebar to view your Canvas list.
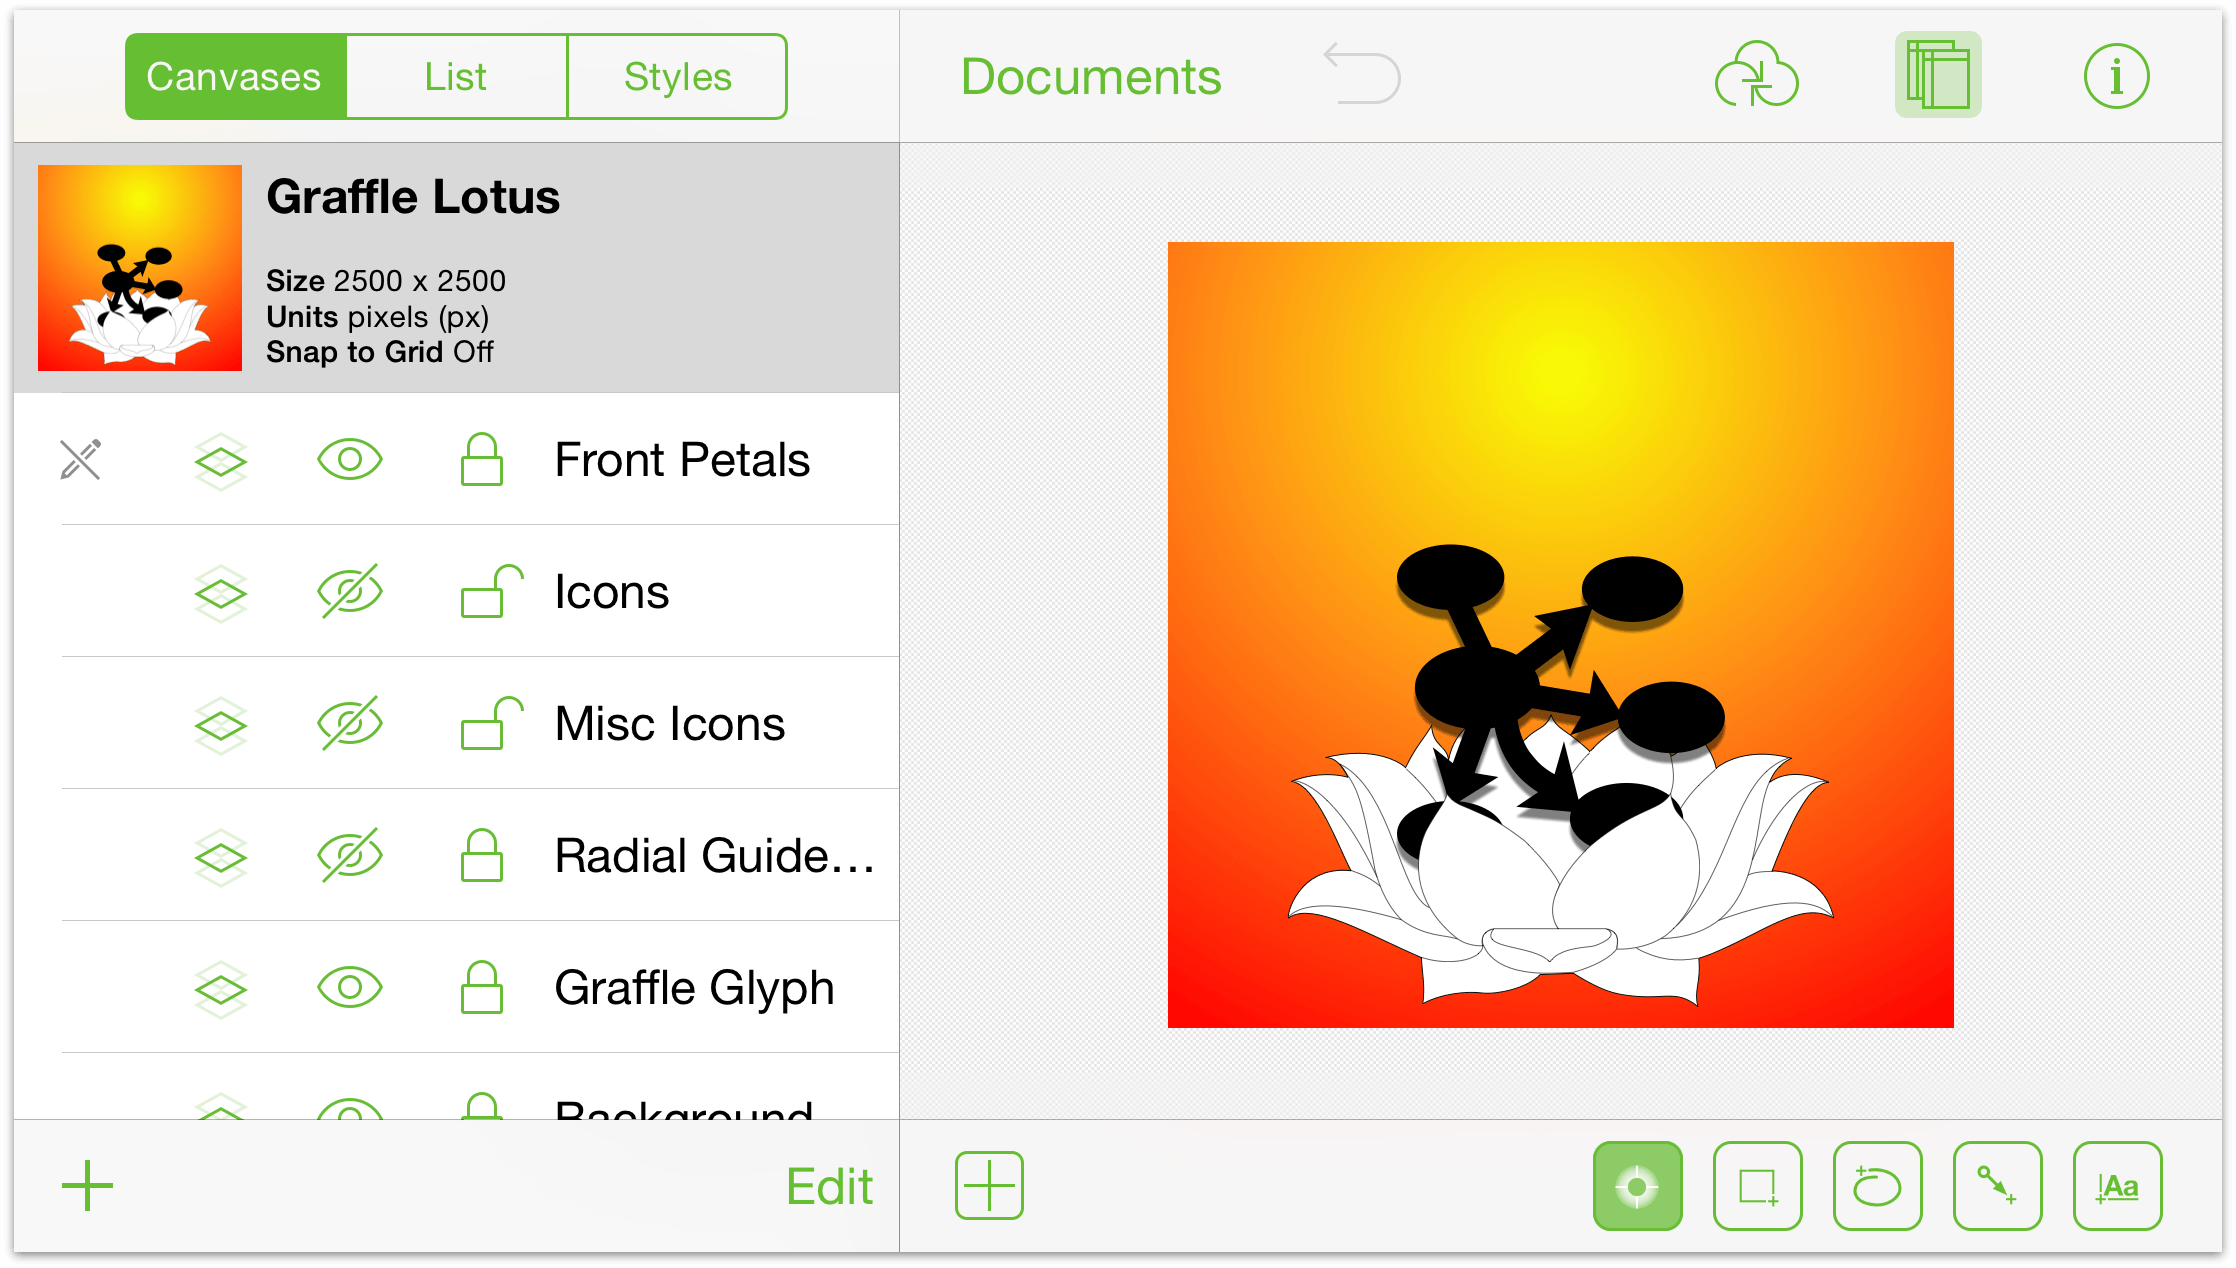
To start working on a canvas, select the canvas in the list with a tap.
To create a new canvas, tap New Canvas at the bottom of the sidebar.
To duplicate the selected canvas, touch and hold on the Canvas name, and then tap Duplicate in the contextual menu.
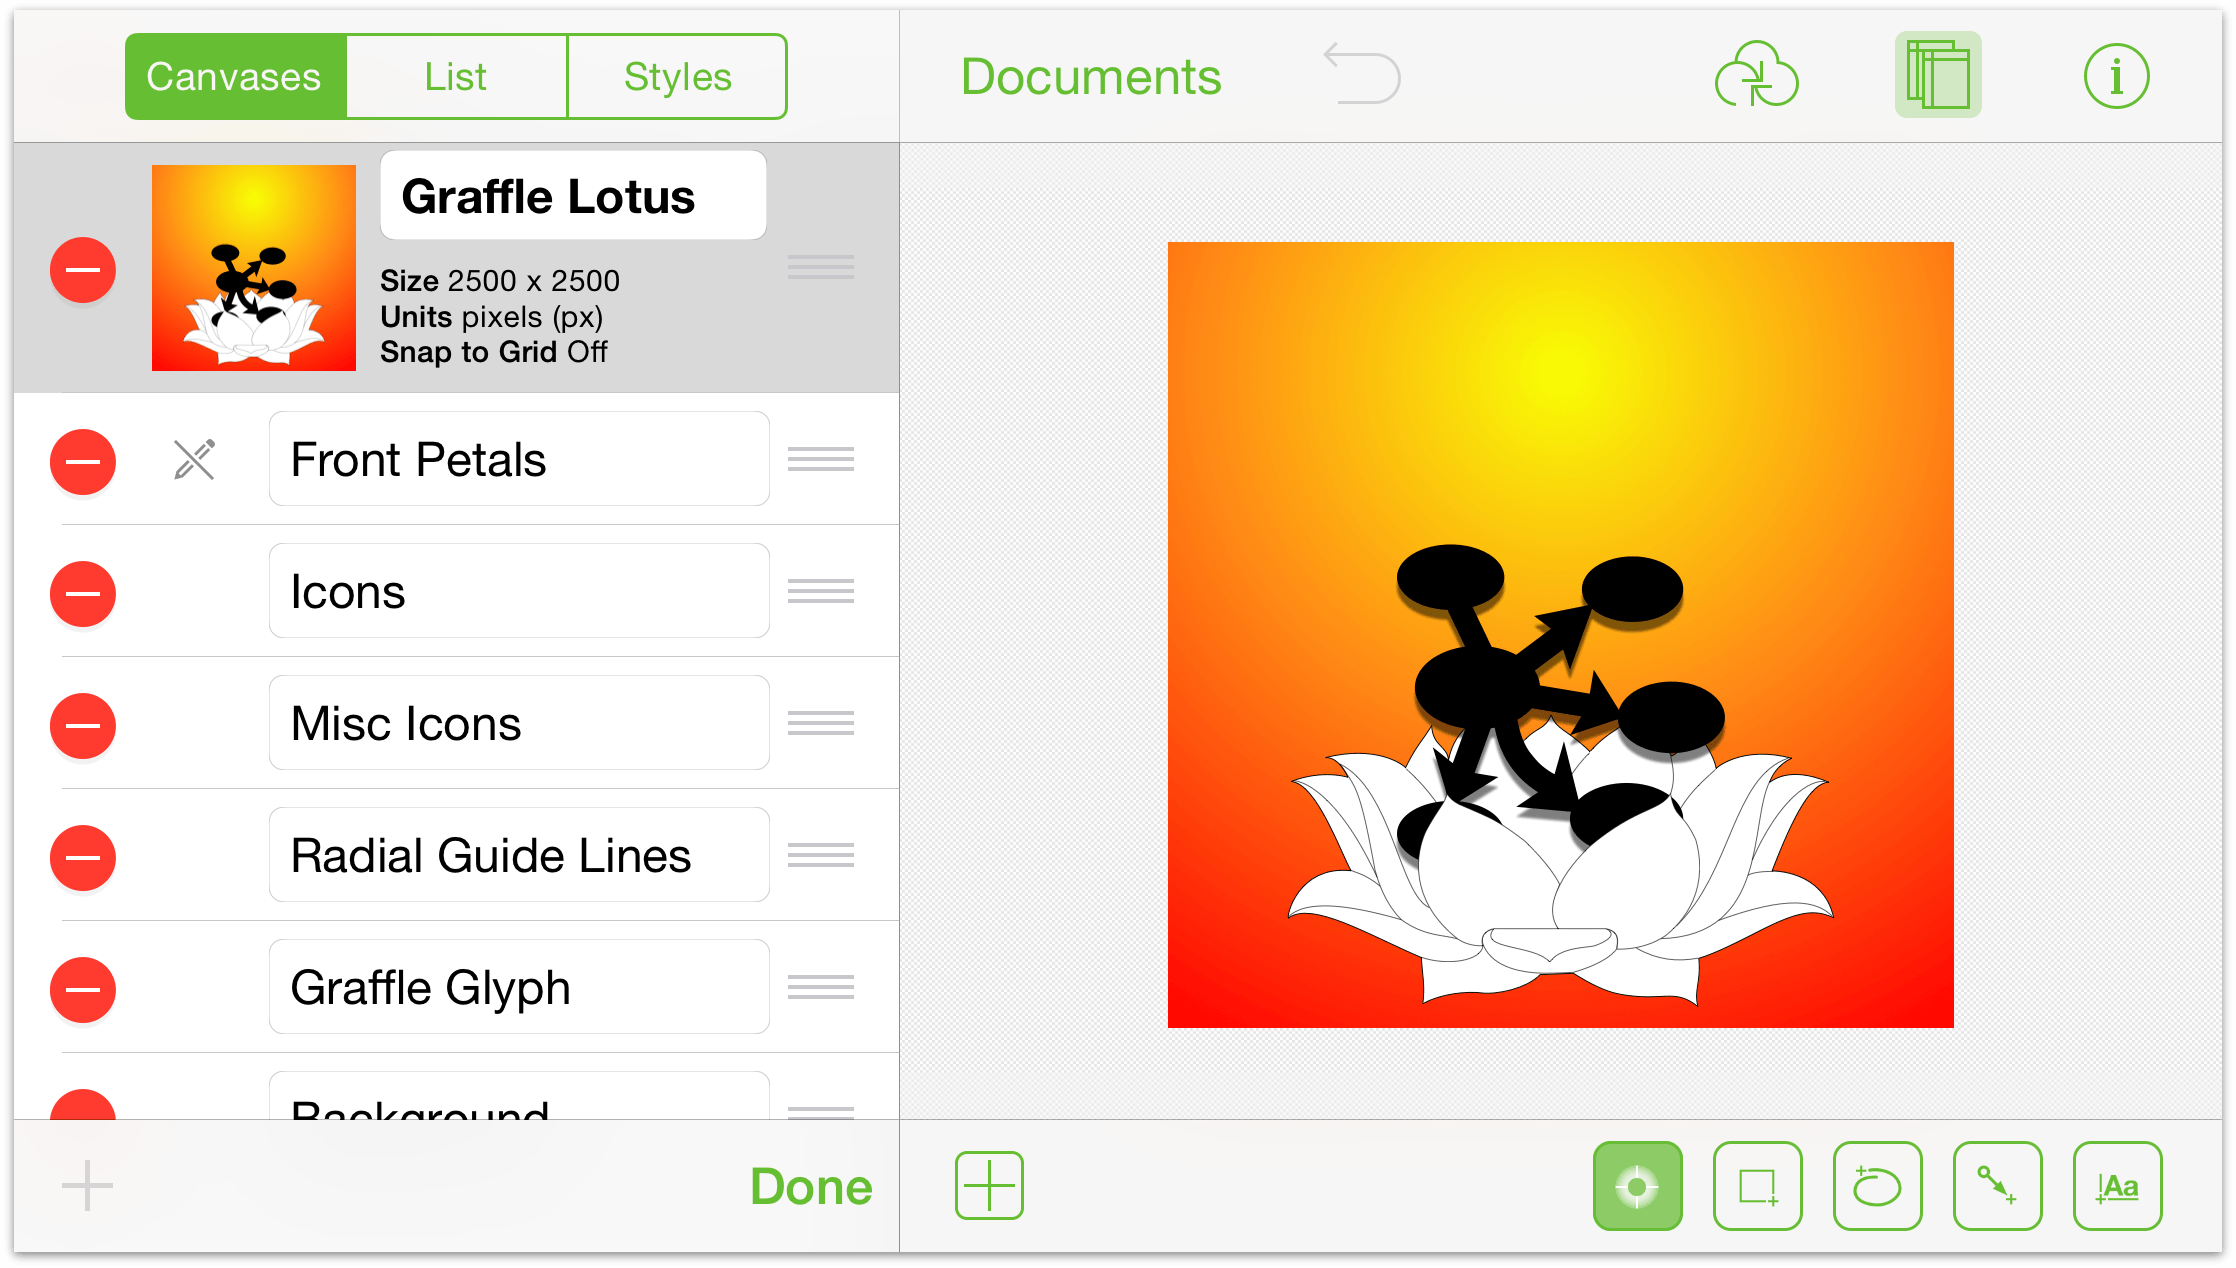
To rearrange, delete, or rename the Canvases and layers, tap Edit. Tap the red circles on the left to delete a Canvas or Layer, and use the handles on the right to rearrange them. To edit a Canvas or Layer’s name, double-tap in the name field to select all of the text, and then enter something new. Tap Done when you’ve finished making changes.
Working with Layers
Each Canvas starts out with one layer. To add new layers, first select a Canvas’s layer and then tap New Layer at the bottom-left of the sidebar. To work on a particular layer, tap to select the layer you’d like to work on.
To work on a specific layer, tap the layer name in the list. You’ll notice a series of icons to the left of each layer name; let’s run through these:

A pencil indicates that the selected layer is editable. If the pencil has a slash through it, that layer is not editable, either because it is locked or its visibility is turned off.
To share a layer across multiple canvases, tap the shared layer button; tap again to turn off sharing.
To show or hide a layer, tap the layer visibility button. If the eye has a slash through it, that means the layer isn’t visible.
Tap the lock to lock or unlock a layer. Locked layers cannot be edited or changed, whereas anything goes with an unlocked layer.
If you need to rearrange or delete layers, tap Edit at the bottom-right of the sidebar. Layers are stacked upon one another on the Canvas—if two layers have overlapping objects, the layer at the top of the list obscures the objects on layers below it in the list.
As with the Canvas, each layer contains its own set of objects. To see everything that’s on a particular layer, first select the layer in the Canvases list, and then tap List at the top of the sidebar to view and manage its objects:
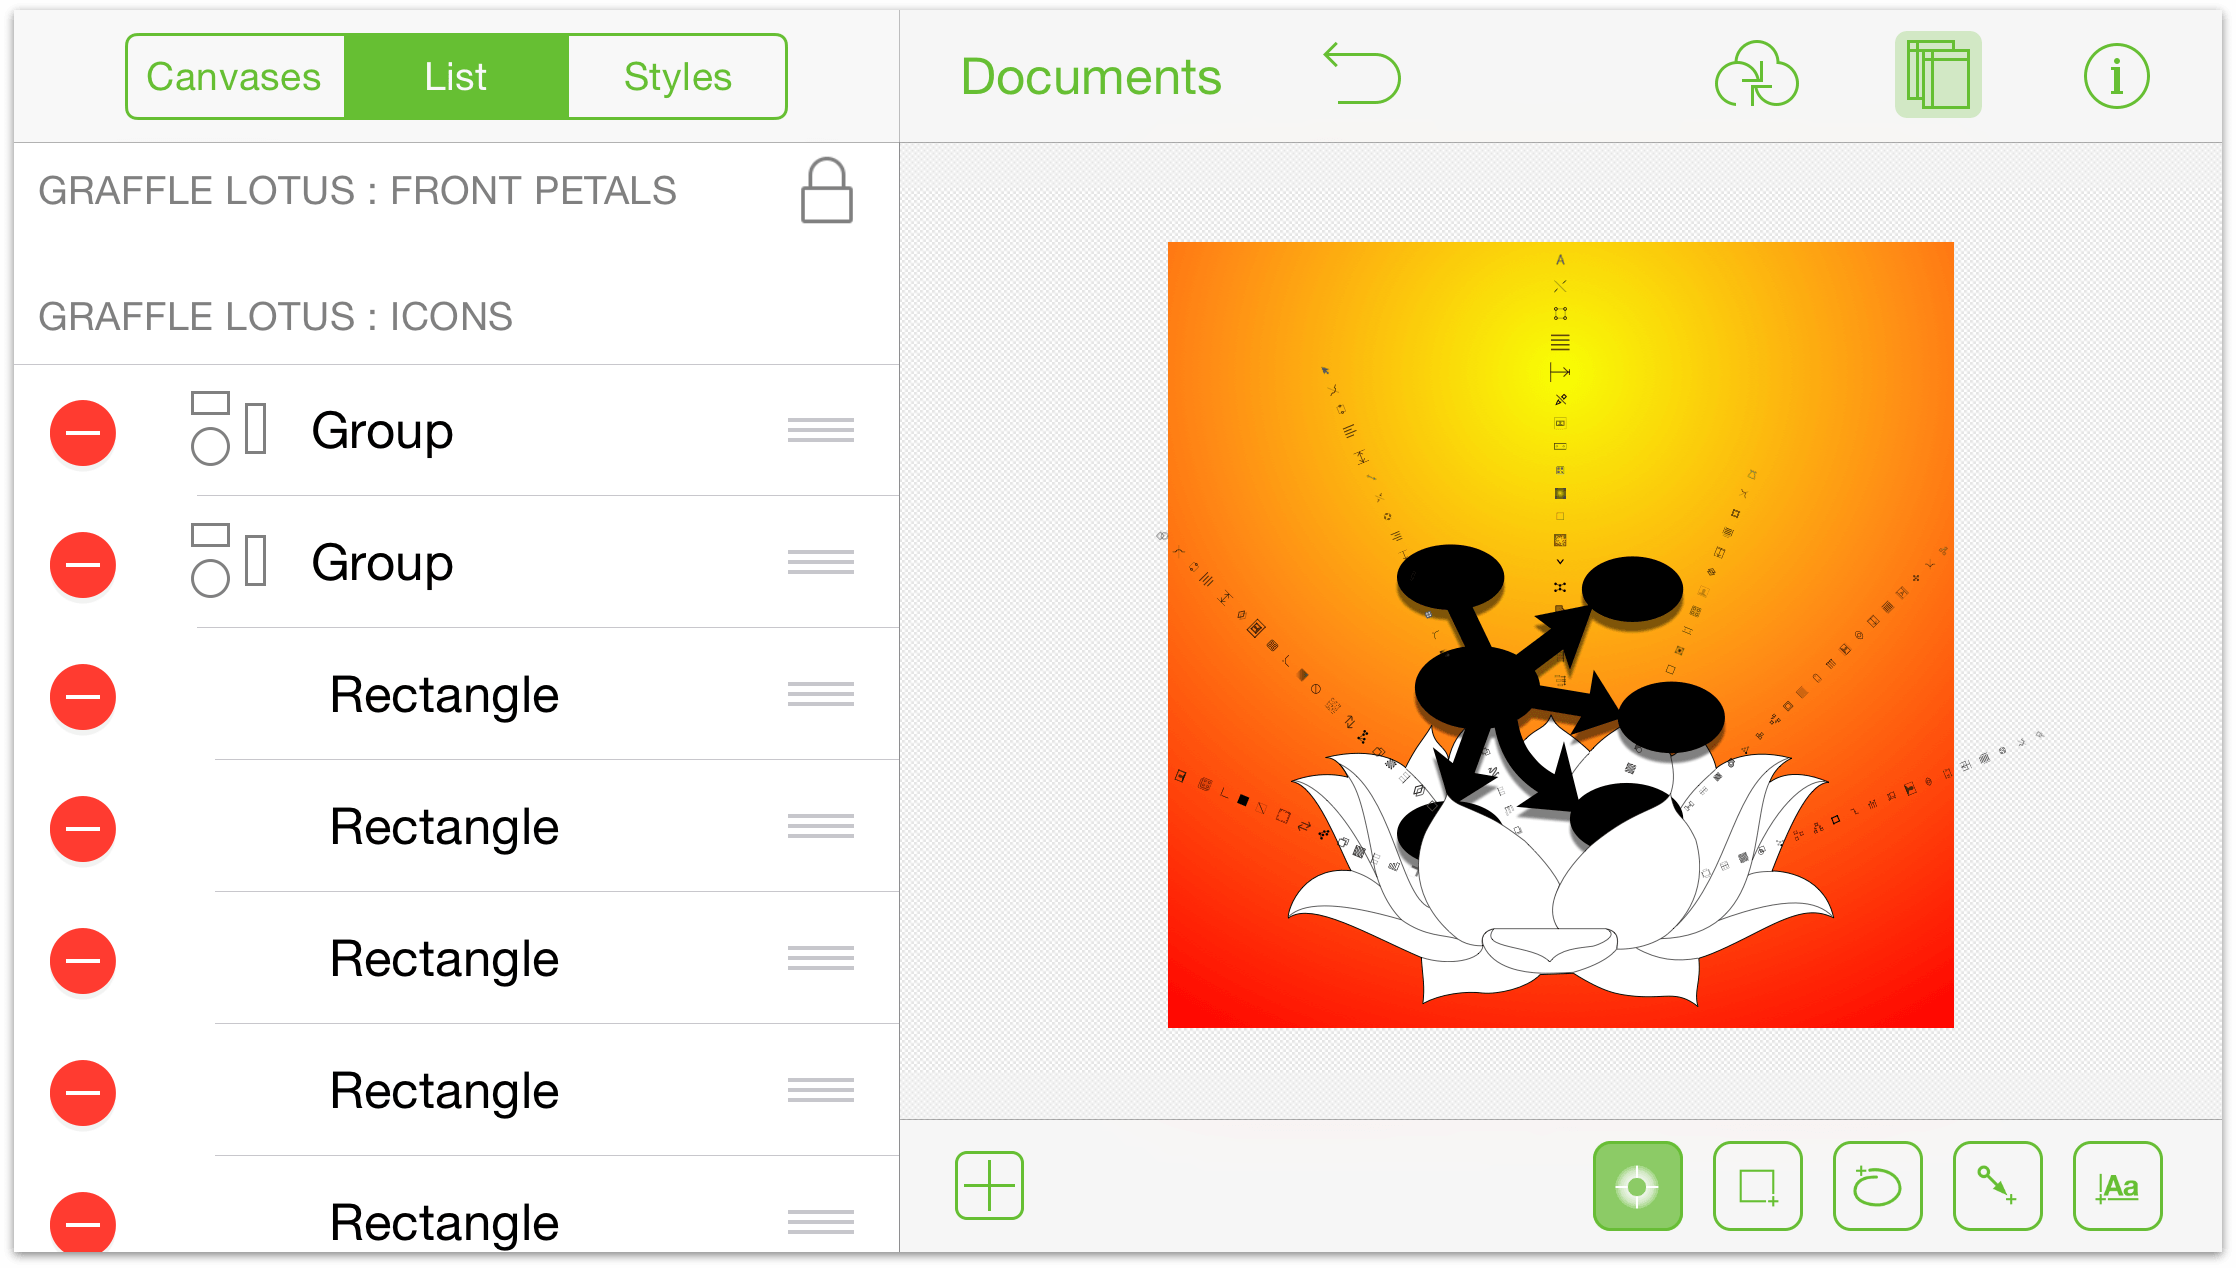
To select an object on that layer, tap the object in the list.
To delete layer elements, tap the red circle on the left and then tap Delete. If you accidentally tap the red circle but don’t want to delete that object, tap anywhere else in the sidebar.
To rearrange layer objects, tap the handle on the right and drag up or down in the list.
Tap Styles at the top of the sidebar to filter and select objects by style on the selected layer.
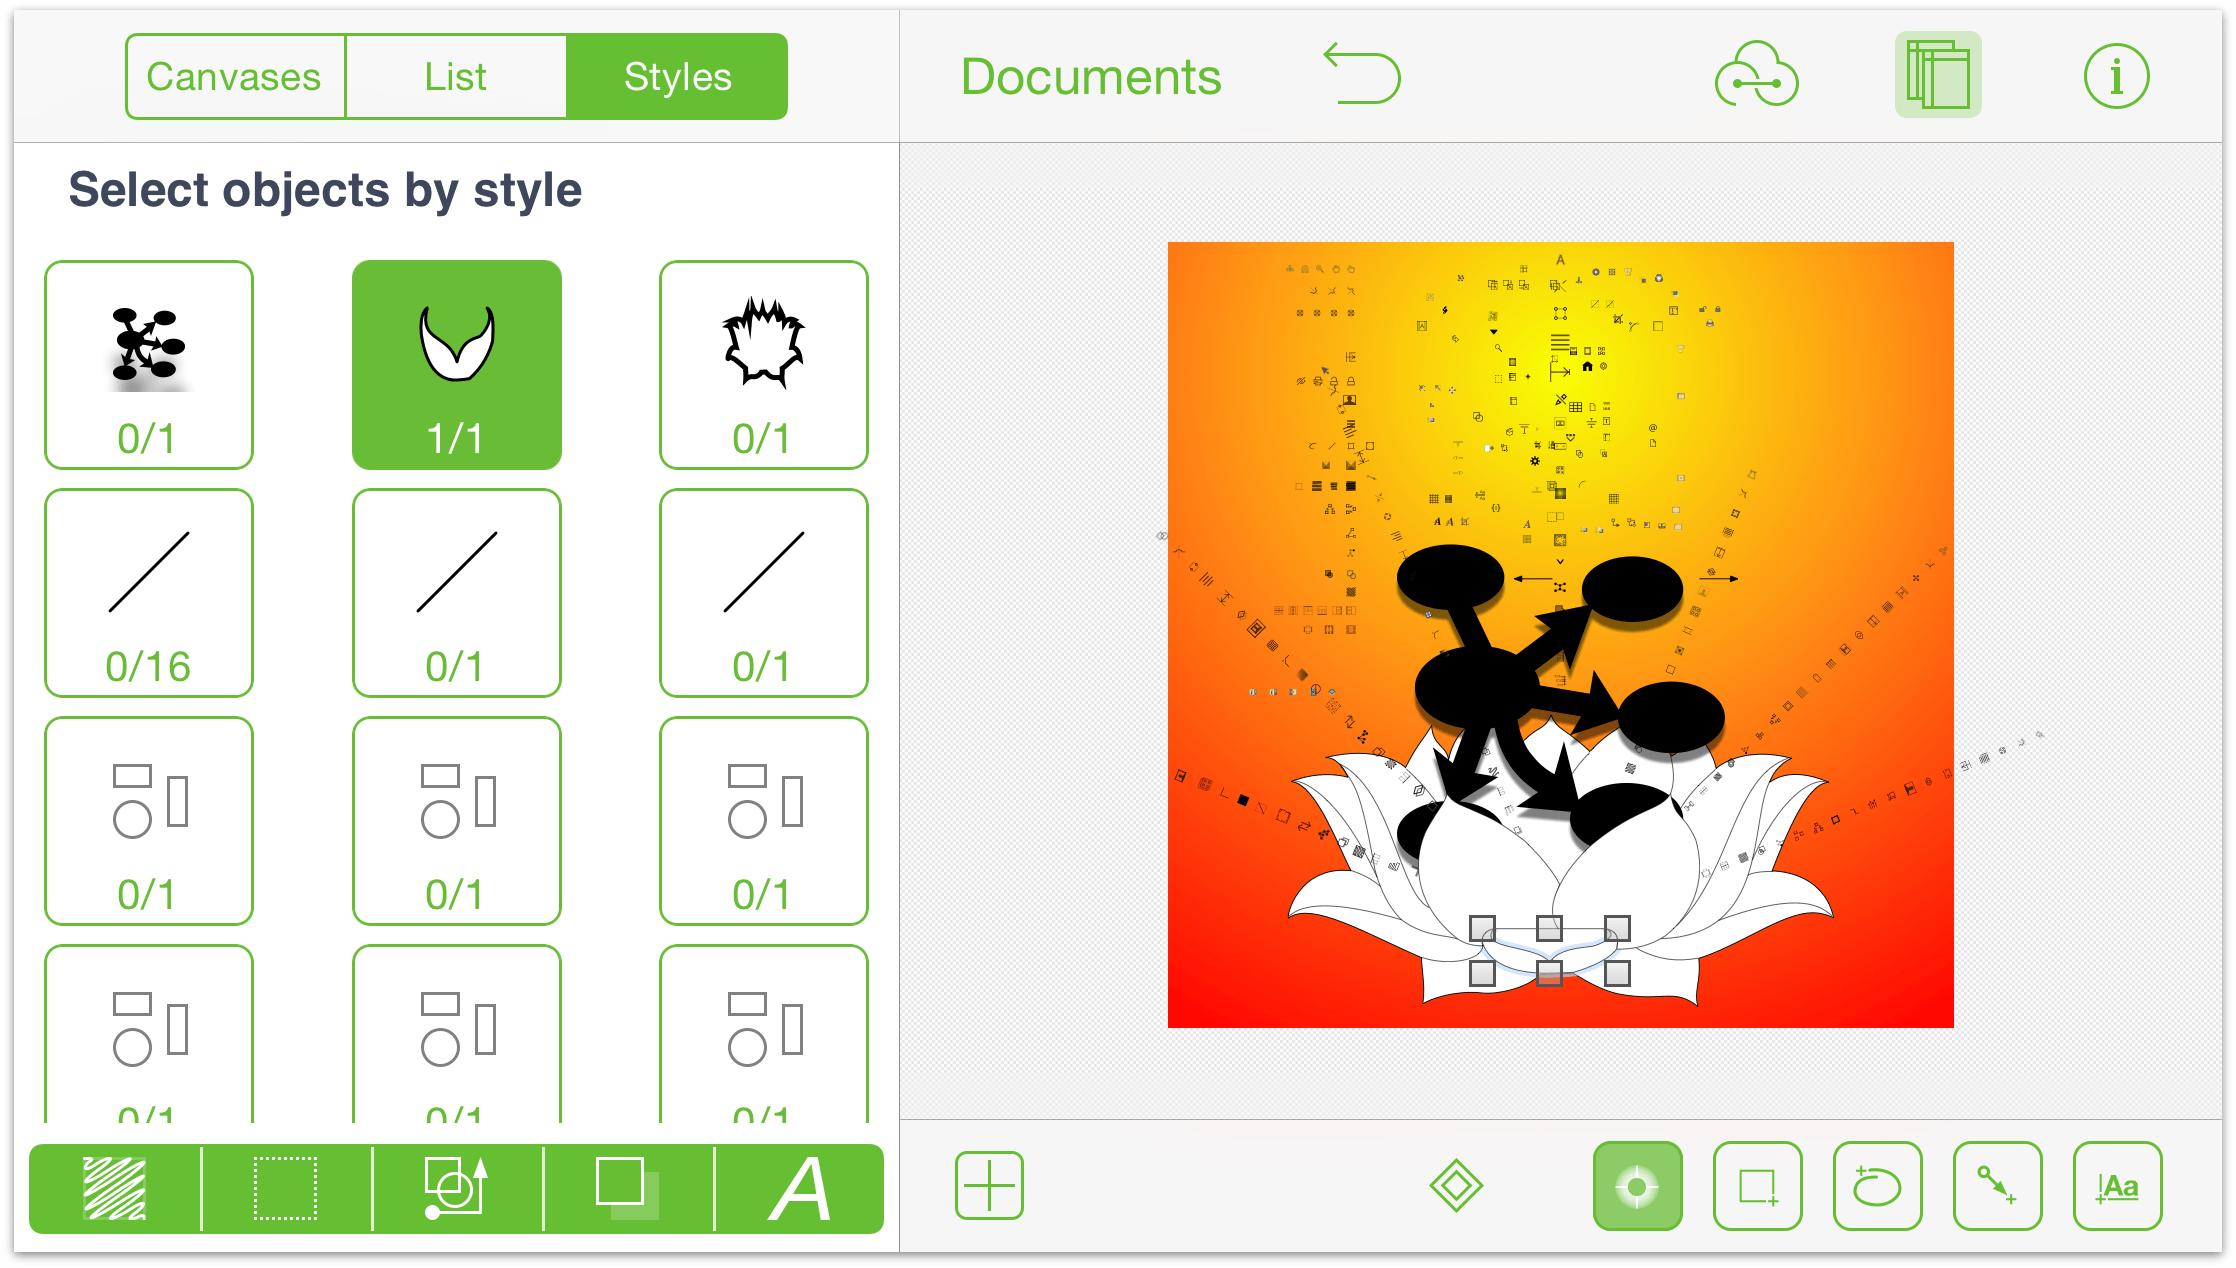
Each style of object has a representation of the object and a pair of numbers. The first number is how many objects you have selected which match that style; the second number is how many objects of that style exist on the canvas.
Along the bottom of the Styles list, you’ll see a grouping of filter buttons. Use these buttons to control which object styles/types are displayed in the list above. Tap a filter to select all objects that match it. You can then tap
 to select and modify that grouping of layer objects.
A white filter button indicates that objects related to that filter are not included; green buttons indicate inclusion. Compounding filters returns objects matching all filters:
Tap the fill button to include or exclude objects on the selected layer with with a fill.
Tap the stroke button to include or exclude objects on the selected layer with a stroke.
Tap the shape button to include or exclude objects on the selected layer of a specified shape.
Tap the shadow button to include or exclude objects on the selected layer with a shadow.
Tap text button to include or exclude text objects on the selected layer.
Keep these filters in mind for when you need to apply changes to a certain grouping of objects. For example, changing all of the text from Helvetica to Gill Sans, or changing the fill color for all round objects on the layer.