Properties Inspectors
Use the Properties inspectors to set additional attributes to shapes and lines in your document, including defining where and how shapes and lines connect to each other, setting metadata for document, and including object Actions (a feature of OmniGraffle Pro).
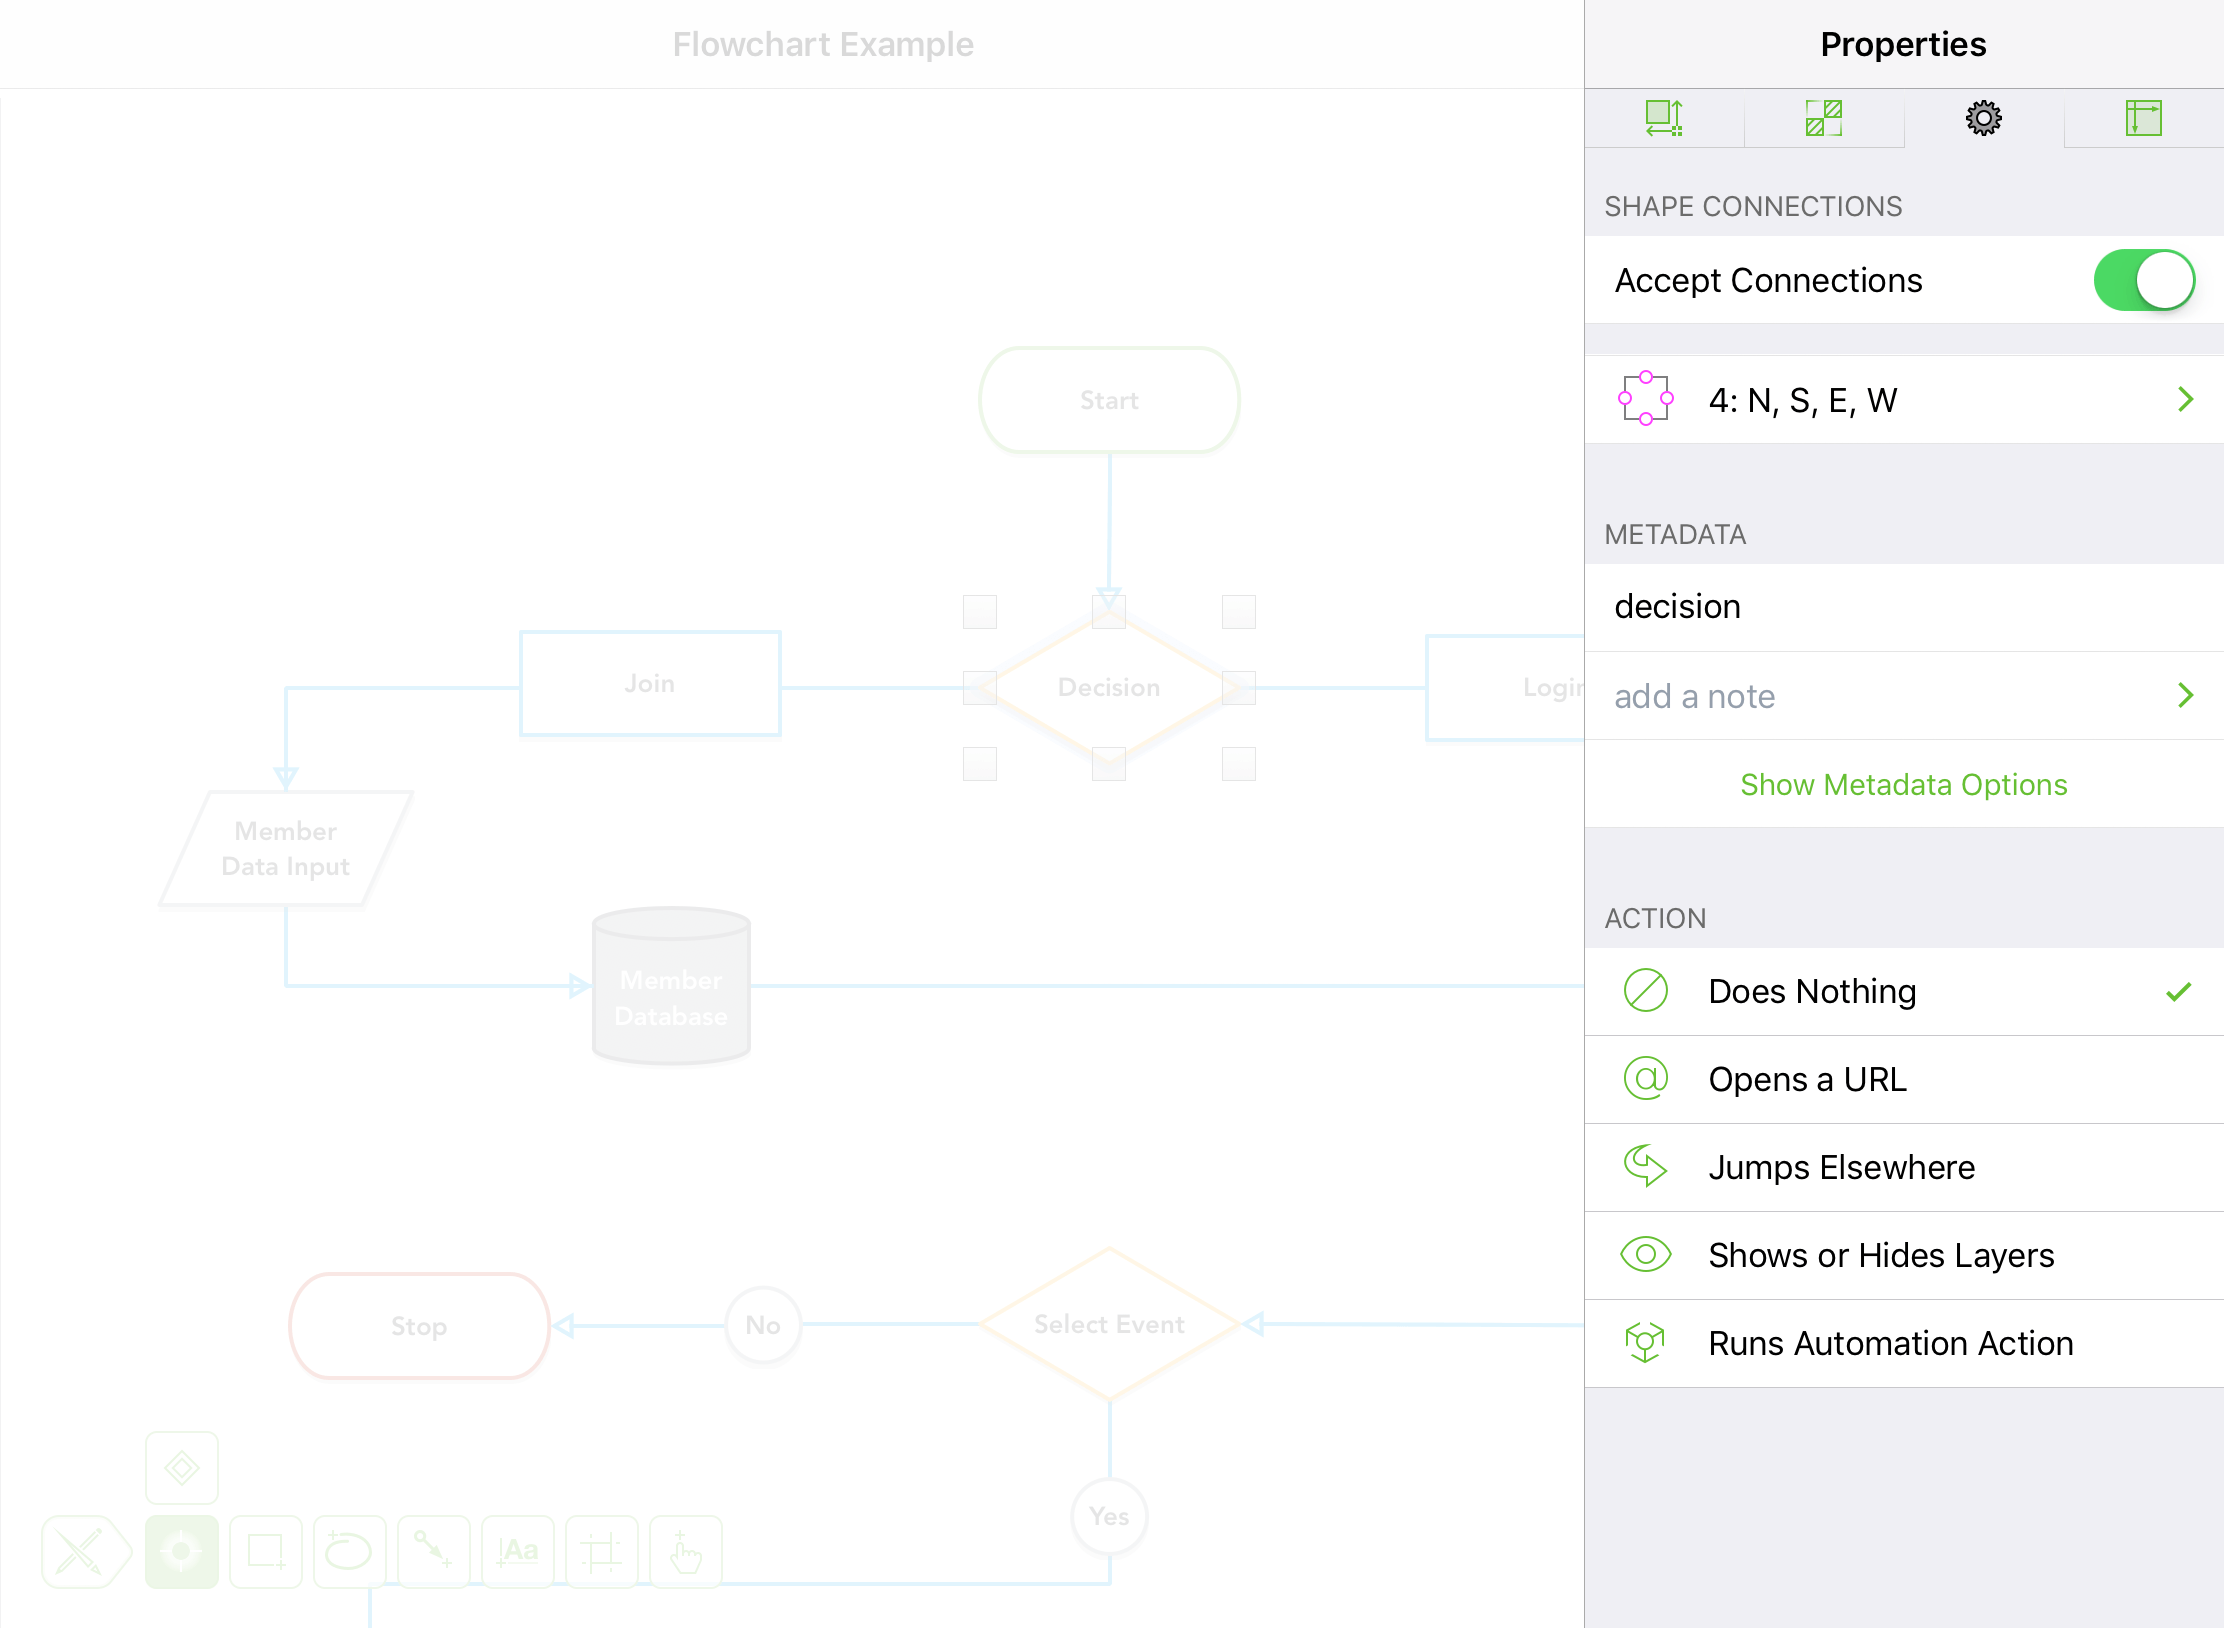
Shape Connections 
Available when a shape is selected; use to define whether a shape accepts connections from lines and with other objects, as well as where those connections are made.
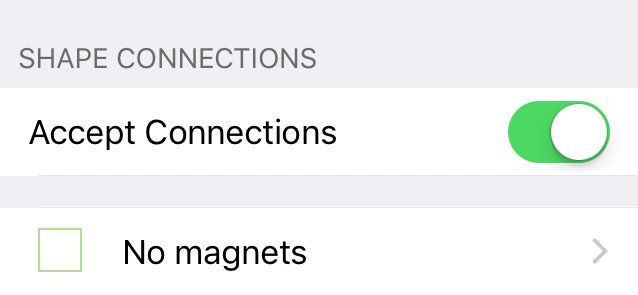
Accept Connections
By default, all objects accept connections from lines or other objects. The default connection location is the object’s centerpoint. Turn off to disable connections to an object.
Magnet Locations
Magets allow you to change the connection location from an object’s centerpoint to another location on the object’s outer edge. Tap the No Magnets row to open a side menu from which you can define where connections are made on an object. Magnet locations may be placed as follows:
 No Magnets: Connections may only be made to the object’s centerpoint.
 2: NS: Magnets are placed at the center-top and -bottom.
 2: EW: Magnets are placed at the center-left and -right.
 4: NSEW: Magnets are placed at the center-top, -bottom, -left, and -right (i.e., cardinal points).
 4: NE, NW, SE, SW: Magnets are placed at the upper-left and -right, and lower-left and -right (i.e., ordinal points).
 8 Magnets: Magnets are placed at the cardinal and ordinal points.
 One on each vertex: Each vertex point on the object’s path may be used as a magnet.
 1 Magnet per side: Each side of the object receives one magnet.
 2 Magnets per side: Each side of the object receives two magnets.
 3 Magnets per side: Each side of the object receives three magnets.
 4 Magnets per side: Each side of the object receives four magnets.
 5 Magnets per side: Each side of the object receives five magnets.
If an object has the  icon next to it in the menu, this means the object has had magnets placed on it using the Magnet tool in OmniGraffle for Mac.
Line Connections 
Available when a line is selected; use to specify how and where the line connects to other objects, and whether the line itself can accept connections from other lines.
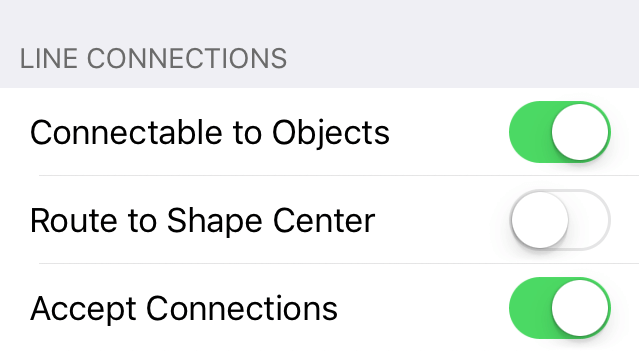
Use the following switches to toggle the settings for the selected line(s):
- Connectable to Objects: When turned on, the line can connect to objects on the canvas; when turned off, the line will not connect to other objects.
- Route to Shape Center: When turned on, the line ignores an object’s magnets and will only connect to a shape’s centerpoint; when turned off, the line will either connect to an object’s centerpoint or to the nearest available magnet.
- Accept Connections: When turned on, the line can accept connections from other lines; when turned off, the line will not accept connections from other lines.
Metadata 
Available when an object is selected with the Selection tool. Use to add object-specific metadata, including a name, note, and key-value pairs.
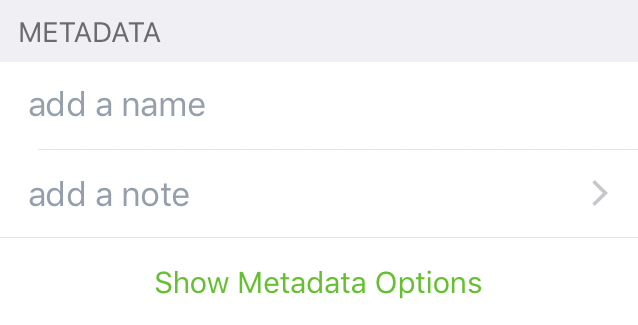
Add a Name
Assign a Name to the selected object. Access the object’s Name with the <%GraphicName%> data variable.
Add a Note
Assign a Note to the selected object.
Add New Key/Value Pair
Assign key-value paired data to the selected object. Access the data in the key-value pair with the <%UserData [key]%> data variable to display the [value] as a text label or object in your document.
Action 
Assign an Action to the selected object.
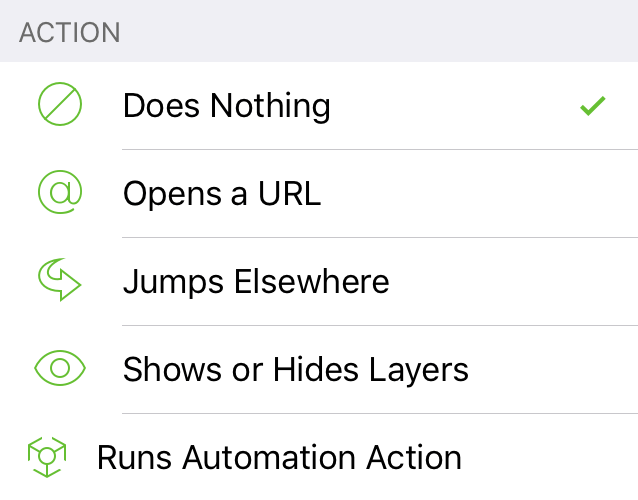
Does Nothing
The default state for any object on the canvas.
Opens a URL
Enter a web link (for example, https://omnigroup.com); opens the link in Safari on iOS when tapped with the Action Tool.
Jumps Elsewhere
When selected, choose from one of the following options:
- Switch to Previous Canvas: Tapping the object with the Action tool goes to the previous canvas.
- Switch to Next Canvas: Tapping the object with the Action tool goes to the next canvas.
- Switch to a Specific Canvas: If your document has more than one canvas, you can choose which canvas gets jumped to when the object is tapped with the Action tool.
Shows or Hides Layers
Use to set the visibility of layers on the current canvas. Select a layer, and then choose from:
- None: Does nothing with that layer’s visibility state.
- Show: Sets the visibility state of the chosen layer to visible.
- Hide: Sets the visibility state of the chosen layer to hidden.
- Toggle: Swaps the visibility state of the chosen layer. If the layer is set to visible, it is hidden, and vice versa.
Runs Automation Action
When selected, choose from a list of Automation Actions, displayed underneath. The Automation Action is performed when tapped with the Action Tool.