Styling Your Outline
The default set of styles for a new OmniOutliner document provides a clean way to view and organize your data, but it’s only the beginning when it comes to getting your outline looking just the way you like.
OmniOutliner Essentials includes a collection of built-in themes you can apply to add another layer of polish to your outline, and the redesigned Format menu offers easy access to several preset row and text styles for a more detailed touch.
This section assumes you’ve played around with OmniOutliner a bit and have a basic understanding of rows and hierarchy. If you need help getting started with an introduction to outlining, check out the Quickstart Guide in the Help menu.
Applying Themes
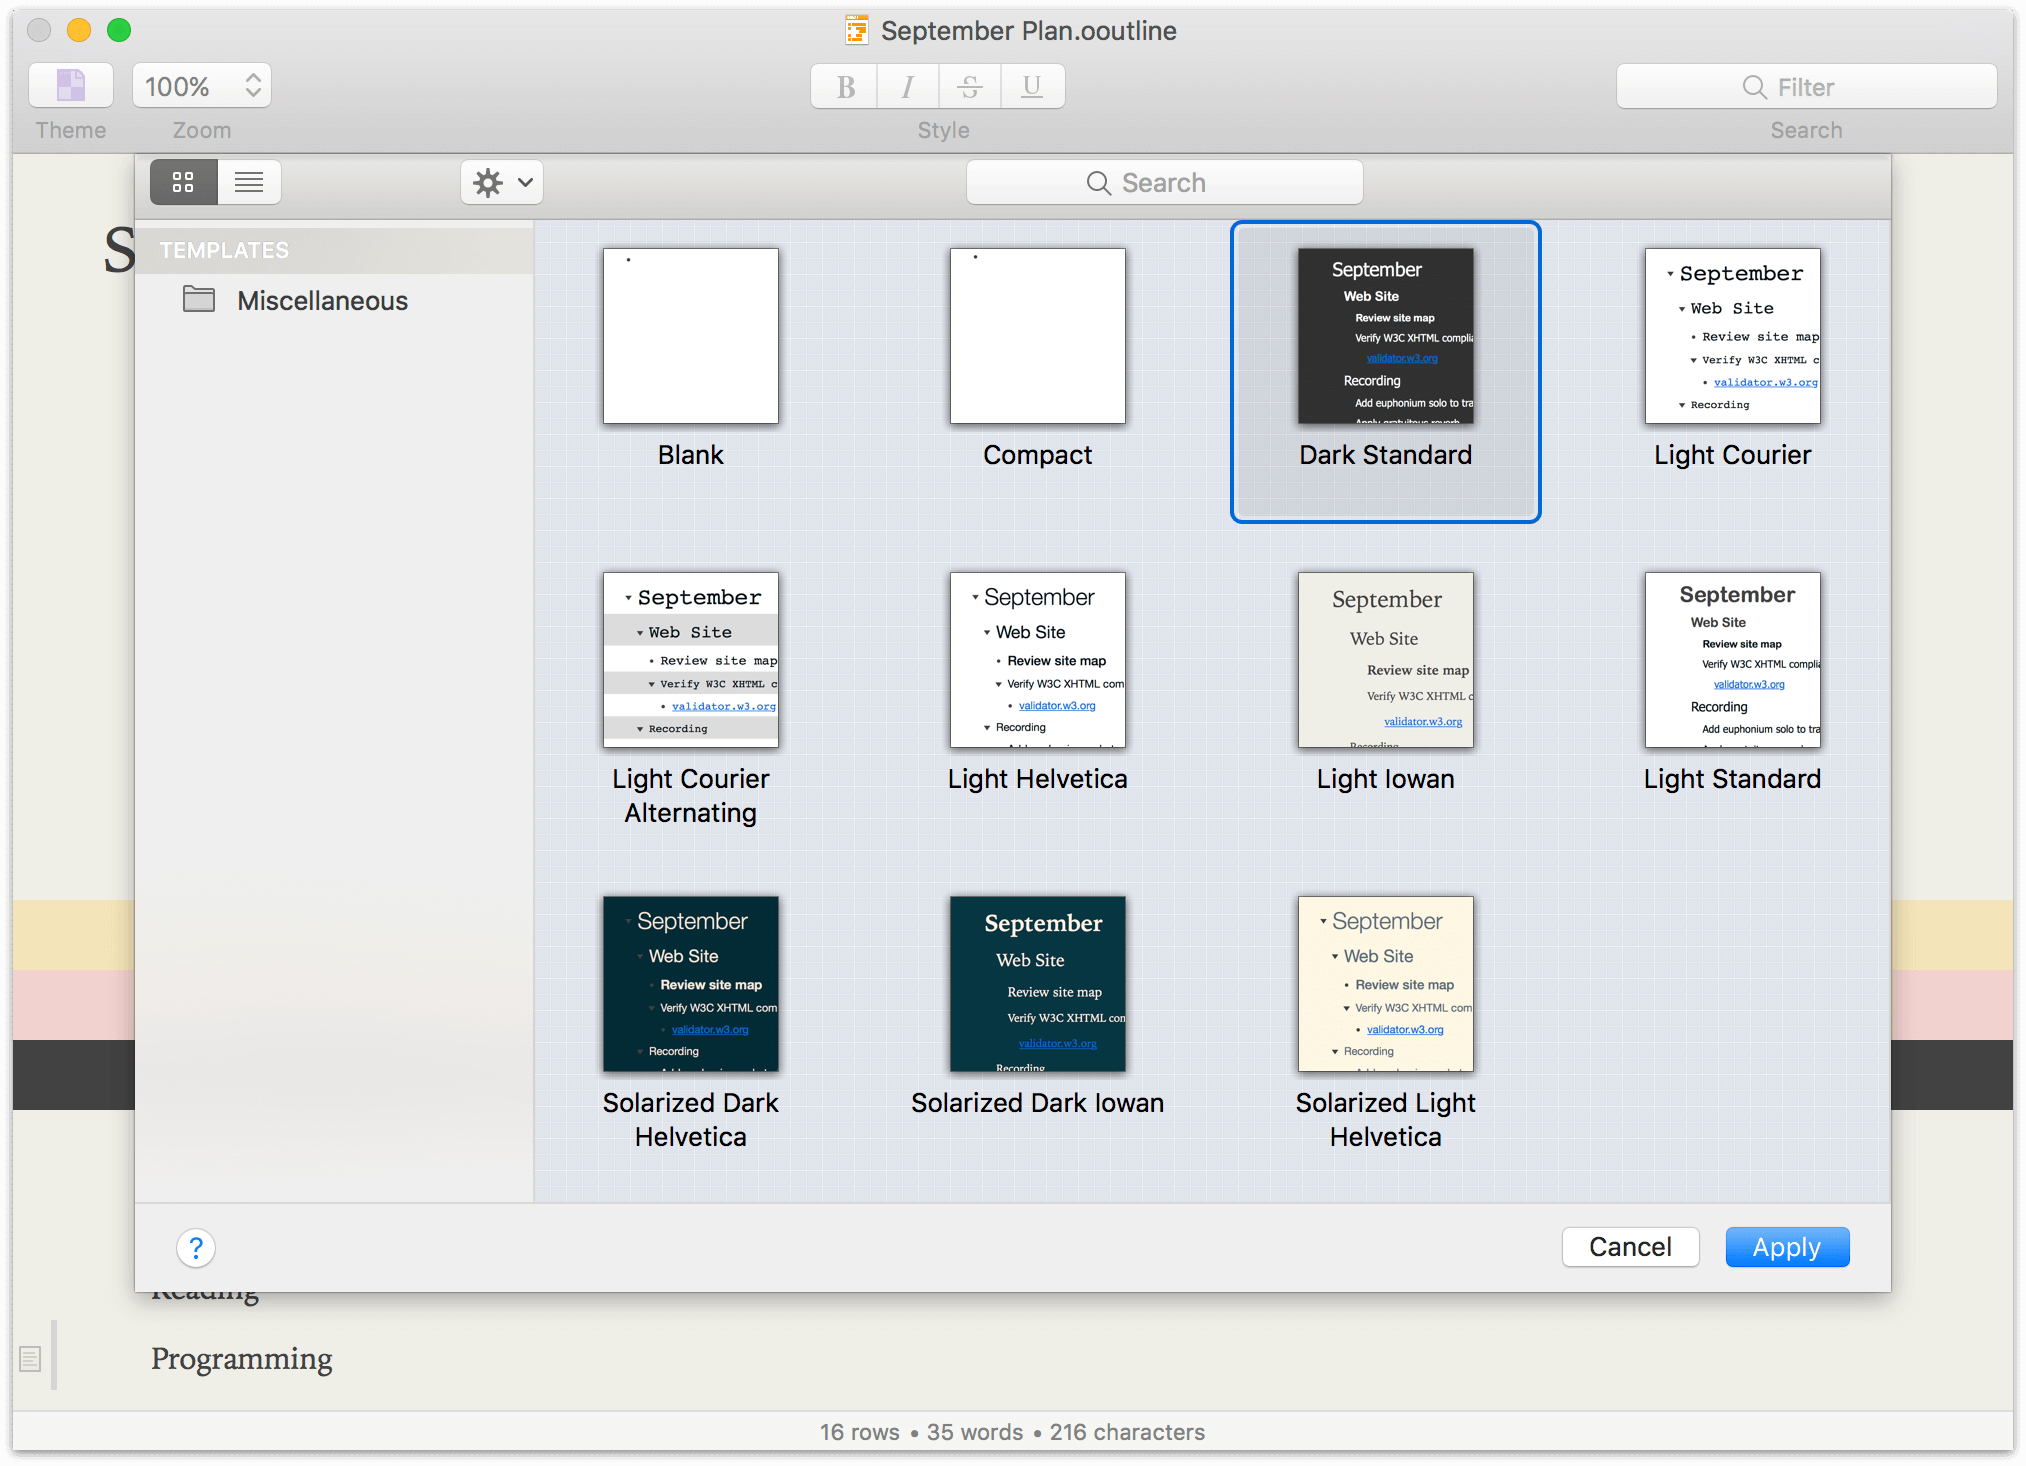
Once you have the basic structure of your outline in place, click the Theme button in the Toolbar or choose Format ▸ Apply Template Theme to open the Resource Browser and choose a theme to apply to your document.
If you would prefer to use a new theme as the default for future documents, you can choose it in the General pane of OmniOutliner Preferences, from the OmniOutliner app menu (Command-,).
Row Handle Visibility
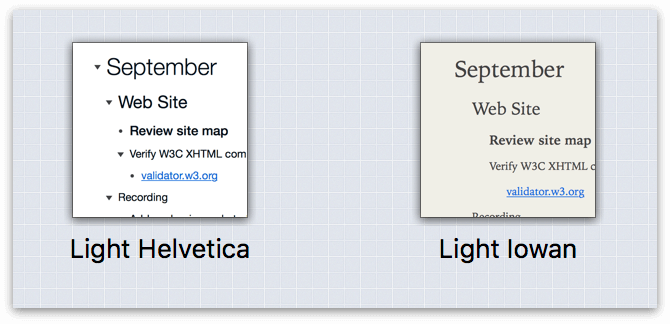
Depending on the purpose of your document, you may want to show (or hide) the bullets and disclosure triangles that act as handles for rows in the outline. Visibility of row handles is set on a per-theme basis, so to change whether they appear, choose a theme with the style you prefer.
Dark Mode
Dark Mode changes the appearance of OmniOutliner’s window, making it more friendly on the eyes in low-light conditions (and making it more closely match the appearance of darker template themes, such as Solarized Dark). It looks something like this:
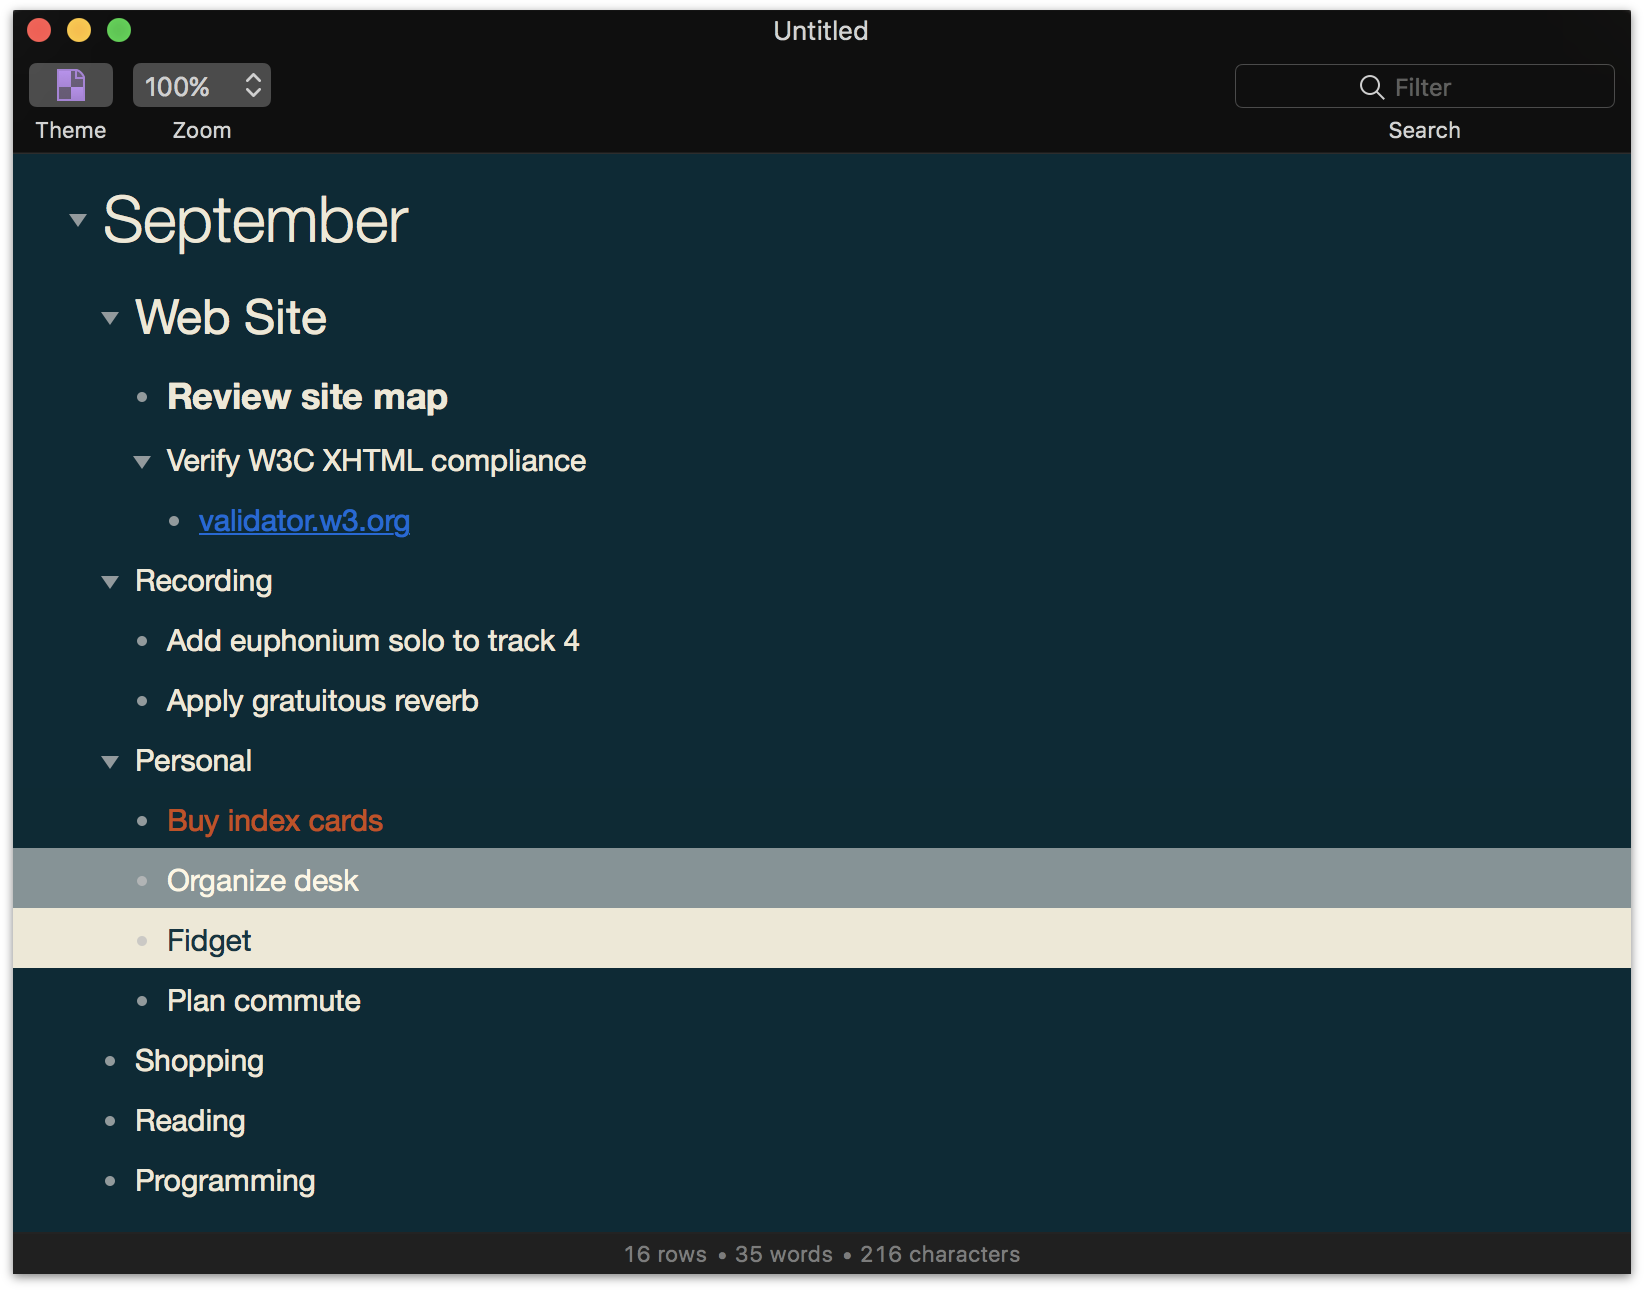
Enabling dark mode is easy—just choose a template theme with a dark background color, and the OmniOutliner app chrome changes to match.
Adding Templates to OmniOutliner
If you have other template files not included in the default set (perhaps created with OmniOutliner Pro or earlier versions of OmniOutliner), you can apply their themes to your documents in OmniOutliner Essentials by linking the folders containing those templates on your Mac to OmniOutliner’s Resource Browser.
To do this you’ll want the full version of the Resource Browser found at File ▸ Resource Browser (Shift-Command-N), not the theme-specific version accessed from the Toolbar button.
To add a Linked Folder to the Templates section of the Resource Browser sidebar, start by clicking ![]() . Next, choose a folder in the sheet that appears and click Open to add the folder to the Resource Browser’s sidebar.
. Next, choose a folder in the sheet that appears and click Open to add the folder to the Resource Browser’s sidebar.
To remove a Linked Folder from the Resource Browser’s sidebar, first select the folder in question, click  , and then choose Remove Linked Folder.
The advantage of adding templates with the above method is that if you sync a templates folder using OmniPresence (as described in Working in the Cloud), you can access those custom templates from any other device with OmniOutliner for Mac or iOS installed.
Another way to add templates that’s purely local to your Mac is with the Resource Browser’s action menu . Choose the Add Resources to Library command, and any .otemplate files you select are added to your existing Templates folder.
Applying Named Styles
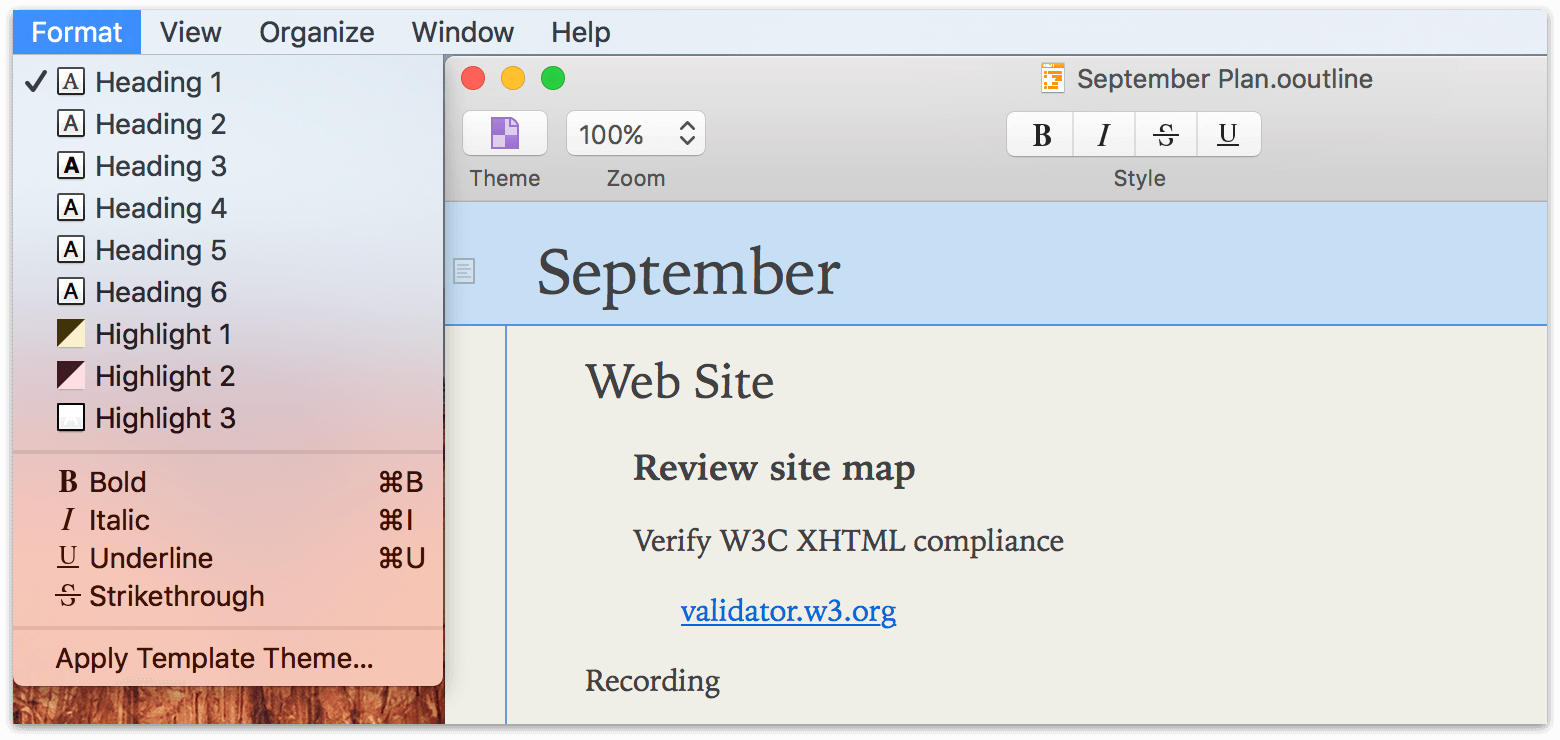
The Format menu offers six Heading styles and three Highlight styles that you can apply to rows in your outline. Their appearance changes based on the theme you’re using, so you’ll always get a consistent look for styles within your document.
Multiple row styles can be applied to the same row, so if you’d like to apply a highlight style to a row with a heading style (for example), you can.
Styling Text
With text selected, use the Format menu, keyboard commands, or buttons in the Toolbar to choose from among common text styles:
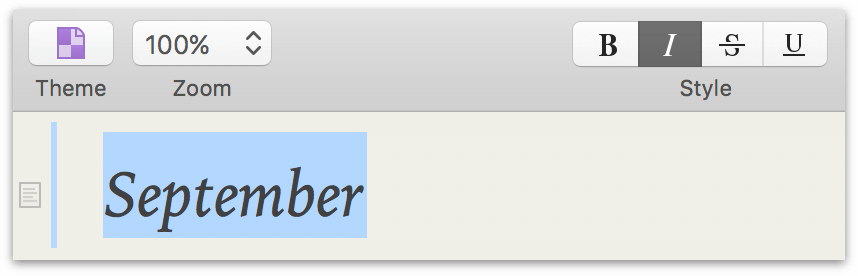
- Bold (Command-B)
- Italicize (Command-I)
- Strikethrough
- Underline (Command-U)
Removing Existing Styles
When styles are applied to text or rows in the outline, they are indicated as such by check marks on items in the Format menu. To remove a style:
-
Select the affected row or block of text.
-
Choose the style from the Format menu a second time. The style (and the check mark next to it in the menu) will disappear.
To remove styles applied by a theme, simply change to a theme where those styles aren’t present.