Using the Sidebar
Along the left edge of OmniOutliner’s window is the Sidebar. The Sidebar lists the Sections of your outline along with the Styles you’ve used, as well as any Filters you’ve saved. These are listed in their respective Sidebar tabs.
Hide or show the Sidebar by choosing View ▸ Hide/Show Sidebar (Option-Command–1), or by clicking the Sidebar button in the Toolbar.
The Sections Tab
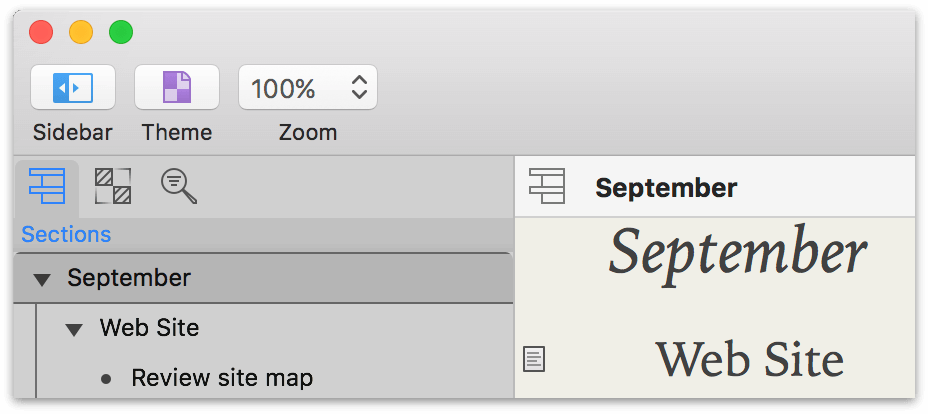
The first tab of the Sidebar displays the Sections of your outline in a scrollable pane, representing a compact summary of the document hierarchy.
As with rows in the outline, sections in the Sidebar have handles that can be dragged to reposition them, and sections with children have disclosure triangles that can be clicked to expand or collapse their contents.
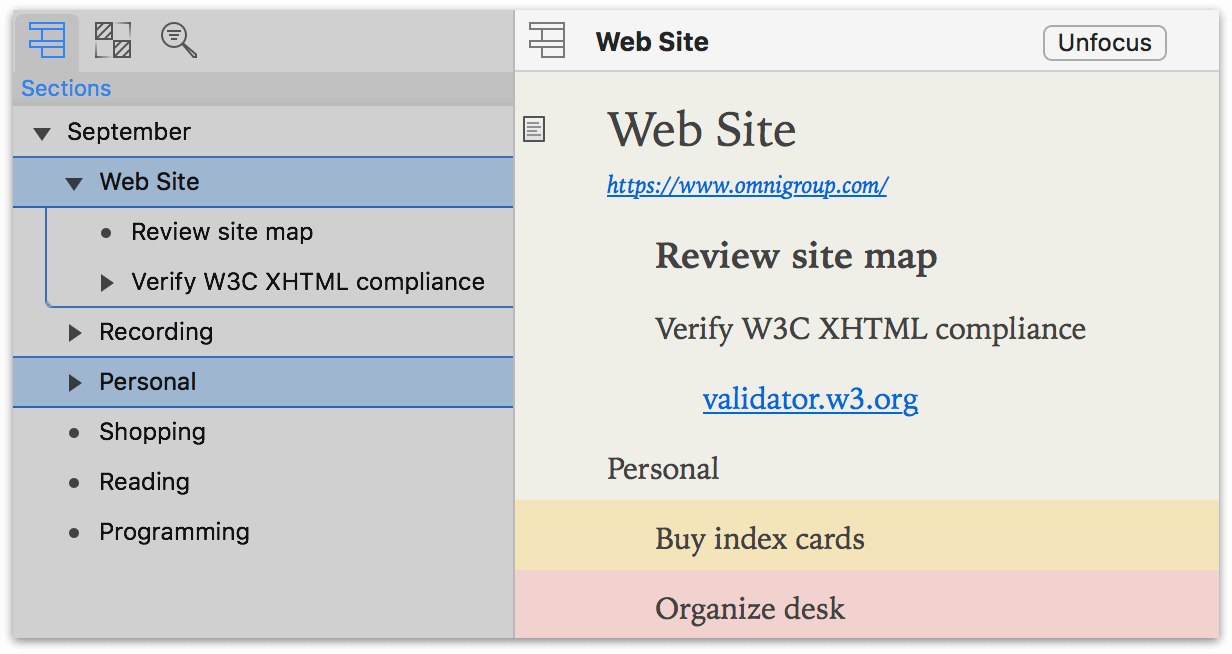
If you select one or more sections in the Sections list, OmniOutliner focuses on those sections—making those sections and their subsections the only thing you’ll see in the outline to the right. Command-click on multiple sections in the sections list to select them, thereby adding them to the set of items focused in the outline.
Focusing on selected content can also be done with View ▸ Focus (Shift-Command-F) and reverted with View ▸ Unfocus (Option-Shift-Command-F), or by Control-clicking to reveal the contextual menu and choosing Focus or Unfocus as desired.
When sections of the outline are focused, that narrowed scope is reflected in the document stats displayed at the bottom of the outline. If the outline is focused when printing, only the focused sections will be printed.
Adding Sections With the Sections List
With sections selected in the Sidebar, new sections (rows) can be added just as they would appear in the outline, using the same set of controls.
Press Return to add a section beneath the selected one(s) that’s a peer of the lowest section selected. The cursor is placed in the outline so you can enter some text for that section.
Similarly, if you wanted to add another section at the same level but above the currently selected section, press Shift-Return.
The Styles Tab
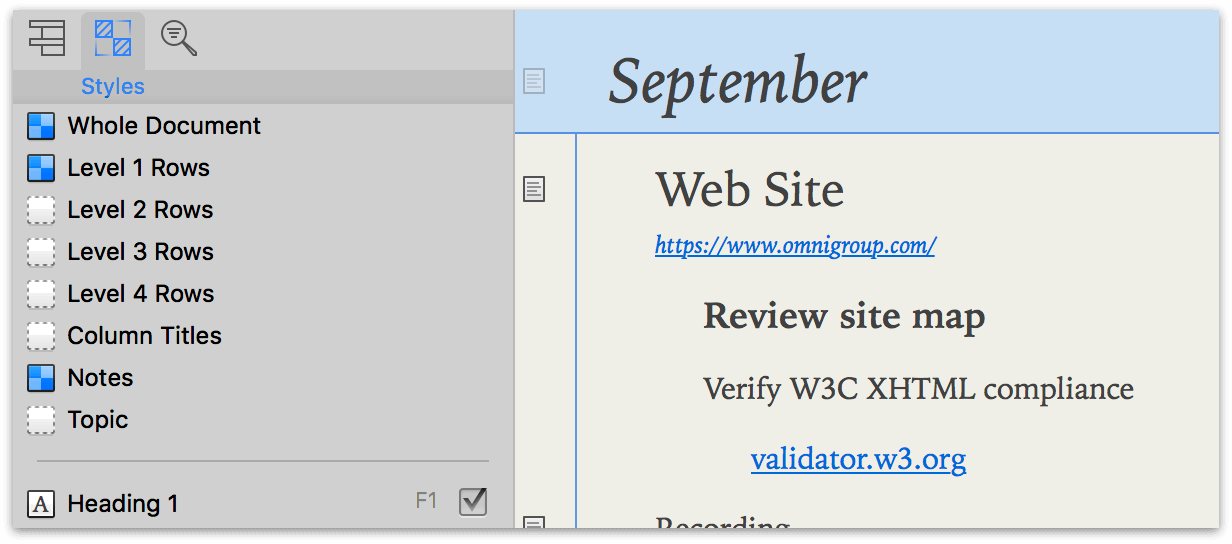
The second tab of the Sidebar is the Styles tab. This is the home for all of the styles that describe the look of various parts of your document.
Understanding OmniOutliner’s Style Model
Styling in OmniOutliner can be quite sophisticated, composed of styles that affect the entire document, certain types of content, or individually selected rows or blocks of text.
These are broken down across two kinds of styles: Document Styles (which affect classes of objects) and Named Styles (which can be applied as desired atop document styles).
-
Document styles reside in the top portion of the Styles tab of the Sidebar, and consist of the Whole Document style, styles for the various row levels that are created as hierarchy is added to the document (Level 1 Rows, Level 2 Rows, and so on), as well as styles for Column Titles, Notes, and the main Topic column. Together, these describe the default foundational appearance of content in the document—they are applied passively to all items they represent.
-
Named styles are found in the lower portion of the Styles tab in the Sidebar, and can be applied to any selection in your document. When applied, a Named style amends the existing Document style with its own properties. For example, you could apply a Heading style on top of a Level 1 Row style to make the text bigger or change the font.
Each template theme comes with some pre-defined Named styles, which you can use, delete, or edit to suit the needs of your document.
The styles you set for the various row levels, headings, and text all stack on top of the styles you designate for the whole document—and Named styles stack on top of those. If you’re curious why a certain section looks the way it does, select it and see the Style Attributes Inspector for a list of styles affecting the selection in order of precedence.
Configuring and Applying Styles
In general, styles are configured by selecting them in the Sidebar and tweaking their characteristics using the Inspectors on the right side of the document window. However, styles are applied differently depending on whether they are Document or Named styles.
-
Document styles aren’t applied directly to selections. Rather, their effects are visible on all items they describe. (The Notes style, for example, applies automatically to all notes throughout the document.) To change the appearance of a document style, select it in the Sidebar and use the Inspectors (including the Document Inspectors, especially relevant for the Whole Document style) to adjust the appearance of the content they affect.
-
Named styles are located beneath the style separator line. Unlike Document styles, Named styles are saved sets of style traits that can be applied individually to anything with style attributes (rows, columns, blocks of text, or even other styles). Click the checkbox next to a Named style to apply it to a selection in the outline, or to apply its traits to another style, drag and drop it on top of the style you’d like to modify.
Like Document styles, Named styles can be edited by selecting the style in the Sidebar and using the Inspectors to adjust the style attributes. Also like Document styles, editing a Named style automatically updates the styles of objects everywhere it is applied.
To create a new Named style, click the Add button (+) at the lower-left corner of the Styles tab. Delete Named Styles by first selecting the style in the Styles tab, and then choosing Delete Style from the Action menu at the bottom of the Sidebar.
Click the Action button to open a mini-menu for creating new Named styles, duplicating or deleting a style, copying and pasting style properties, and for clearing custom style data from a selected style.
Style Swatches
In both the Style Sidebar tab and the Style Attributes Inspector, Style Swatches provide an at-a-glance visual summary of a style’s properties.

- Swatches with a two-toned blue checkerboard pattern means that there are a multitude of style properties for that element.

- An empty swatch with a dashed border means there are no styles for that particular row or column. These elements automatically adopt the Whole Document style for the template you’ve chosen.

- A swatch that’s split diagonally with a darker shade on the upper half means that the style applies a transparent background color to the selection.
 and
and 
- Solid squares with a letter A inside are text-specific styles, such as the font and its color.
The Filters Tab
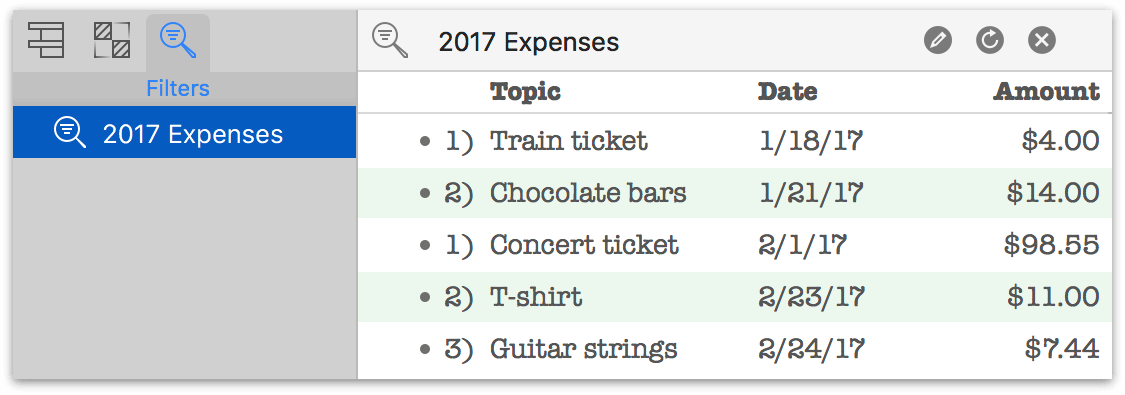
OmniOutliner’s filtering feature adds tools to create and save your own rules for customizing the visibility of content in your outlines. Saved filters are listed in the Filters tab of the Sidebar.
To create a filter, choose View ▸ Row Filters ▸ New Filter, or click the + button at the bottom of the Filters Sidebar tab. The filter editor appears in a sheet below the Toolbar, where you can set the rules for rows that are visible when the filter is applied.
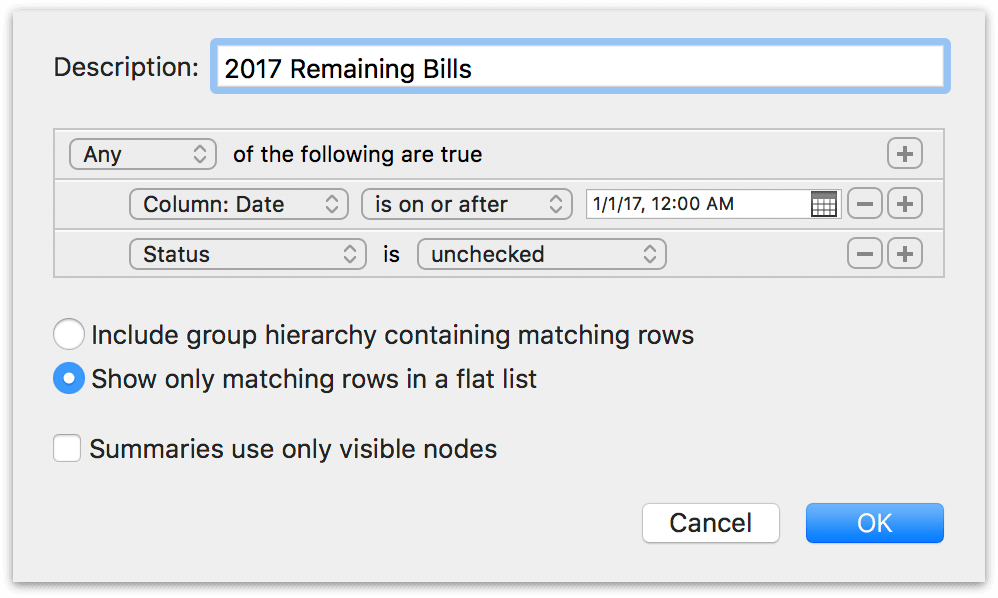
You can set as many rules as you want, using the + and - buttons next to each line to add and remove them.
With the filter set up the way you want, give it a description and click OK. The filter is added to the list in the Filters tab and the View ▸ Row Filters submenu; choose the filter in either of them to apply it to your outline.

For as long as your outline is filtered, the filter bar appears just beneath the Toolbar. It holds the filter description along with buttons to edit, refresh, and dismiss the filter (new rows created while the filter is applied aren’t subject to its rules until you refresh).
When a filter is dismissed, your outline returns to its original view state with all content visible.
One filter option that merits more detail is the is like condition, which matches the input string plus any wildcard characters to text in the chosen scope for the filter.
The is like condition works on any scope that contains rich text or is represented as a string. On these scopes, is like works like is (strict matching), but with wildcard characters available for optional use.
The two wildcard characters are *, which represents any number of characters (including zero), and ?, which represents exactly one character.
For example, Any note is like a*e matches any note with the first character a and the last character e, while Any note is like a?e only matches notes with three characters where a and e are the first and last character.