Tutorial IV: Managing Resources
Step 11: Create Resources
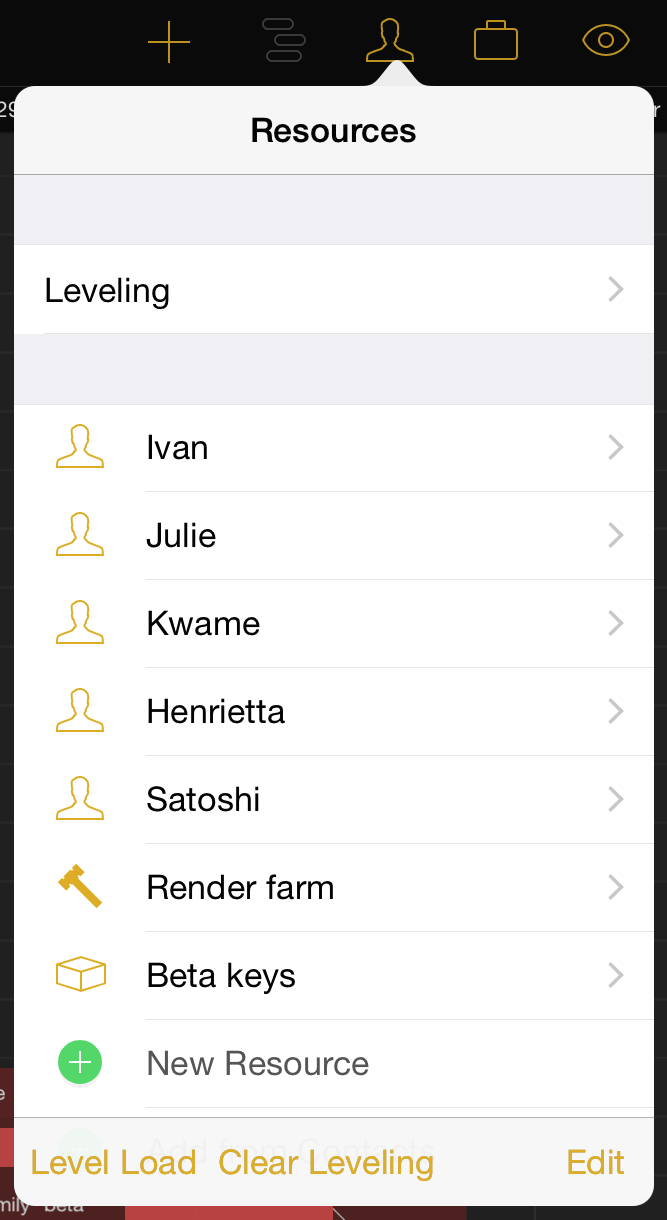
Now it's time to start adding the team members, equipment and materials we'll be using to bring the project to fruition. Every person, piece of infrastructure, and raw ingredient that contributes to reaching the project's goal is counted as a resource, so let's open the resource inspector and get started.

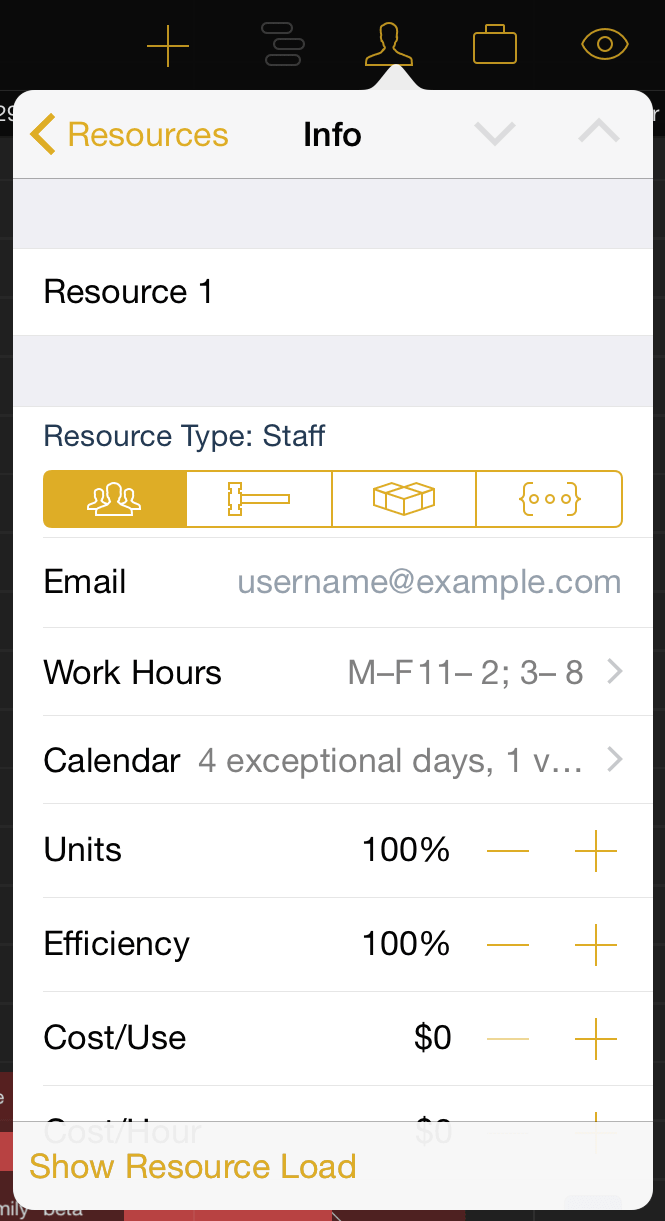
One resource has been created by default for our project – a staff member. Tap it to access and edit their details, including name, resource type, and personal calendar.
When balancing workloads across multiple projects a staff member's email address is used as their unique identifier, so make sure their address is consistent across all the projects they're participating in.
After editing the default resource we'll create a few more to fill out the list of our team members and the technology they're using to bring the game to life. Remove or rearrange resources at any time using the Edit button.

Step 12: Assign Resources
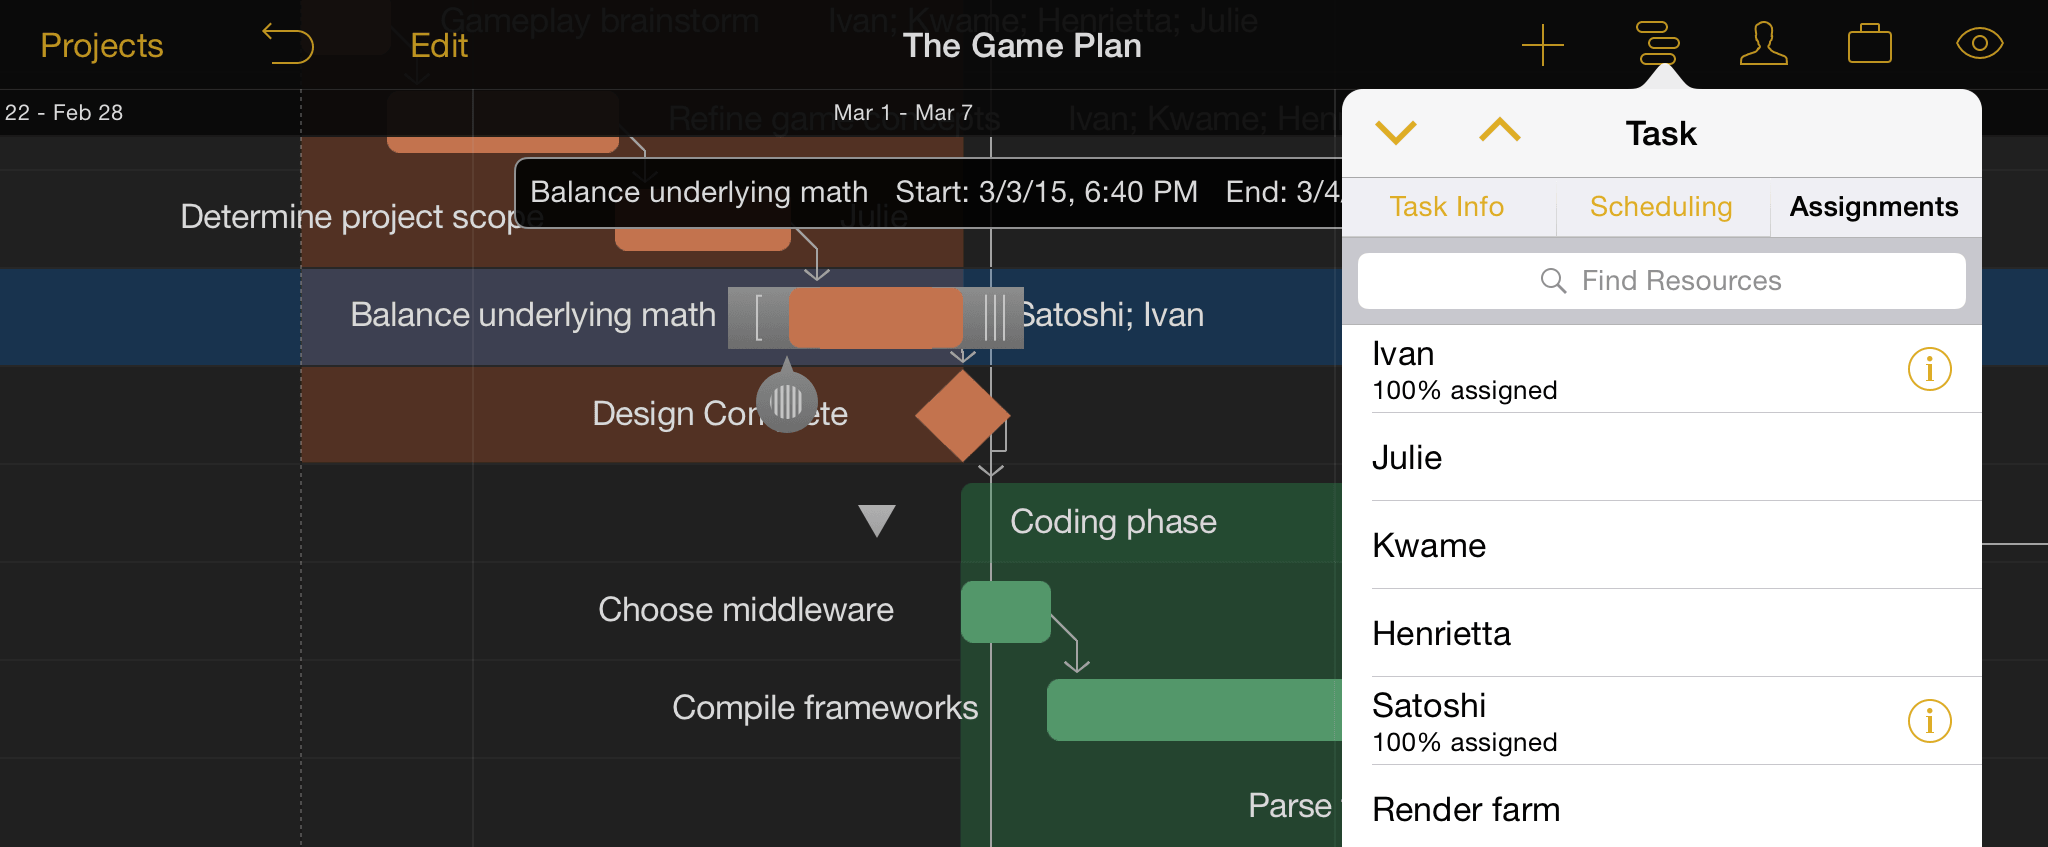
Assign resources to tasks by selecting the desired tasks in the Gantt view (multiple tasks can be selected simultaneously using edit mode), then opening the task inspector and switching to the Assignments tab.

Tap each resource you'd like to assign to the selected task(s) and their names will appear next to each task that they're assigned to.
Step 13: Level Resources
After assigning team members and equipment to the tasks that make up your project, you can ensure the team is at its most productive by leveling the workload across your resources and tasks.
To level the resource workload for your project, open the resource inspector and tap Level Load. Unless your staff is already in the optimal configuration you'll see the tasks in the Gantt view shift to accommodate the most efficient use of your resources' time.

Optionally, choose Leveling from the resource inspector and turn on Automatically Level to have OmniPlan optimize your resource use every time a change is made to your project.

