Creating an Omni Sync Server Account
Your first order of business—if you are planning to use OmniPresence with Omni Sync Server—is to create an Omni Sync Server account. In doing so, you will create a Account Name and password, which you will use when connecting OmniPresence on your Mac.
Follow along...
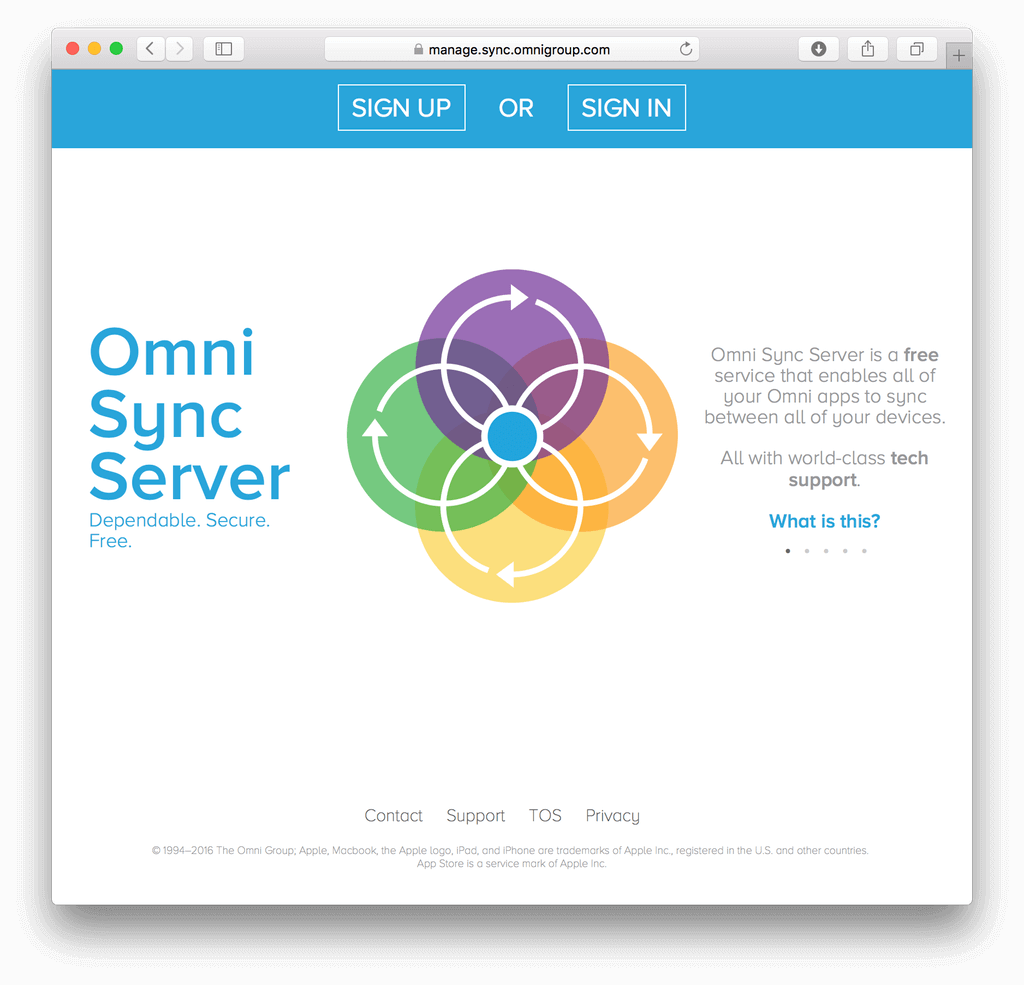
- Open Safari (or your favorite Mac-based web browser), and go to the Omni Sync Server webpage:

- At the top of the page, click Sign Up.
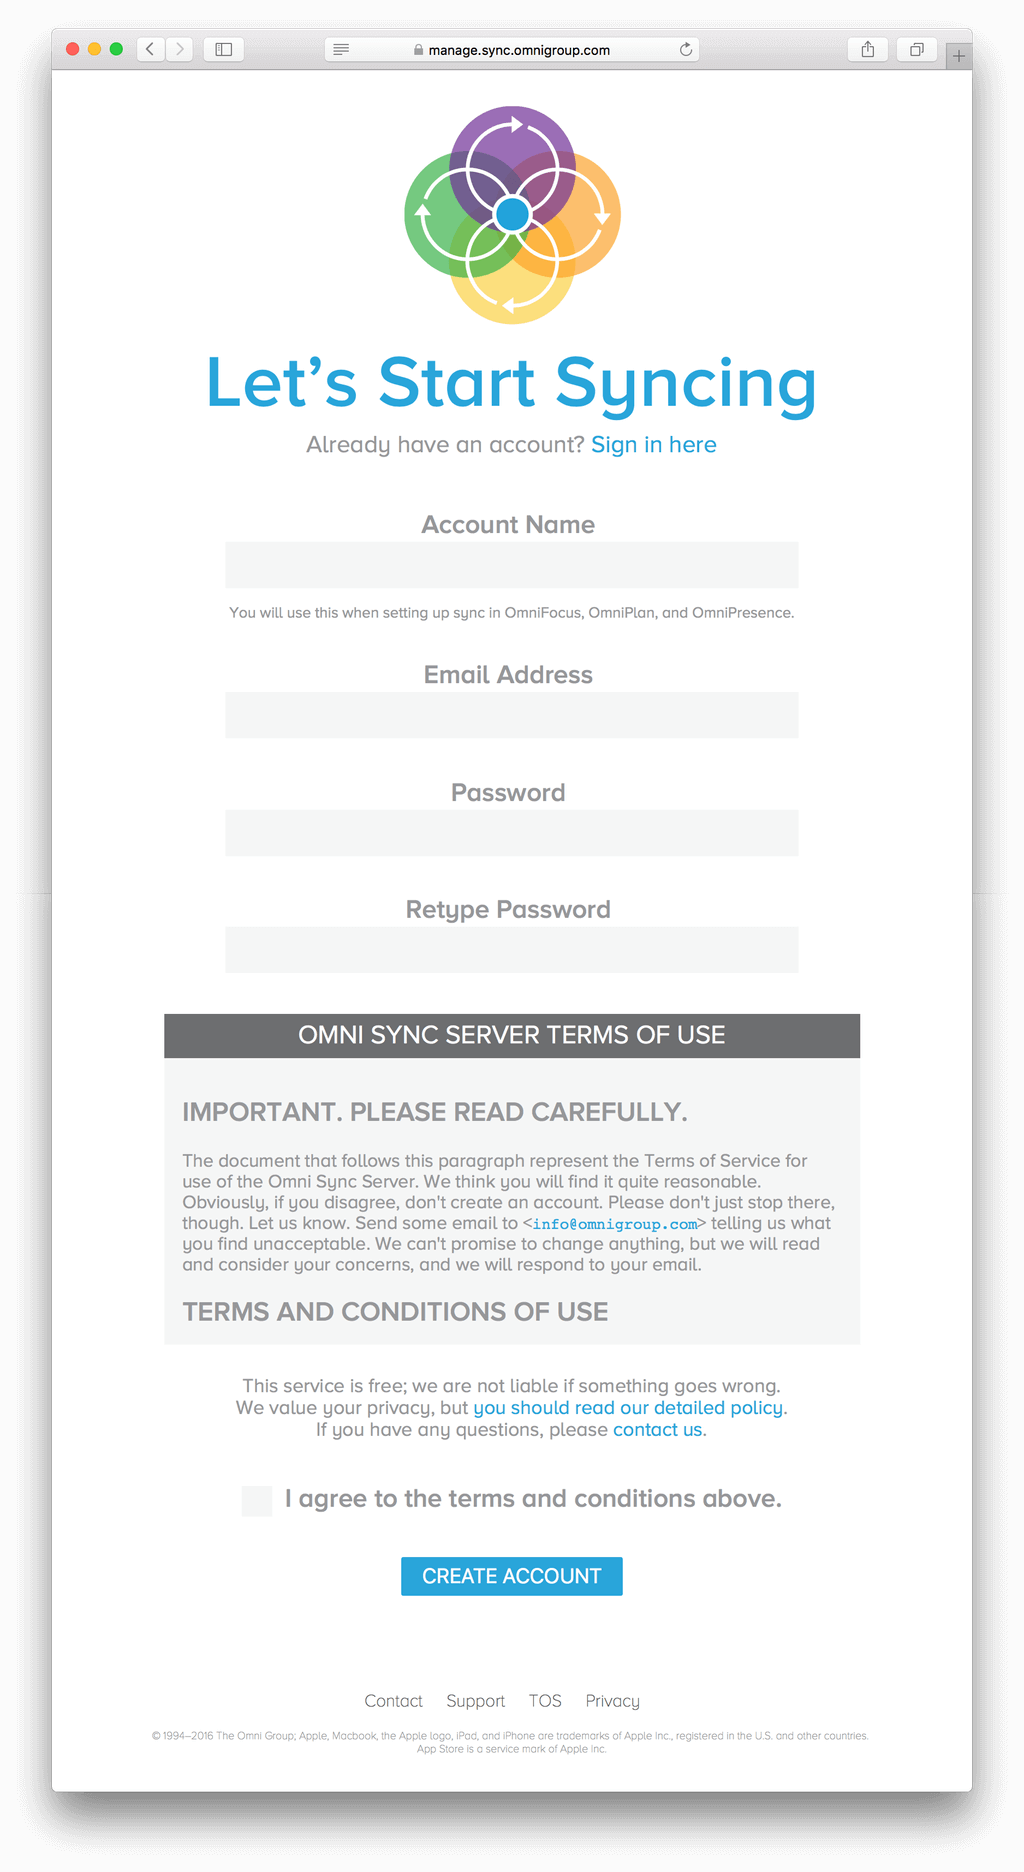
- In the fields provided, enter the following information:

Account Name — This can be whatever you’d like, and can include lowercase letters, numbers, or symbols. Sorry, uppercase letters, spaces, and the following symbols are not permitted: ~ ` : / and \.
Examples of valid Account Names:
- ken
- ken123
- ==ken123==
- teamunicorn
- t3amun1c0rn
Examples of invalid Account Names:
- KEN (uppercase letters)
- ¯\_(ツ)_/¯ (use of invalid characters)
- team:unicorn (use of a colon)
- ~~squiggles~~ (use of a tilde)
- Email Address — Enter your email address.
- Password — Enter a unique, and secure, password. After entering your password, you’ll need to enter it again in the next field, just to verify that you have entered the password correctly.
- Terms of Use — Please take some time to read through the Omni Sync Server Terms of Use. If you agree with the terms and conditions, click the checkbox.
- Finally, click Create Account.
After clicking the Create Account button, we will send a confirmation message to the email address you specified. Keep an eye out for that email; when you receive it, be sure to click the Finish Registration button in that email to activate your Omni Sync Server account.
Note
Keep the Account Name and Password used to create your Omni Sync Server account handy, as you will need them in the next chapter when you install and configure OmniPresence on your Mac.
