OmniFocus 2.5 for Mac introduced custom styles, allowing you to change between built-in Font Collections and Color Palettes, or import your own. This article covers the basics of creating custom OmniFocus styles—but in general, this is an advanced feature that requires hand-editing text files and a good amount of patience; our Support Humans won’t be able to help beyond what is already documented here.
Exporting a Style
To begin creating your own custom style, it may be helpful to change your style settings to the size, general color palette (light or dark), and the font style that is closest to your desired end result. For example, if you plan to use a custom font family that uses serifs and a dark color palette, switch to Georgia and OmniFocus Dark. Click Export Current Style… at the bottom of OmniFocus Style Preferences, and choose the option to include Both font collection and color palette.

(If you only plan on changing fonts or colors, you can choose just to export that aspect of your current style.)
Custom Style Basics
OmniFocus .ofocus-style files consist of xml <key> tags and values, which OmniFocus expects to import in a specific order and with a certain hierarchy. You can edit the values between of the tags, but do not edit the tags themselves or change their order, as this could cause your style to fail on import.
There are three keys that describe the style file itself, which you’ll find in a metadata section at the end of the file: providesColor, providesFont, and version. Depending on the file contents, the first two are set to True or False. This article describes version 1 of the .ofocus-style format, the latest (and currently only) version of this format.
Specifying Colors
The easiest way to customize colors is using the OmniFocusColors app, available here.
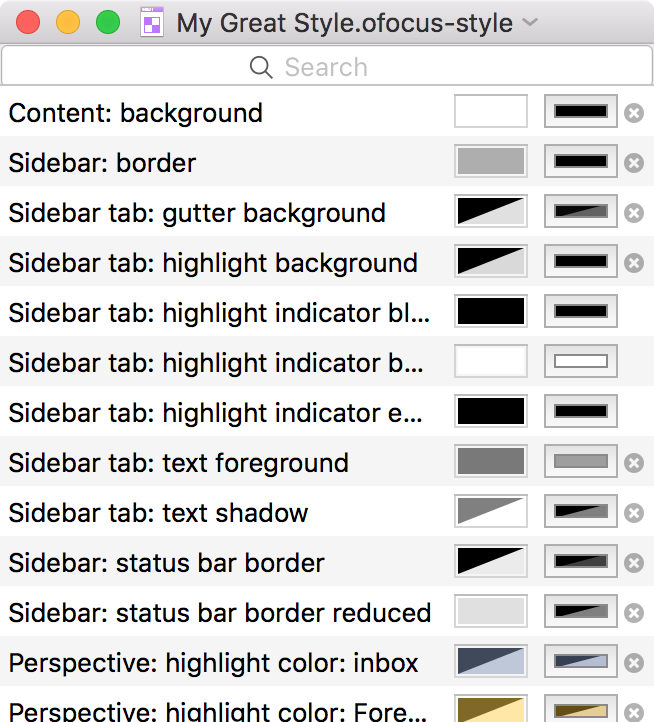
Open your exported .ofocus-style document in OmniFocusColors.app, and click the color bar to the far right to change the color and/or opacity for the specified UI element. Once you set a different color, an x icon will appear to the right of the line—click it to return to the default value, shown to the left of the color you just set.
If you prefer to tweak values by hand, open your .ofocus-style document in your text editor of choice. Under colorPalette, you’ll see a series of keys, each with their own color dict:
- A
<dict>containing<key>swandasignifies a greyscale color wherewis white andais alpha. - A
<dict>containing<key>sr g bandasignifies an RGBa color whereais alpha. - A
<dict>containing<key>sh s bandasignifies an HSBa color whereais alpha.
Specifying Fonts
A font is specified by its PostScript Name, which you can use FontBook.app to find (choose Show Font Info from the View menu). To set the fonts used in your style, edit the keys under font-name-aliases. These aliases are used in the rest of your style to specify the font for individual elements, so changing the aliases is the quickest way to change all the fonts in your style.
As you may have noticed, OmniFocus offers you five font sizes. That means that for some elements in an .ofocus-style, the size is specified as an <array> containing 5 values. It also means that there is a layoutConstraintConstants section containing constants for ExtraSmall, Small, Medium, Large, and ExtraLarge. If you don’t anticipate changing text sizes, you don’t need to customize all these values. However, don’t delete the ones you’re not using!
About those layoutConstraintConstants: With some font collections, the default layout values will clip part of the characters off or otherwise look weird. Adjusting these constants can help you get around spacing, padding, and clipping problems.
Here is an annotated .ofocus-style file for our default font collection. We’ve added comments for the different key types, as well as some extra notes for the areas we get asked about. Open this file in a text editor to view the annotations.
Note: The OmniFocusColors app was written entirely to specify colors, and does not currently save or retain embedded font information. If you’d like to create a theme that contains both custom colors and fonts, you should use OmniFocusColors first. Once you’re finished making colors adjustments, then add your font information into the theme file. If you’ve already written font styles and need to make color edits using OmniFocusColors, save a duplicate copy of your theme to preserve the font info, then copy that information back into the theme file after making changes to colors to avoid losing data.
Importing a Style
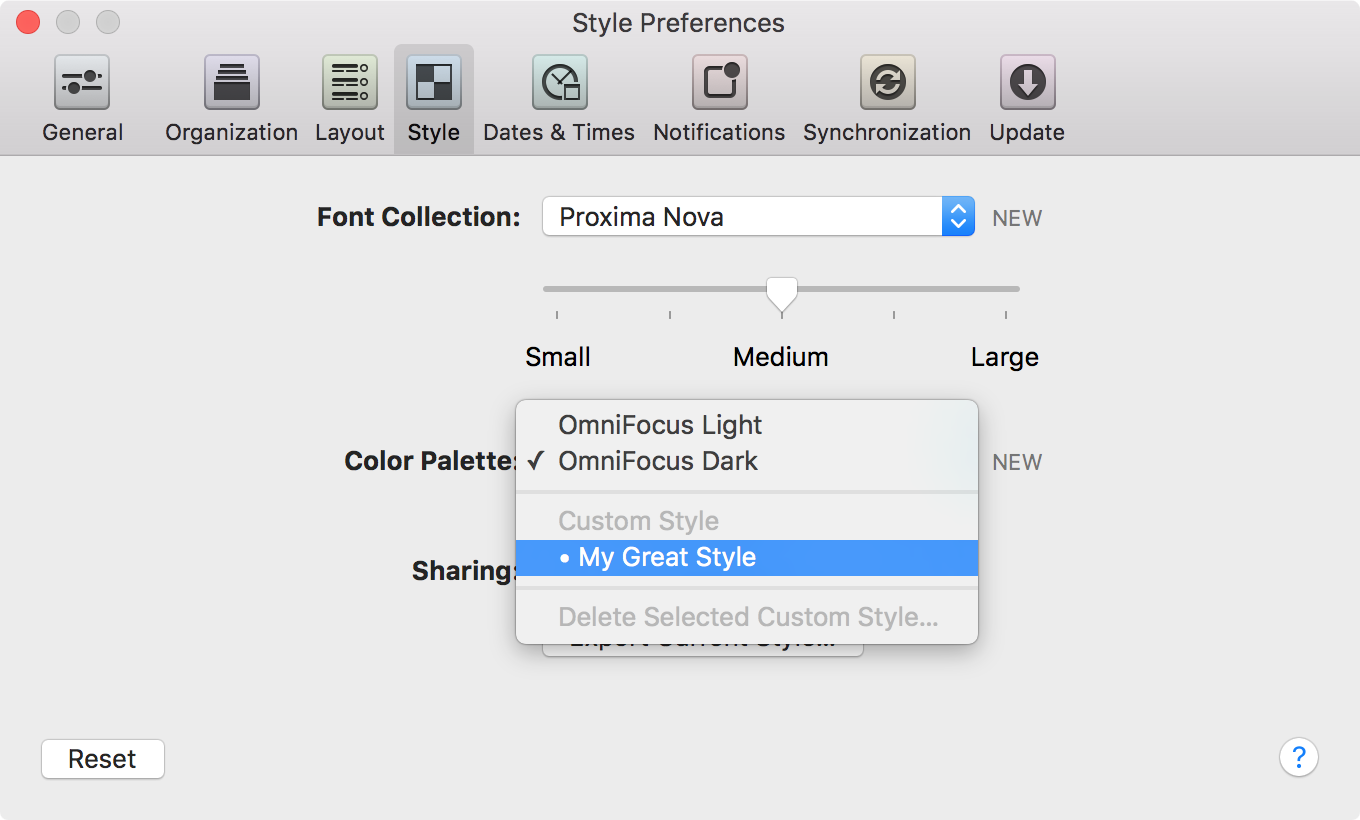
To import a style, use the Import Style… button in Style Preferences, or choose File > Import Style. Imported styles can be selected in Style Preferences.
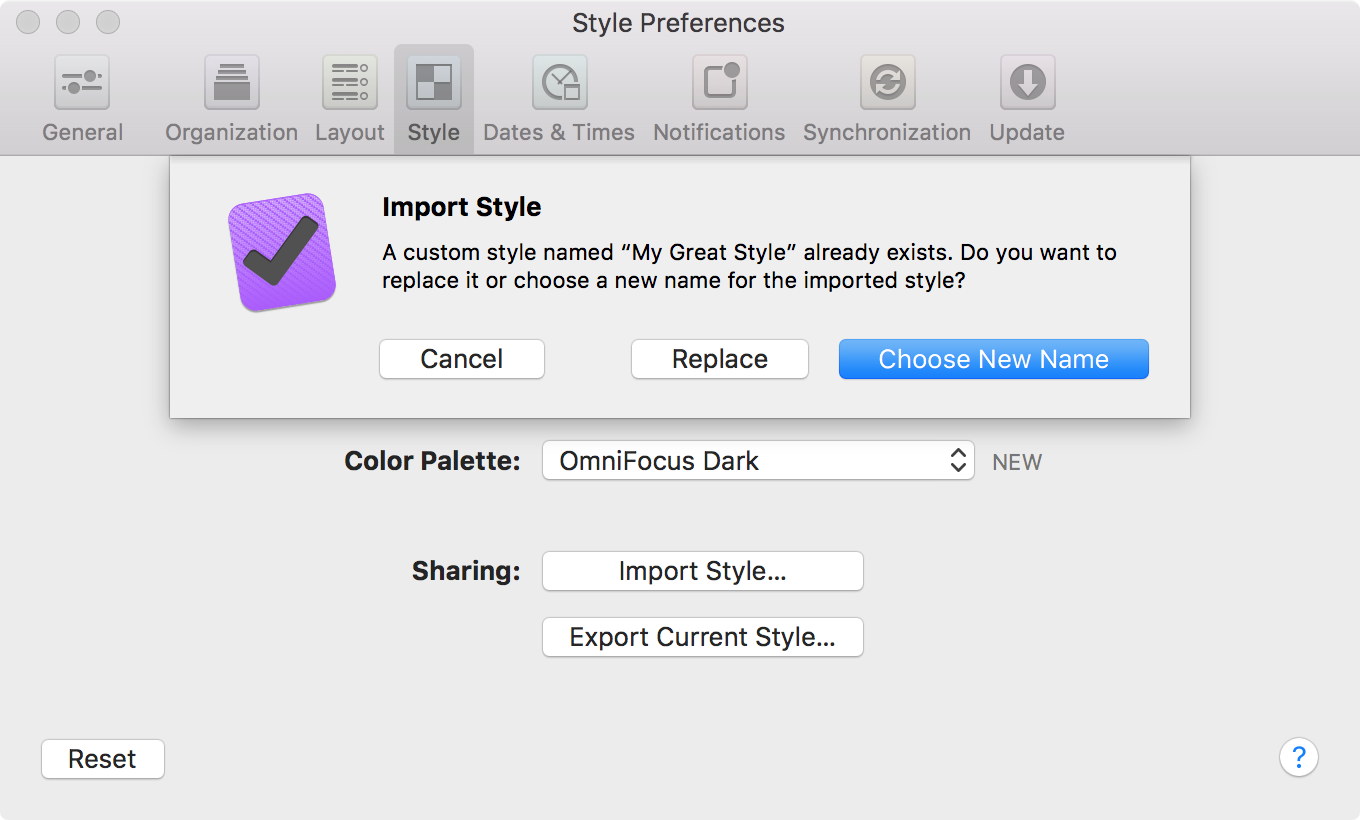
While you are tweaking your custom style, you may need to import a new version of an existing style. When you import a style of the same, name you will be prompted to replace the existing style, choose a new name for the style, or cancel. Selecting Replace is the quickest way to update and view the results of tweaks you are making as you create a custom style.
Deleting a Style
To remove a style from OmniFocus, you must first select it in Style Preferences. Once it is active, click the pop-up again and choose Delete from the menu.