Working with Perspectives
When you look at a representation of your collected items in the main outline, you’re looking at a perspective on your data. OmniFocus comes with a bunch of built-in perspectives that have been painstakingly designed to help you get the most out of your OmniFocus experience. These include Forecast, Inbox, Projects, Contexts, Flagged, Nearby, Review, Completed, and Changed.
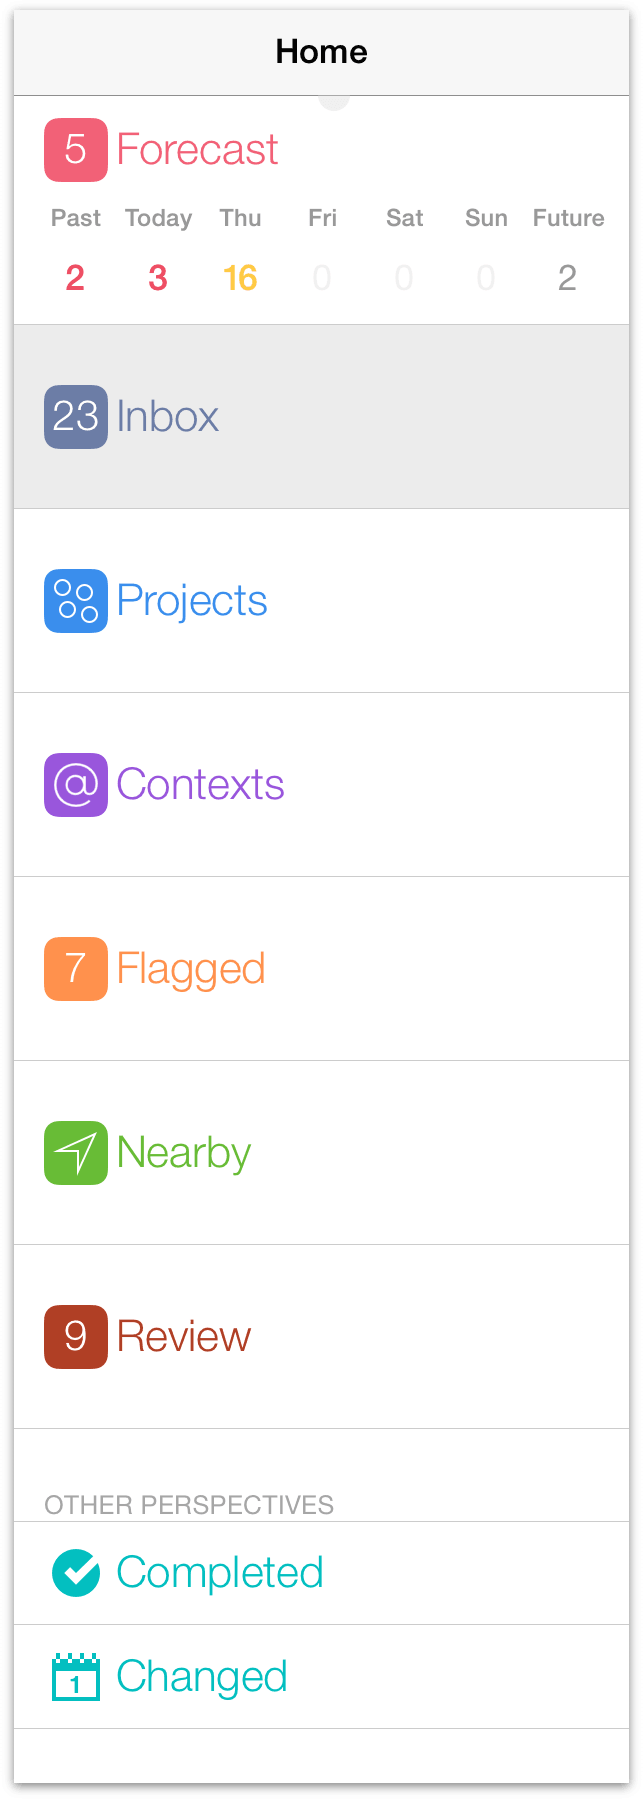
The first seven of these form the foundation of interacting with OmniFocus, and offer tons of power and flexibility for accomplishing things in ways that suit your needs.
The final two standard perspectives—Completed and Changed—are views that appear in your sidebar or home screen when you toggle to show All Perspectives from the secret bar and are a great way to find items in your database that may have been filed away by mistake or otherwise disappeared under mysterious circumstances.
Once you’ve been exploring OmniFocus for a while you may find there are even more specialized ways that you’d like to view your tasks, whether through a specific search term, a group of projects in your sidebar, or a special sort criteria you’d like to apply to actions in a single action list. Or maybe there’s a specific productivity method you’d like to try that the default perspectives don’t fully support.
Favoriting and Reordering Perspectives
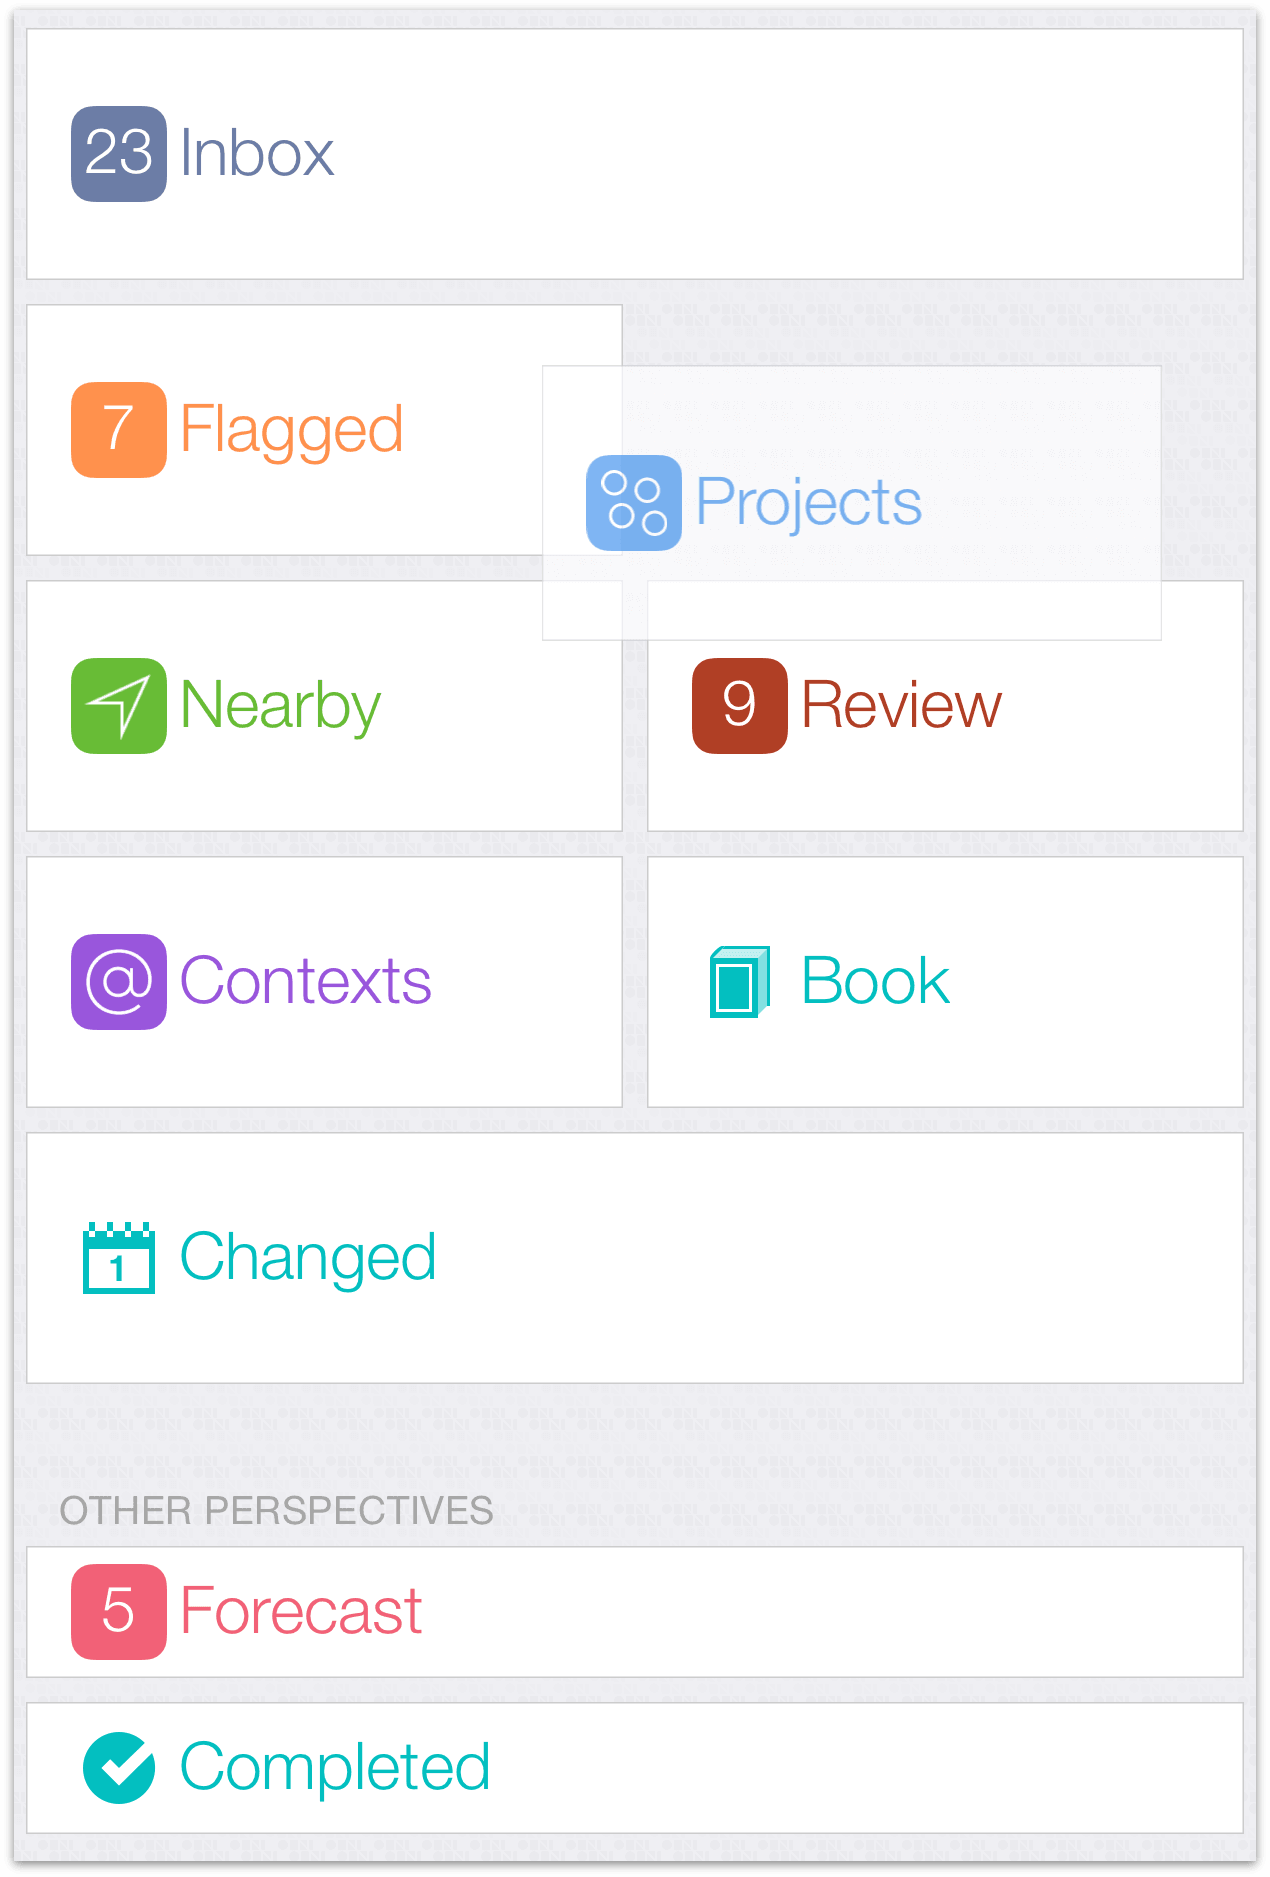
With the OmniFocus Pro upgrade installed, you can hide default perspectives that you don’t use, and rearrange the sidebar list to bring others to prominence. Tap the tile editor button ![]() in the secret bar, or touch and hold a perspective tile until edit mode is engaged, to rearrange and promote perspectives to Favorites. Perspectives listed in the Other Perspectives section are still available when choosing to view All Perspectives from the secret bar.
in the secret bar, or touch and hold a perspective tile until edit mode is engaged, to rearrange and promote perspectives to Favorites. Perspectives listed in the Other Perspectives section are still available when choosing to view All Perspectives from the secret bar.
Note
If you choose to "favorite" all of your available perspectives by moving them out of the Other Perspectives section, the switch to toggle between Favorites and All Perspectives becomes greyed out in the secret bar (because at that point there's no difference between the two lists). The switch will likewise disappear if no perspectives are promoted, since the sidebar and home screen aren't allowed to show you a completely blank space.
Creating and Editing Perspectives
Along with the ability to customize your sidebar’s appearance, the OmniFocus Pro upgrade lets you create custom perspectives that reflect views on your OmniFocus data that you want to come back to again and again.
To create a new custom perspective, tap New Perspective ![]() in the secret bar. To edit an existing custom perspective, navigate to it in the outline and open the Editor via View Options
in the secret bar. To edit an existing custom perspective, navigate to it in the outline and open the Editor via View Options ![]() in the secret bar (iPhone) or toolbar (iPad). To delete a custom perspective, scroll to the bottom of the Perspective Editor and choose Delete Perspective.
in the secret bar (iPhone) or toolbar (iPad). To delete a custom perspective, scroll to the bottom of the Perspective Editor and choose Delete Perspective.
When creating or editing a custom perspective, the Perspective Editor lets you customize your perspectives’ view settings in nigh-countless ways (these are the same settings available from View Options ![]() when viewing the perspective in the main outline).
when viewing the perspective in the main outline).
Here is a rundown of the perspective editor’s features:
- Name & Icon—Tap a custom perspective’s name to edit it, and tap the icon to choose from among a selection of custom icons to represent your perspective.
Note
The built-in perspective names—Inbox, Projects, Contexts, Forecast, Flagged, Review, Completed, and Changed—cannot be edited. You can, however, choose another icon for the Completed and Changed perspectives.
Project Hierarchy—There are two fundamental types of perspectives: those that rely on the project structure to show your database hierarchically, and those that eschew hierarchy in favor of grouping by other parameters. The grouping and sorting functions in Presentation will govern projects in the former case, and actions in the latter.
Presentation—If you’d like to group or sort projects or actions based on specific criteria, select them here.
Filtering—Granular options for filtering what appears in the perspective are available here, including filtering based on flagged status, availability, duration, or project or context status (based on the mode chosen in Project Hierarchy).
Find Text—To add a text filter to the perspective, enter the text here. The filter applies to text in both item titles and notes.
Focus—To save a focus on a project or folder as part of the perspective, tap to find it using smart match.
Note
Focus is a term with special meaning in OmniFocus: a narrowed scope of view on selected items that persists as you change other view settings. By design, creating and viewing a custom perspective with a focus is the only way that the term applies in OmniFocus for iOS; in OmniFocus for Mac, Focusing is available as a separate tool that takes advantage of the Mac's window-dependent interactions.
Context Selection/Project Selection—Select contexts or projects (depending on whether the perspective uses project hierarchy or not) you’d like to add to the perspective by tapping Add Context or Add Folder or Project. You can add as many as you’d like!
Note
Custom perspectives that don't use project hierarchy (formerly known as "context-based" perspectives) and custom perspectives that do use project hierarchy (formerly known as "project-based" perspectives) are both supported by all current versions of OmniFocus, and will sync between them.
Note that older versions of OmniFocus may not support the latter type (project hierarchy-based perspectives). If syncing these custom perspectives is important to you, updating to the current versions of OmniFocus on all of your devices is recommended.