Settings
The OmniFocus Settings screen contains a variety of controls for customizing your OmniFocus experience.
To open Settings in OmniFocus for iOS, navigate Home, then tap Settings  in the toolbar.
Account
The first section of Settings holds controls for managing your Omni Account and unlocking the various features of OmniFocus.
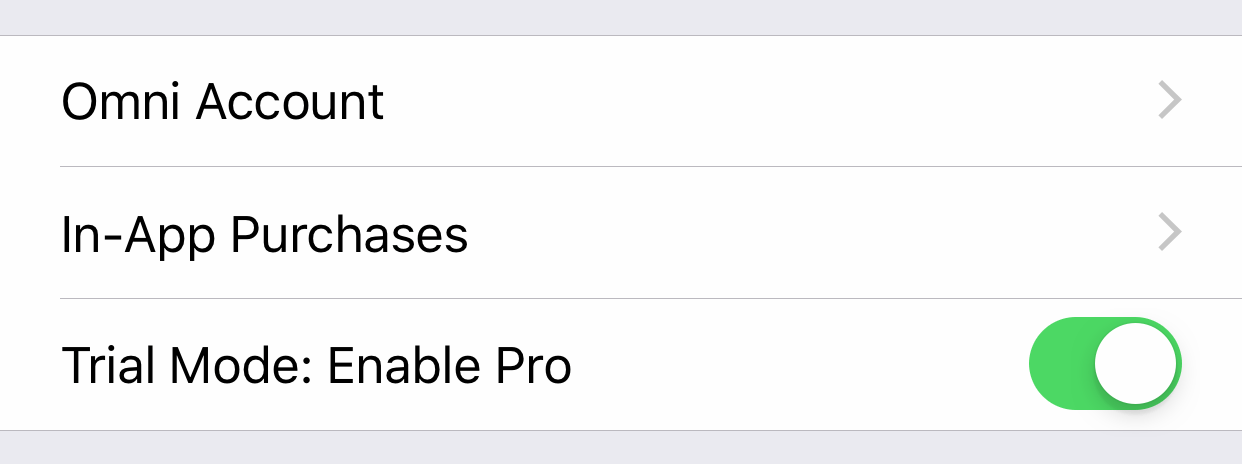
Omni Account
Tap to open a page where you can log in and manage details of your Omni Account, or create an Omni Account if you don't have one yet.
Creating an Omni Account is free, and is required for subscribing to OmniFocus for the Web or syncing with the Omni Sync Server.
In-App Purchases
Tap to unlock OmniFocus features by subscribing, purchasing either the Standard or Pro edition of the app, or restoring a previous purchase. Learn more about OmniFocus subscriptions here.
Trial Mode
Tap the switch in this section to enable or disable Pro features while using the Free Trial edition of OmniFocus (this edition is available for 14 days when you choose the Free Trial Mode in-app purchase option).
General
This section contains information about the version of OmniFocus that you’re using, and links to additional resources that can enrich your OmniFocus experience.
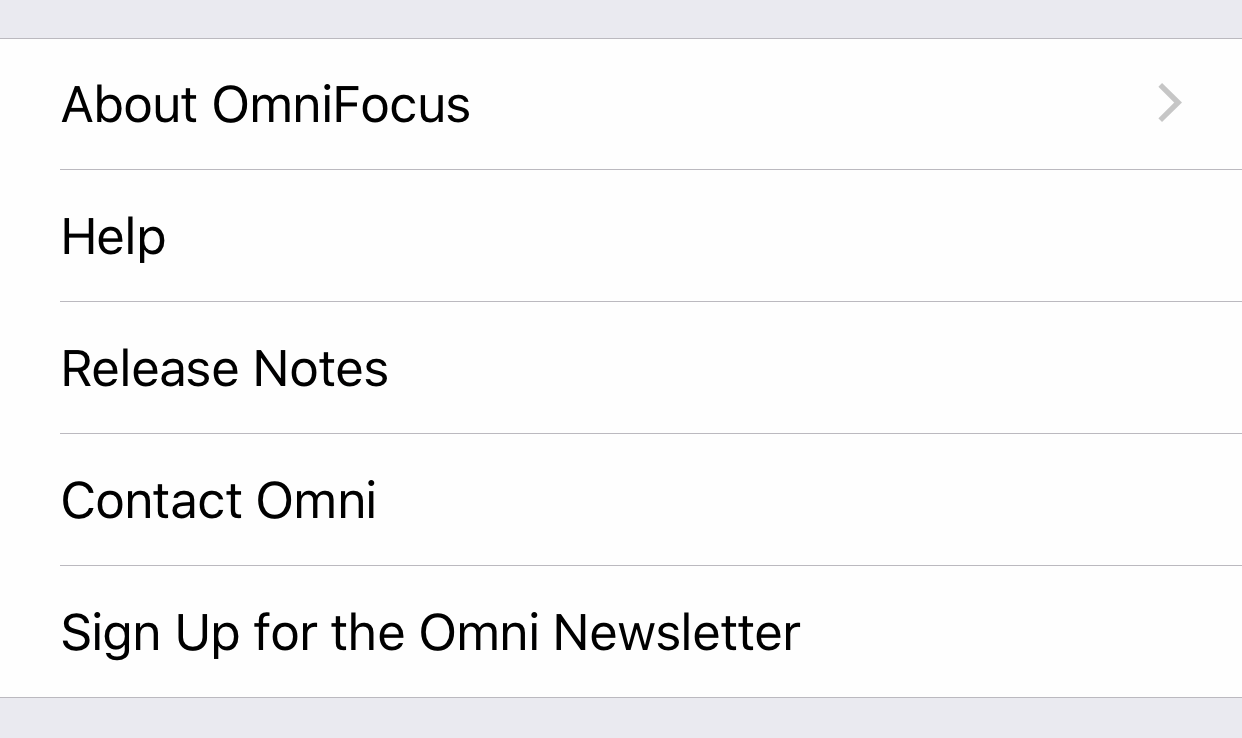
About OmniFocus
Tap to see details about your version of OmniFocus for iOS, including the version number, Omni contact information, and any in-app purchases you have unlocked.
Help
Tap to open the in-app version of this reference manual.
News
Tap to view the latest information from Omni about changes to OmniFocus or iOS that affect your use of the app. (This item only appears when there is news to share.)
Release Notes
Tap to read the release notes for the current version of OmniFocus.
Contact Omni
Tap to send us feedback about OmniFocus or request assistance.
Sign Up for the Omni Newsletter
Tap to visit the Omni website, where you can subscribe to our email newsletter. You’ll get nothing but the latest news and tips for OmniFocus and the other apps in the Omni Group family.
Database
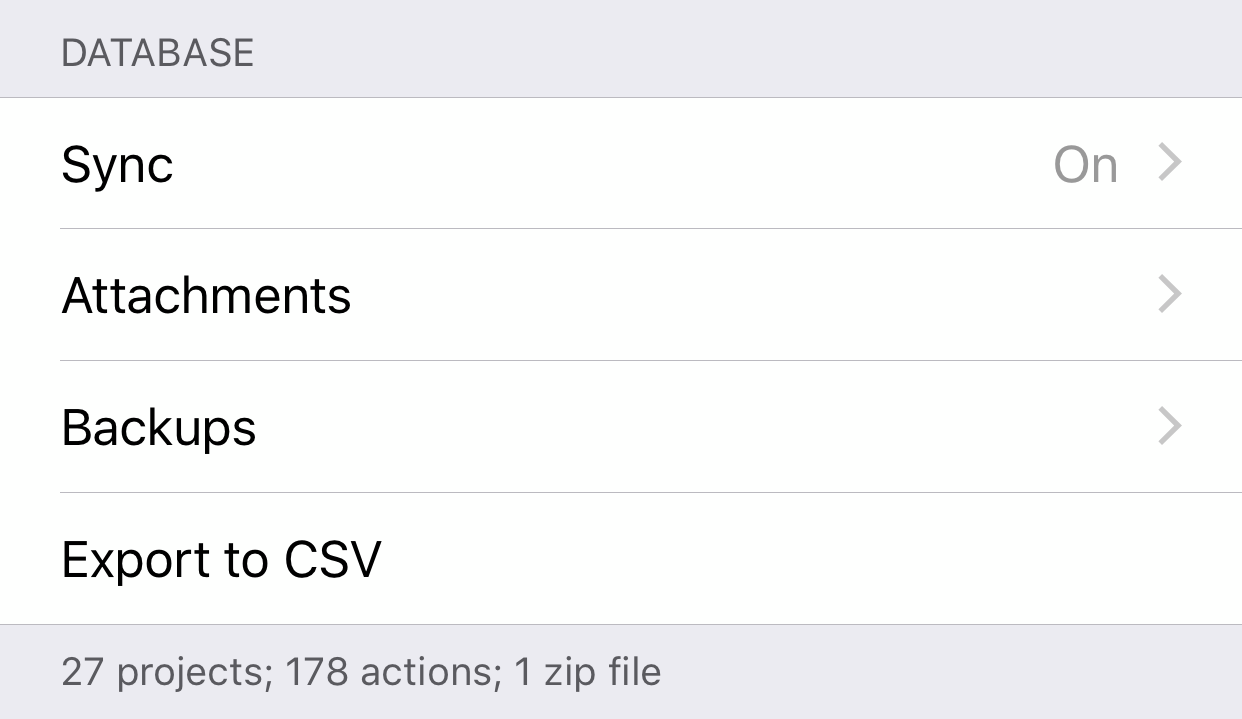
This section contains settings that help maintain your OmniFocus database: choose a sync server, manage your attachments, create or restore backups, and export your data to CSV here.
The Clean Database, Migrate Database, and Compact tools in this section only appear if your database is in a condition where it could use the help they provide. If you don’t see them here, you’re probably in good shape.
Sync
Tap to open Sync settings, with information about your current sync server (if you have chosen to sync your data remotely). If you are not currently syncing, this page prompts you to set up an account.
Even if you’re only using OmniFocus on a single device, we recommend setting up sync for the automated data backup it provides.
If you choose to sync, keep your sync password (and separate encryption passphrase, if you use one) in a safe place. If you lose these, you’ll lose access to your data.
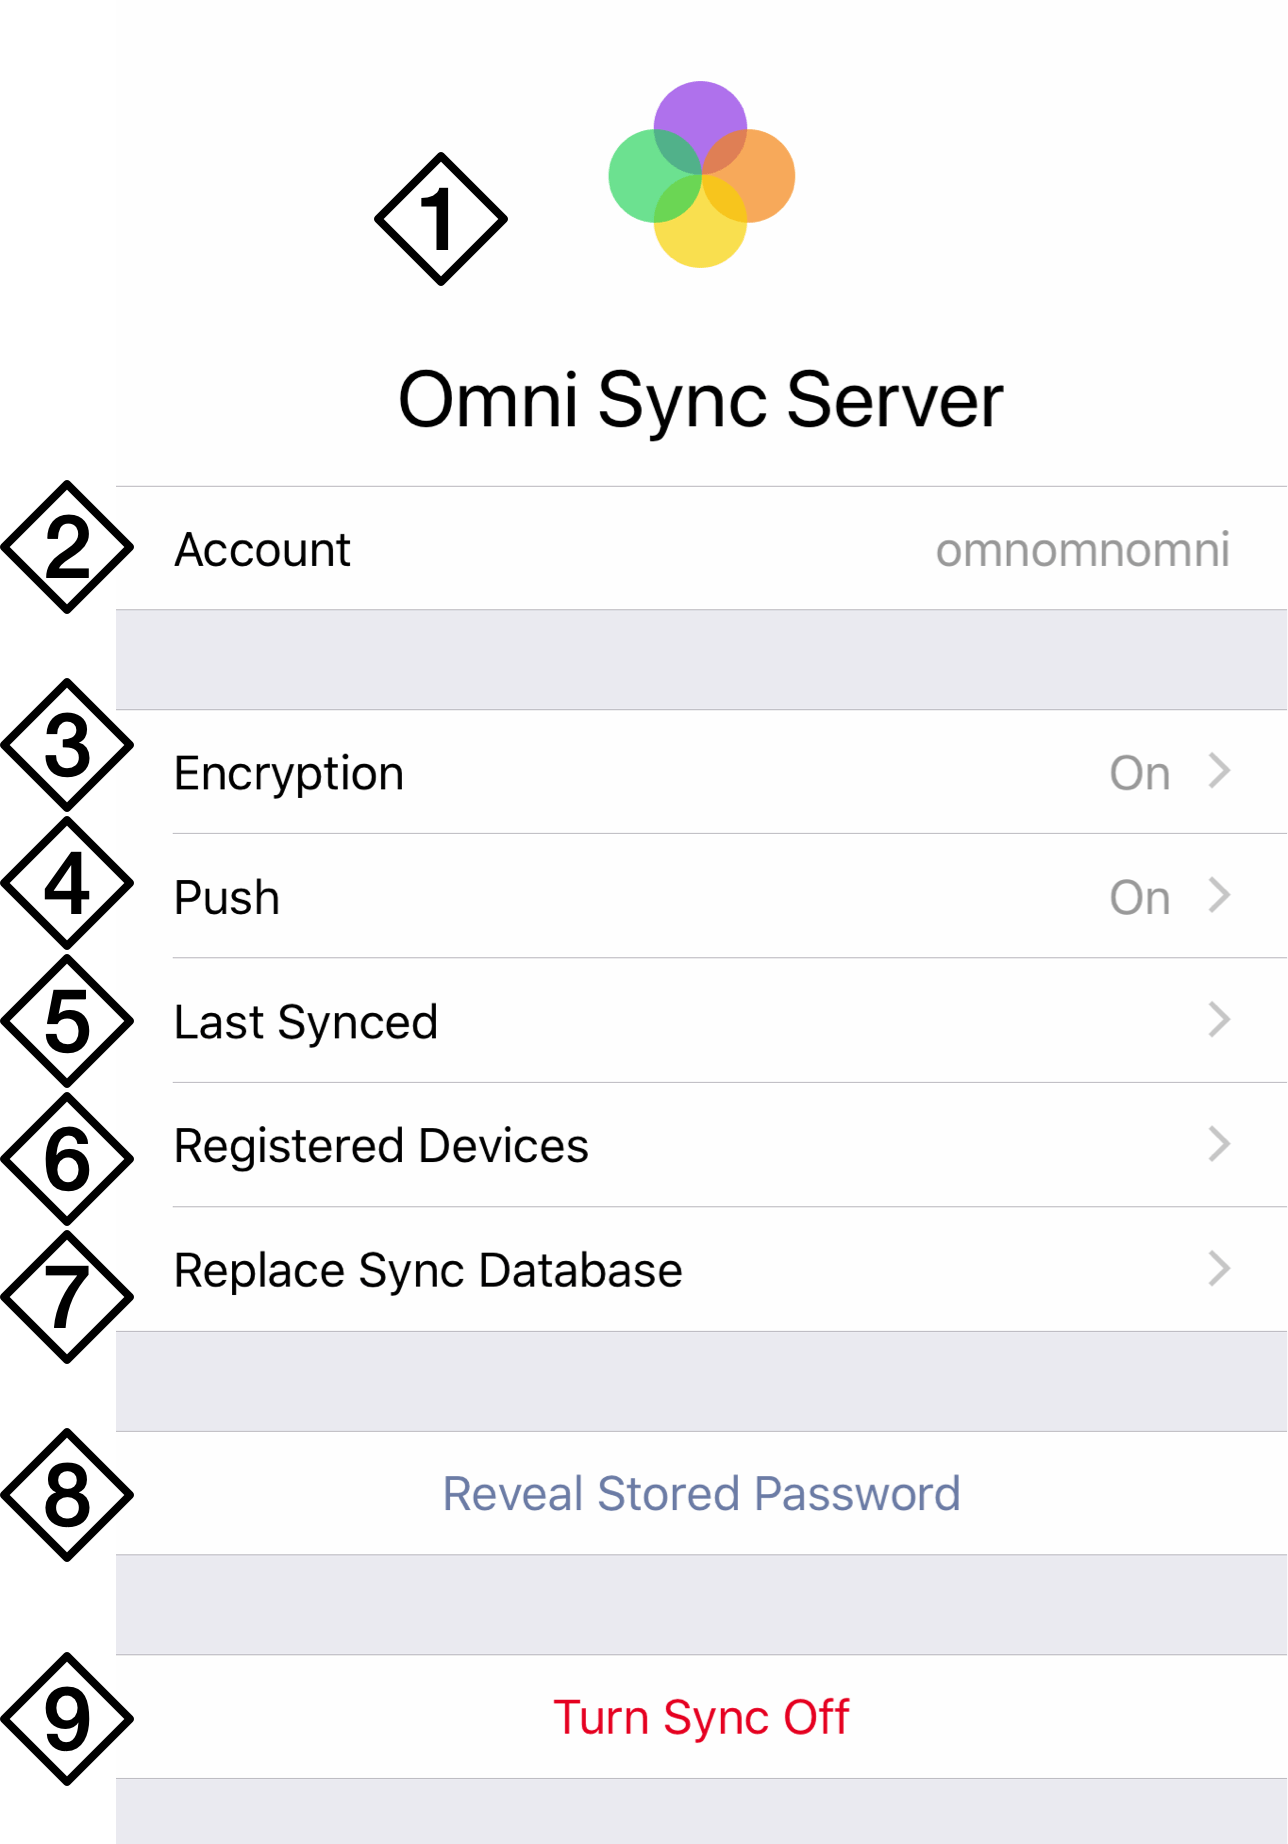
Once you set up sync, the Sync page has several settings that describe the features and details of your sync account and connection.
-
Account Type—The top portion of Sync settings displays the type of account that your database is currently synced with. This can be either an Omni Sync Server account, or a WebDAV account that you manage independently.
-
Account Name—This field displays the name of the sync account that you are using.
The account name cannot be changed while sync is turned on. To switch sync accounts, tap Turn Sync Off at the bottom of the Sync settings page, then proceed through the sync setup dialog and enter the information of the new account.
-
Encryption—Check whether your OmniFocus database is encrypted on the server, and optionally choose a separate passphrase (distinct from your sync password) for decrypting it. Learn more about OmniFocus encryption here.
-
Push—Check the status of push-triggered sync on your sync account (it’s set to On by default). This feature offers faster, more frequent syncs; for more information, see this support article and this blog post.
-
Last Synced—View the timestamp for your last database sync at a glance here, or tap to view the log of all recent syncs and the reasons for them.
-
Registered Devices—View a list of devices registered to sync with your cloud database, along with some other useful information: the entry for your current device is highlighted in purple, and the day a device last synced is shown adjacent to it (if a device hasn’t synced in over a week, its last sync date is highlighted in yellow).
From the Registered Devices screen, you can also Edit the list to remove any devices you no longer want to sync with.
-
Replace Sync Database—If your data is in conflict with another version stored on your sync server and you are confident that the version on your device is the one you prefer to keep, choose this item and tap Replace Database to overwrite your remote database with the local one.
-
Reveal Stored Password—View the password for your sync account as it is locally stored and encrypted on your device. This requires giving OmniFocus permission to reveal your secure data using Face ID or Touch ID, so another person accessing your device will not be able to see your password.
-
Turn Sync Off—Turn off sync and use OmniFocus with a local database only. Leaving sync turned off is not recommended. If you need to switch sync accounts, tap this to turn off the currently connected account and use the setup dialog to connect to the new one.
Attachments
Tap to open the Attachments List, a view that displays all of the files attached to your OmniFocus database and links to their corresponding tasks. Sort attachments by file size or date added and delete any unwanted ones here.
Tap an individual attachment for a detail view which lists the attachment file size, the number of references to the file in your database, and a list of associated database items. Tap one of those items to go straight to where the file is attached, or tap Delete in the upper right to remove the file from your database.
To remove multiple attachments at once, tap Select in the main Attachments List view and tap all of the files you would like to delete. Use the controls above the attachment thumbnails to sort the files by size or date added (largest and most recent files are shown first by default; tap Sort to switch the ordering).
With the unwanted files selected, tap Delete in the upper left to remove them from the database.
Backups
OmniFocus for iOS can create and store a backup of your database locally on your device. With Automatic Backups turned on, the backup is replaced every 24 hours with a new copy; otherwise, you can back up manually at any time by tapping Back Up Now.
Restore from your most recent backup by tapping it and choosing Revert to This Backup. Unlike a remotely synced database that’s kept identical to the one on your device, this backup database is only available on the specific iPhone or iPad with OmniFocus installed. If you remove OmniFocus from your device the backup is deleted as well.
Clean Database
This tool appears when you have over 1000 items that have been completed for six months or longer. Use this to lighten the load on your database by removing those old items.
If you have OmniFocus for Mac, we recommend using its Archive feature to prune old items instead; see this support article for help on keeping your database size manageable.
Migrate Database
This tool appears if you’re syncing to an older database version that doesn’t support some of the newer features of OmniFocus. See this support article for instructions on getting your database up to date.
Compact
This tool appears if your database is particularly complex, and can be useful in reducing performance issues if OmniFocus appears to be slow or unresponsive. Choosing to compact your database makes it more streamlined by removing redundant transactions; your OmniFocus tasks are unaffected.
Export to CSV
As part of our commitment to your complete ownership of your data, we offer the ability to export your OmniFocus database in the open CSV format. Your data is available this way whenever you need it, presented in a tabular format viewable in just about any text editor.
Database Info
The text beneath this section has statistics about your OmniFocus library: the number of items in your database, and the number of zip files used to contain your data. If you are syncing, you should try to sync all of your OmniFocus databases regularly to keep the number of files down.
Accessibility
This section provides additional options for navigating OmniFocus using iOS VoiceOver, and only appears when VoiceOver is turned on.

VoiceOver
Choose Hide Status Circles from this submenu to instead use a custom action to mark items complete (swipe down with a row selected to access custom actions). This can improve efficiency in workflows that rely on VoiceOver navigation.
Colors
This section controls the palette of colors used throughout the app, including the option to switch to the Dark Mode color scheme.
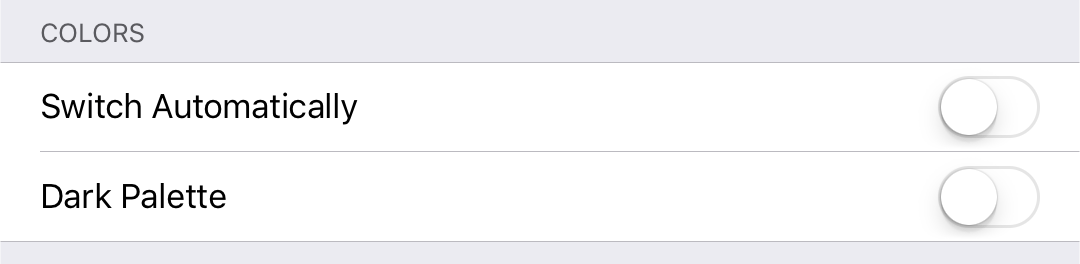
Switch Automatically
If you’d like OmniFocus to switch color schemes automatically, this sets a threshold of screen brightness that the app uses as a tipoff to make the change. When the screen dims below the threshold—either automatically because your screen is set to adjust dynamically based on ambient light, or by manually changing the screen brightness—OmniFocus will switch to Dark Palette on its own. Likewise, when the screen brightens above the set threshold, OmniFocus reverts to the lighter default palette.
Dark Palette
Choose to use the Dark Palette color scheme throughout the app persistently, regardless of your device’s brightness setting.
Organization
This section controls how items are treated after they have been edited in a way that would cause them to move elsewhere in your database. (This is referred to in OmniFocus as “cleaning up”.)

Clean Up
This setting controls the conditions that cause items to leave your Inbox, and dictates whether completed items should be cleaned up (have their status applied to the view) immediately upon completion, or when changing away from the current view.
You can choose to clean up Inbox items which have:
- A Project
- A Tag
- Both a Project and a Tag
- Either a Project or a Tag
You can choose to clean up completed items:
- Immediately
- When Changing Views
If you choose to clean up when changing views, you can still clean up manually by tapping Clean Up  in the toolbar (in compact views, drag down on the outline instead).
Due Dates
This section includes options for when items should appear as due soon. Items that are due soon have their status circles styled in amber wherever they appear.

“Due Soon” Means
Tap to set the timeframe for how you would like OmniFocus to define items that are due soon. Options include 24 hours, 2 days (the default), 3 days, 4 days, 5 days, and 1 week.
Notifications
This section holds options for customizing the alerts OmniFocus displays on your iOS device, and what you’d like to see in the Today screen of Notifications Center.
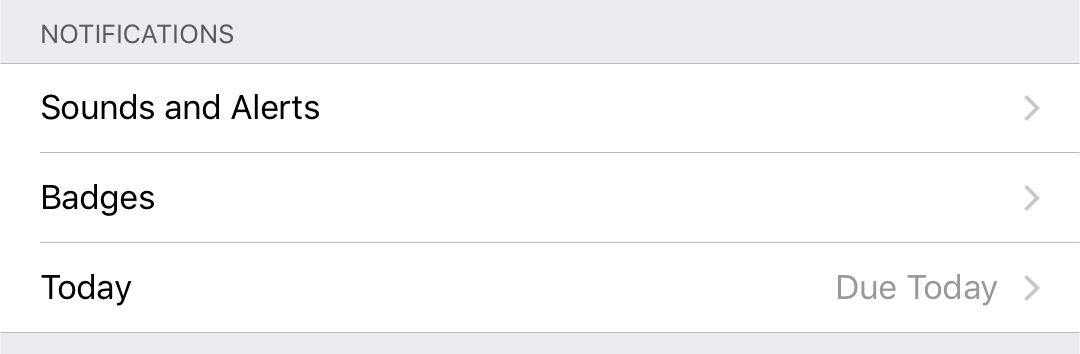
Sounds and Alerts
Tap to set alerts and sounds for due and location-based notifications.
-
Sounds—This includes controls for setting sound notifications for items based on due date, custom notifications, and location-based notifications.
-
Date and Time: Notify on this Device—Turn this on to have date and time-based notifications appear on this device. With this turned off, the following three settings do not appear.
-
Deferred—Turn this on to automatically schedule a notification for when a deferred item becomes available.
-
Latest Start—Turn this on to automatically schedule a notification for an item’s latest possible start time (its due date minus its estimated duration).
-
Due—Turn this on to automatically schedule a notification for when an item becomes due.
-
Location: Notify on this Device—Turn this on to have location-based notifications appear on this device.
Badges
Tap to choose the items that are counted in the badge attached to the OmniFocus app icon (the little red circle laid over the icon’s upper right corner).
This section also offers the option to show a summary breakdown of items included OmniFocus’s badge count in the Today widget. With Show Explanation in Today Widget turned on, the badge count appears in the Today widget and contains a summary of the item types that comprise it.
Today
Customize the items you’d like to see in the Today view of iOS Notification Center via OmniFocus’s Today widget. With the OmniFocus Pro upgrade, you can also choose a custom perspective in Today.
If you have an Apple Watch paired with your device, the option you choose here governs what the app considers most important today for display in the OmniFocus for Apple Watch home screen and Complications.
Siri
Use the settings in this section to have OmniFocus capture items from a chosen list in the iOS Reminders app, or set up shortcuts that work with Siri to navigate directly to your OmniFocus perspectives.
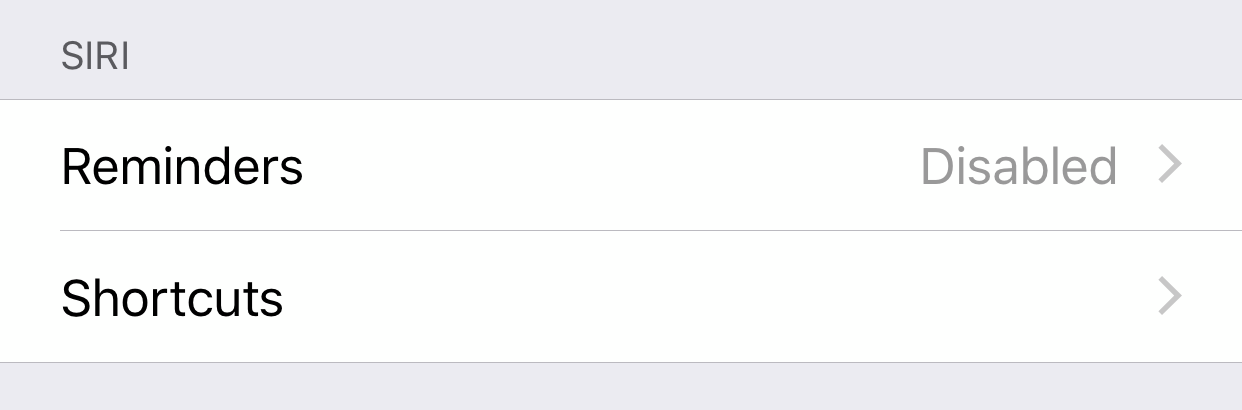
Reminders
This setting offers the ability for OmniFocus to capture items sent to a list in the iOS Reminders app. Earlier versions of OmniFocus relied on this for communication with Siri, and the feature is still available for workflows that require it.
Note that Reminders Capture is no longer the preferred method for OmniFocus to interact with Siri. Instead, use Siri terminology to add items to OmniFocus directly.
Shortcuts
Tap to open a list of your OmniFocus perspectives, then tap a perspective to open the Siri Shortcuts recording dialog. Record a custom phrase here that can be used with Siri to open the perspective directly from anywhere on your device.
Learn more about Siri Shortcuts in the Interacting With Siri appendix.
TextExpander
OmniFocus supports TextExpander snippets. With TextExpander from Smile Software installed on your device, you’ll see a button labeled Update Snippets in this section of OmniFocus settings. Tap it to refresh the snippets that OmniFocus recognizes based on your latest changes in TextExpander.
This section only appears if you have TextExpander installed.
Privacy
This section contains controls for App Lock, a way to keep your work shielded from casual inspection or alteration by someone with temporary access to your device.

App Lock
If you use OmniFocus on a device that you occasionally share (with your children, coworkers, or clients, for example), there may be times when you would prefer that your OmniFocus data be out of reach.
The App Lock feature prevents accidental taps and casual glances by adding a password-locked privacy screen that must be dismissed before any of your data or settings can be accessed.
A Note on Security
App Lock does not encrypt your OmniFocus data, nor does it prevent someone with physical access to your device from connecting it to iTunes and copying your database file or deleting OmniFocus from your device outright.
The iOS Files app can also be used to retrieve your OmniFocus database file regardless of whether App Lock is enabled.
App Lock is intended as a privacy feature to prevent accidental exposure or corruption of data when others are using your device. It is not meant to thwart serious attempts to access or compromise your data.
Device-level security measures are recommended for those with additional security needs.
App Lock is turned off by default. To turn it on, tap App Lock.
When you turn on App Lock, you will be prompted to choose and confirm a new App Lock password (this is distinct from and unrelated to your OmniFocus sync password). If you use OmniFocus on multiple iOS devices, you need to configure and set an App Lock password on each device. App Lock passwords are device-specific and do not sync across devices.
Warning
If you forget the App Lock password, OmniFocus can no longer be used on your device. If you are syncing your OmniFocus data with a cloud server (such as the Omni Sync Server), the easiest way to get running again is to delete OmniFocus and then reinstall the app from the App Store, log in using your existing sync credentials, and restore your database from the sync server.
If you have chosen not to sync, you can retrieve your OmniFocus data by connecting your device to a computer with iTunes and copying your OmniFocus data (the OmniFocus.ofocus file) to a safe location.
You can also use the iOS Files app to retrieve your database file and share it (via email or other means) to another location.
After saving a backup of your data, delete OmniFocus from your device and reinstall it from the App Store. After reinstalling OmniFocus, you can set a new App Lock password and use iTunes to load your OmniFocus.ofocus file back onto your device.
After choosing a password, App Lock is turned on. The App Lock Settings screen offers the option to turn App Lock back off, change your password, or enable Touch ID or Face ID as an alternative means of unlocking OmniFocus on devices that support it.
To change your password, Tap Change Password.... You are prompted to enter your old password, and then to choose and confirm a new one.
With App Lock turned on, the next time you open OmniFocus you will see a privacy screen with a field to enter the password you chose. Enter the password, and work resumes unimpeded.
To minimize interruption when switching between apps, App Lock will not engage for a 90 second “grace period” after switching away from OmniFocus (in case you decide to switch back).
If you choose to use Touch ID or Face ID, a prompt for your fingerprint or face will appear instead. You will still have the option to enter your password, or you can tap the fingerprint icon next to the password field to unlock with Touch ID or Face ID if you dismissed the prompt initially.
Device Information
Use this section to contribute to future OmniFocus development efforts by sending us your anonymous usage data.

Send Anonymous Data
If you’d like to help us improve future versions of OmniFocus, you can choose to send general data about your device and OmniFocus app usage by turning this on. Before choosing whether to share your data anonymously, you’ll get a preview of exactly what we’ll receive (it’s technical information that helps us reproduce and fix bugs). We’d love it if you’d like to help us out!
Reset

If you want to revert to the default OmniFocus experience, you can reset various parts of the app using the tools here. Tap Reset to choose from among the following options.
-
Reset Feature Tips—Reset the display of Feature Tips sheets (shown the first time you visit a new perspective).
-
 Reset Home Screen—Revert the home screen or sidebar tiles to their original positions (no other settings are affected).
 -
Reset All Settings—Restore all the preferences here in Settings, as well as view options and other visual customization throughout the app.
-
Reset Database—To start over from scratch (are you sure you really want to delete everything?!), tap Reset Database to delete your entire database of OmniFocus projects, actions, and perspectives.
OmniFocus Version—Finally, the text at the bottom of the Settings screen shows the version and build of OmniFocus installed on your device (useful when contacting Support).