The Many Gestures of OmniGraffle for iOS
When we first brought OmniGraffle to the iPad, we knew that we had to push the limits of what could be done with gestures in iOS. Sure, OmniGraffle has all of the basic gestures that users come to expect from an iOS app. Things like tapping to select or pinching to zoom in or out on the Canvas. Those gestures are embedded in our brain, and they’re second-nature-type things that we do—and expect—without thinking.
But beneath OmniGraffle for iOS’s hood lies a sophisticated and extremely powerful layer of custom gestures. Gestures for things like switching between Canvases or layers, grouping and ungrouping, heck, even for converting text objects on the Canvas into labels, and for decoupling them.
This chapter introduces you to all of the gestures that we’ve built into OmniGraffle 2 for iOS. In total, there are over 20. So sit back with your iPad or iPhone (because, hey, OmniGraffle is now universal for iOS!) and get ready to try some of these out.
Essential Gesture Concepts
The most basic gesture of all is a simple tap. Next up is tap and hold. However, when you tap and hold on an object or the canvas, you initiate what’s known as a secondary gesture. It’s kind of like pressing the Command key on your Mac to initiate a keyboard shortcut. The next key you press initiates the action of a menu item, such as Command-C to Copy, or Command-V for Paste.
That finger you tap and hold with is known as your primary finger, since it’s the one that initiates further actions. Whenever you see the following image in this chapter, it refers to a tap and hold gesture:

Secondary Gestures for an Object
Use these secondary gestures after you tap and hold with the primary finger:
- Swipe with one finger: Nudge the object along the minor grid.
- Drag with two fingers up or down: Move forward or back in the object stack.
- Tap another object: Add or remove that object to the selection. This is helpful when you need to select multiple, noncontiguous objects on the canvas.
- Tap canvas with two fingers: Duplicate
- While dragging, add a finger to a different shape: Alignment guides extend from the second object so you can align the dragged object to that shape.
- While dragging, add finger anywhere else: Reverse Grid Swapping
Secondary Gestures for the Canvas
Use these secondary gestures when interacting with the canvas:
- Swipe with one finger up or down: Switch canvases; the document must have more than one canvas.
- Tap with two fingers: Paste the copied object where the two fingers touch.
- Drag: Drag to select multiple objects on the canvas.
General Rules for Gestures
As with all things in life, there are some basic rules that apply to how gestures work in OmniGraffle:
- Once secondary gestures are enabled, they stay enabled as long as your primary finger stays down.
- When you tap and hold (either on an object or the canvas), there’s a slight delay (approximately 300 milliseconds) from when OmniGraffle recognizes your hold before you can perform a secondary gesture.
- If you tap and hold (either on an object or the canvas) and then lift that finger without performing a secondary gesture, a contextual menu appears.
Basic Gestures
Sometimes, even the most basic gesture, such as a tap, can be really powerful. In OmniGraffle, that tap allows you to select and deselect objects (depending on where you’re tapping).
And sure, you’re probably thinking “How is just selecting an object powerful?”. It’s not so much what you do at that exact moment—with the thing you’ve selected—it’s what comes next that can make you smile or save you a lot of time. Either way, you’re going to smile.
This section covers some of the more “familiar” iOS gestures when applied to their use in OmniGraffle.
Select an Object
Tap the object. When you do, the object is highlighted in blue, and its control points are available.

Select Multiple Objects
If you need to select multiple objects on the canvas, there are a couple different gestures you can use:
- Drag-Select
- Tap on the canvas and drag your finger to highlight the objects you want to select.

- This method is best used when you need to select multiple objects that are in close proximity to each other.
- Multi-Select
- Tap and hold to select the first object.
- Using another finger (either on the same hand or with your other hand), tap to select additional objects.

- This method is best used when you need to select various objects on the canvas that aren’t right next to each other.
Deselect an Object
To deselect any highlighted objects on the canvas, tap anywhere on the canvas that does not contain another object.

Move an Object on the Canvas
If you have an object on the canvas that you would like to move to another location, use one of the following methods:
- Tap to select and then drag the object to where you’d like it to be. Use the alignment guides to line up objects with one another.

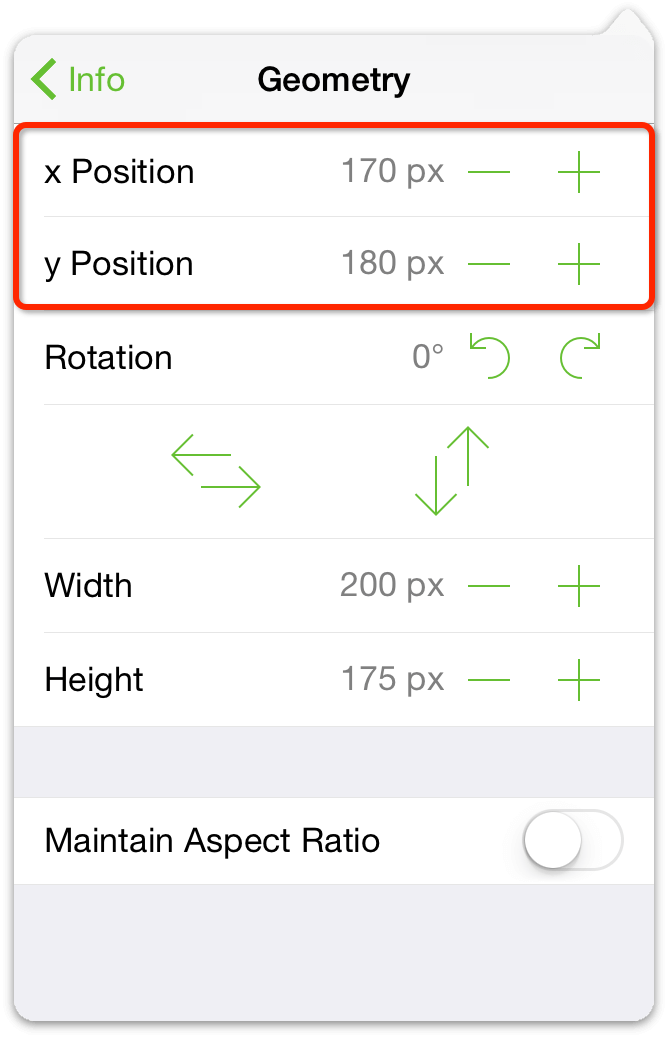
- For precise control over an object’s position, tap to select the object, and then open the Geometry inspector and use the x/y Position meters to reposition the object.

Pinch Gestures for Zooming on the Canvas
The pinch gesture is used for zooming in and out on the canvas. Need a closer look at something? Spread your thumb and index finger. Need to pan out and see your illustration in all its glory? Pinch your thumb and index finger together to take in the whole picture.
- Pinch to Zoom In

- Pinch to Zoom Out

Note
![]() You can also use the Pinch to Zoom gestures in OmniGraffle for Mac. To do so, you first need to enable the use of Multi-Touch trackpad gestures in OmniGraffle’s preferences.
You can also use the Pinch to Zoom gestures in OmniGraffle for Mac. To do so, you first need to enable the use of Multi-Touch trackpad gestures in OmniGraffle’s preferences.
Zoom Shape or Canvas to Fit Screen
To zoom in on an object or the canvas, double-tap either one with two fingers:

Resize an Object
To resize an object, follow these steps:
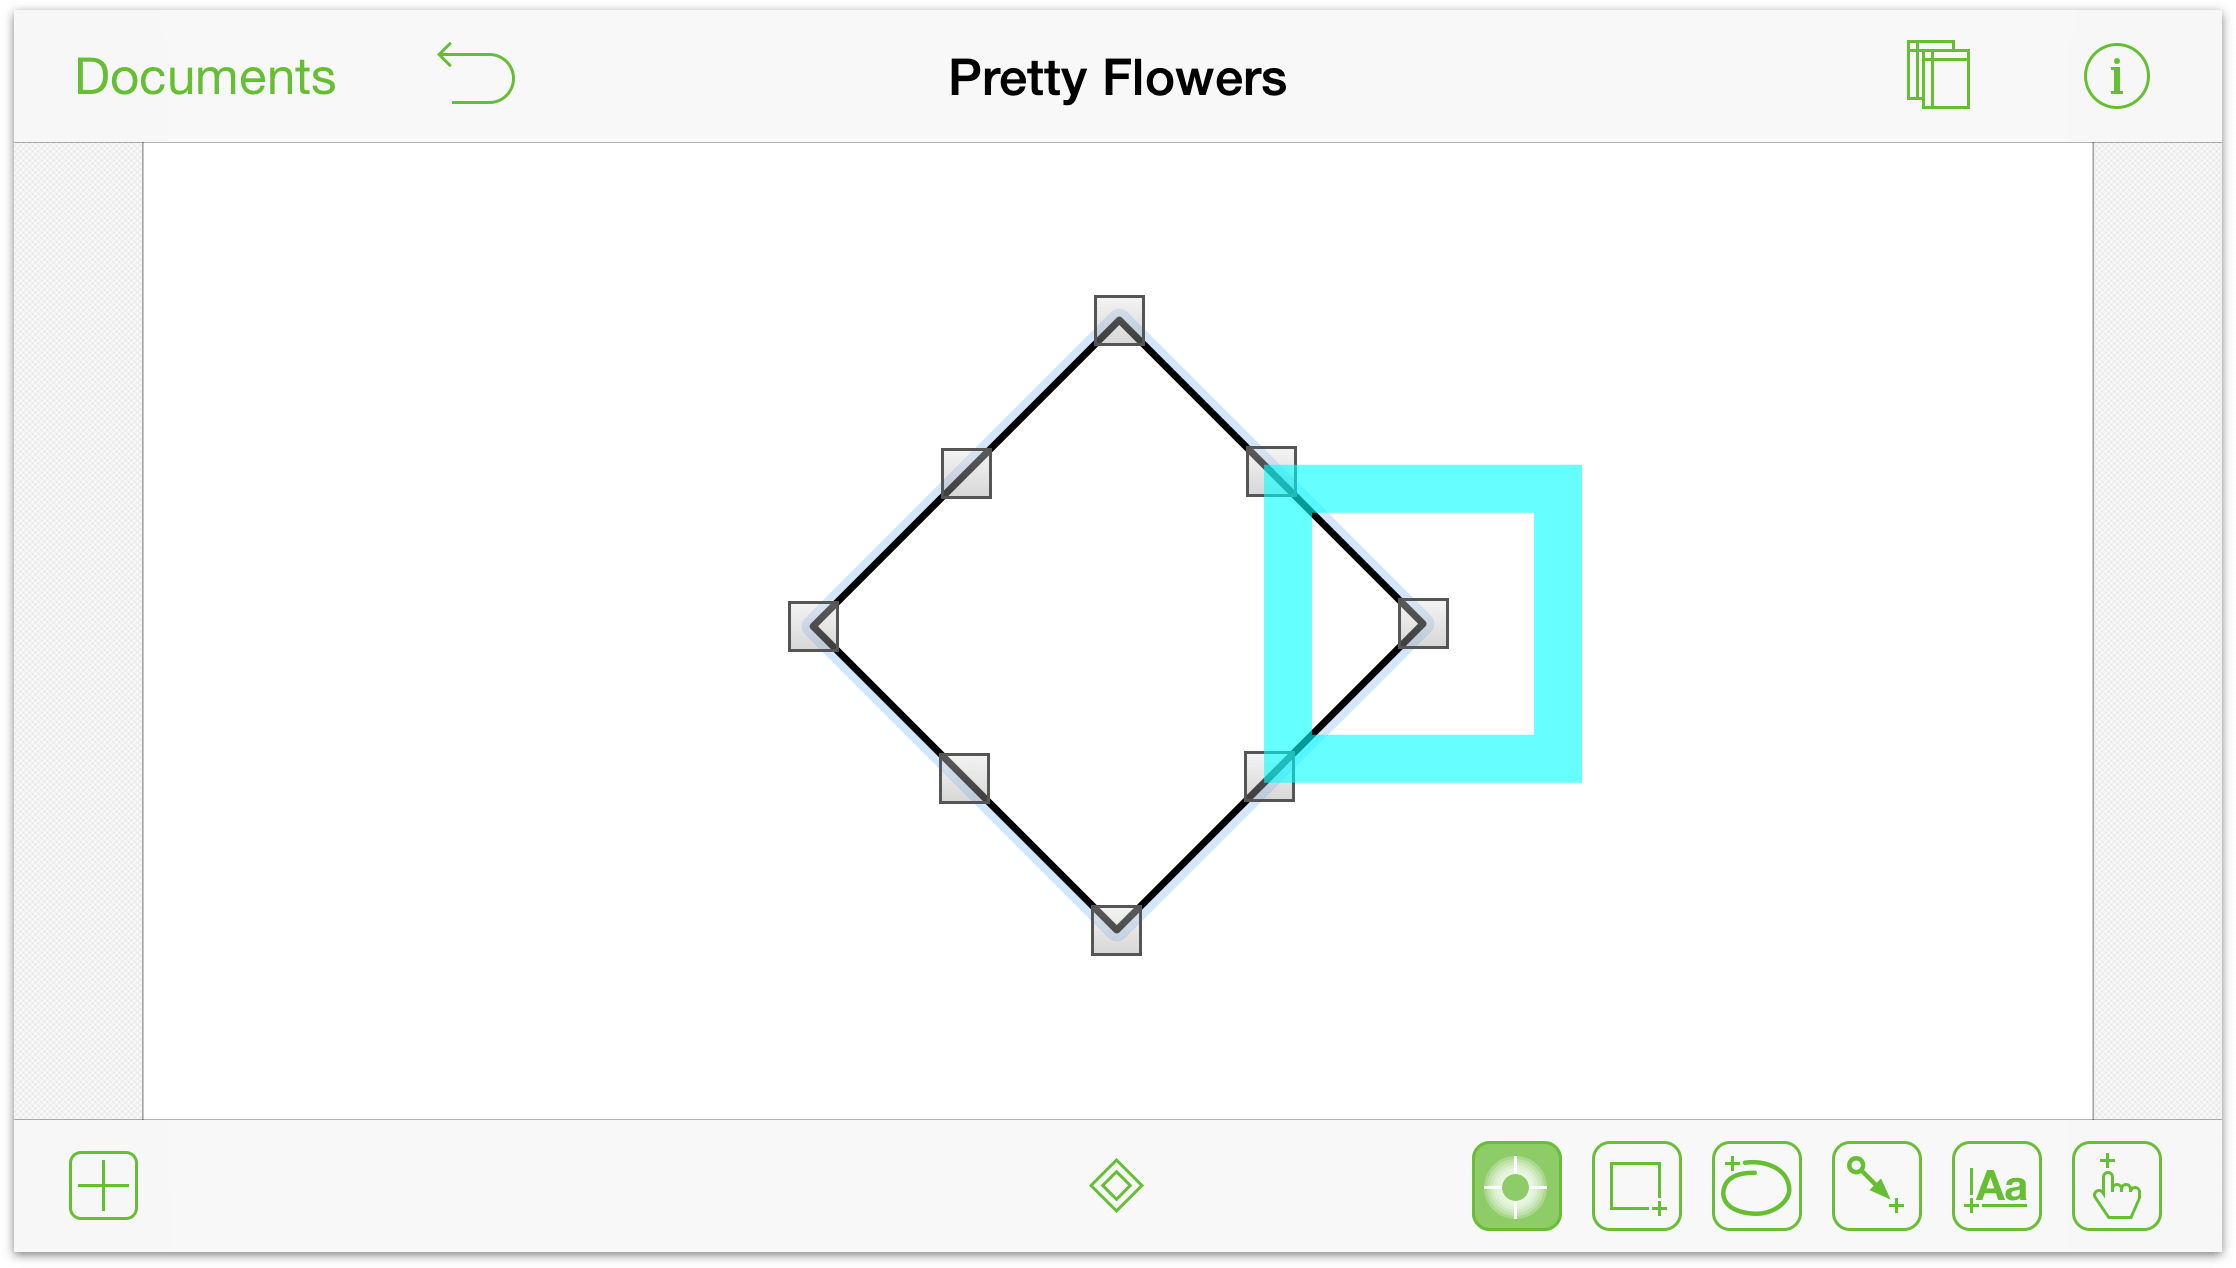
- Tap and drag an object handle.
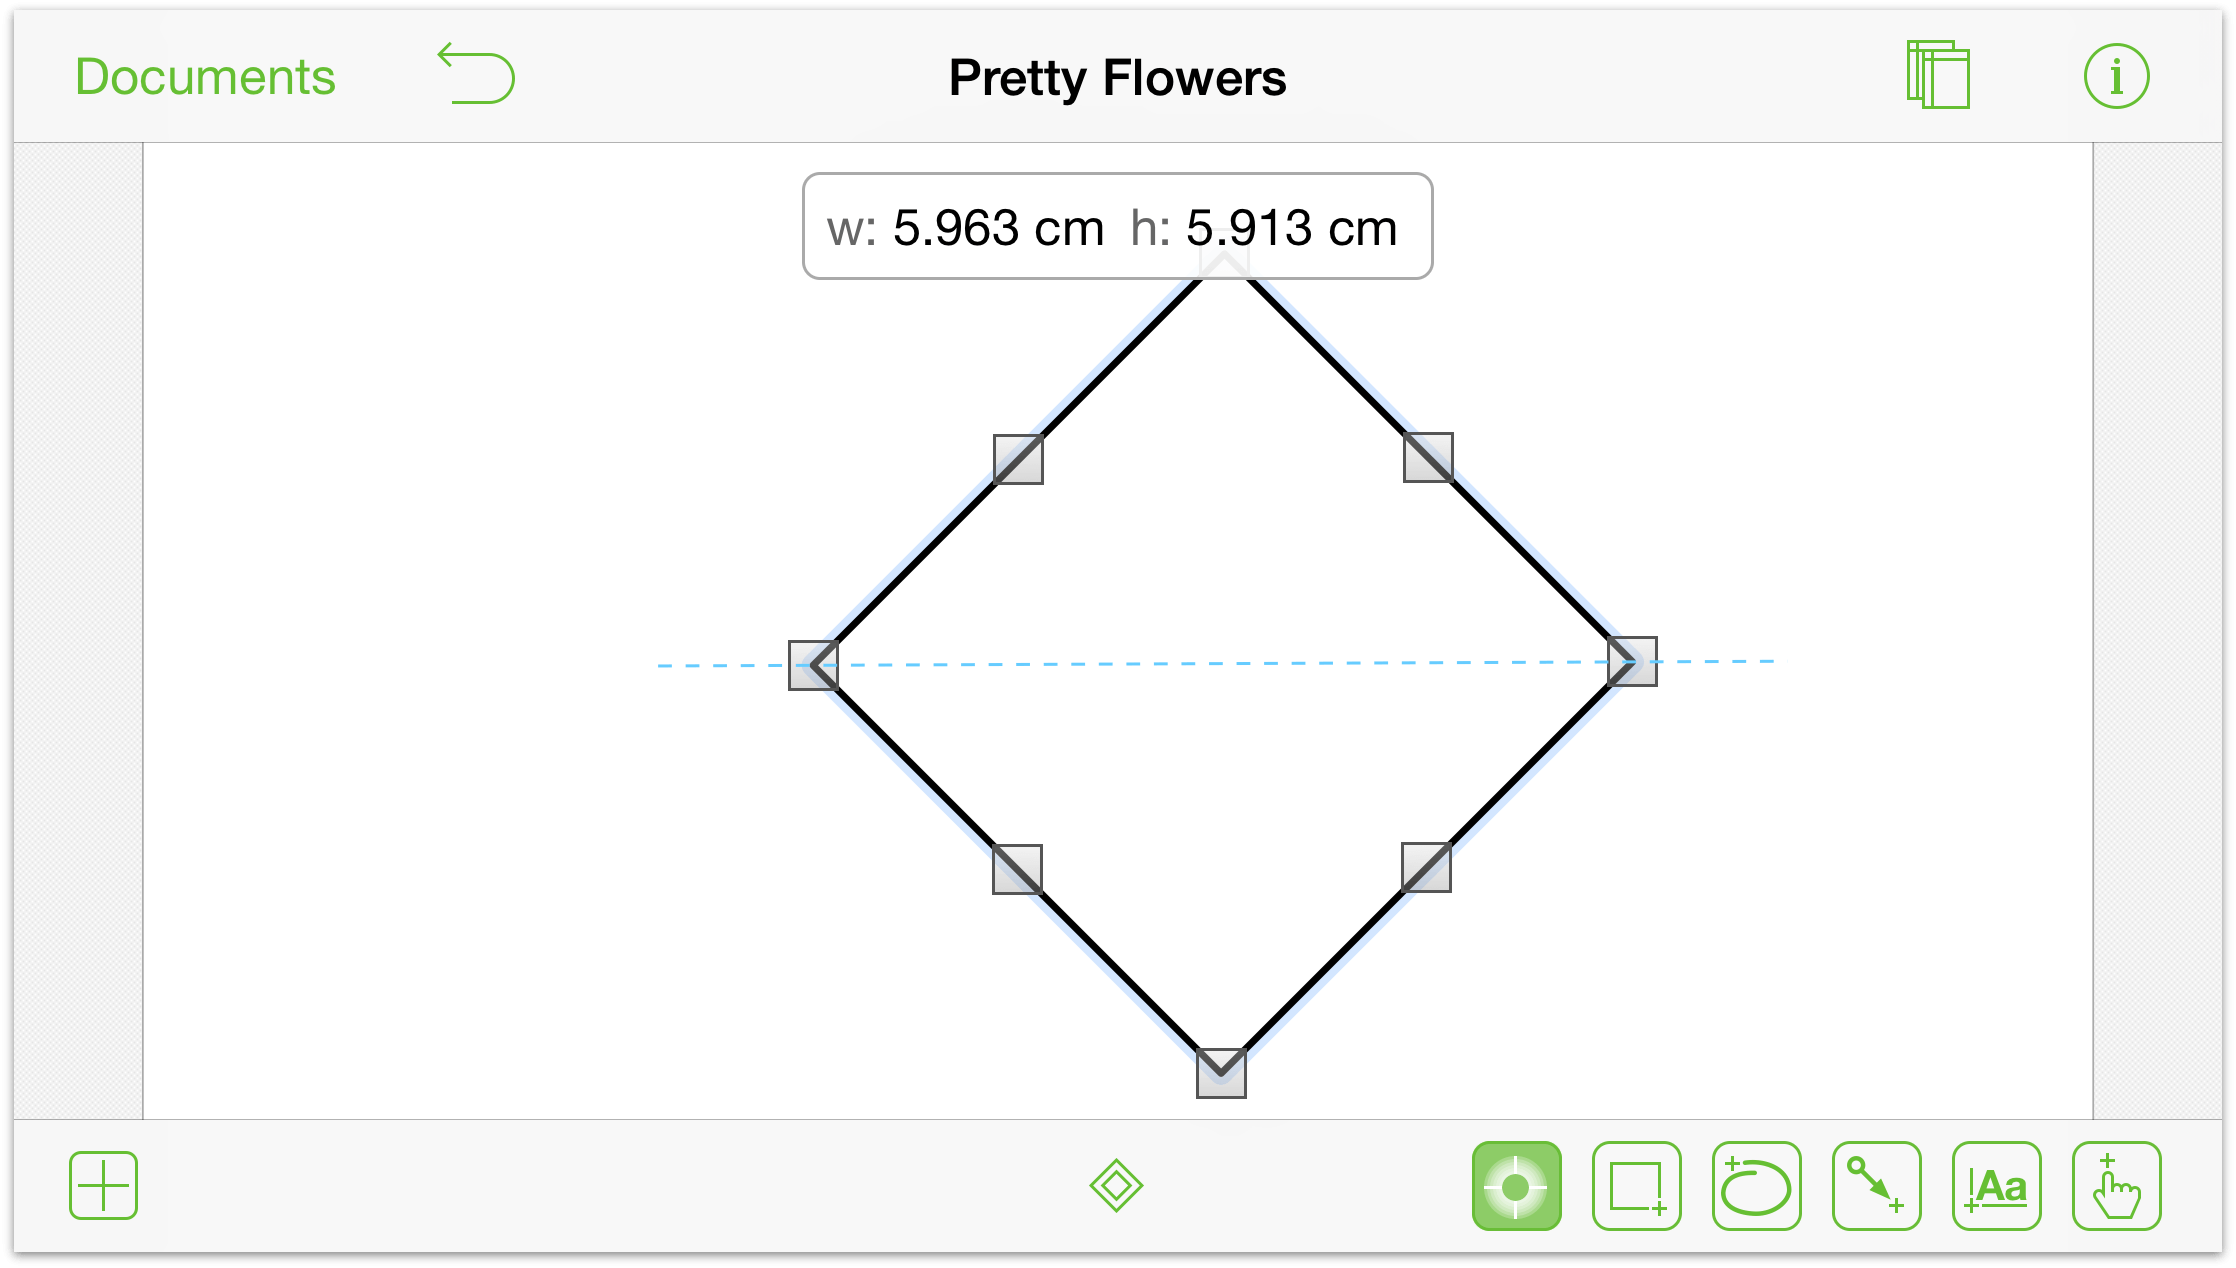
- To proportionally resize an object, tap and drag on a handle, but follow along the dashed blue line to scale the object.
Move an Object Along a Grid
If you have an object that you’d like to precisely align along a grid in your drawing, follow these steps:
- Press an Object until the light blue box appears around the object.
- Press and hold on the canvas with another finger—be sure not to press and hold on the same or another object on the canvas.
- With first finger, move the object. The object now has a set of crosshair grid lines within, which indicates the object moves along an invisible grid in increments rather than freely.
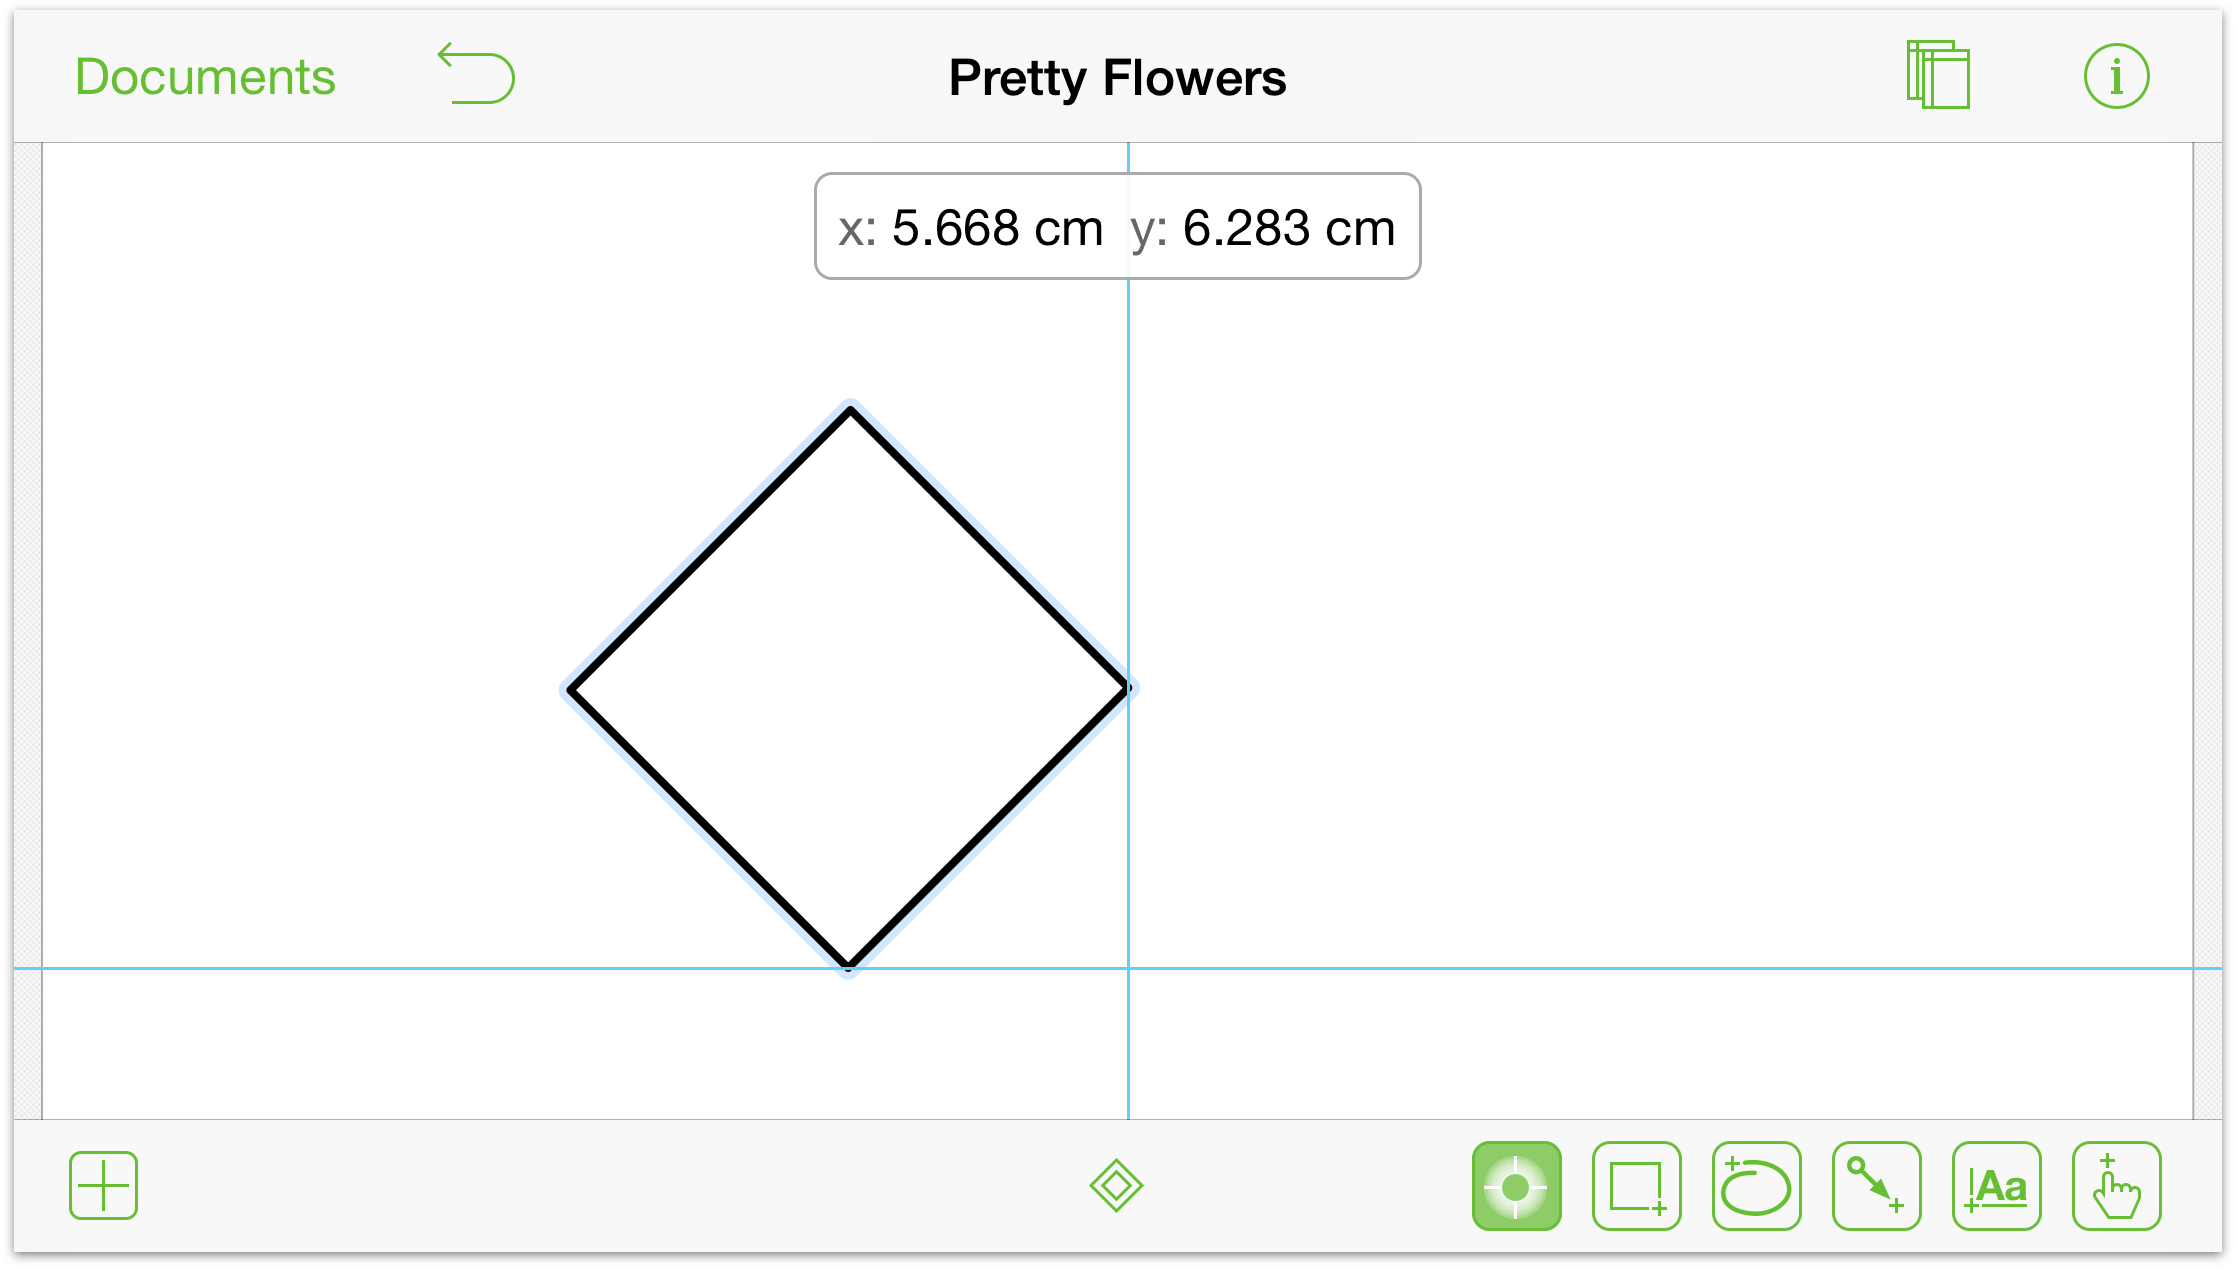
Nudging Objects
Sometimes, all you want to do is move an object just a little bit; to nudge it into position.
- Tap and hold on an object
- With a second finger, swipe up, down, left, or right to nudge the object in that direction (nudged objects abide by the Grid settings).

Move an Object to the Front or Back
When stacking objects on the same layer, you can use these gestures to quickly move a selected object to the front or back of a layer stack.
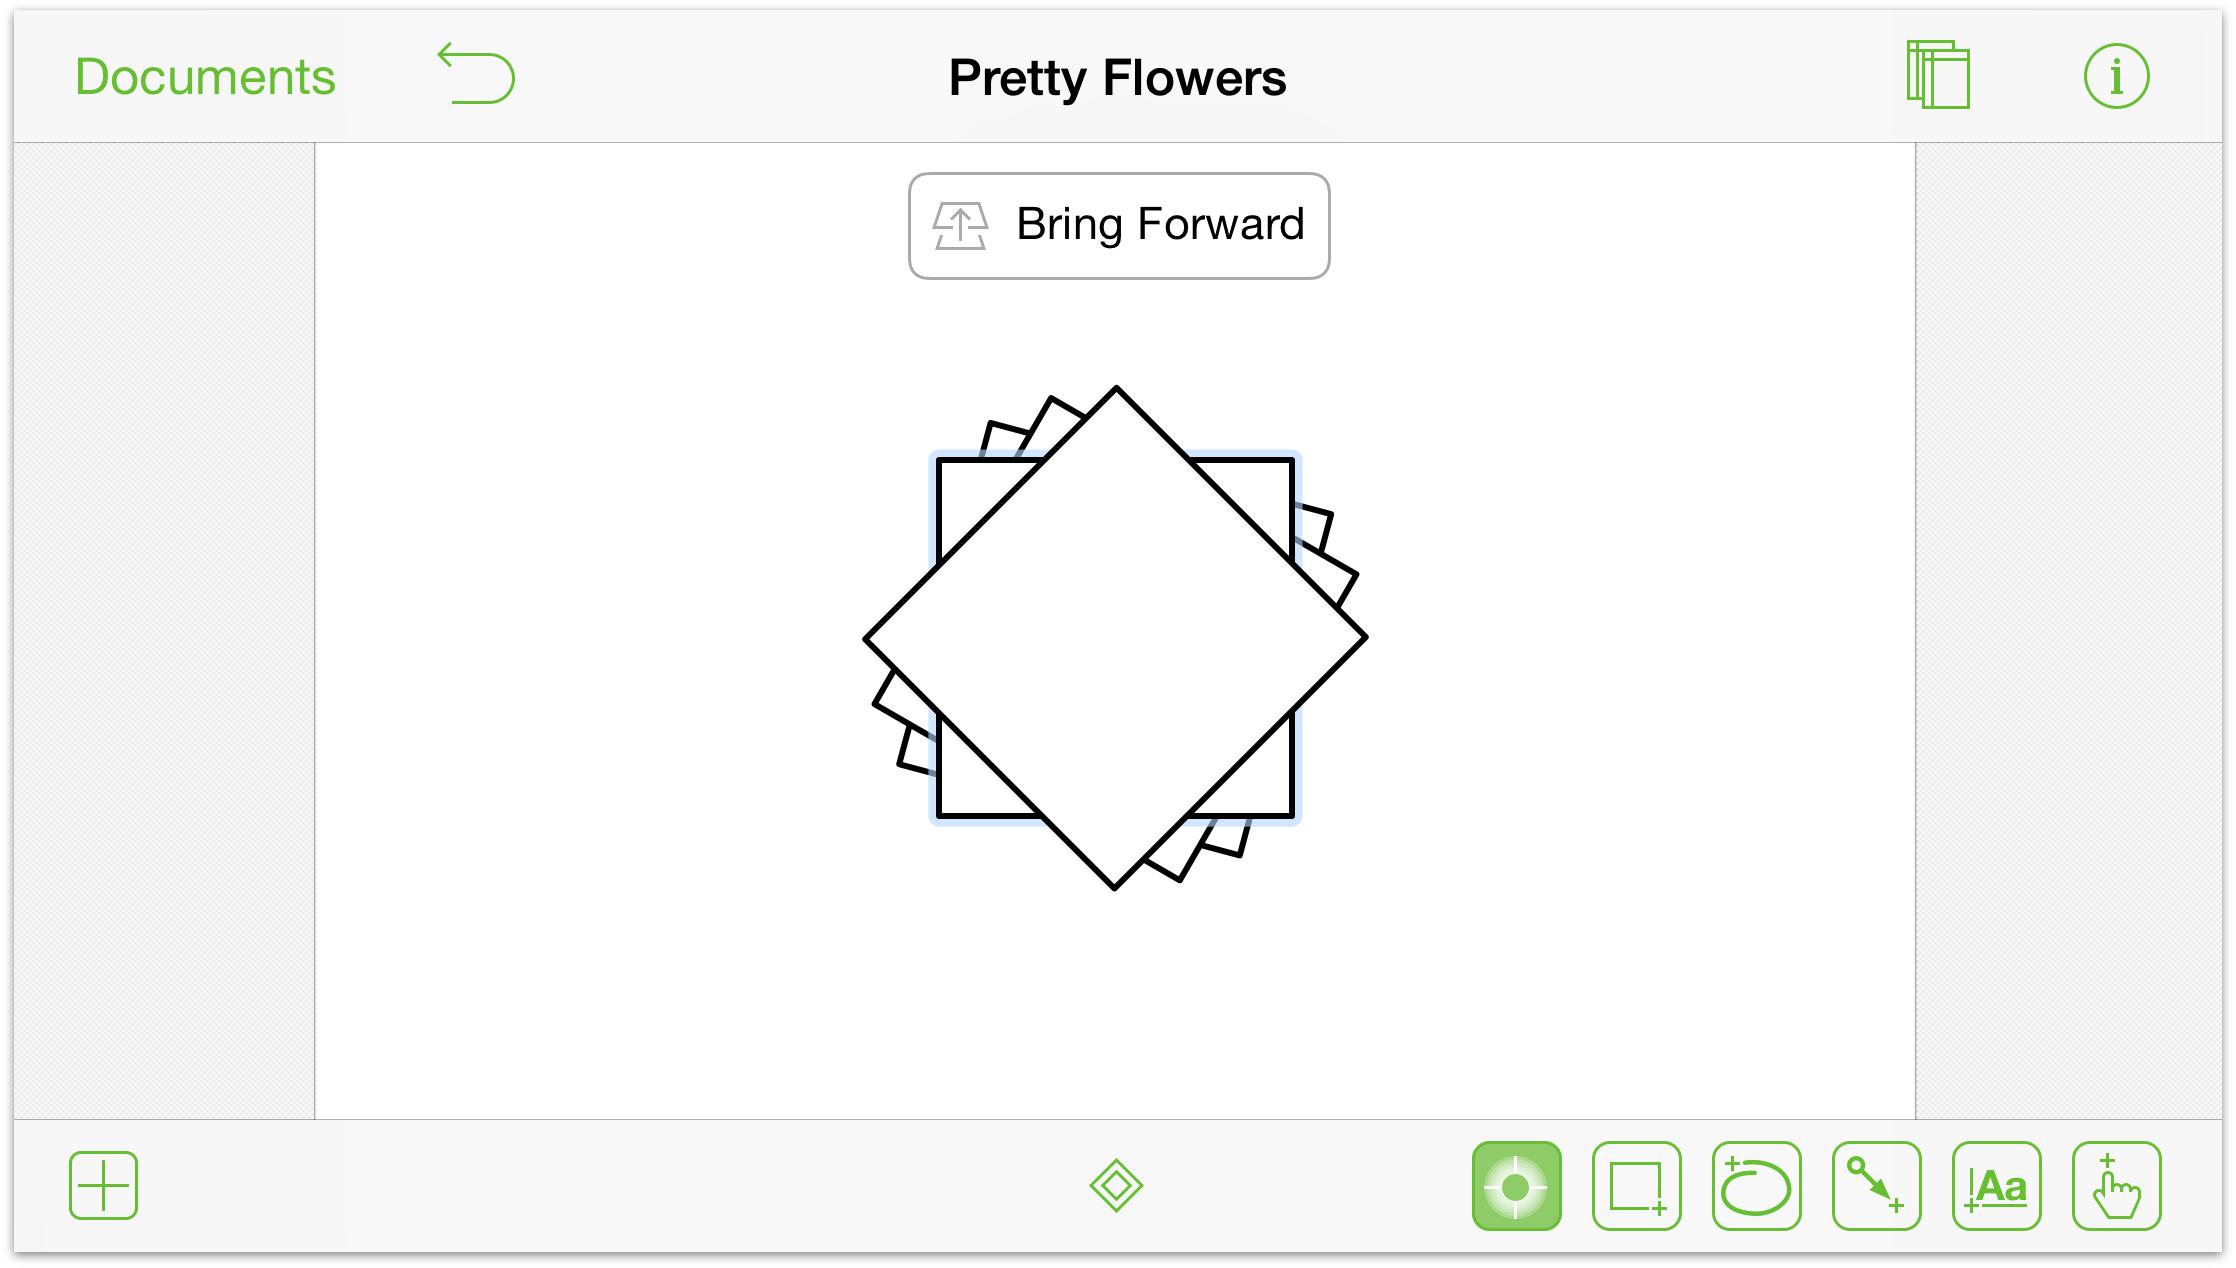
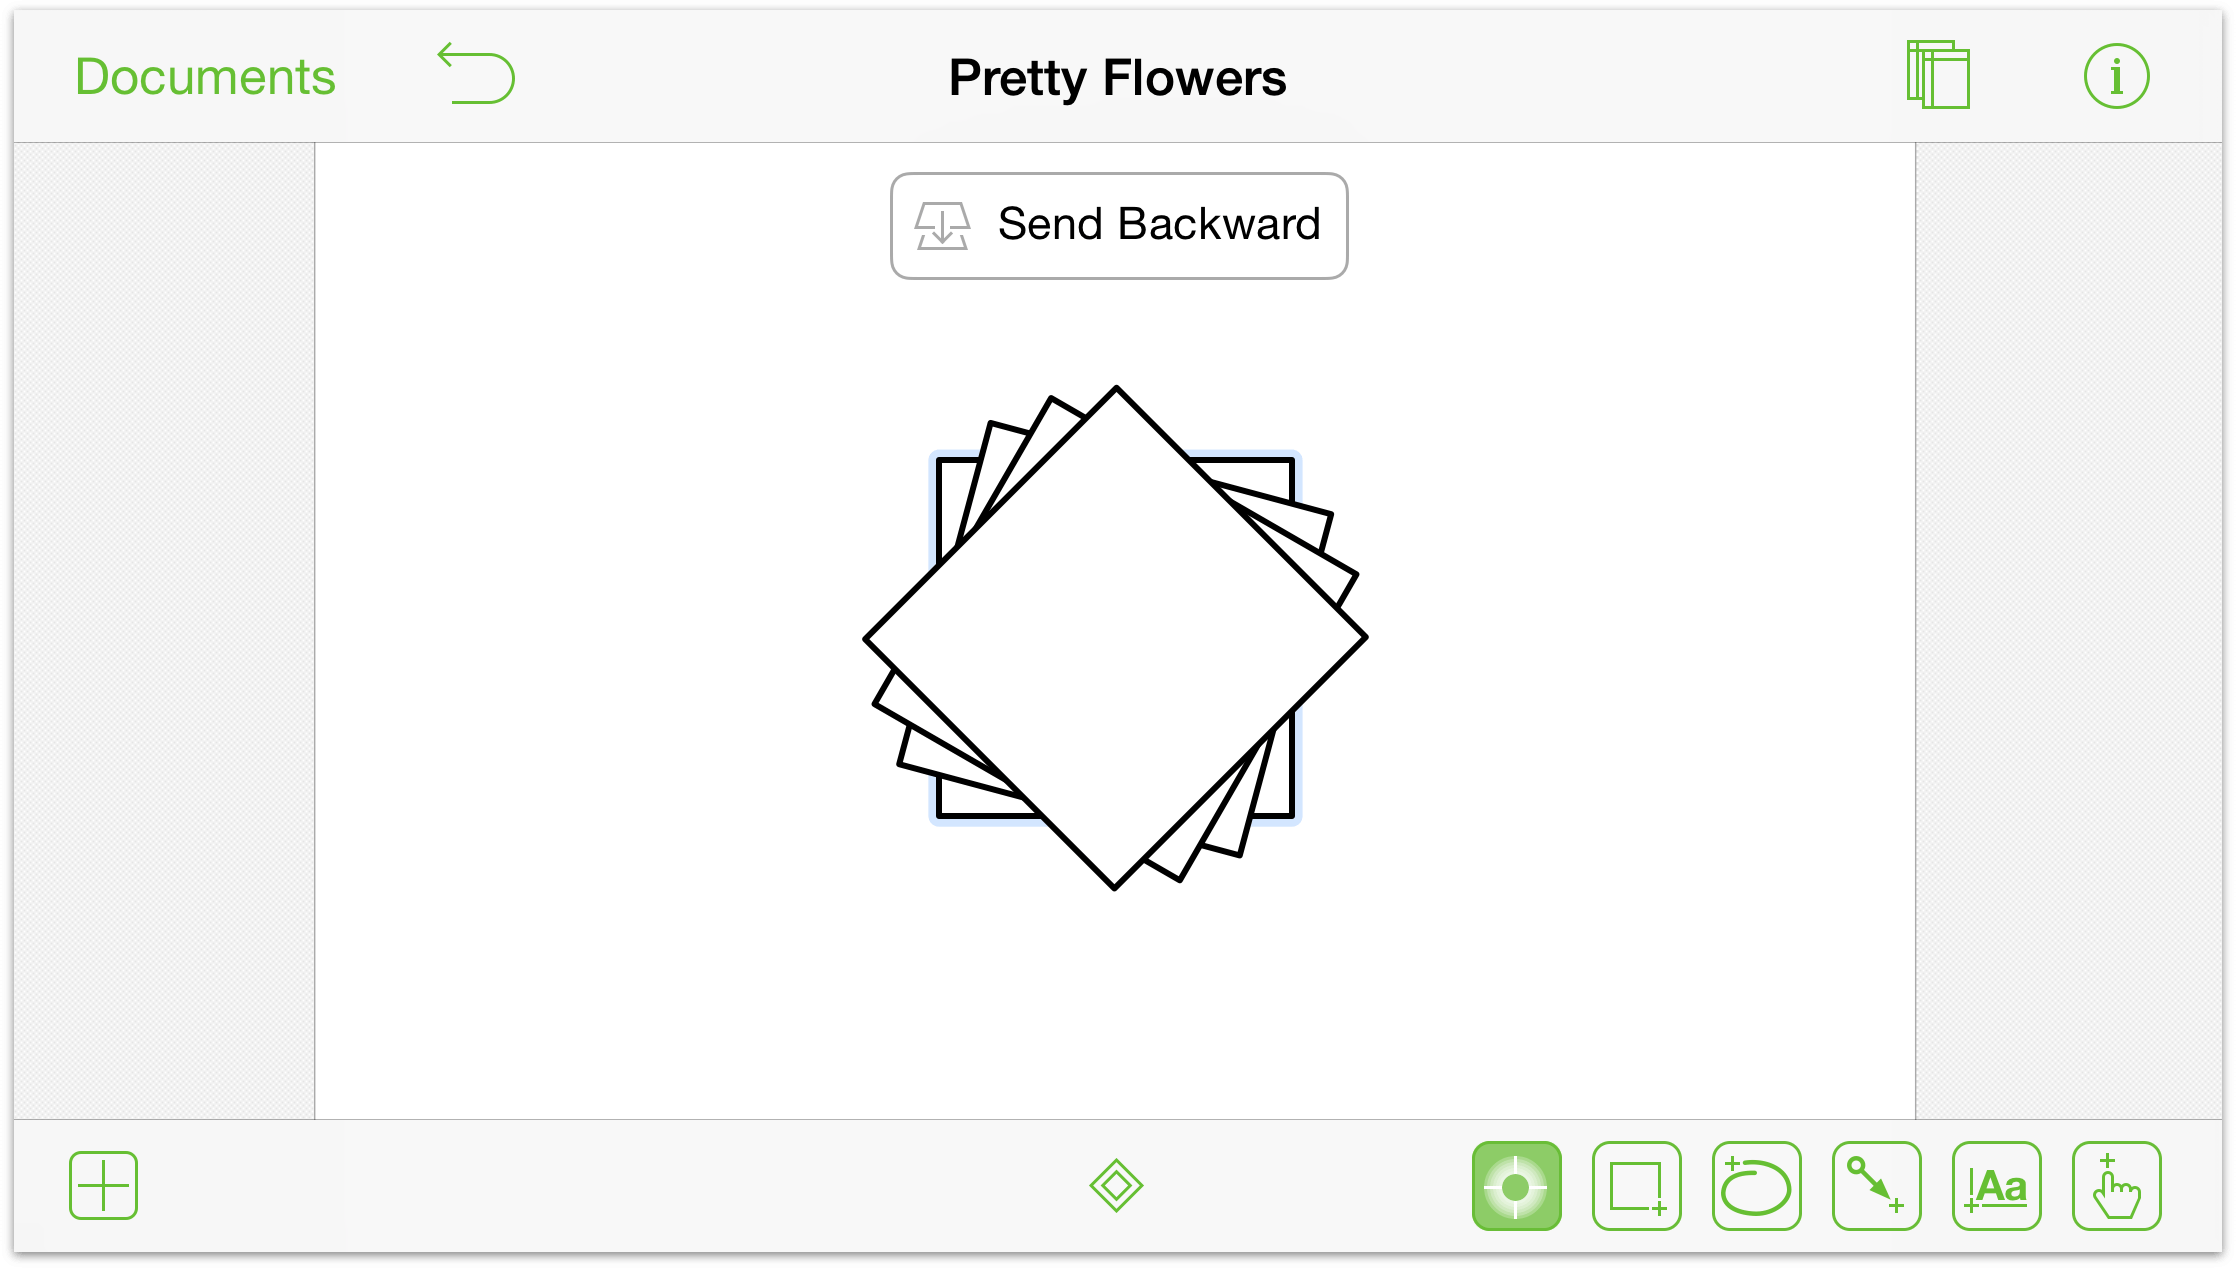
As you double-swipe up or down, you’ll see a message just beneath the toolbar which indicates whether the object has been moved forward or backward.
To bring an object forward in a stack of objects:
- Tap and hold on an object with one finger
- Swipe up with two fingers to move the object to the front of any other objects on the same layer.

To send an object backward in a stack of objects:
- Tap and hold on an object with one finger
- Swipe down with two fingers to move the object to the front of any other objects on the same layer.

Access an Object’s Context Menu
The contextual menu gives you quick access to a bunch of standard editing features, such as Cut, Copy, and Paste, and more.
- Tap once on the object

- Press and hold on the object for a second or two and then release; the Context menu appears above the object.

When you release your finger from the object, a contextual menu appears directly above the object you selected:
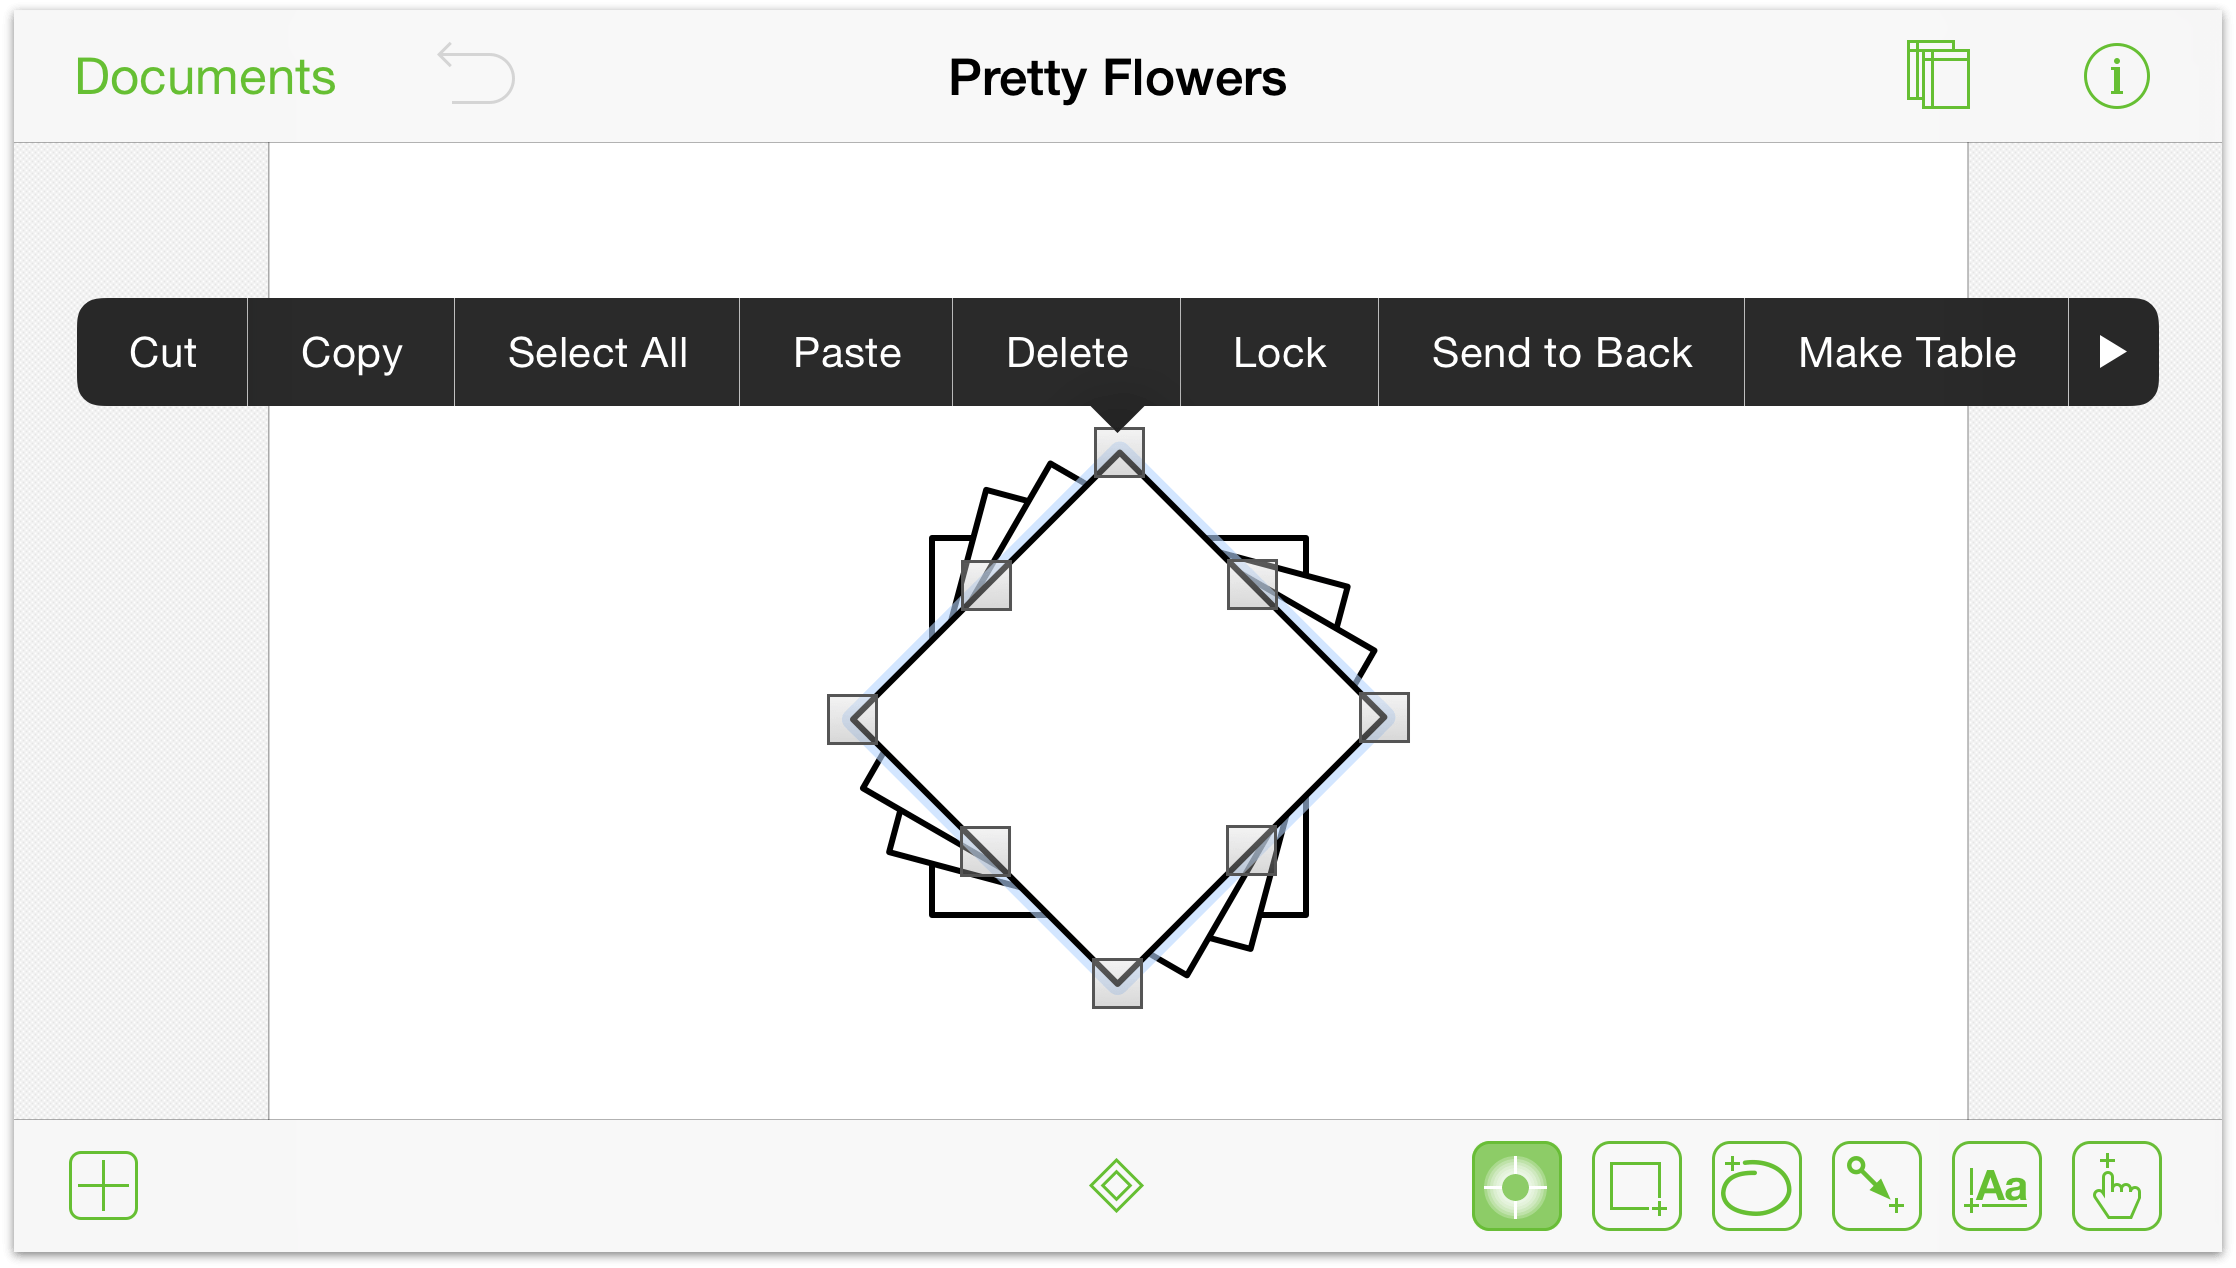
If you tap the arrow at the right edge of the contextual menu, you’ll find a couple more options for working with objects:
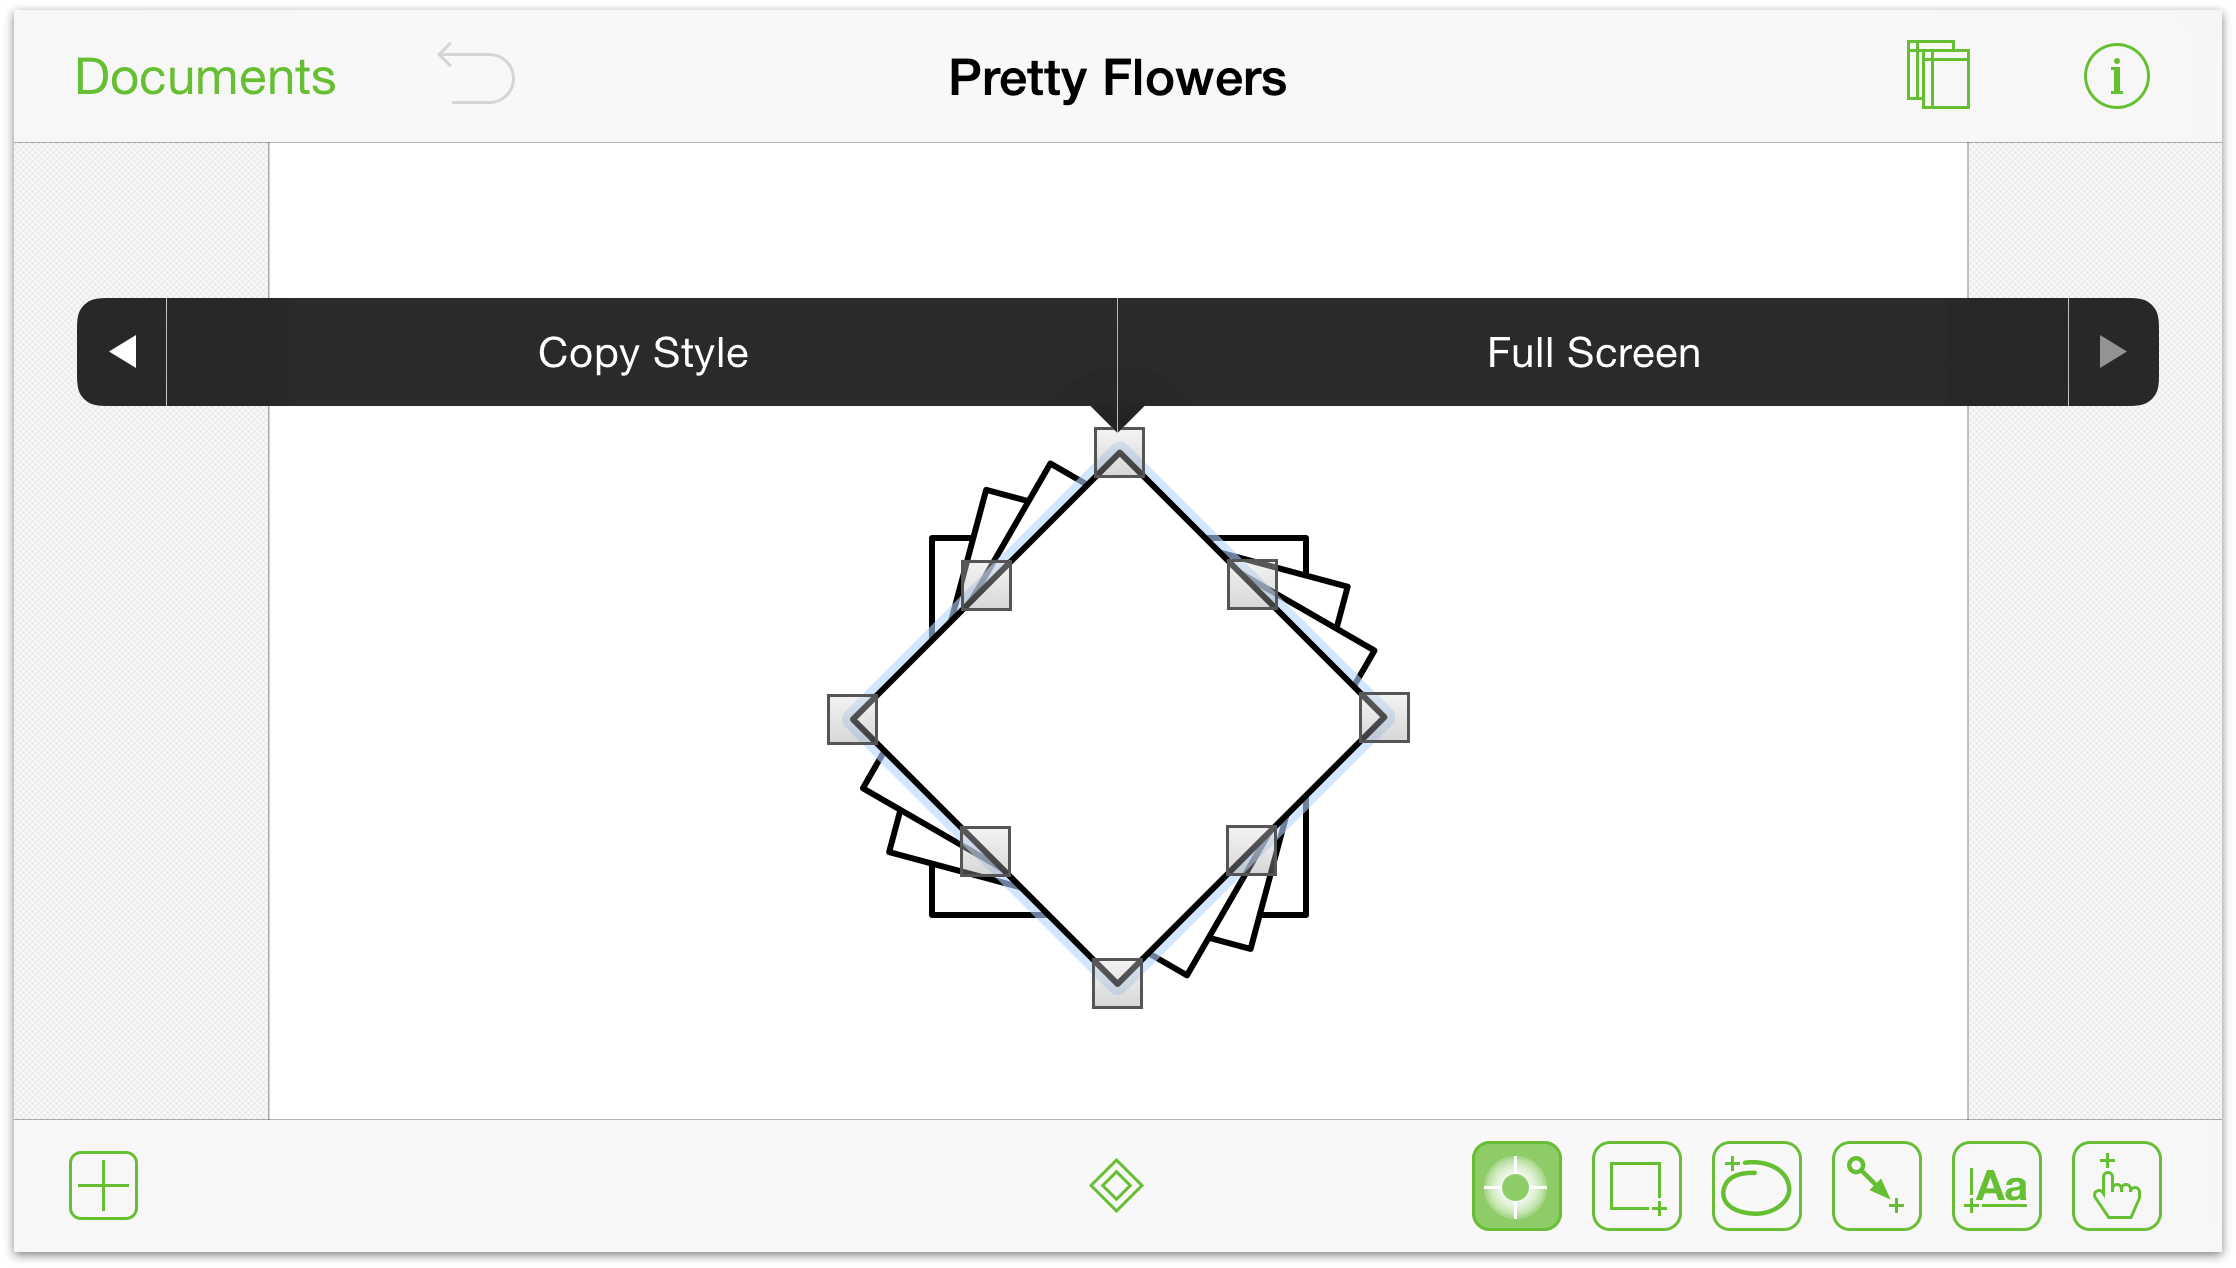
Copy and Paste an Object (The Easy Way)
Sure, you could open an object’s contextual menu, tap Copy, tap elsewhere on the canvas and choose Paste from another contextual menu, but that seems like a lot of work for a relatively simple action, doesn’t it?
The easy way to copy and paste objects on the canvas is:
- Tap and hold the object you would like to duplicate
- With your other hand, tap with two fingers where you would like the copied object to be pasted.

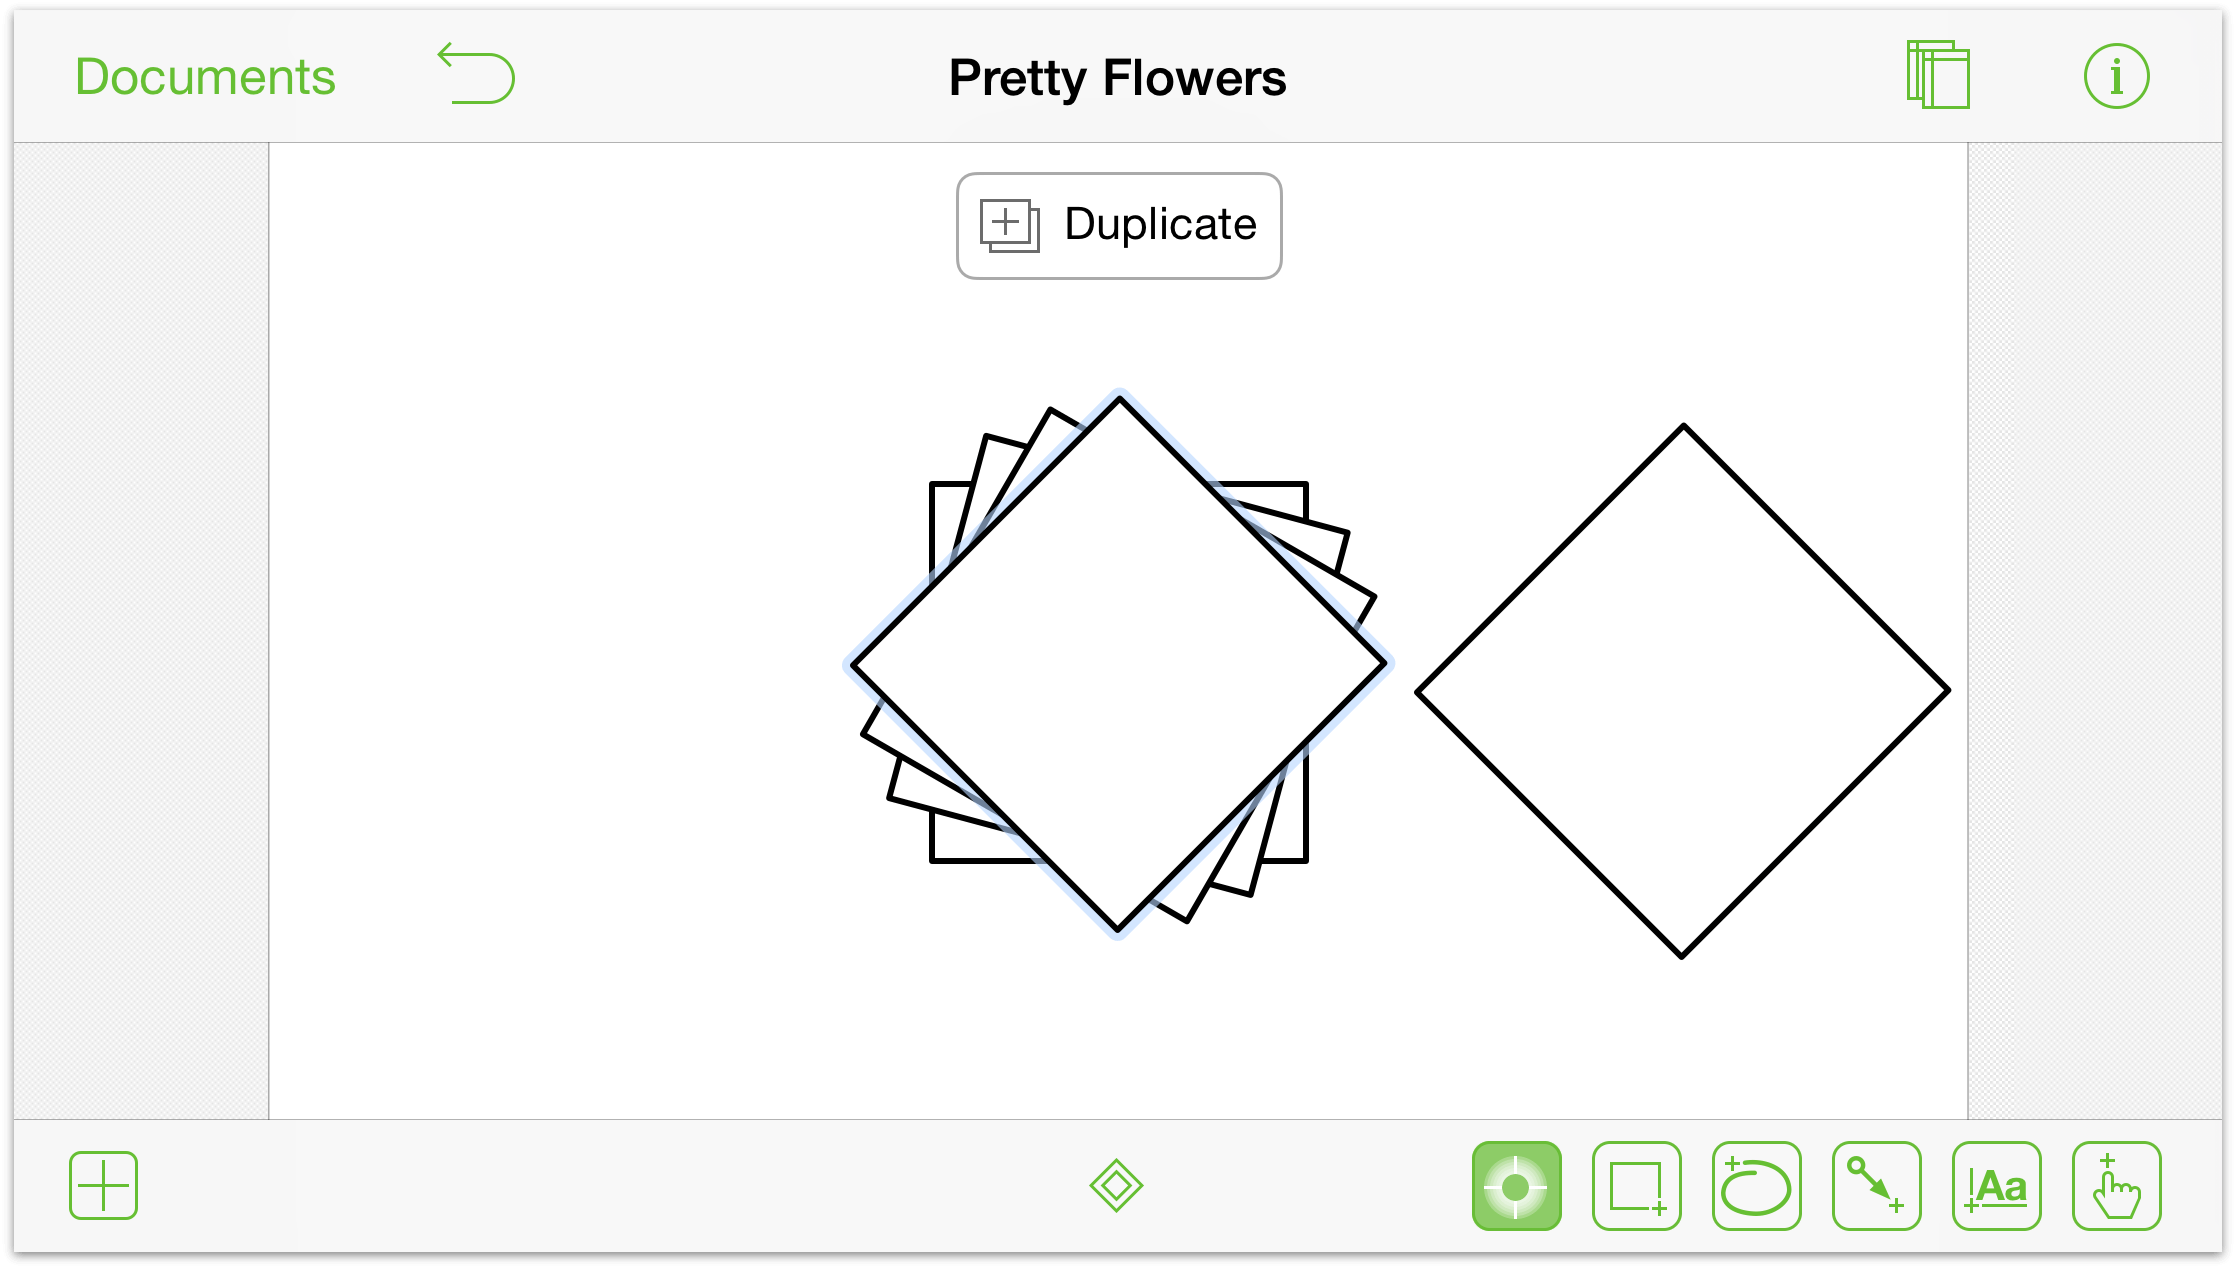
Notice the little Duplicate message that appears onscreen momentarily after you paste the object.
Moving Around on the Canvas
With an unlimited canvas and the ability to zoom in tightly on objects, you may find yourself needing to move the canvas around to continue your work or to see something else that’s off-screen.
All you need to do is swipe in the direction you’d like to move the Canvas.

Switch Between Canvases
This gesture comes in handy when you have a document with multiple canvases, particularly when you are setting object Actions between canvases.
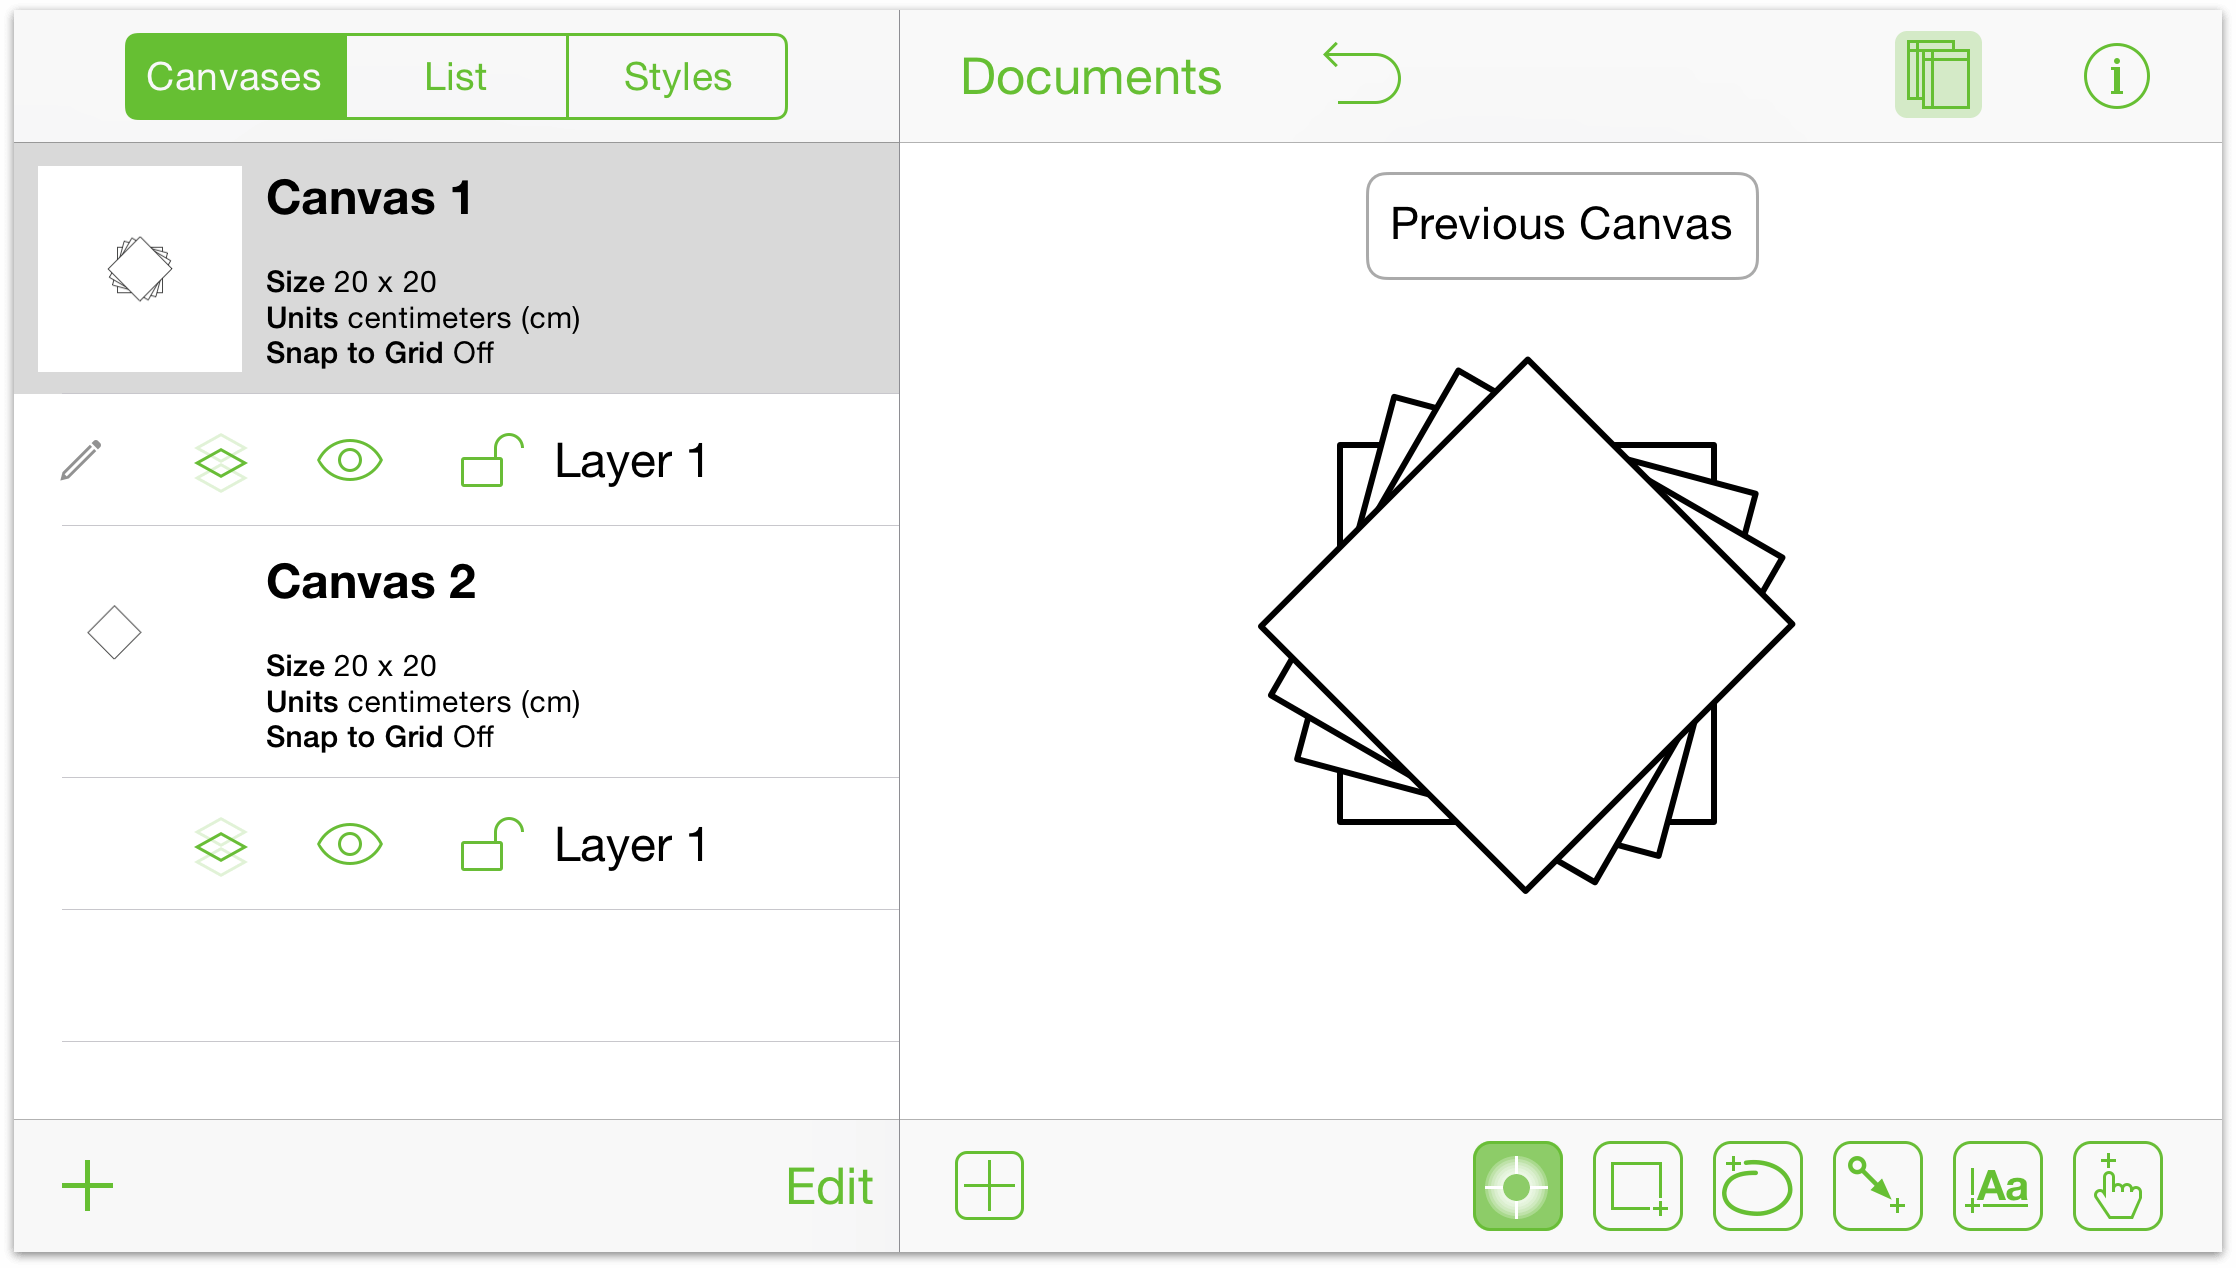
- Press and hold on the Canvas.
- Swipe up or down to move through the different canvases in your document.

When you switch between canvases, OmniGraffle places a little notification onscreen to let you know when you have switched to the Previous Canvas or Next Canvas.
Hide and Show the Canvases Sidebar (iPad- and iPhone 6 Plus-only)
When you want to hide or show the Sidebar, swipe in from the left side of the screen to hide and show the sidebar:
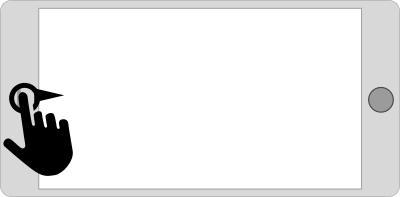
The same gesture (swiping in from the left) performs both actions.
Note
This gesture only works on iPhone 6 Plus when the device is in landscape (i.e., rotated so the screen is wider instead of taller); it works on iPad in either landscape or portrait orientation. On smaller screens, you must tap ![]() to hide or show the canvases sidebar.
to hide or show the canvases sidebar.
Gestures for Working with Lines and Labels
One of OmniGraffle’s strengths is its built-in tools for creating organization and flow charts. When you’re creating a complex flow chart, you need the ability to connect objects with lines and, on occasion, to place text labels on the connecting lines.
OmniGraffle has a few, very unique, gestures just for working with lines and labels.
Connecting Two Objects with a Line
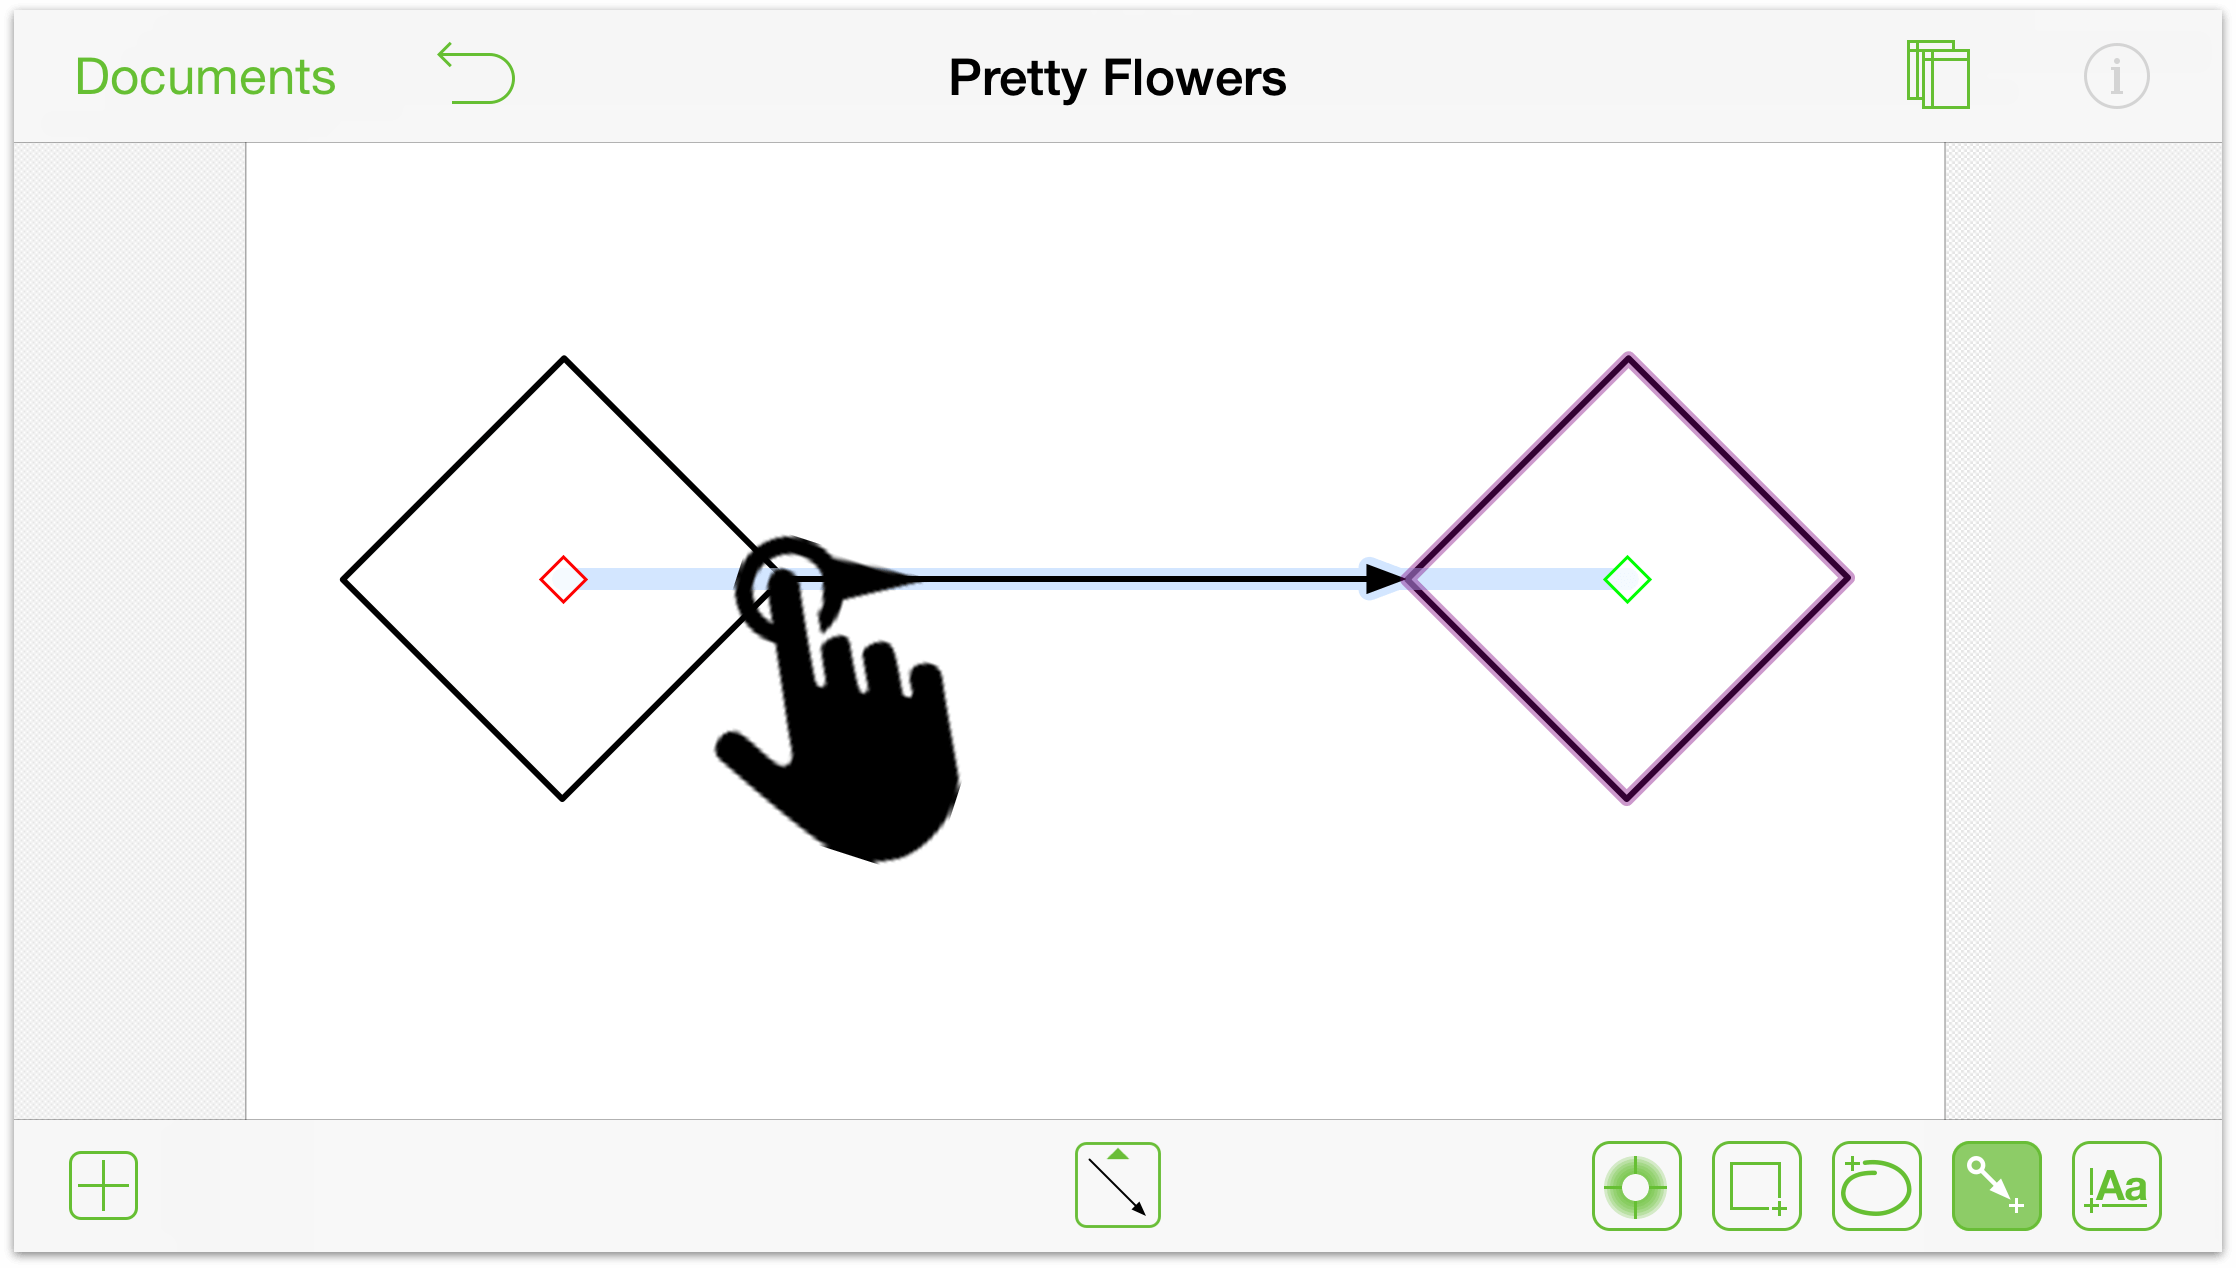
OmniGraffle is great for creating things like organization charts and workflow diagrams. You can create various-shaped objects to denote layers in your organization or steps in a process. But the key thing to making those charts and diagrams useful is the ability to connect objects with lines. Here’s how it’s done:
- Draw two objects on the Canvas
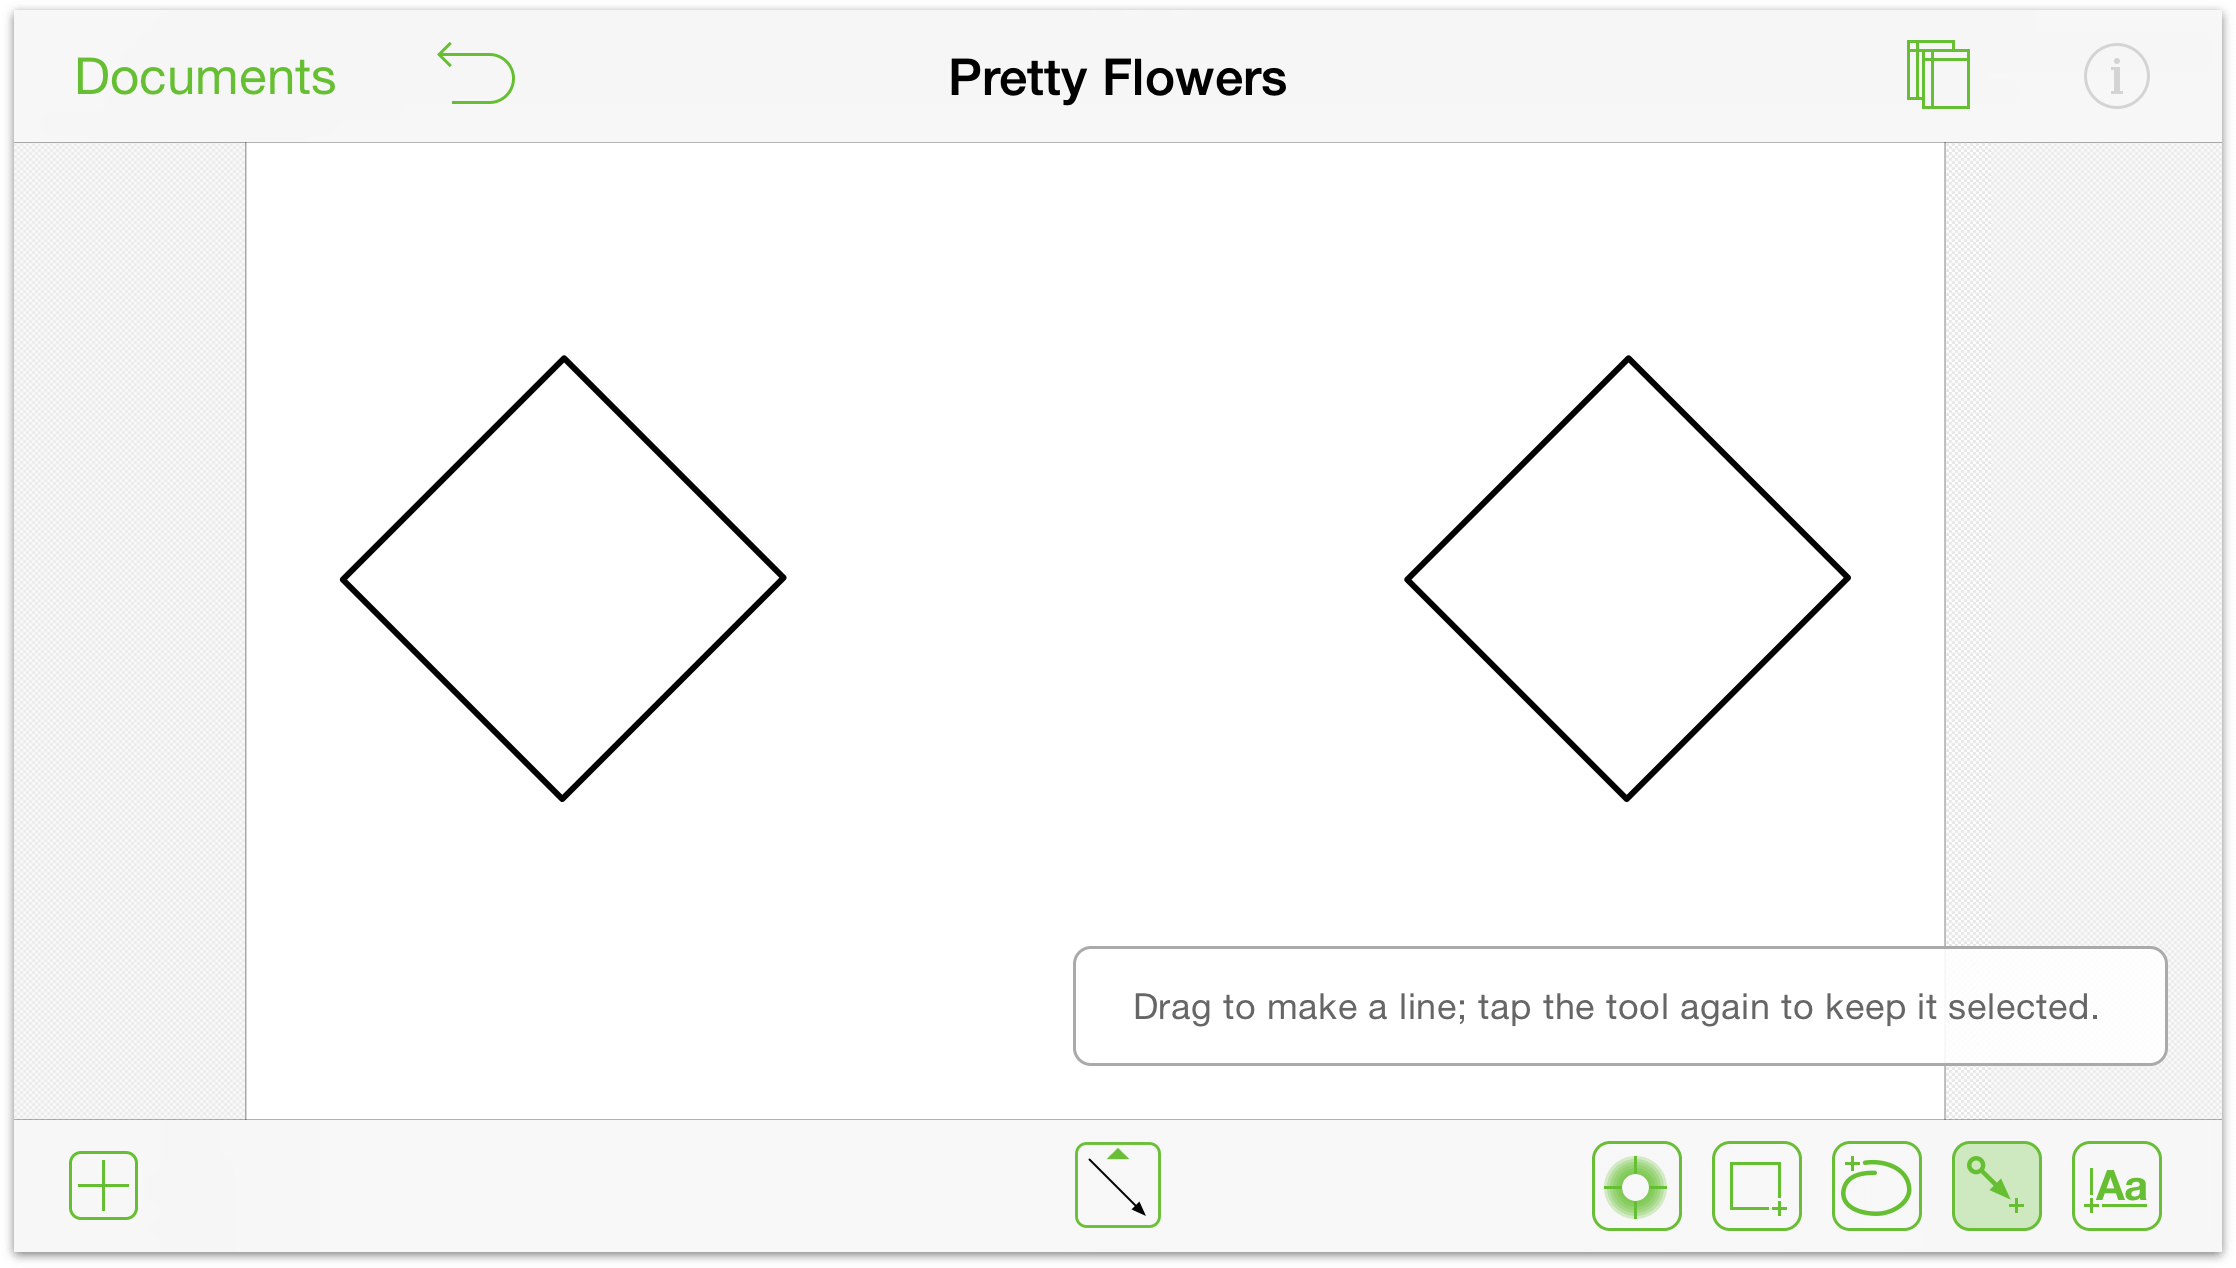
- Choose the Line tool:

- Tap and drag from one object to another to connect them with a line.
Adding Text Labels to Things
Double-tap on the thing you want to add the label to; for example:
- Double-tap an Object to add a label within the Object
- Double-tap a line to add a label to the line
- Double-tap the Canvas to add a text label on the canvas

Converting Text Objects into Line Labels
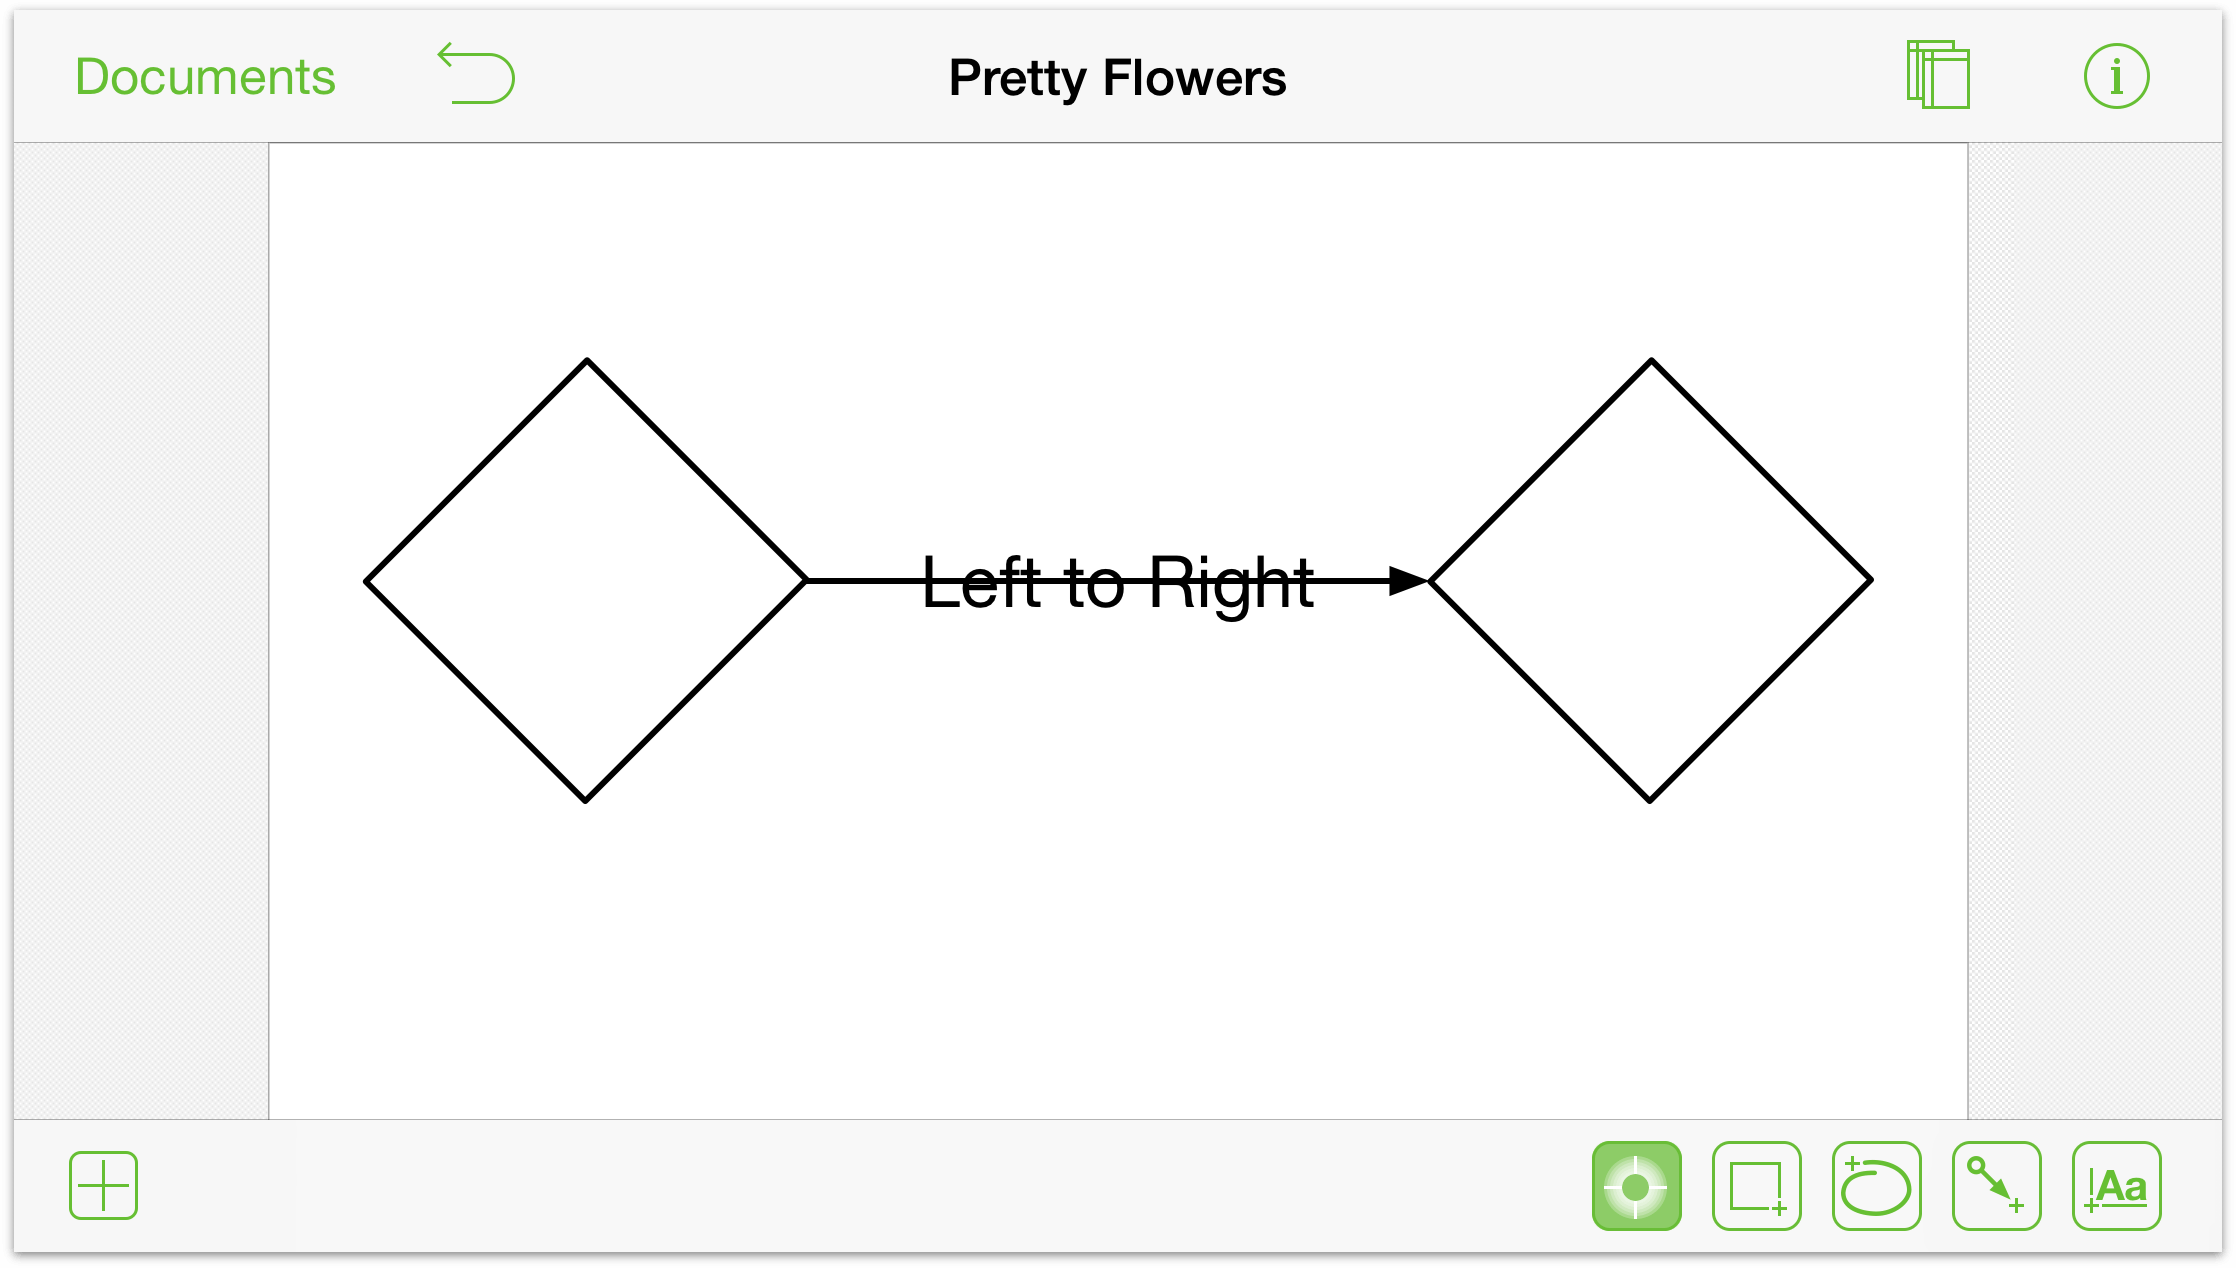
If you have a text label on the canvas that you think might work better as a line label, here’s an easy way for you to make that happen:
- Touch and hold the text object.

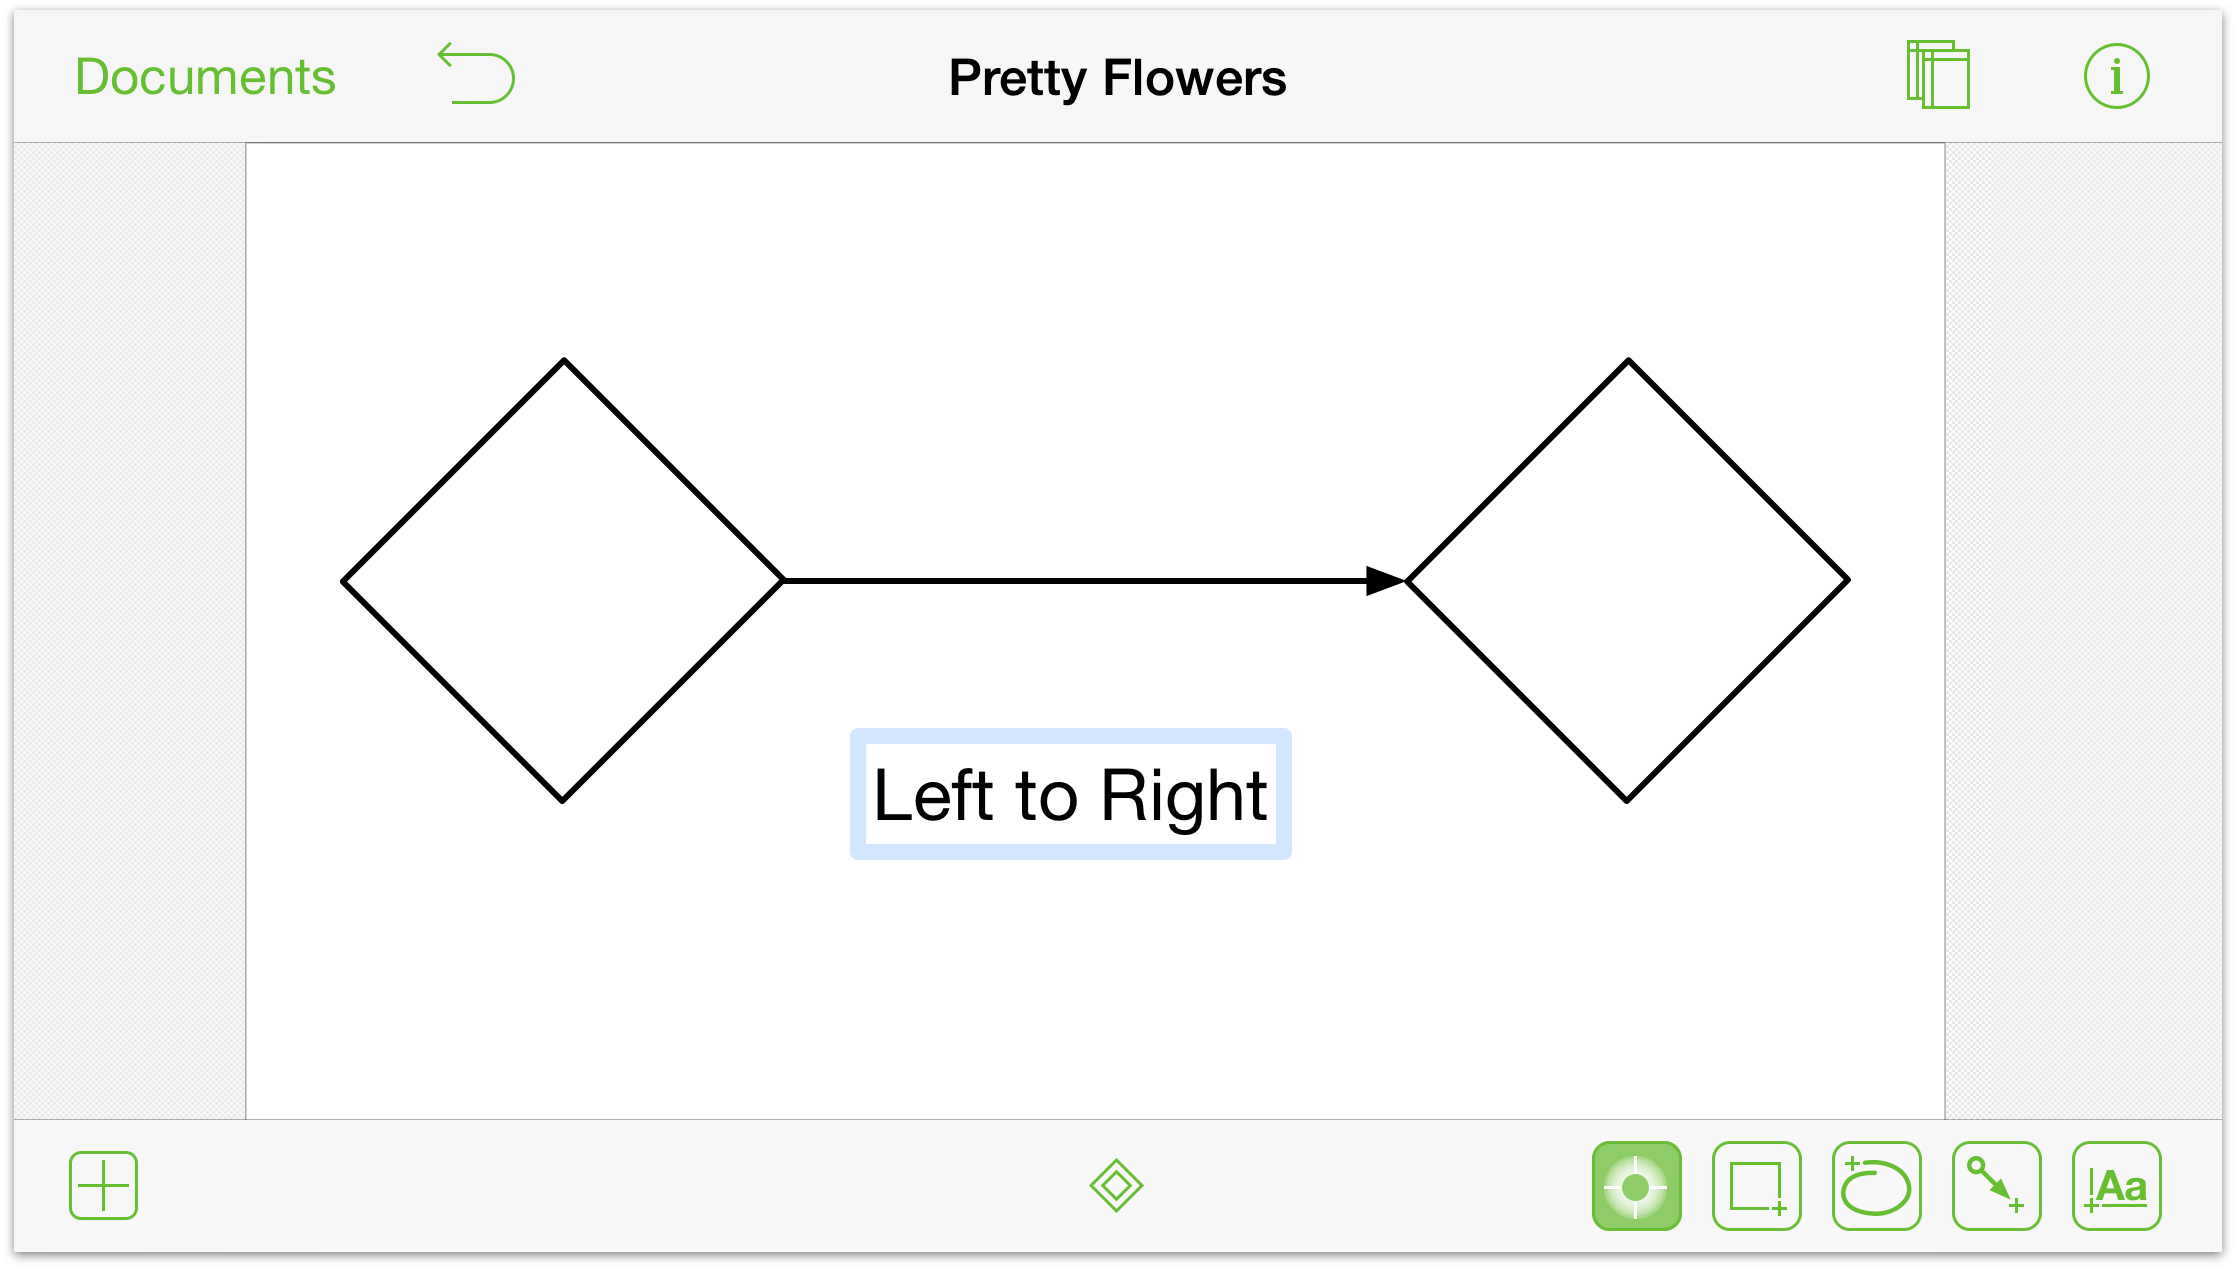
- Tap the line, and the text object moves from its current location on the canvas and becomes that line’s label.

Detach a Line Label from a Line
If you have a text label that works better on the canvas than as a line label, here’s an easy way for you to make that happen, too:
- Touch and hold the text label.

- Tap anywhere else on the canvas.

The label still looks like it’s attached to the line, but you can tap and drag the text object to another location or delete it entirely.
Rotating Objects
While you can use the Geometry inspector to rotate an object, the faster way to do that is using the two-finger–spin gesture:
- Touch the object with two fingers; a box appears above the object indicating its current rotation angle.
- Spin one or both fingers to rotate the object.

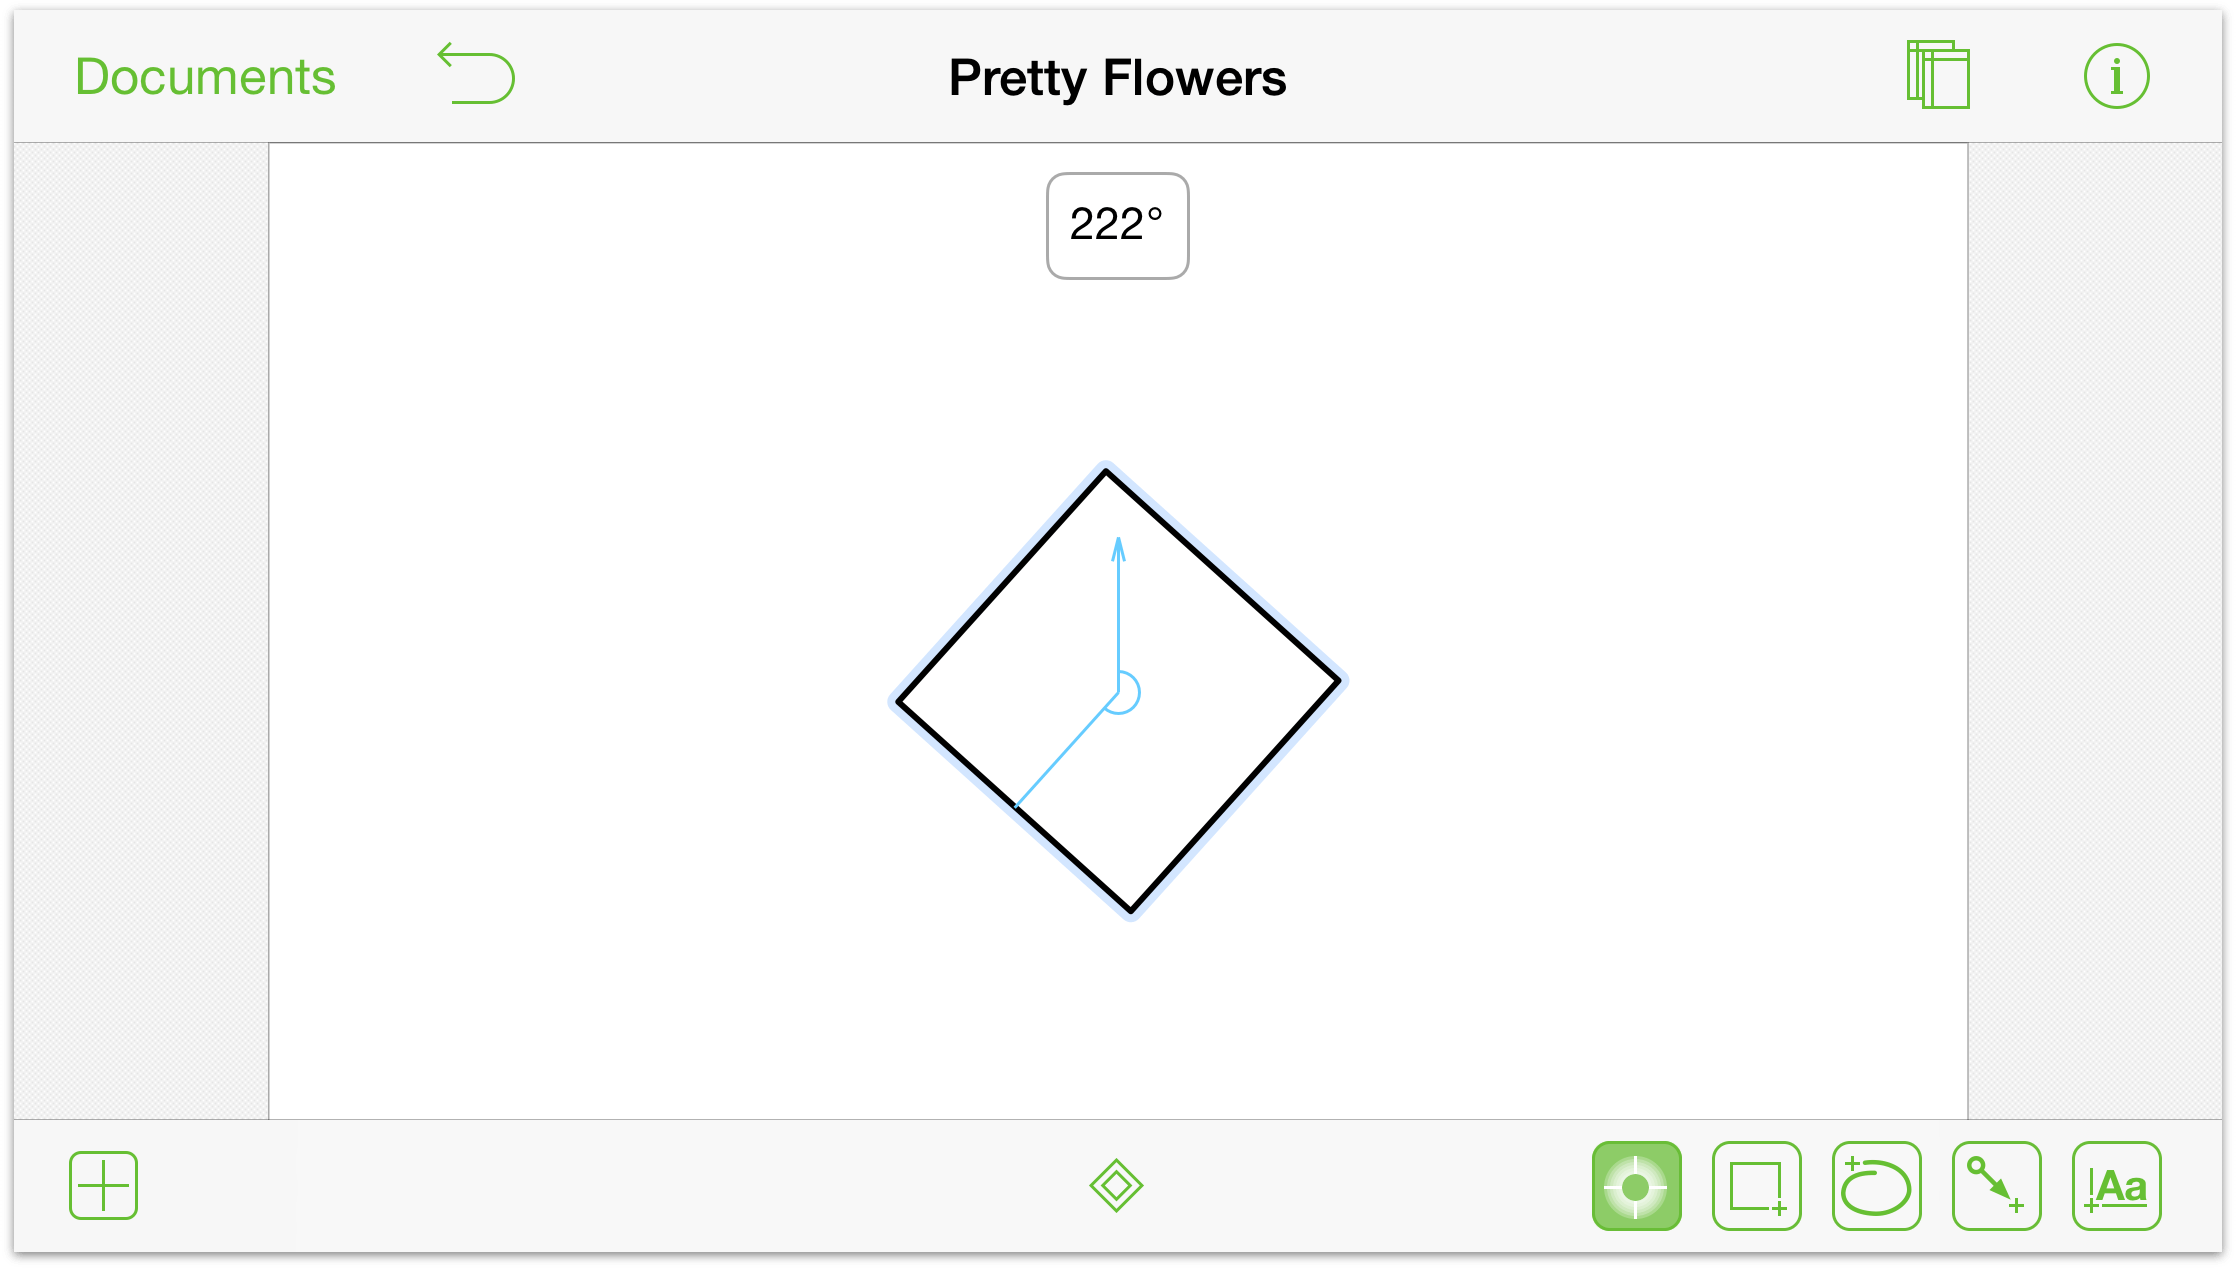
As you twist your fingers, the object rotates on the canvas while the angle indicator updates to show you the present angle.
Note
![]() This gesture also works in OmniGraffle 6 for Mac.
This gesture also works in OmniGraffle 6 for Mac.
Gestures for Drawing Stuff
OmniGraffle is packed with tools for drawing. Beyond drawing basic shapes, you can draw and combine complex shapes with Bézier curves, fill objects with gradient and transparent fills, and more.
With all of these gestures, you’ll first need to tap one of the drawing tools:  ,
,  , or
, or  .
.
Drawing Shapes
Shapes are the essential building blocks for the things you create in OmniGraffle. For example, you can take something as simple as a circle, edit its points, and tweak the Bézier curves to create lots of different things.
To draw a shape on the canvas, follow these steps:
- In the toolbar at the bottom of the screen, tap to select the Shape tool

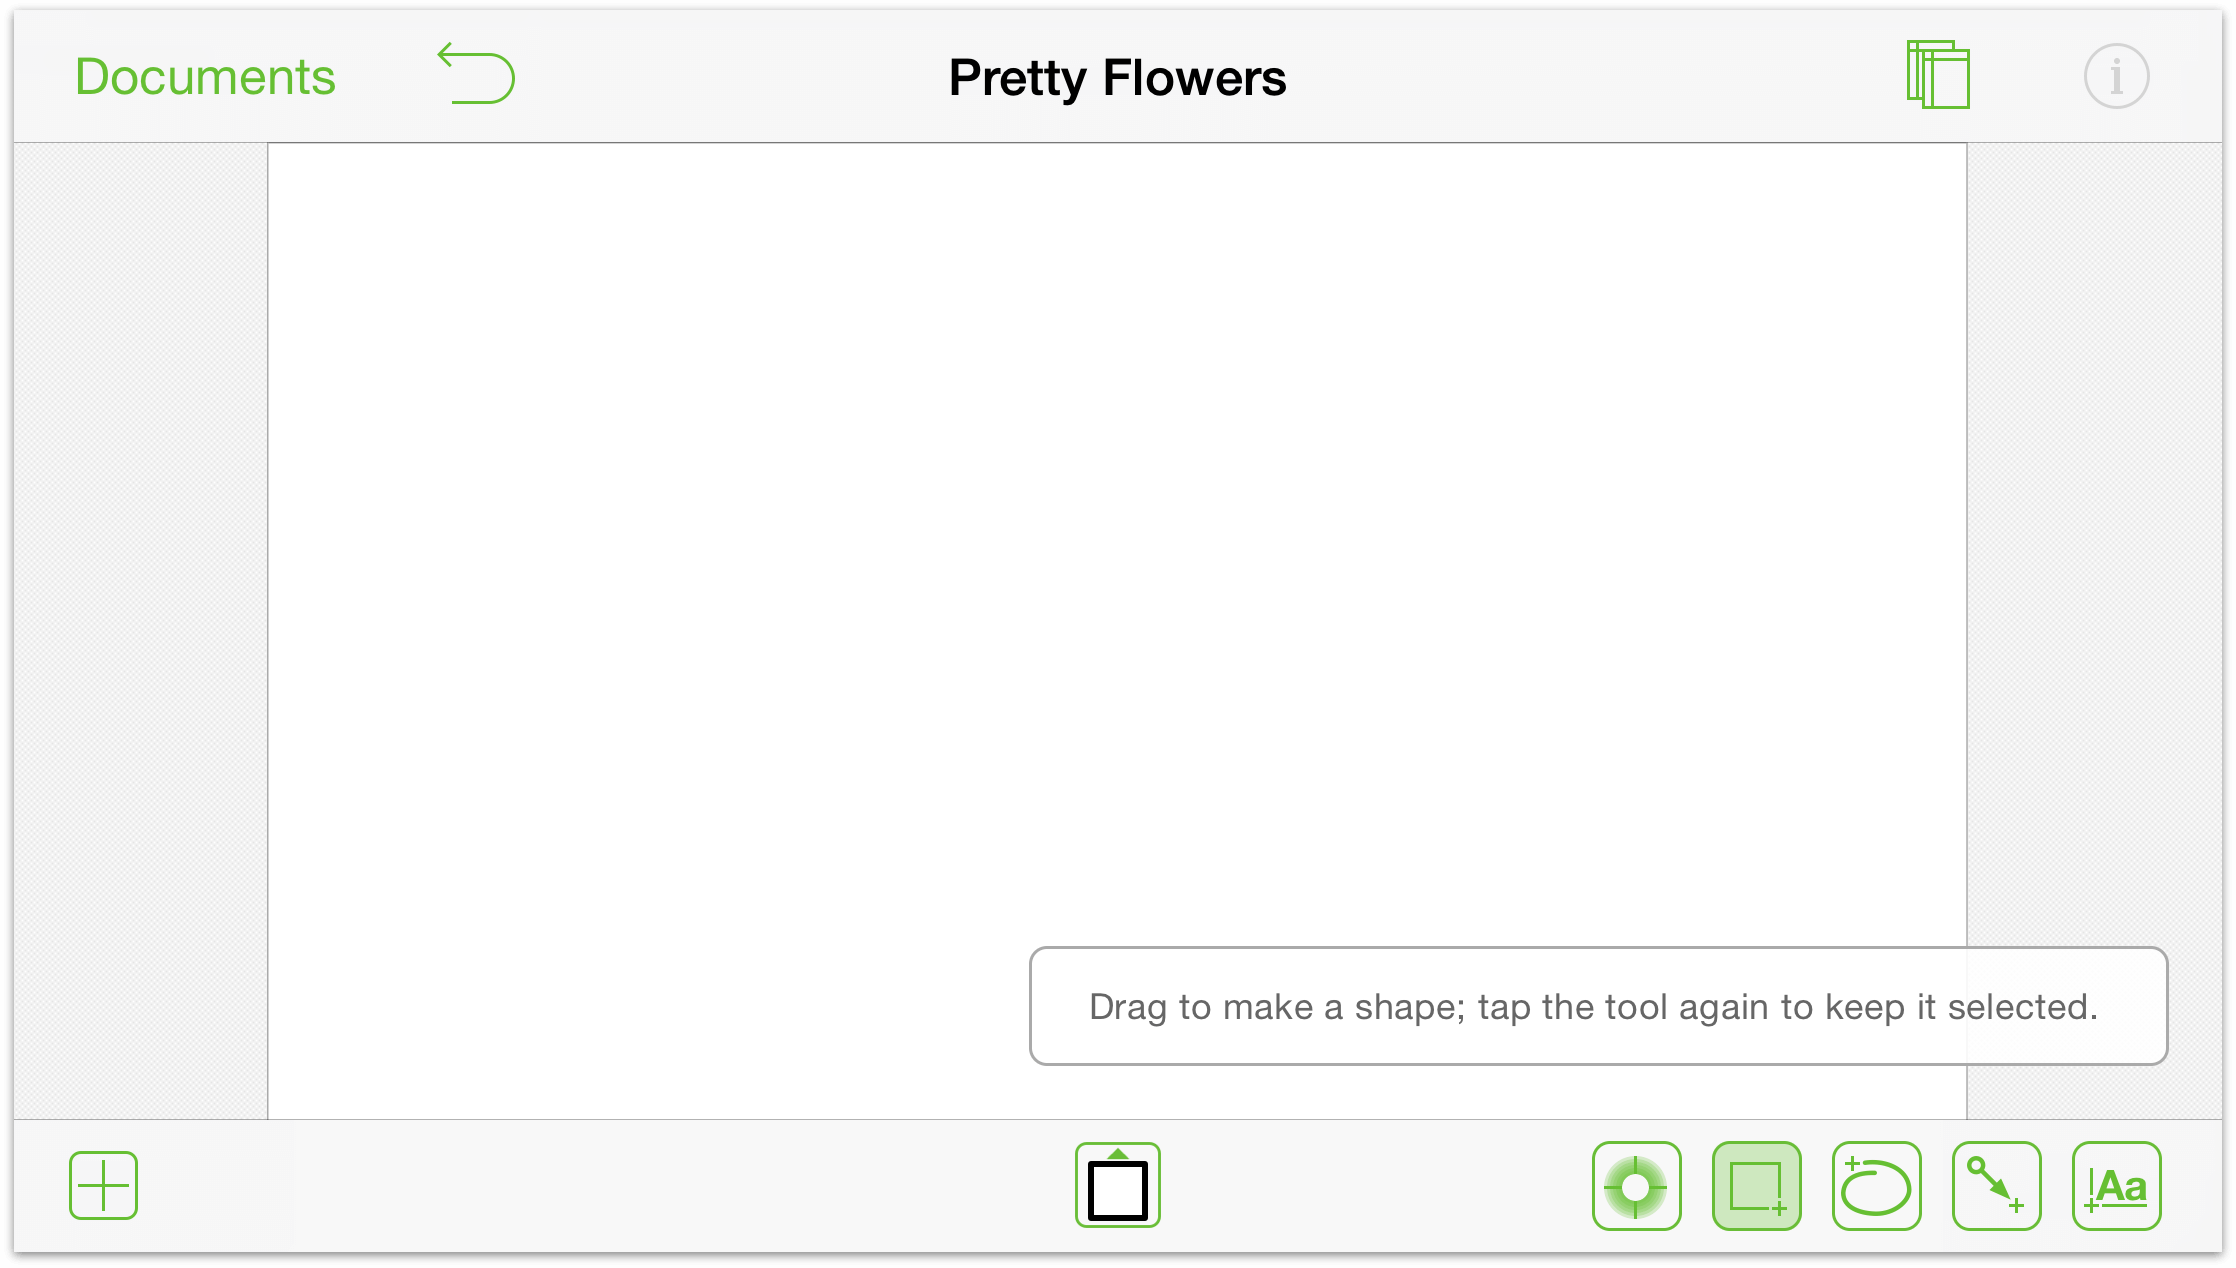
- After selecting the Shape tool, the Shape Selection tool
 becomes available beneath the canvas; tap this to open the Shape Tool.
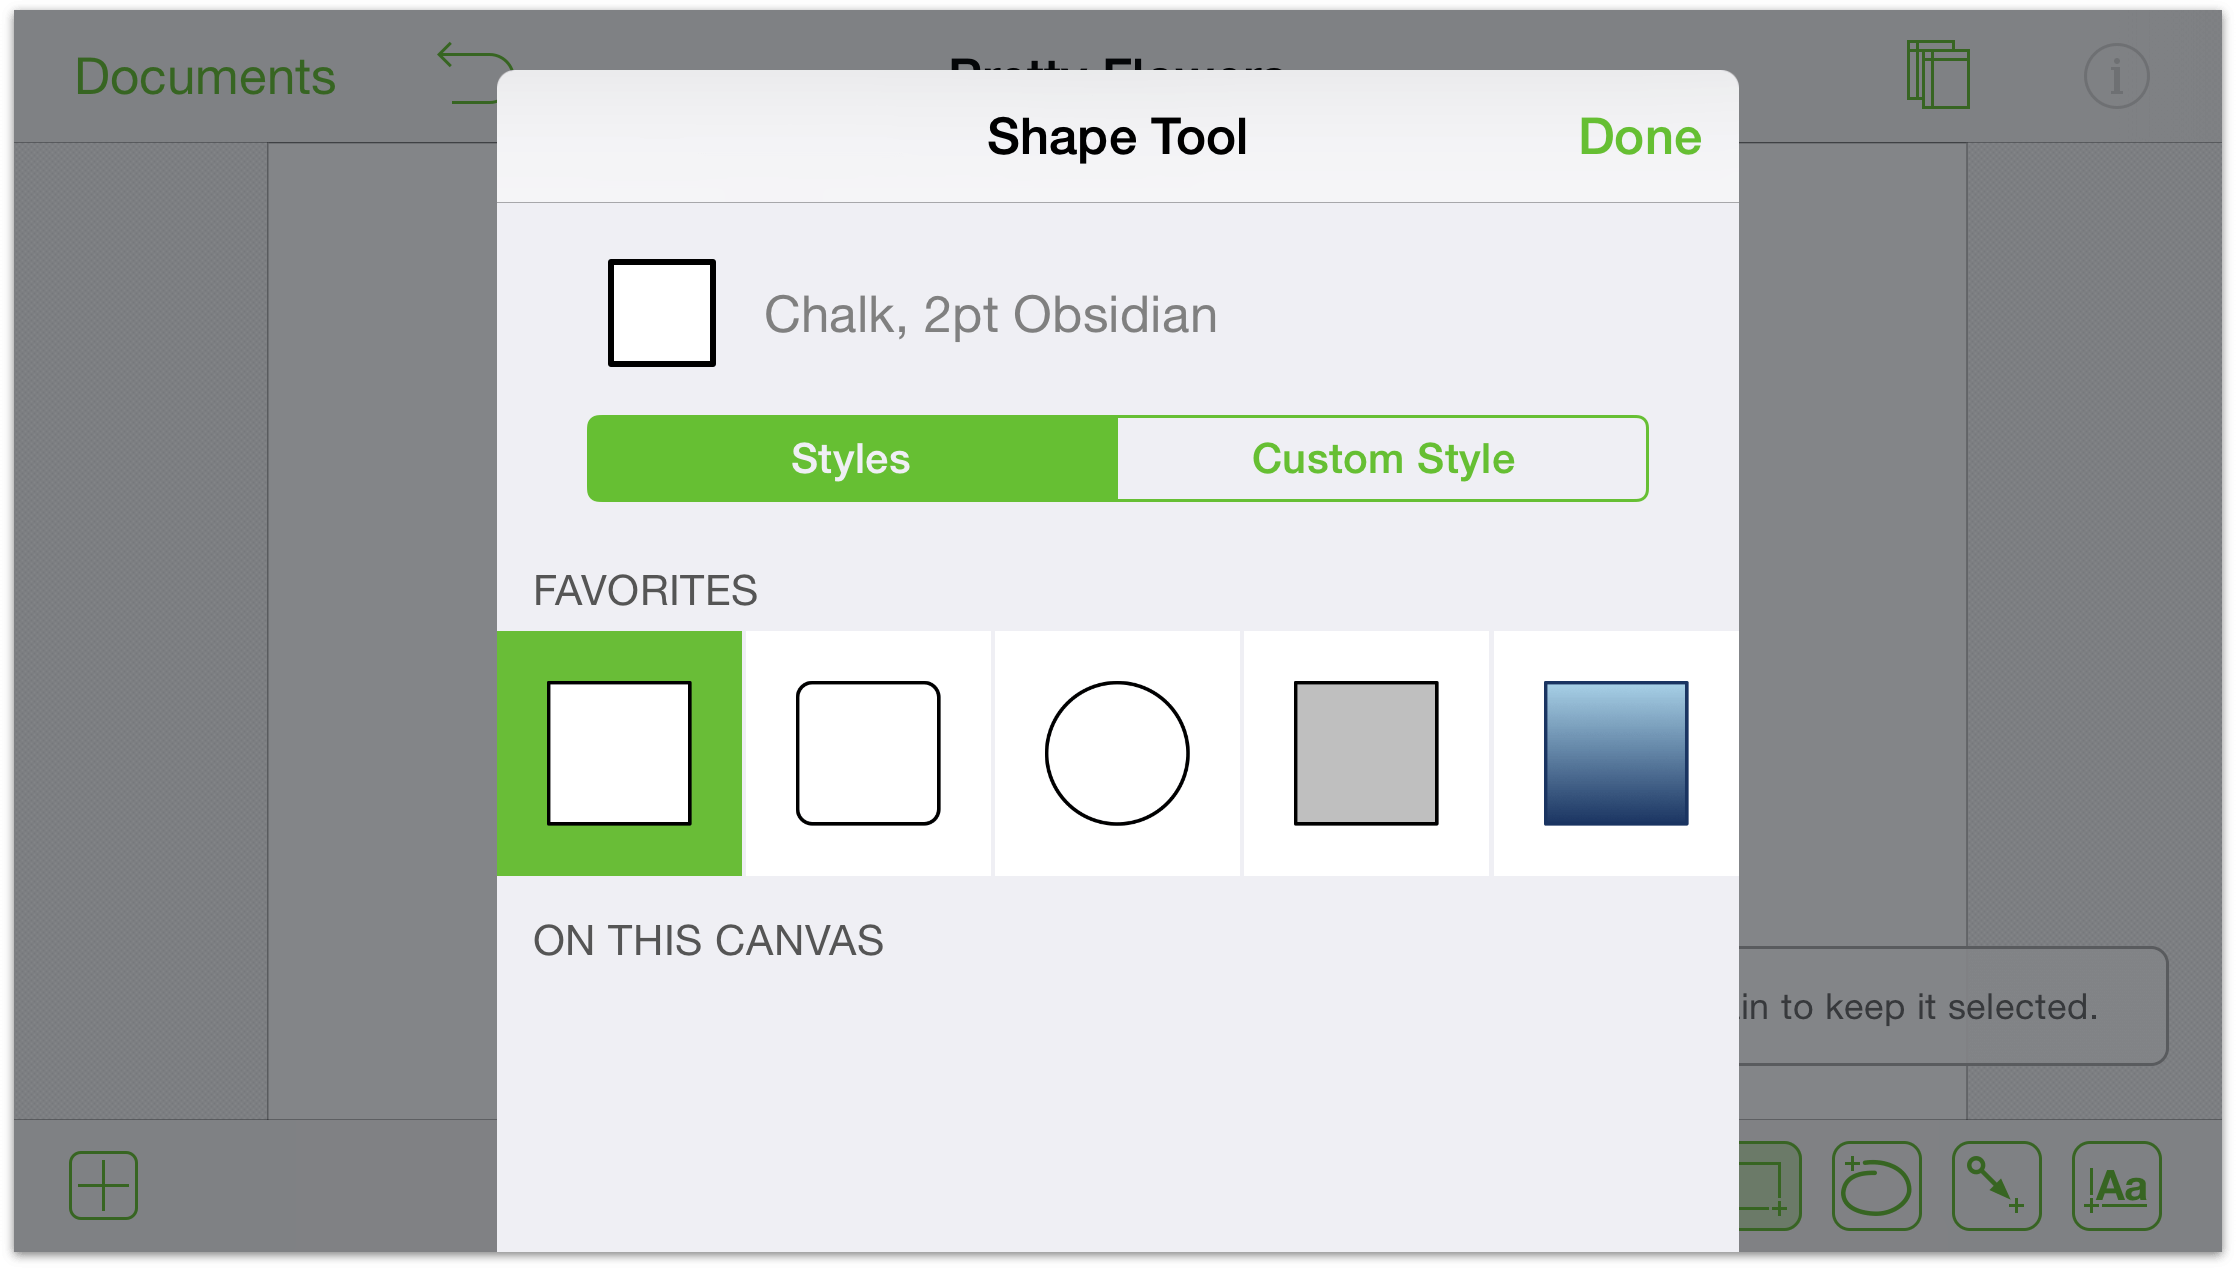
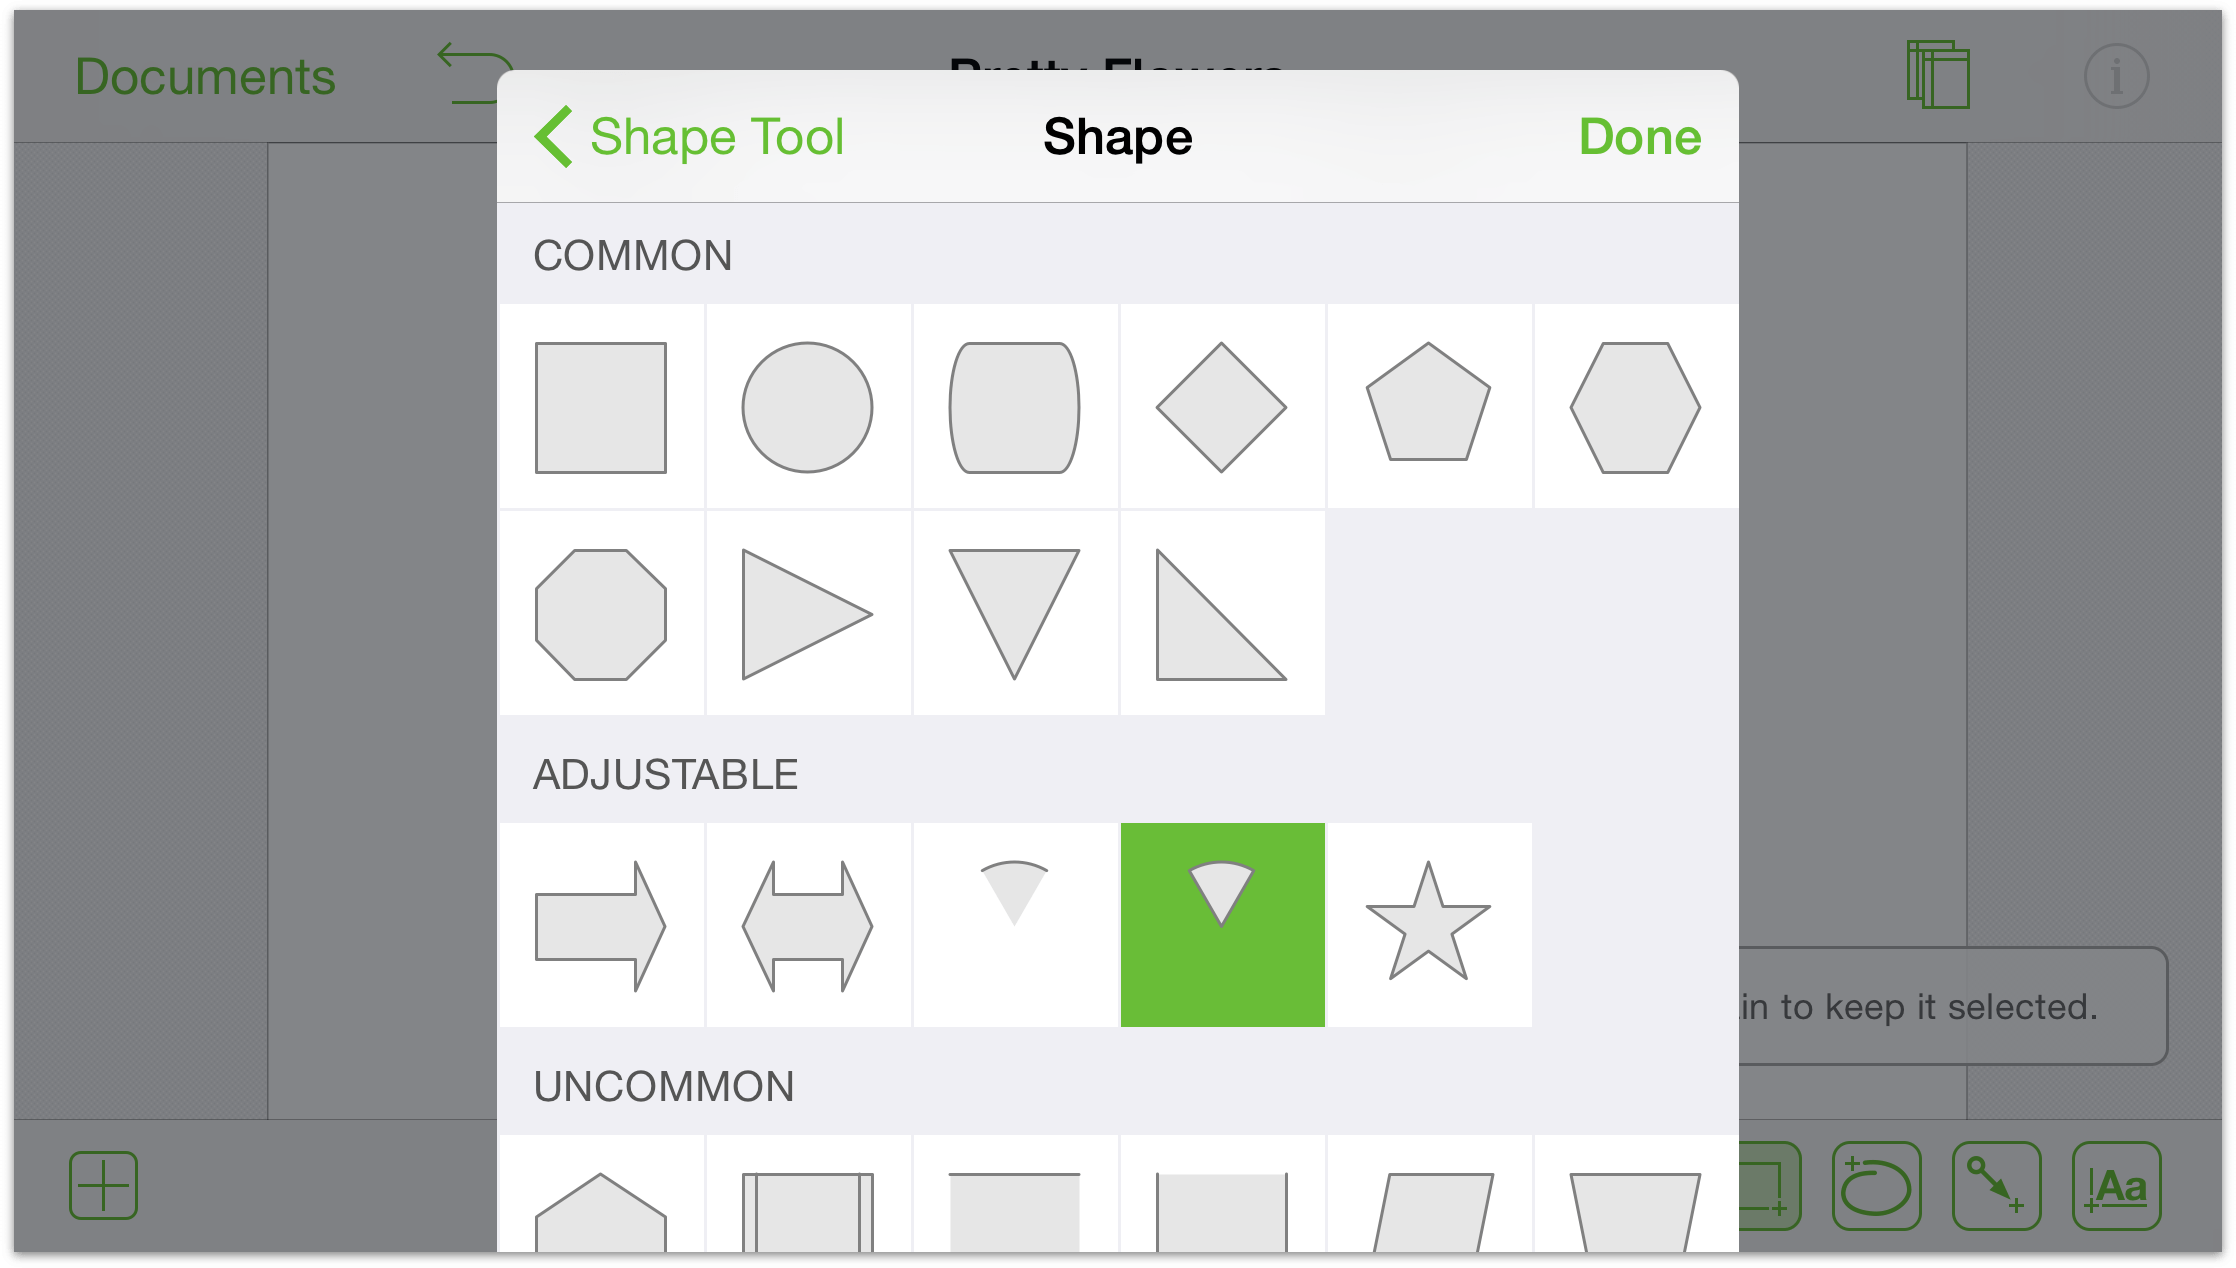
- You can choose from one of the shapes currently on the canvas or from one of your Favorites, or you can tap Custom Style to choose from an array of Shapes we’ve built into OmniGraffle. In this case, tap Custom Style to see what’s available:
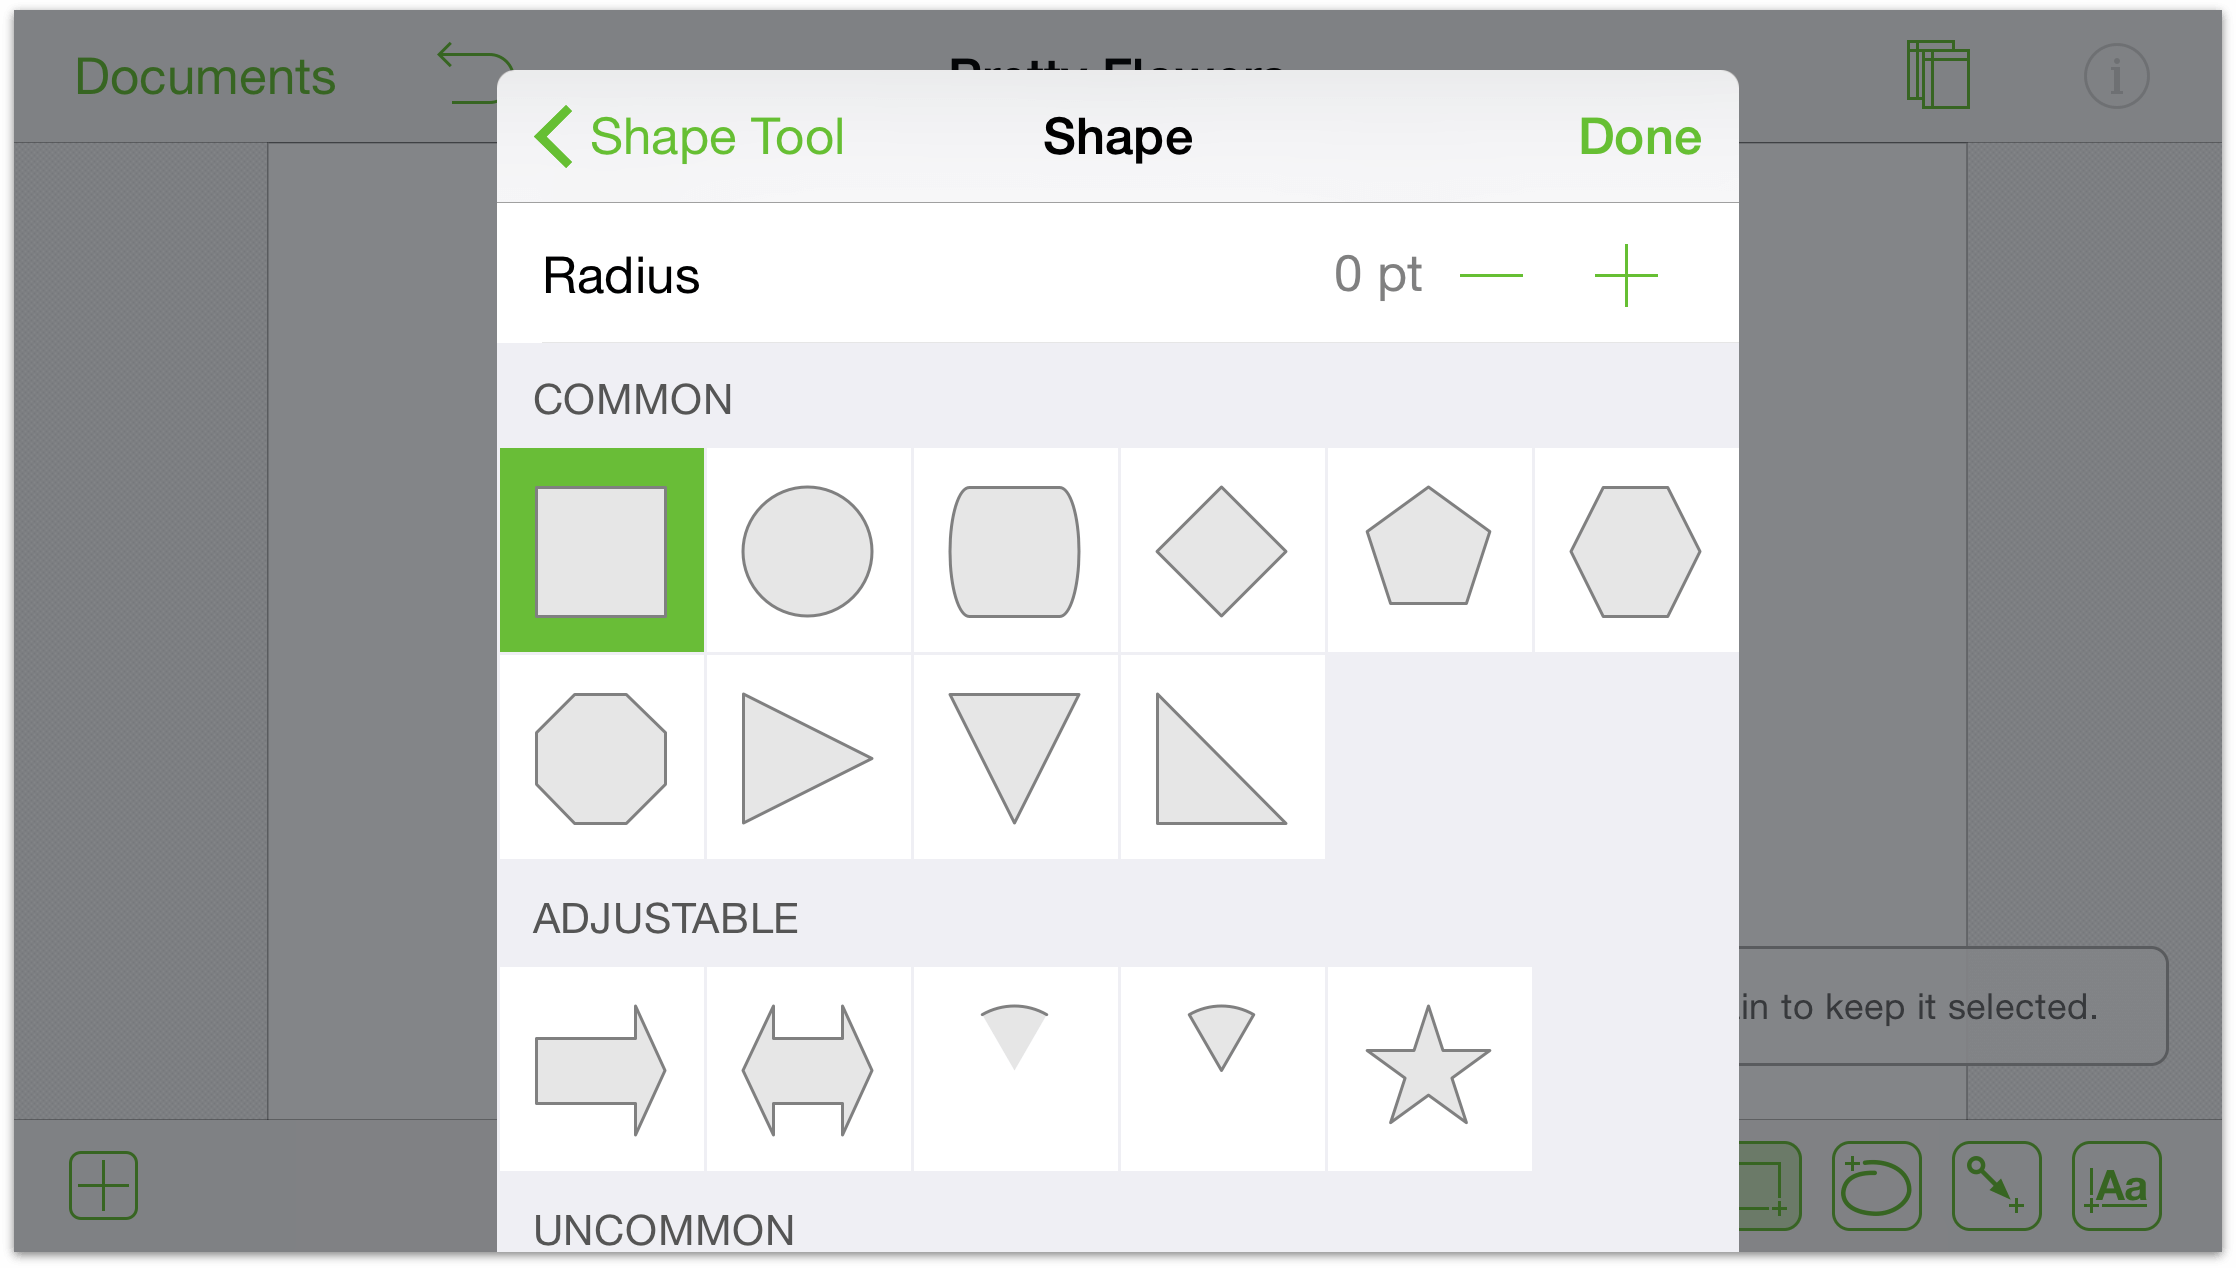
- Choose the desired shape that you want to draw on the canvas:
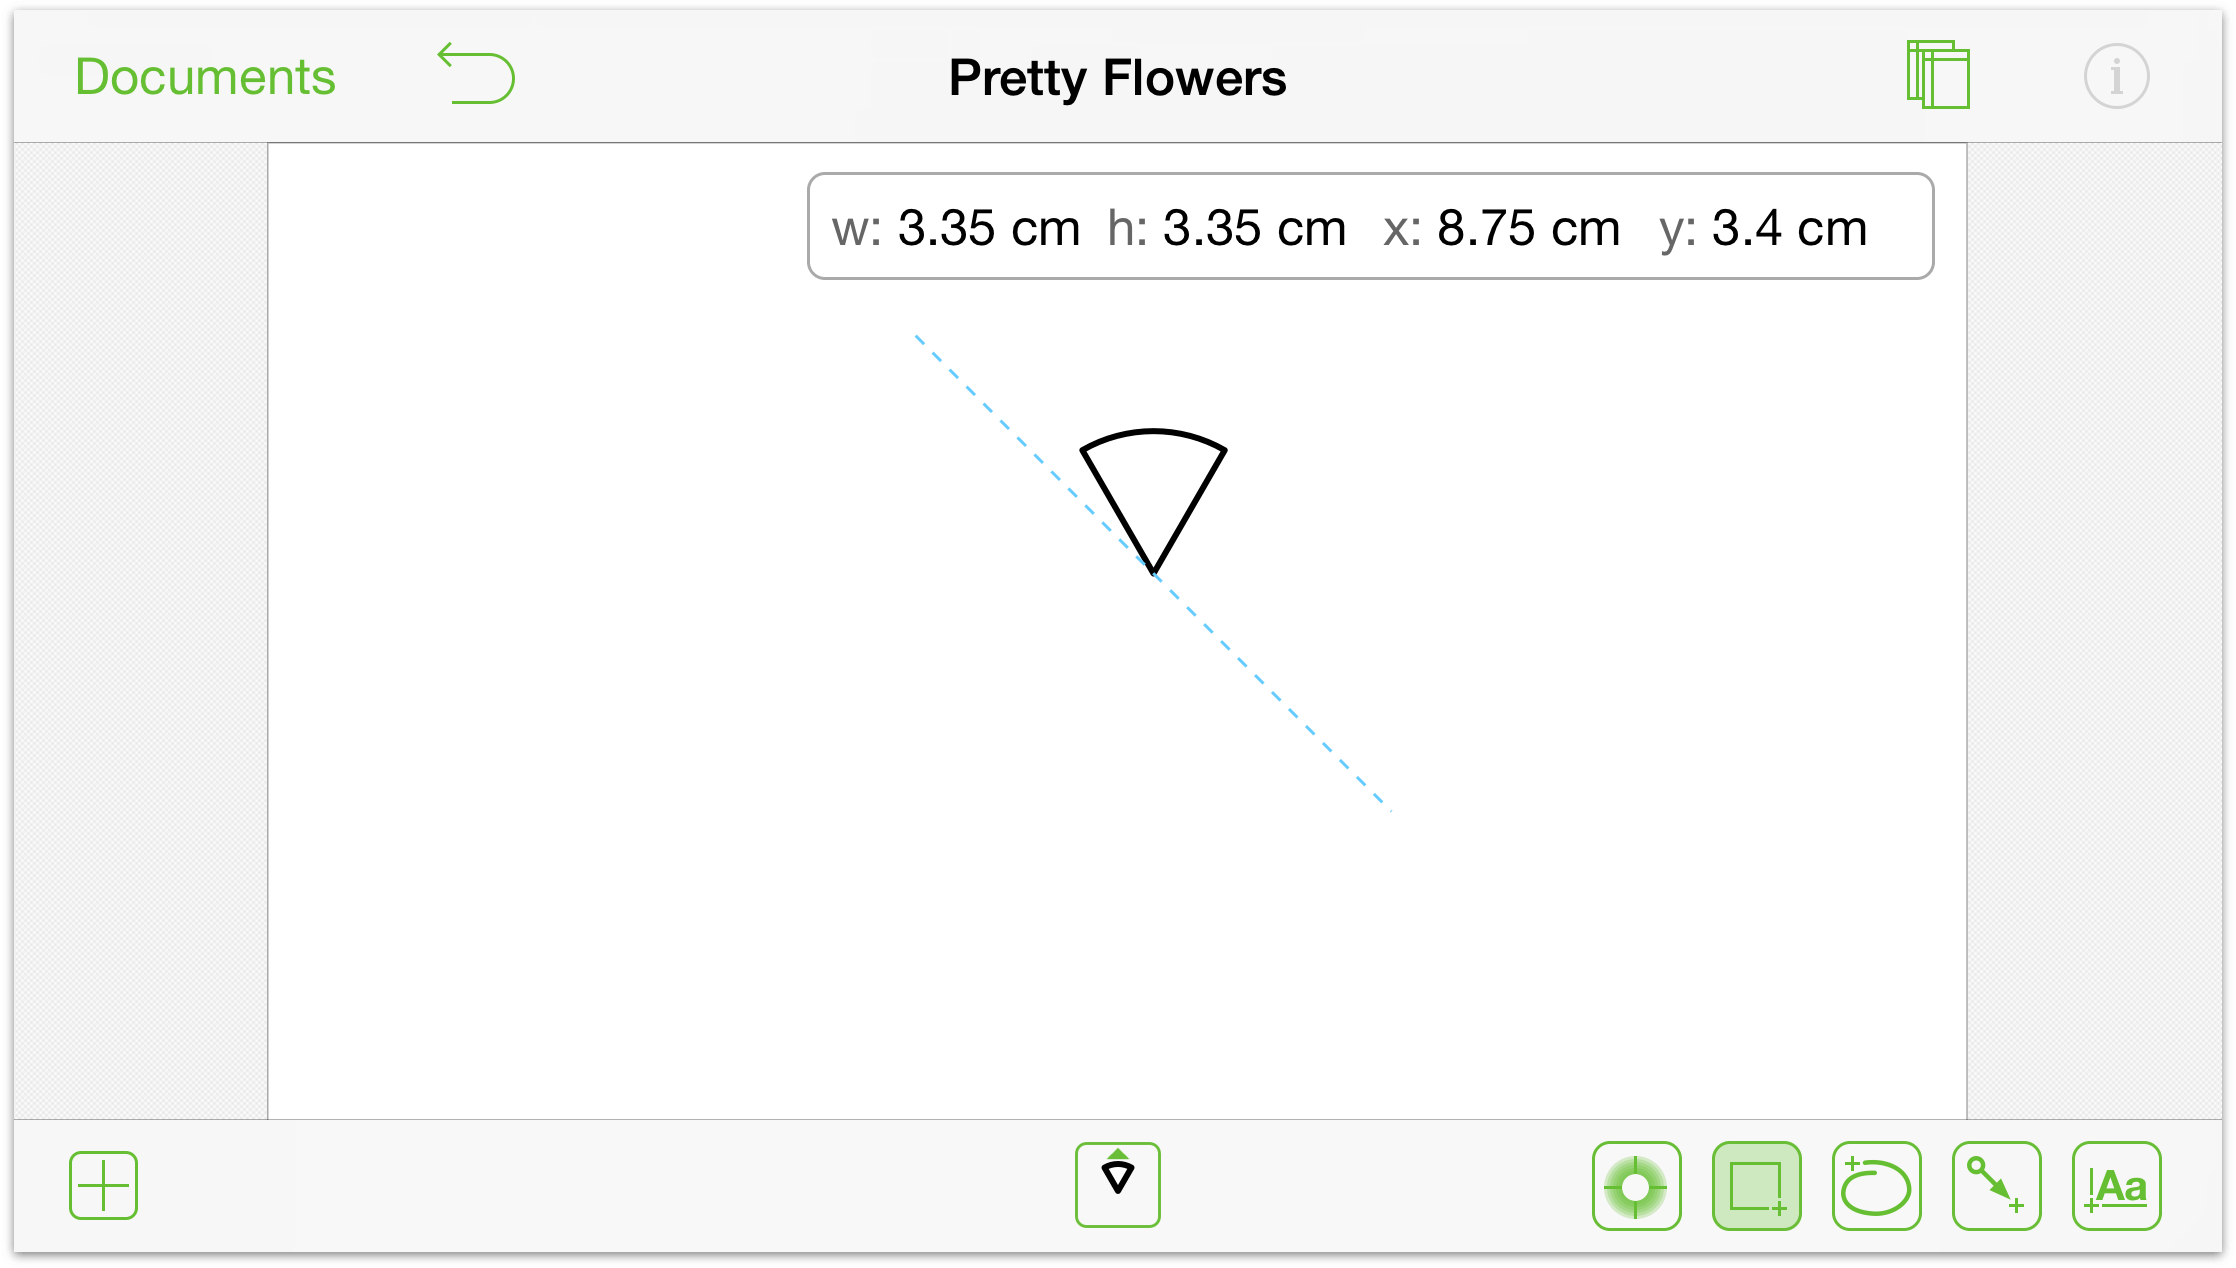
- Finally, tap and drag your finger on the Canvas to draw the shape:
Drawing a Freehand Shape
When you’re working on an original piece of art, sometimes one of the canned shapes just won’t cut it; you need something...original.
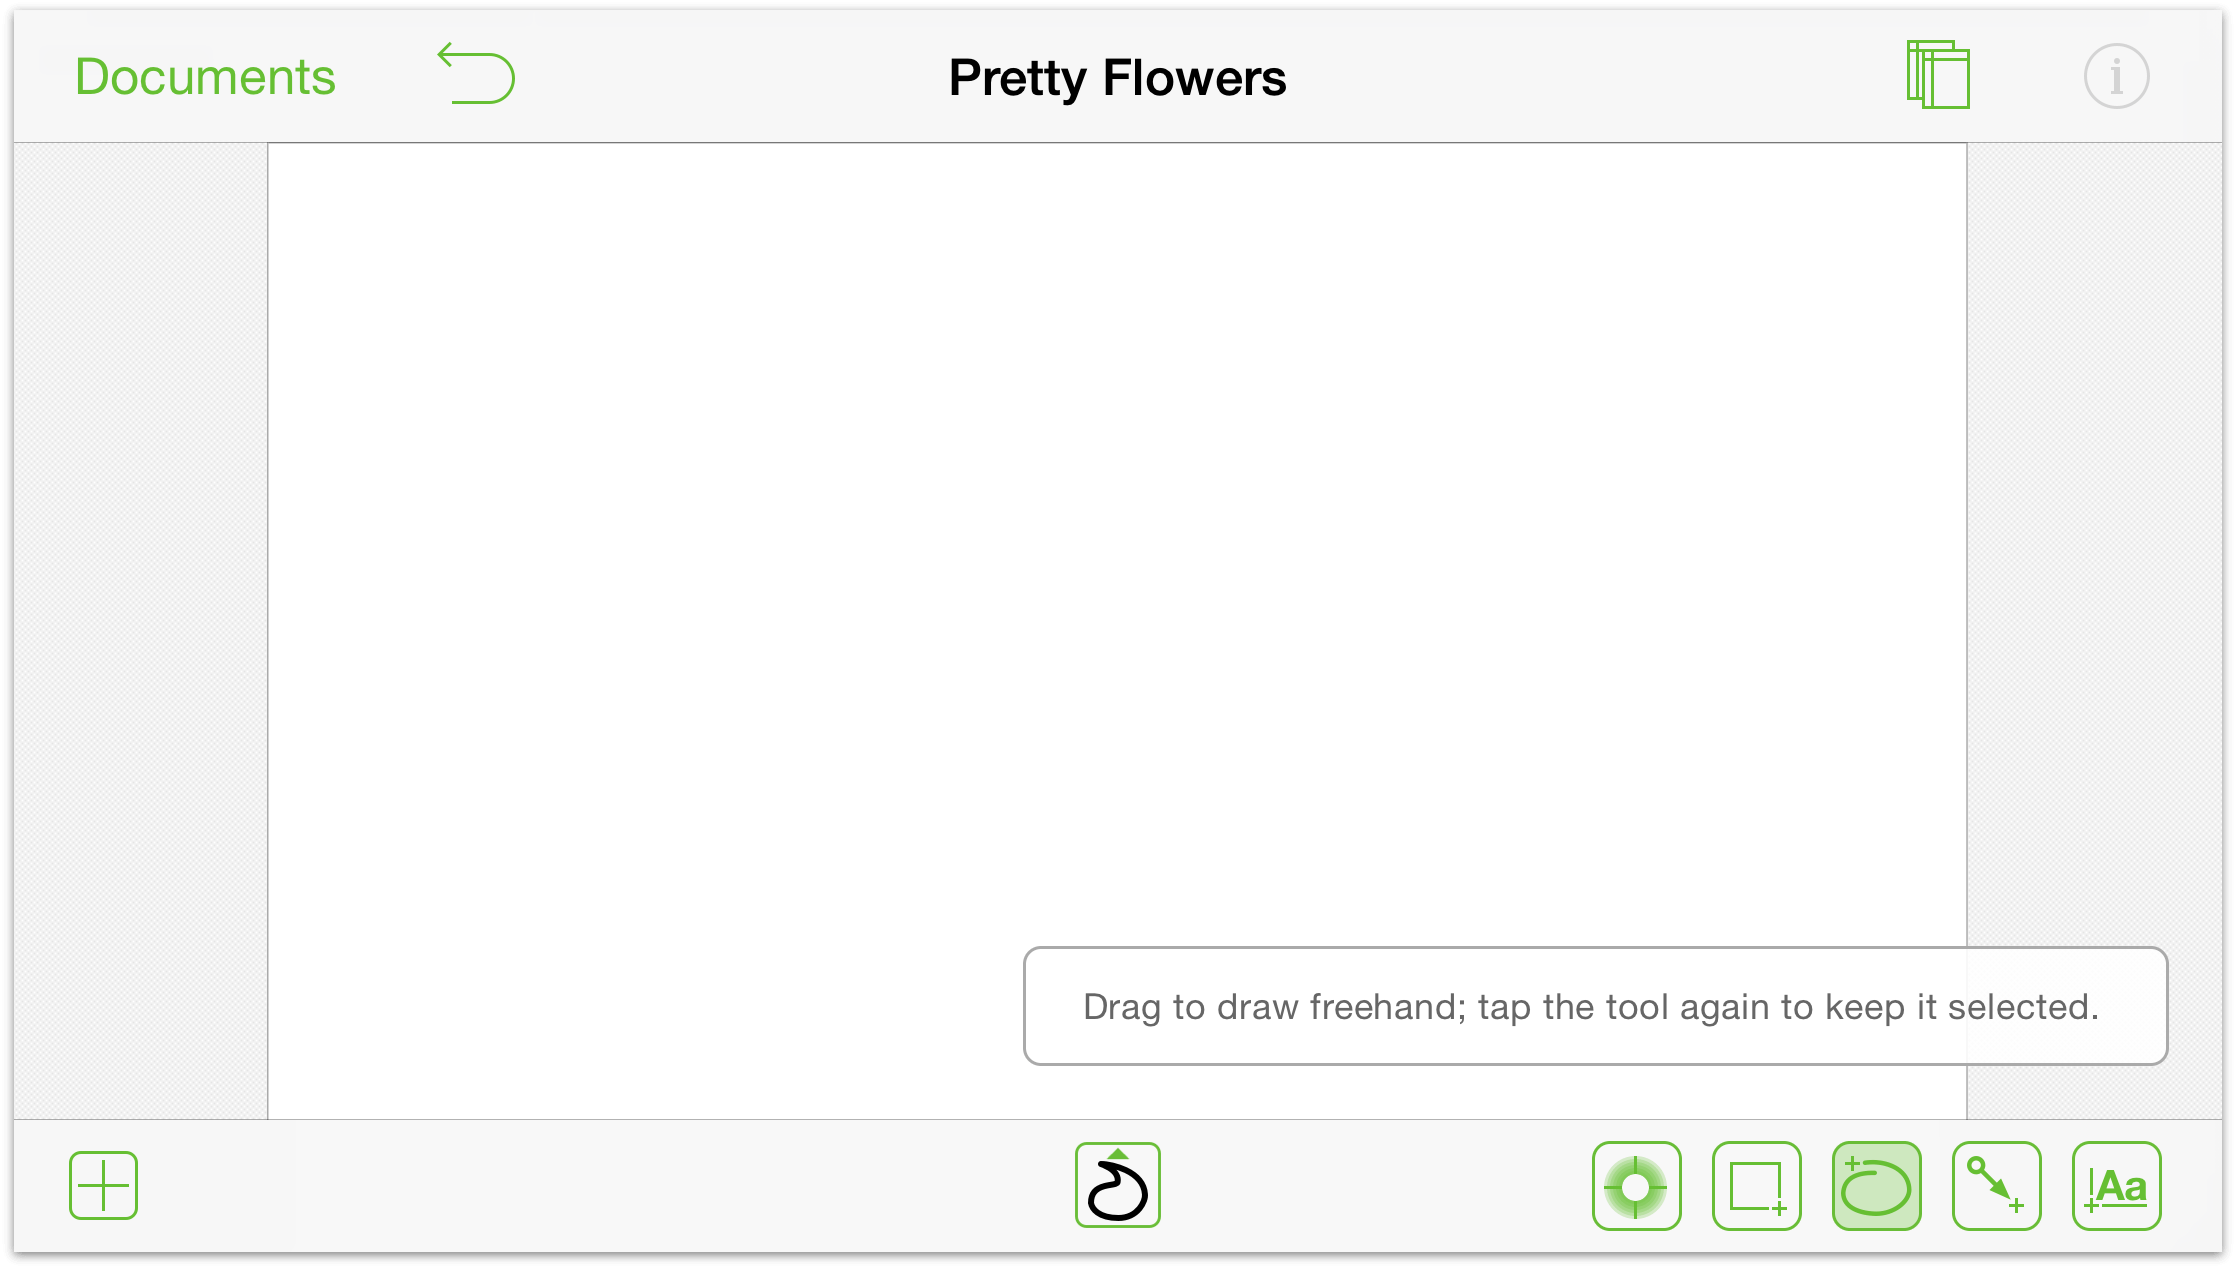
- In the toolbar, tap the Freehand tool
 to make it active:
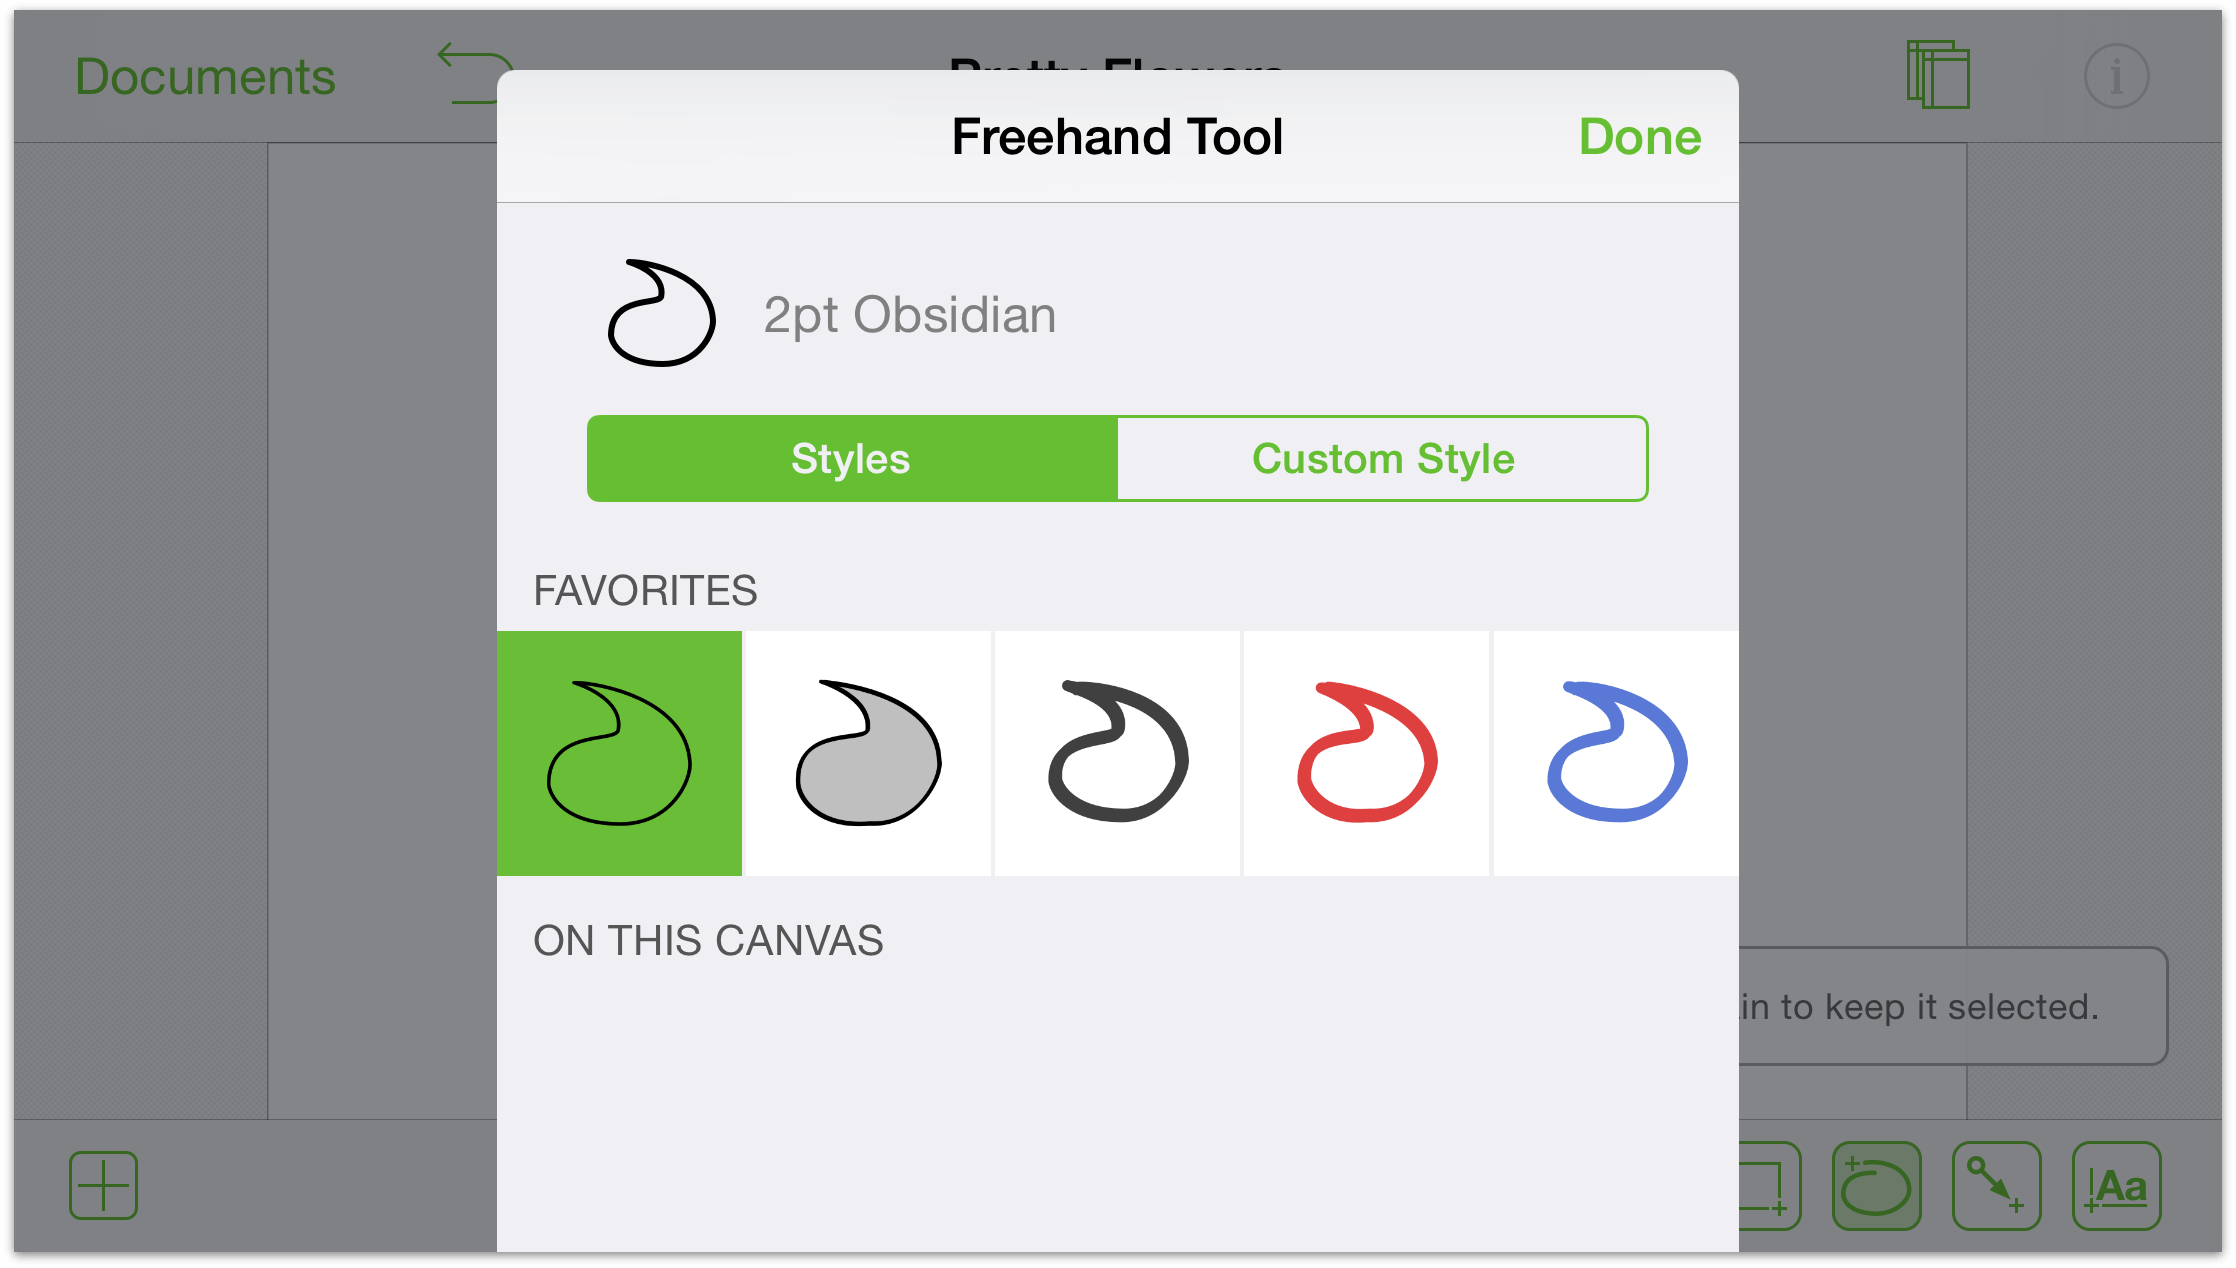
- If you tap the Freehand Selection Tool
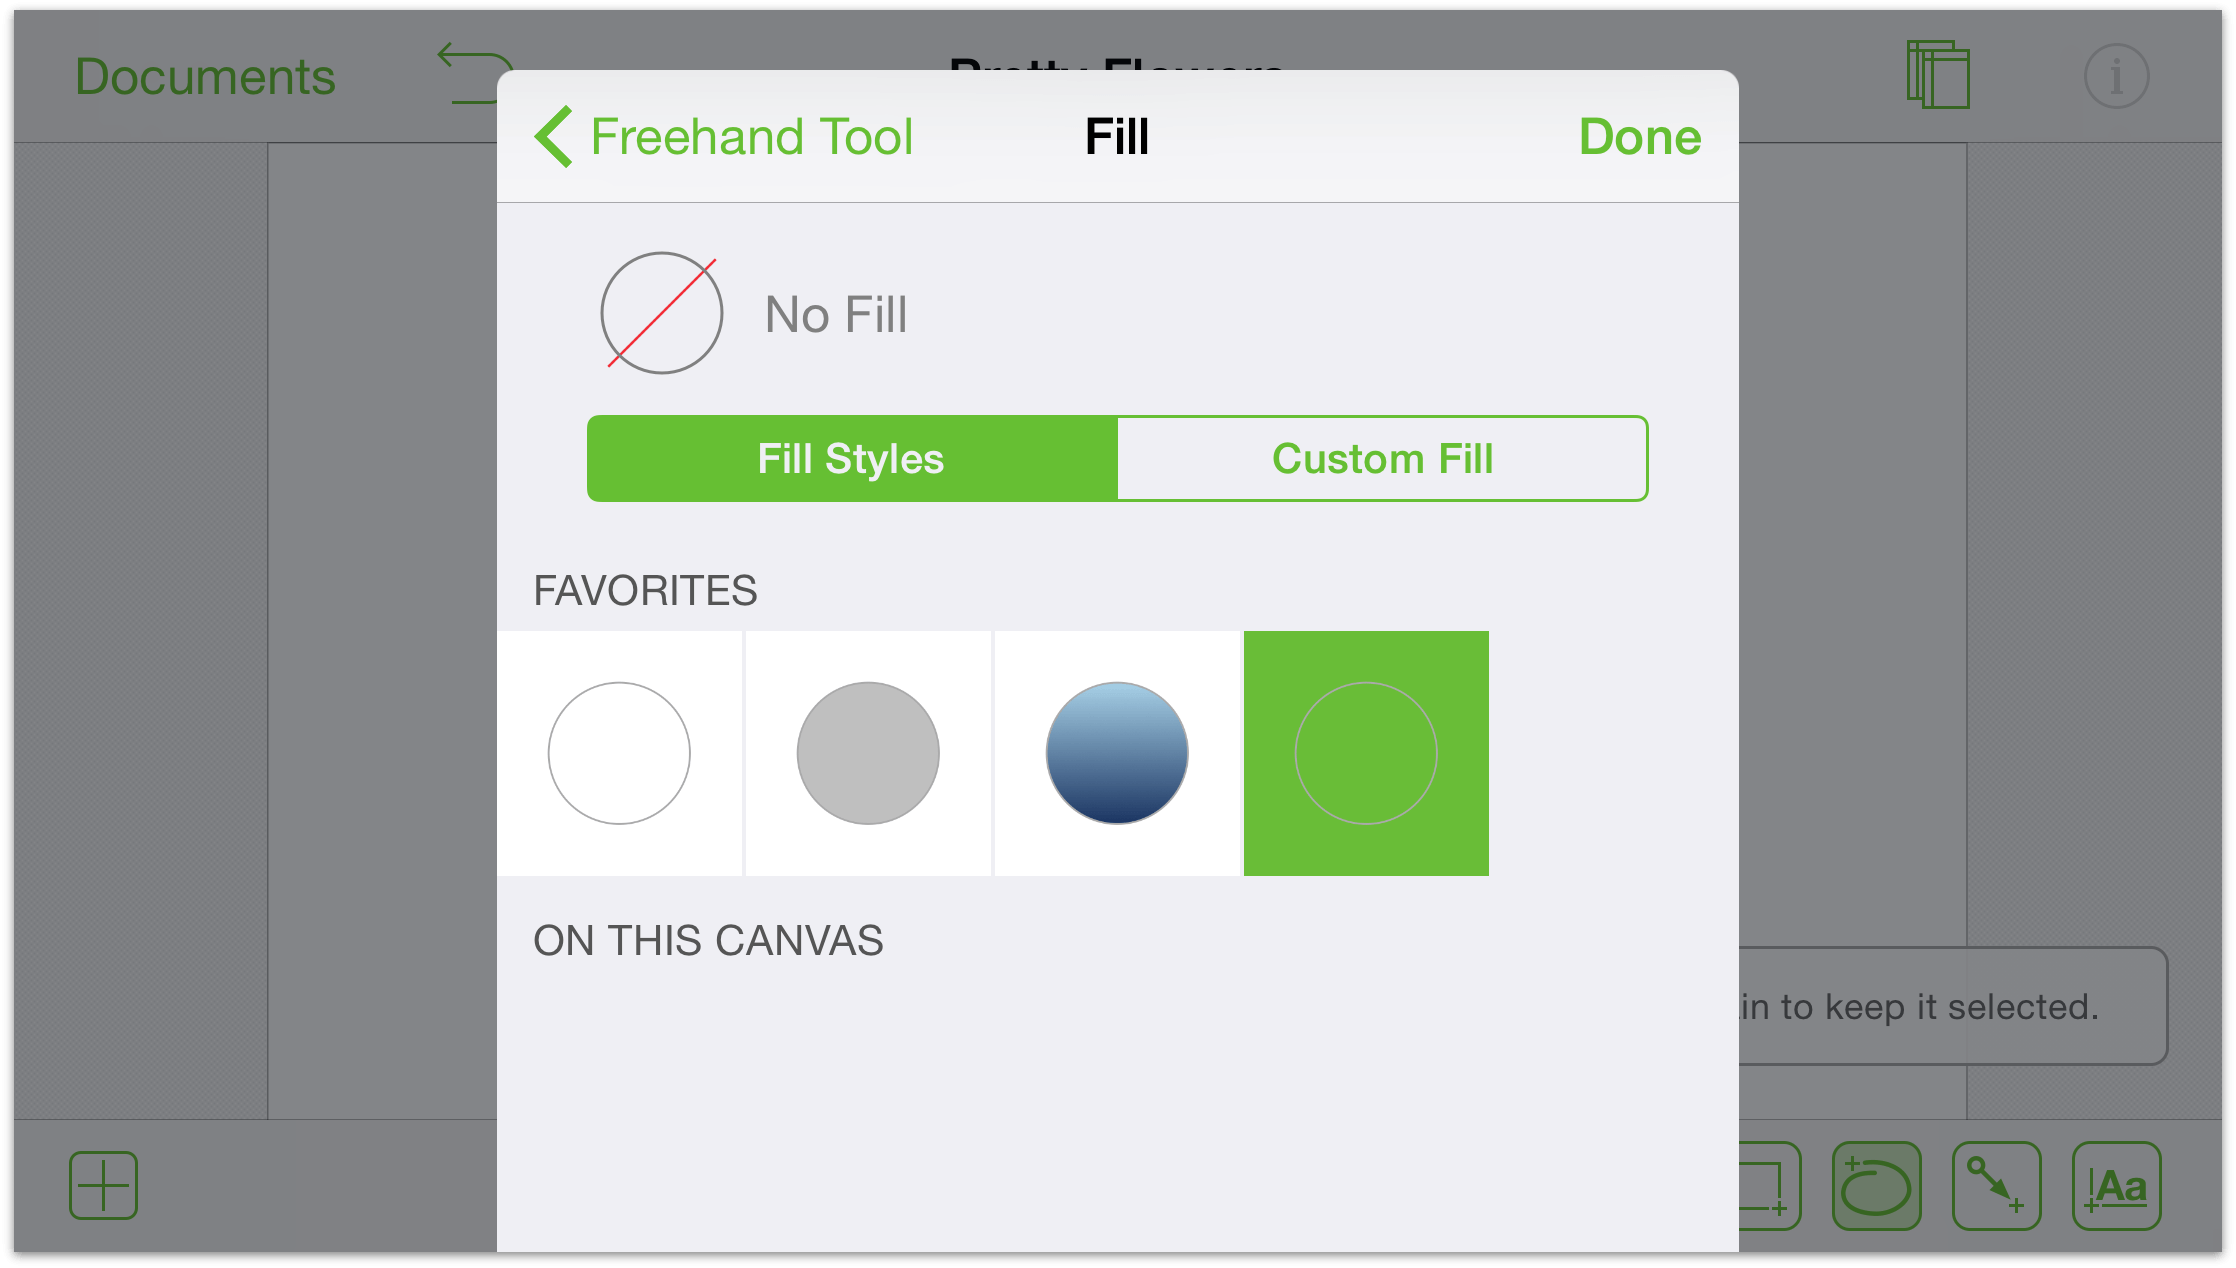
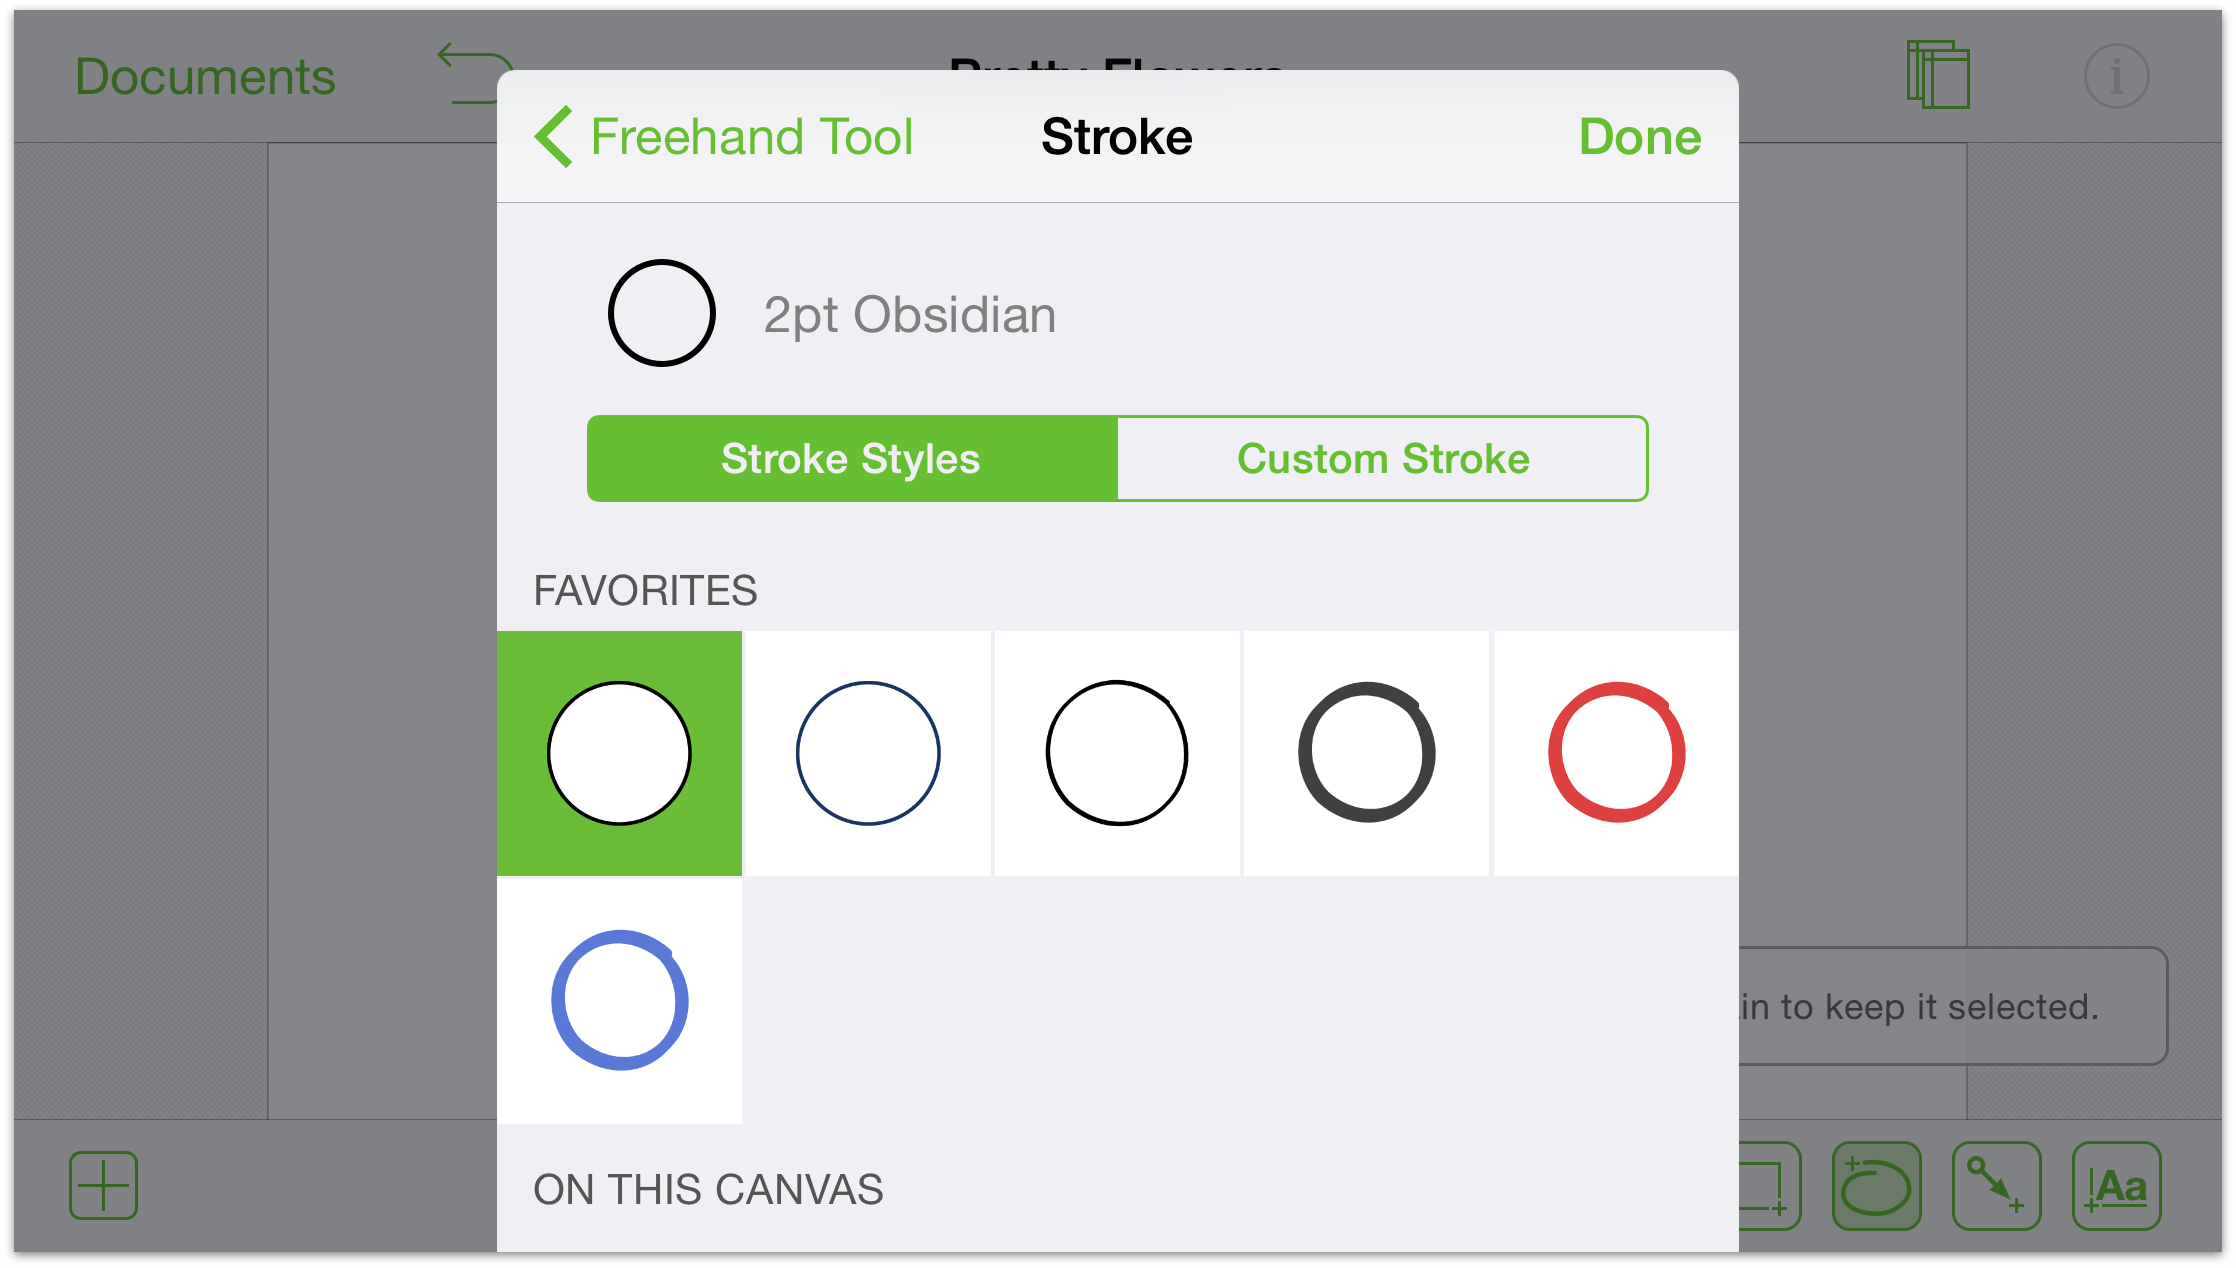
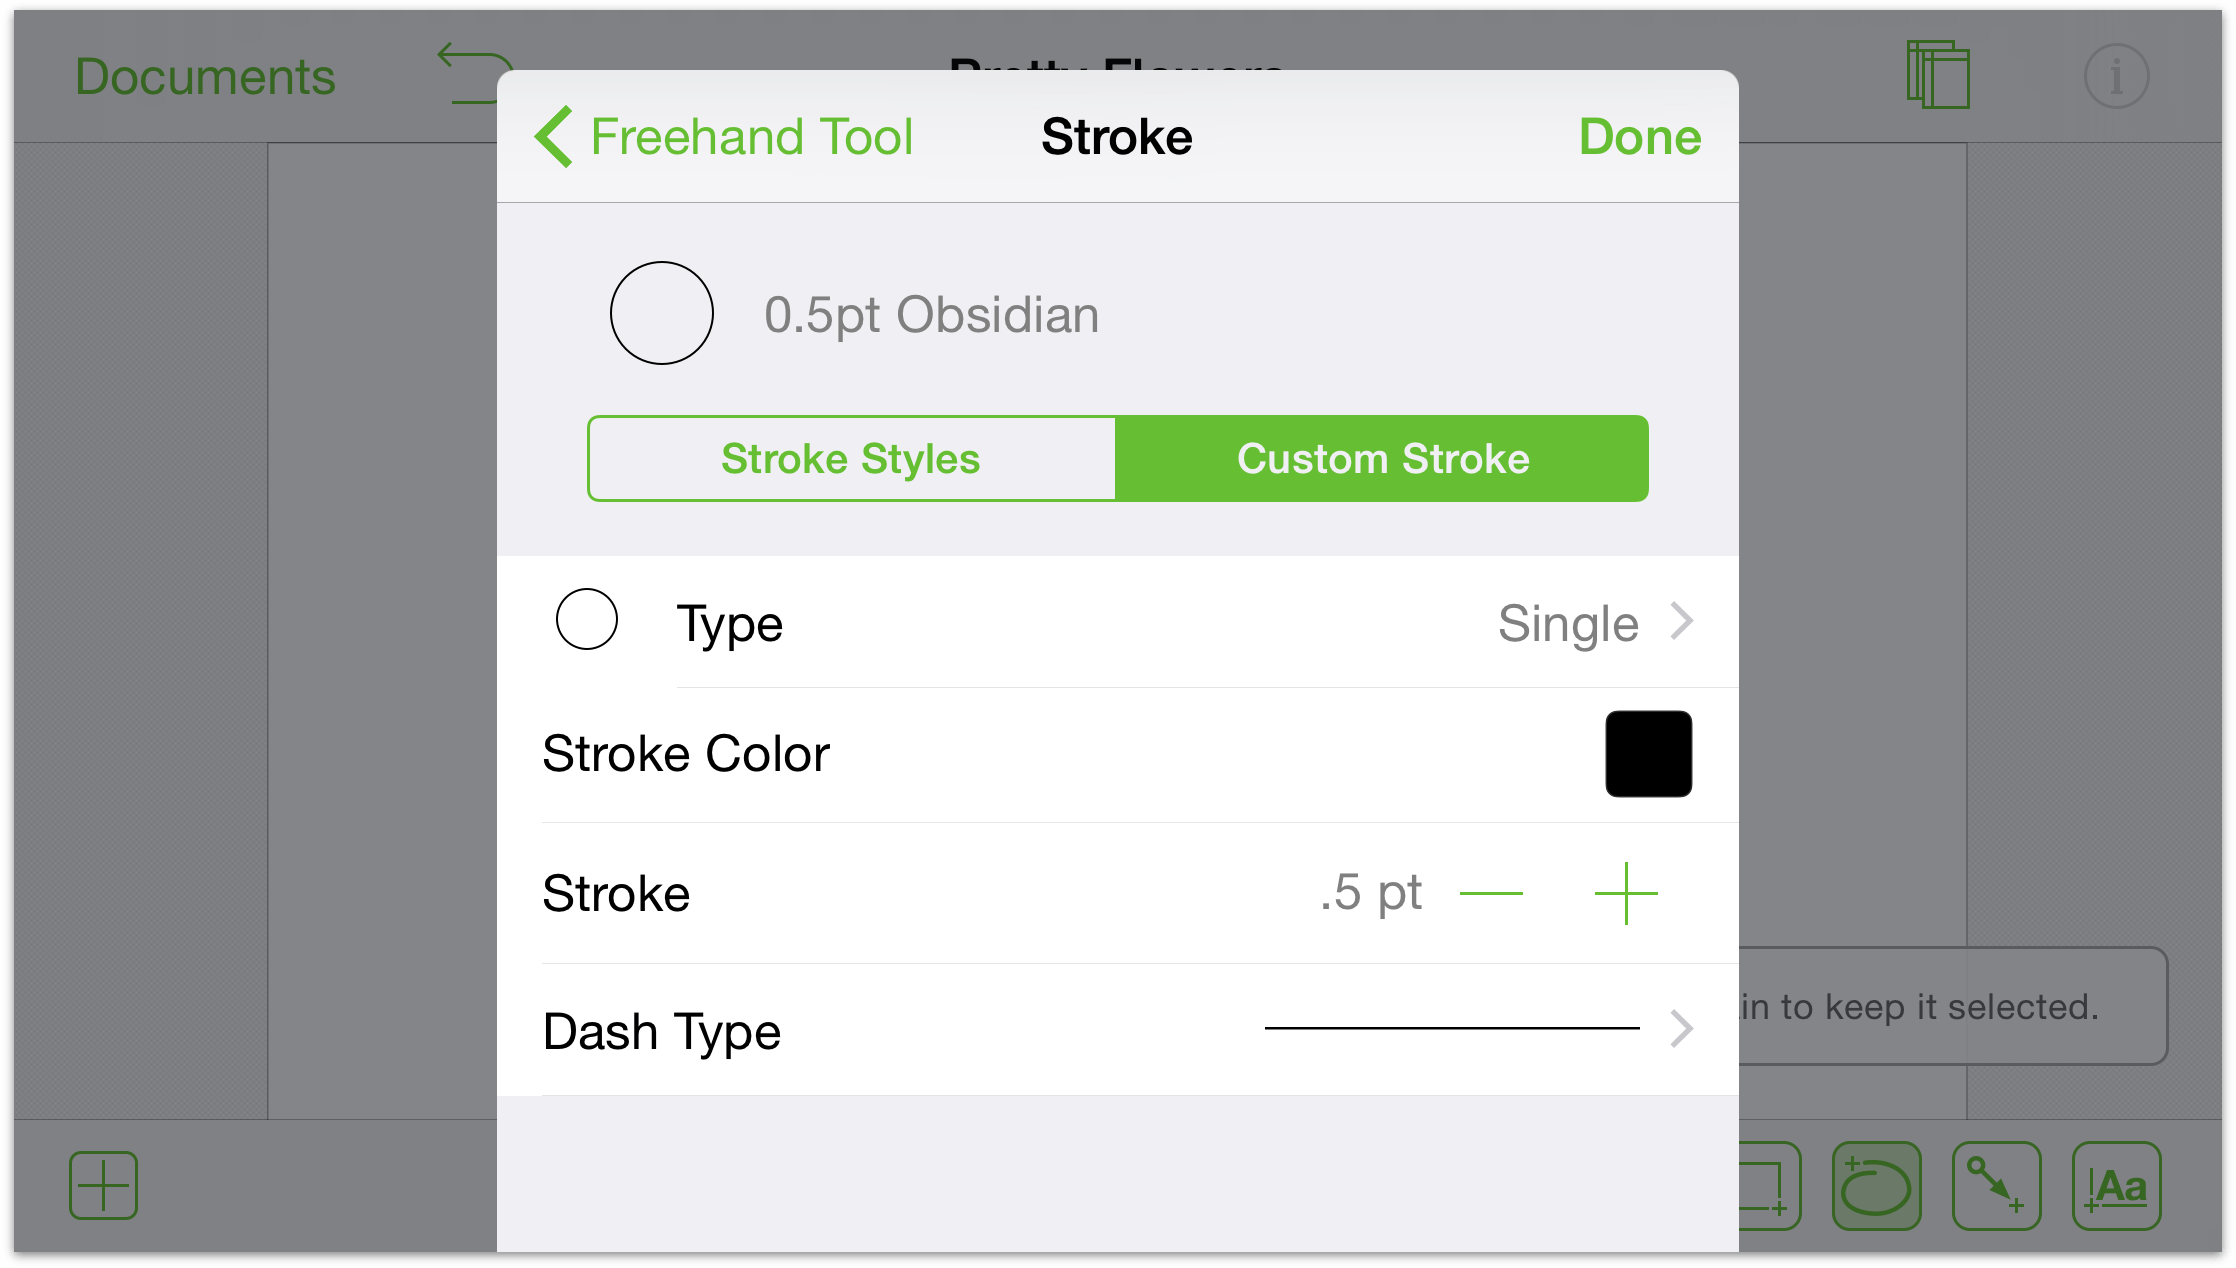
 , you can choose from a default set of favorite styles, or you can tap Custom Style to adjust the Fill and Stroke:
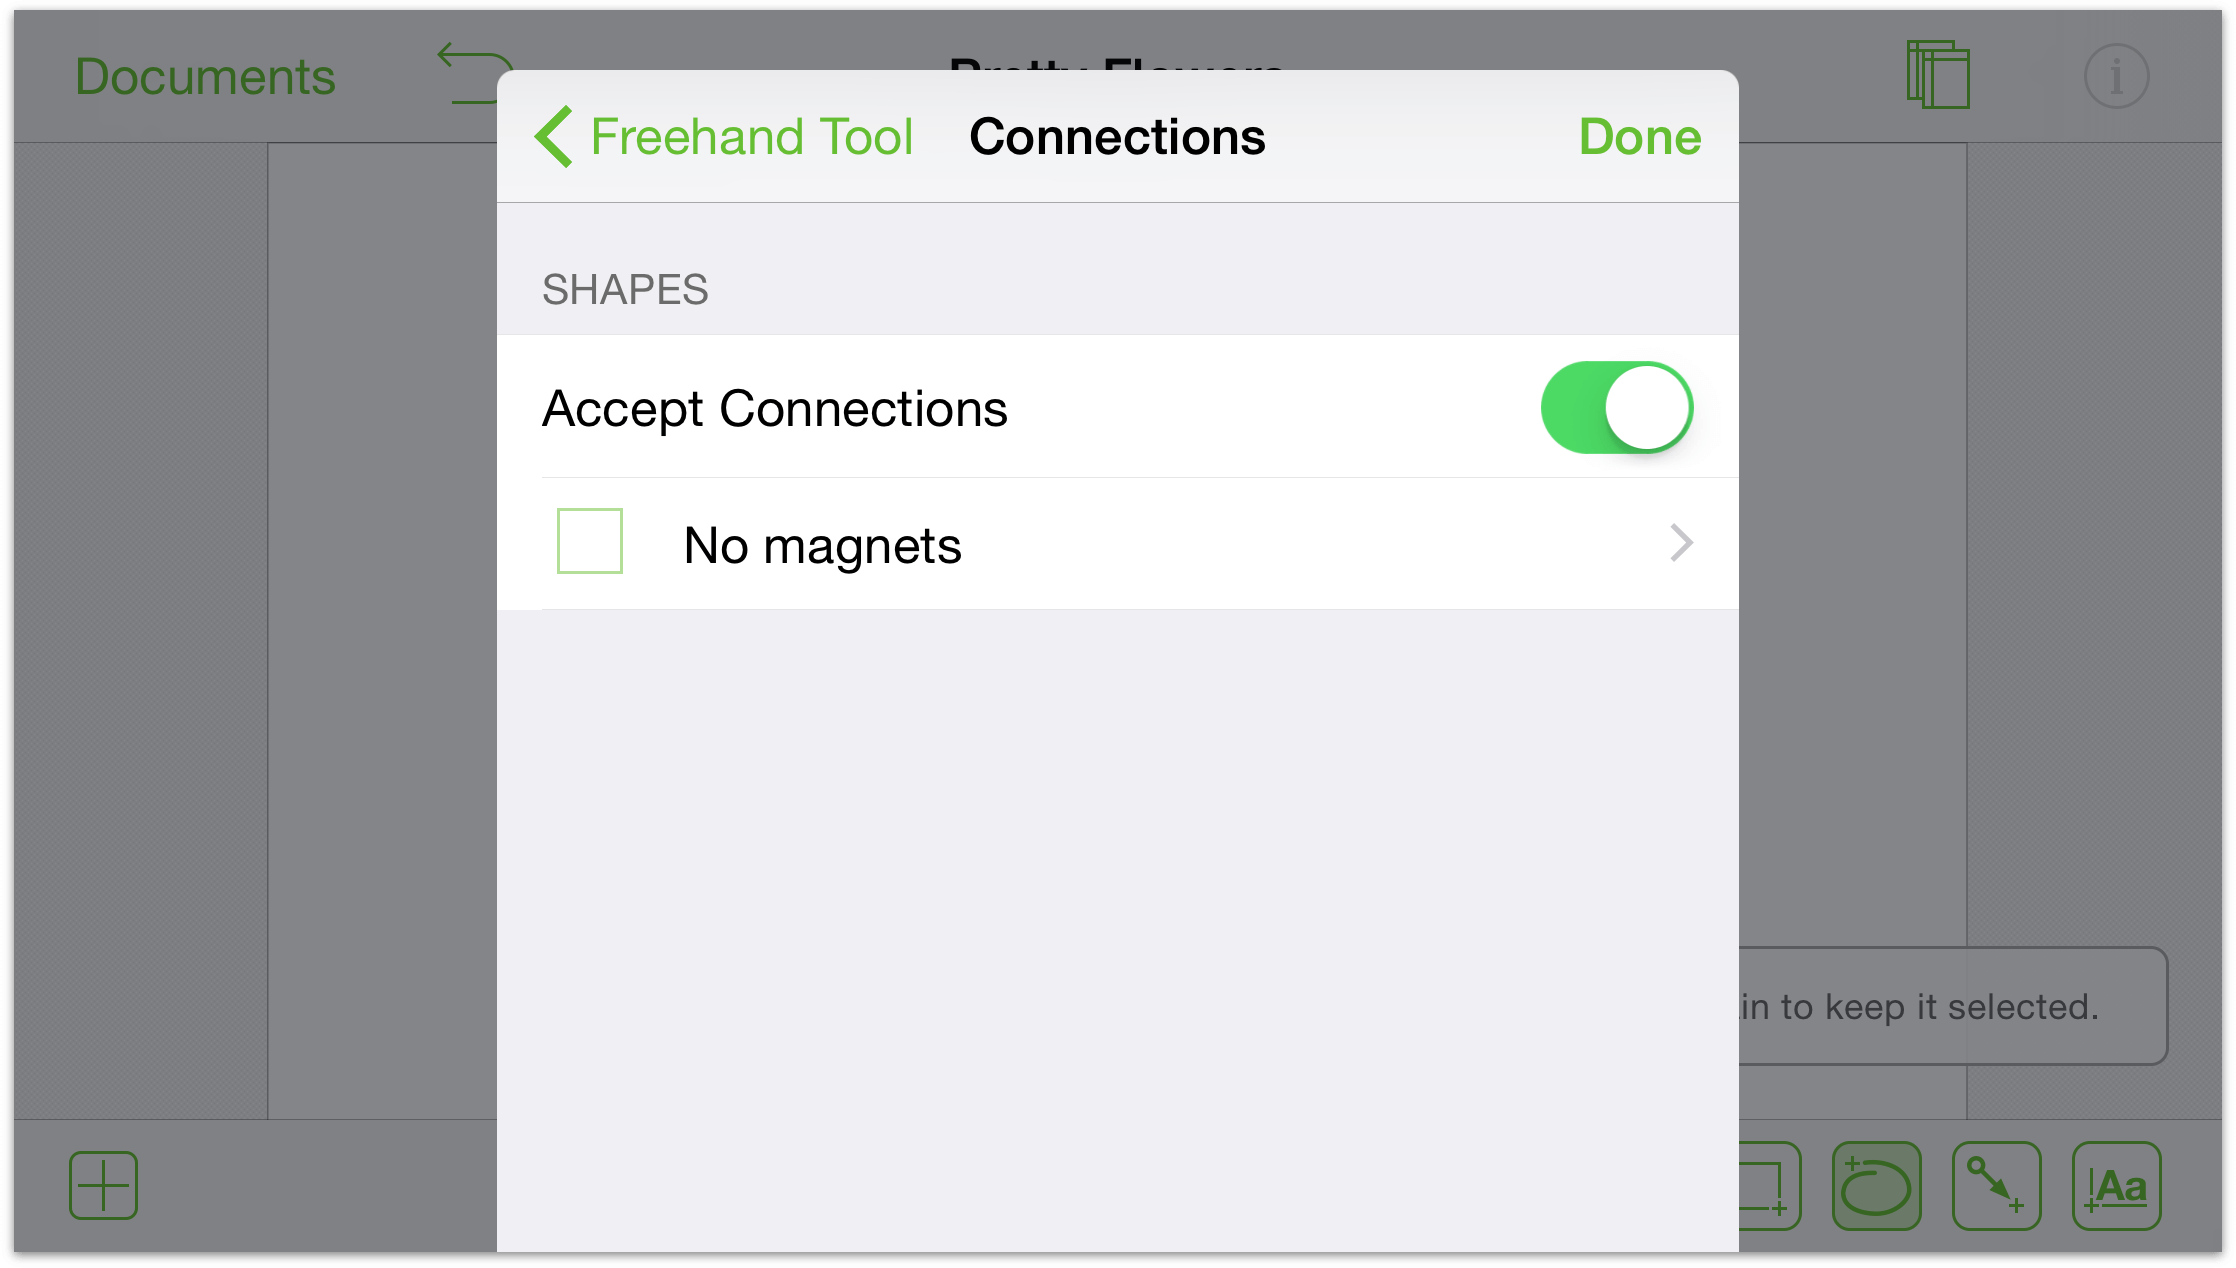
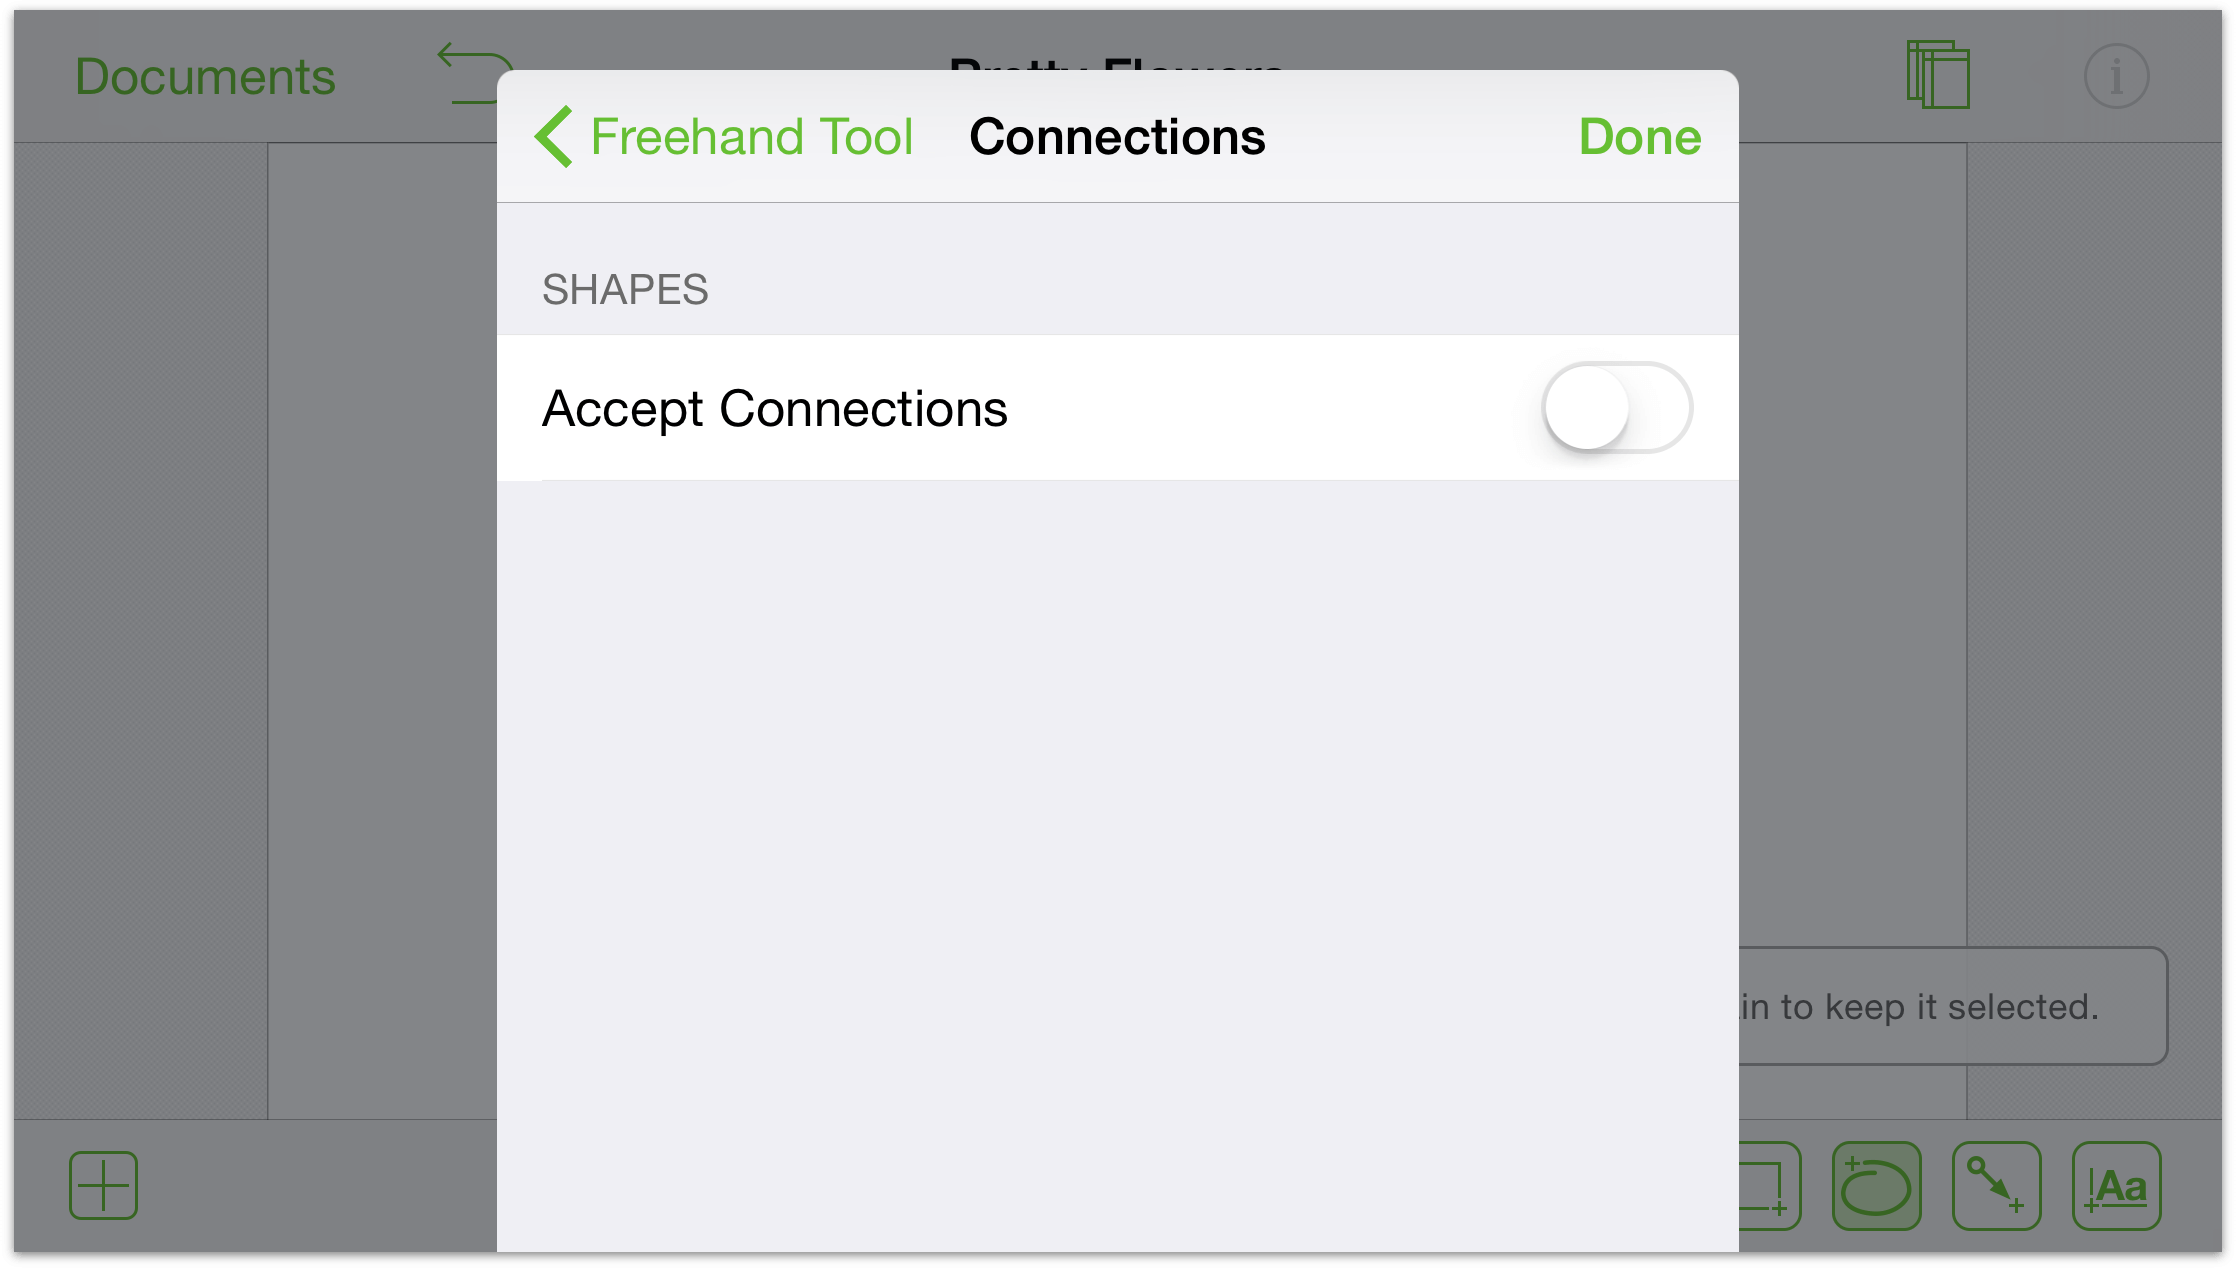
- The last thing you might want to do before you start drawing is to turn off Accept Connections for the objects you draw. This makes it easier for you to draw without the lines trying to connect to other objects on the canvas.
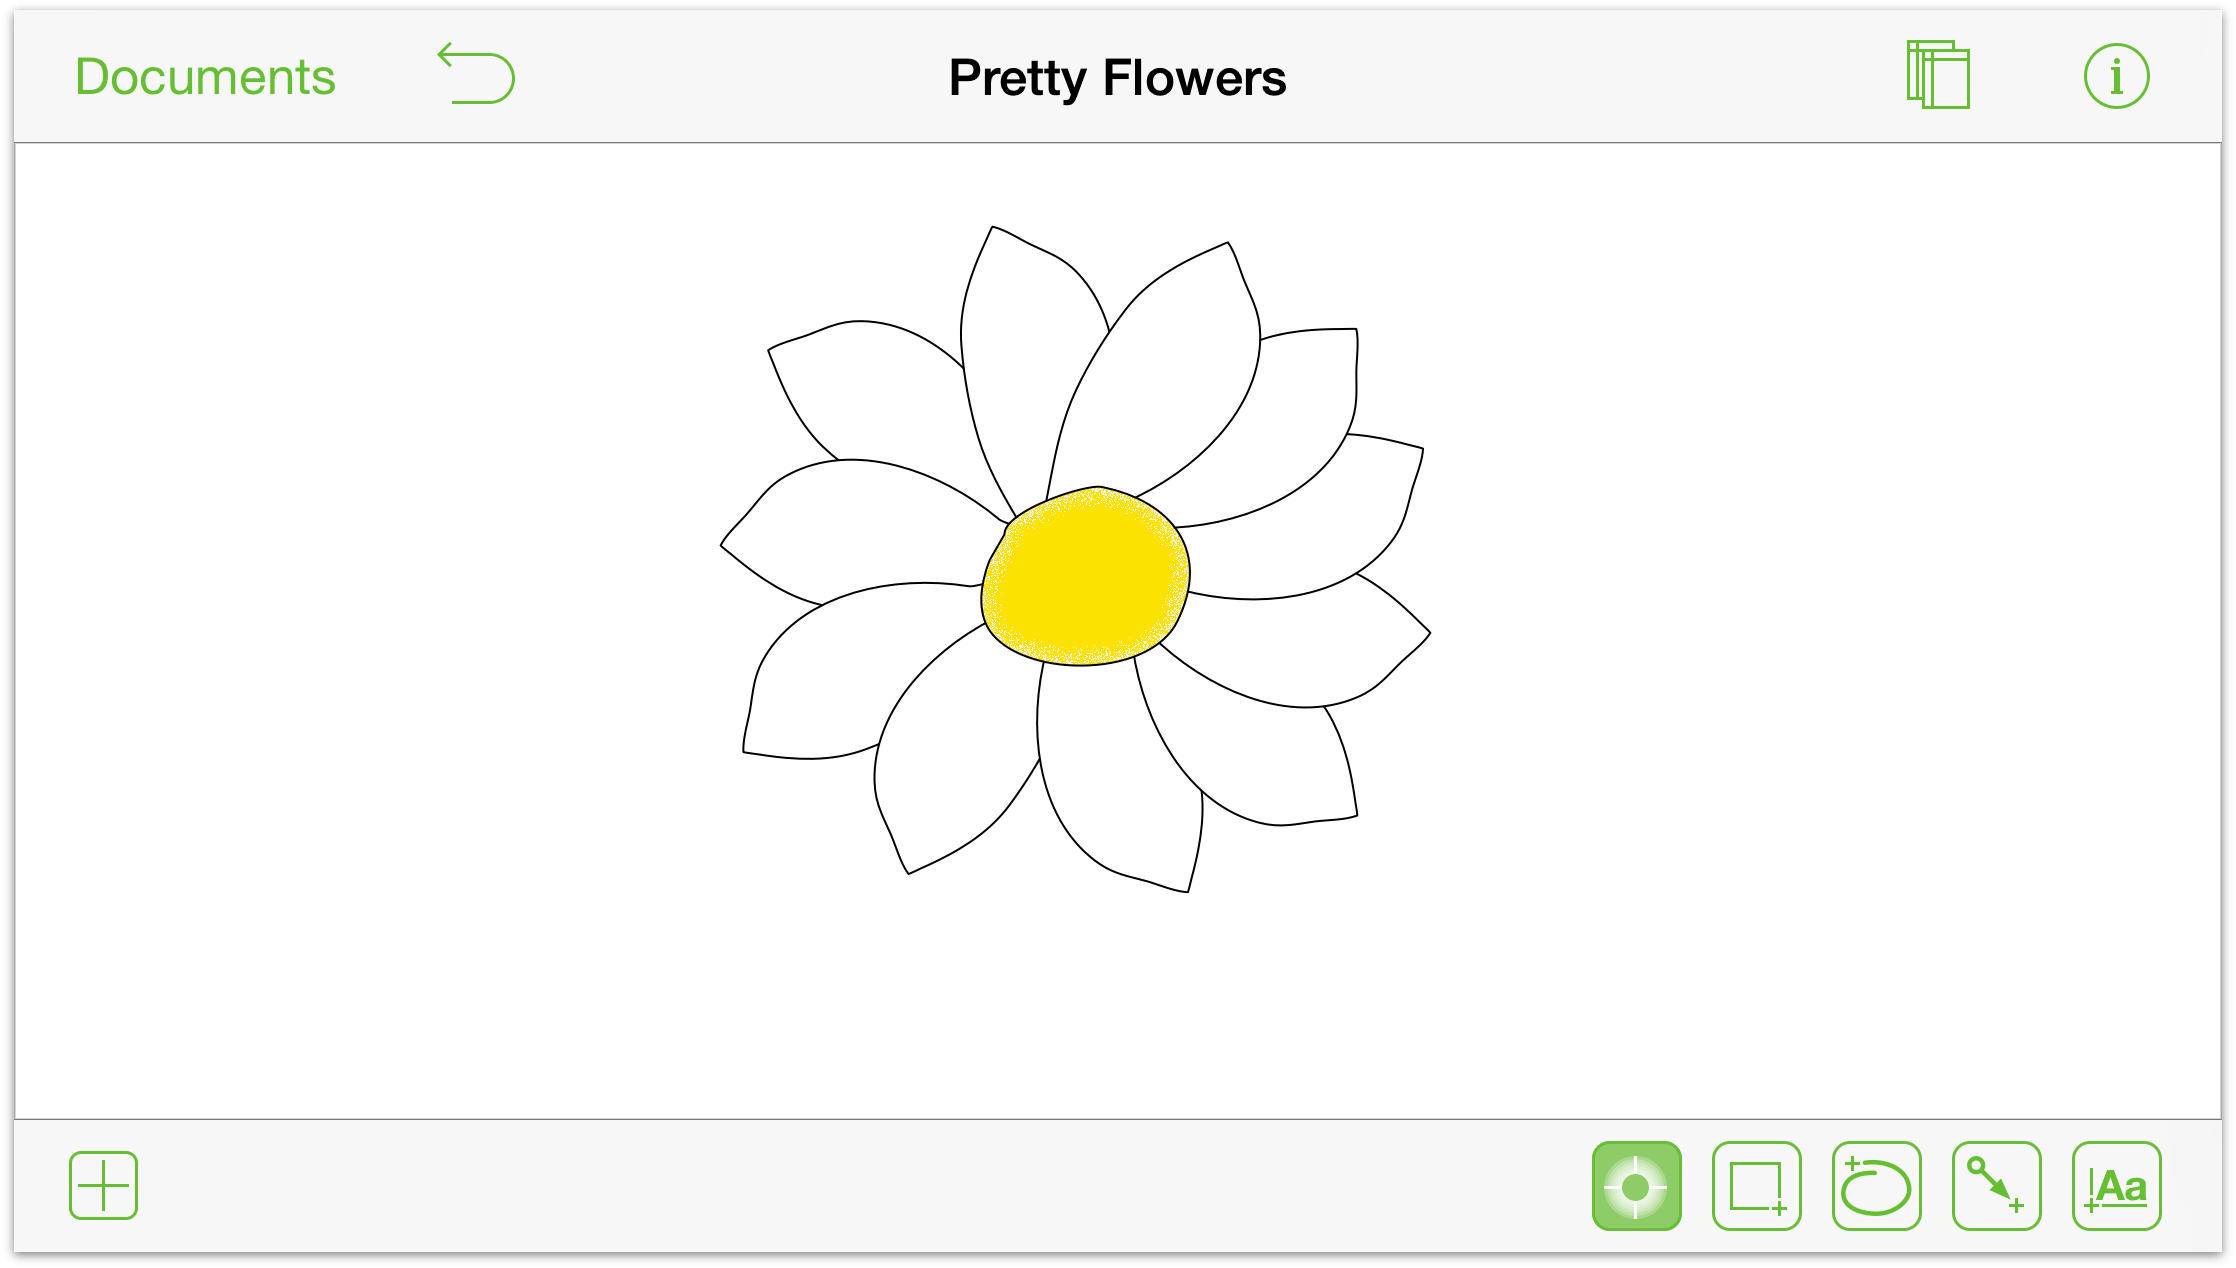
With the Fill and Stroke set to your liking, you can finally start drawing. The following image consists of just two shapes: the stigma and a single pedal. Once the pedal was the desired shape, it was copied and pasted a bunch of times, rotated, and then each was moved forward or backward in the object stack.
To learn more about drawing in OmniGraffle, see Drawing Basics, later in this book. Also in that chapter, be sure to check out the Working with Bézier Curves section.
