Drawing Basics
Everything you’ll do in OmniGraffle involves drawing. Whether you’re creating the basic shapes for an organizational chart or prototyping a user interface for your next iOS or Mac app, OmniGraffle is packed with tools to feed your creativity.
Before you dive in, though, take some time to learn some of the basics of drawing in OmniGraffle. There are many tips and tricks here that can help you master OmniGraffle in no time.
Creating Shapes
As mentioned in Basic Concepts, drawing in OmniGraffle takes the form of objects on layers of a canvas. Shapes are the most common type of OmniGraffle object you can add to a project, and the most basic way to create, or draw, a shape on the canvas is with the Shape tool.
Select the Shape tool in the Tool Palette.

Next, open the Object inspectors by choosing Inspectors ▸ Object. You can also open the Object inspectors by pressing Command-1. Each of the inspector tabs can be accessed with a keyboard shortcut.
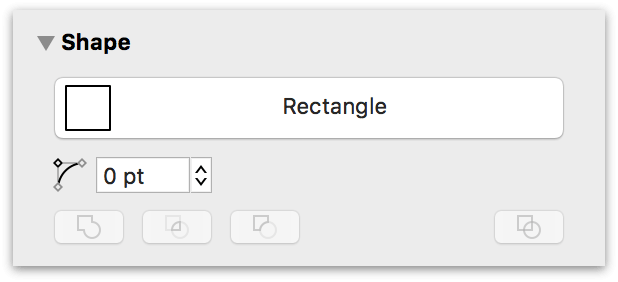
Locate the Shape inspector and Option-click on either its disclosure triangle or on the inspector name. This opens the Shape inspector and collapses the other Object inspectors in that tab.
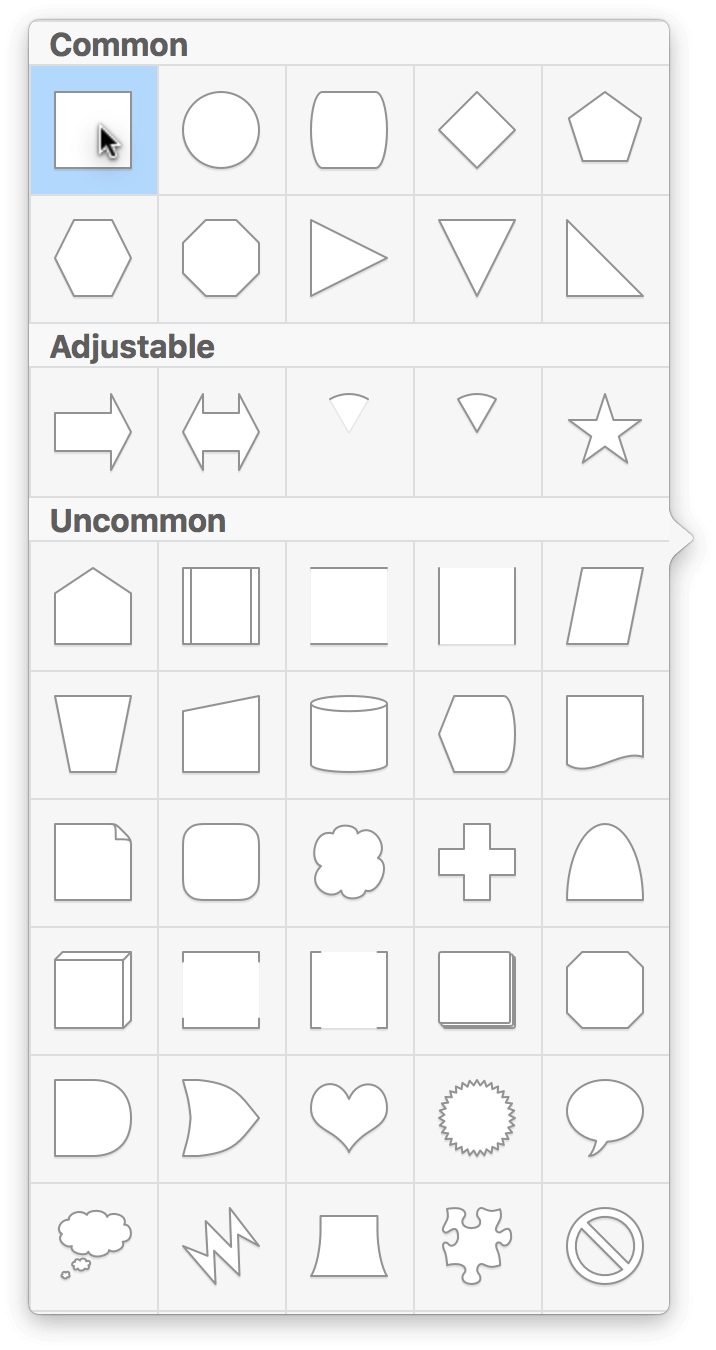
Click the Shape Selection button; this opens a popover from which you can choose a shape. Double-click on the square/rectangle shape in the upper-left corner of the popover.
With the Shape tool and the Rectangle shape selected, drag across the canvas until you have a rectangle that is the size you want. When you draw a shape, the mouse pointer changes to a set of crosshairs.
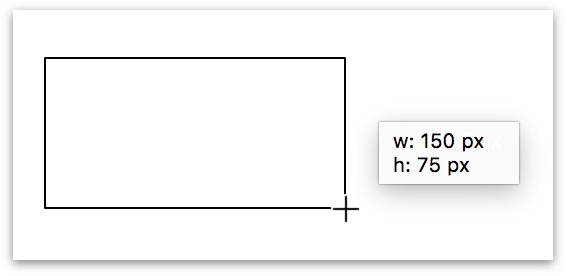
If you want to draw a perfect square, hold down the Shift key while drawing to restrain the dimensions of the shape.
It doesn’t have to be perfect right now; to set an exact size, use the Geometry object inspector (Command–1).
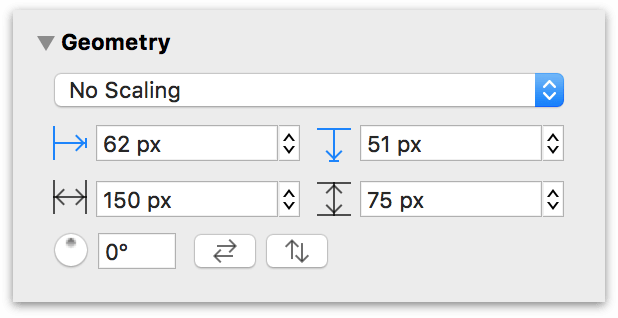
The top two fields in the Geometry inspector let you know the position of the object in relation to the canvas origin, while the middle two fields reflect the object's width and height. The controls on the bottom row allow you to rotate the object or flip it horizontally or vertically.
Selecting, Resizing, and Moving Objects
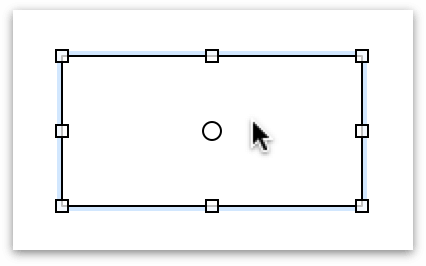
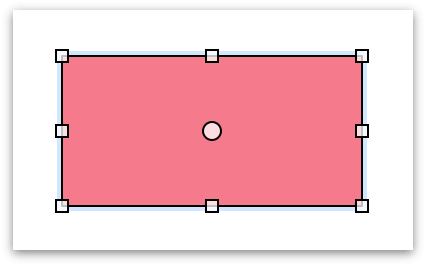
To select an object, choose the Selection tool ( ) from the Tool Palette, and then click the object. When the object is highlighted, you will see eight handles along its edges, plus a round handle at its center if you choose View ▸ Movement Handles.
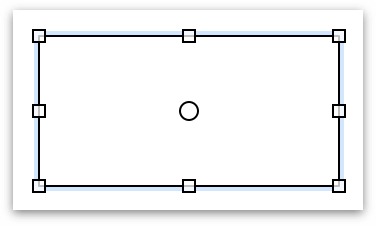
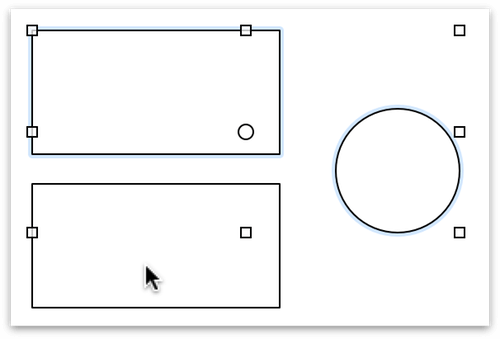
If you have selected two or more objects, the area of the selected objects receives the eight resizing handles. This allows you to position objects on the canvas first, and then later resize select objects as needed.
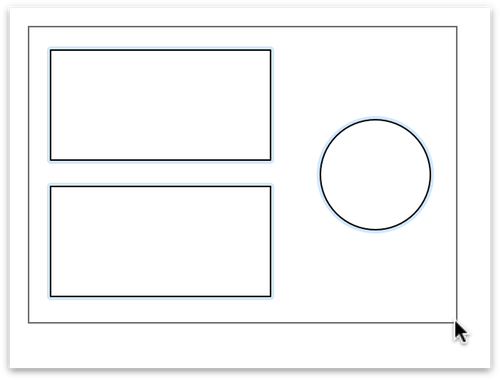
To perfectly align two objects with each other, click-and-drag one of the objects into position, and the blue Smart Guides to appear to help guide your objects into position.

For more precise control over aligning objects, select the objects that you want to be aligned, and use the Alignment inspector to align and specify the distance between objects vertically or horizontally.
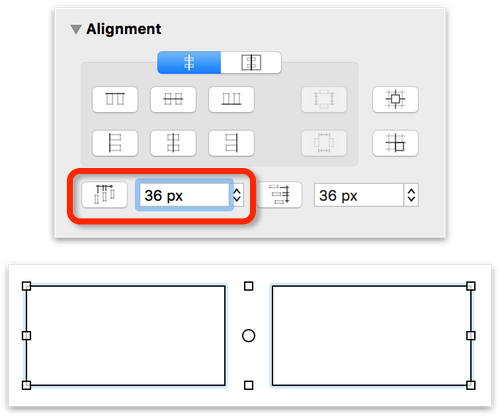
See Positioning Objects Neatly with the Alignment Inspector to learn more about the Alignment inspector.
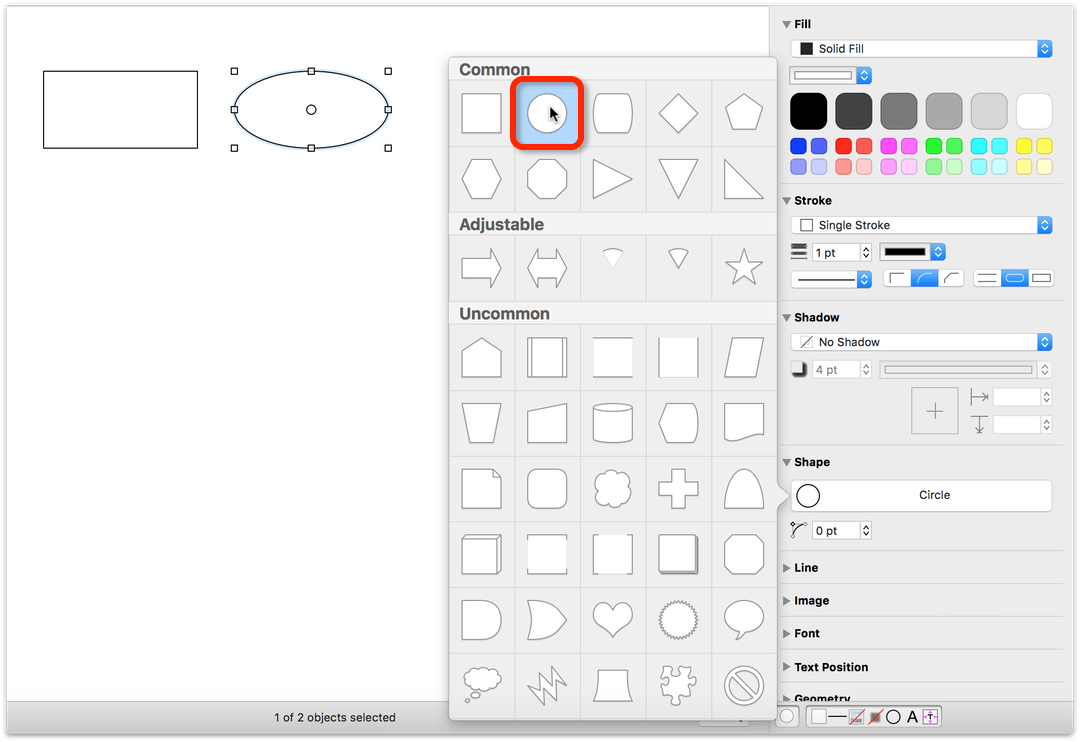
If you have an object on the canvas and you'd like to change its shape, select the shape and then use the Shape inspector's Shape Popover to select a different shape:
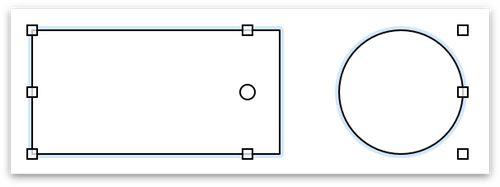
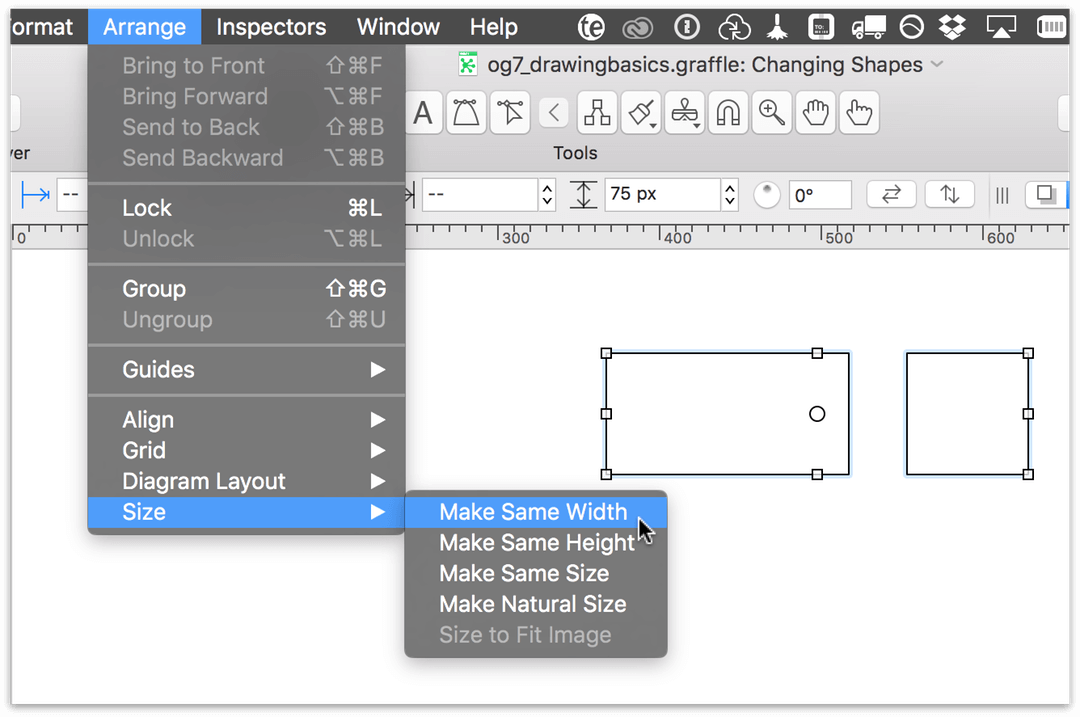
If you have two objects of different sizes on the canvas and you'd like them to be the same size, do the following:
- Select the object that has the dimensions you'd like the others to emulate.
- Command-click on the objects that you want to be the same size as your first selection.
-
Choose Arrange ▸ Size and then choose one of the resizing options:
- Make Same Width
- Make Same Height
- Make Same Size
- Make Natural Size
- Size to Fit Image (this option is only available if you are trying to fit an image within the bounds of a shape)
Once you have selected an object, you can modify it with the Inspectors or use the menu commands to alter its appearance.
-
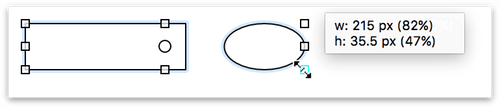
To resize an object, first select the object and then drag one of its resizing handles until the object is the size you’d like.
-
To select or deselect more objects without losing the selection you’ve already made, hold Command as you click other objects.
-
To select several adjacent objects at once, click in an empty area of the canvas and drag a box around the objects that you want to select. If you hold down the Option key while dragging, you’ll get only the objects that fit completely inside the selection rectangle.
-
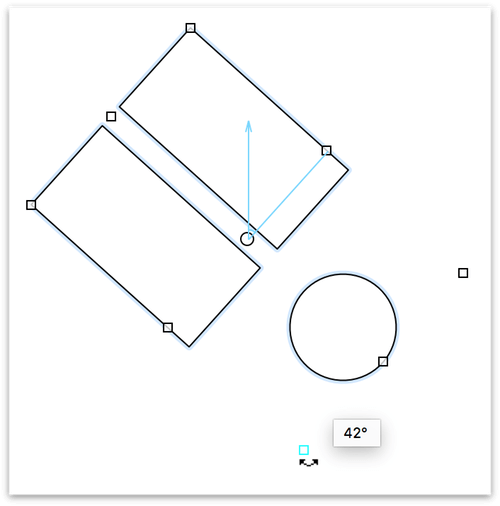
To rotate an object, hold down the Command key while mousing over one of the eight handles. The pointer changes from a standard resizing control to a curved one. An angle control appears inside of the object, along with a helper dialog that shows the degree of the angle.
If you are using a laptop or touch-sensitive trackpad, you can enable Multi-Touch trackpad gestures for use with OmniGraffle (see Multi-Touch). With Multi-Touch gestures enabled, you can use two fingers to rotate objects.
-
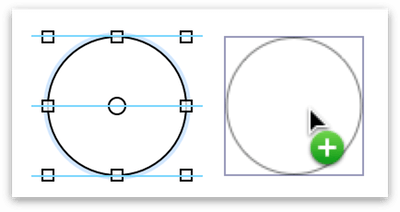
To quickly create a copy of an object you’ve drawn, hold down the Option key and then click on and drag the object you would like to copy. An exact duplicate appears on the canvas; this method is much faster than using Copy and Paste from the Edit menu or their respective keyboard shortcuts.
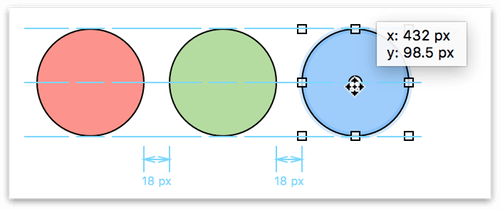
- To move an object, use the Selection tool to click and hold on the object, and then drag it to its new location. Smart Alignment Guides (the light blue lines) appear to help you align objects to one another, while Smart Distance Guides appear beneath the objects so you can space them evenly.
-
To group several objects together so they can be moved or styled as a single unit, select all of the objects and choose Arrange ▸ Group (Shift-Command-G).
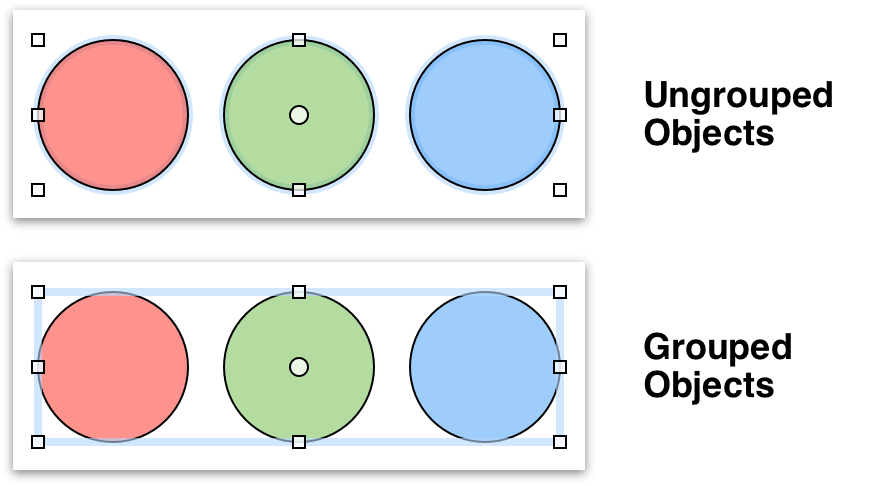
A group behaves like a single object; you can select it, move it around, resize it, use inspectors to change its style and properties, connect lines to it, and so on. Any objects can be grouped, even groups.
Click once to select the group as a whole, then click again to select an individual member of the group. You can keep clicking to select members of groups within groups.
To take a group apart, select it and choose Arrange ▸ Ungroup (Shift-Command-U).
Styling Shapes with the Object Inspectors
As you will learn more in the Diagramming Basics tutorial, you can apply styles to the shapes you create with the Object inspectors, available on the right side of the canvas.
To style an object:
-
Select the object you want to style with the Selection tool:
When you select the object, the Inspectors sidebar conveniently switches to the Object inspectors.
-
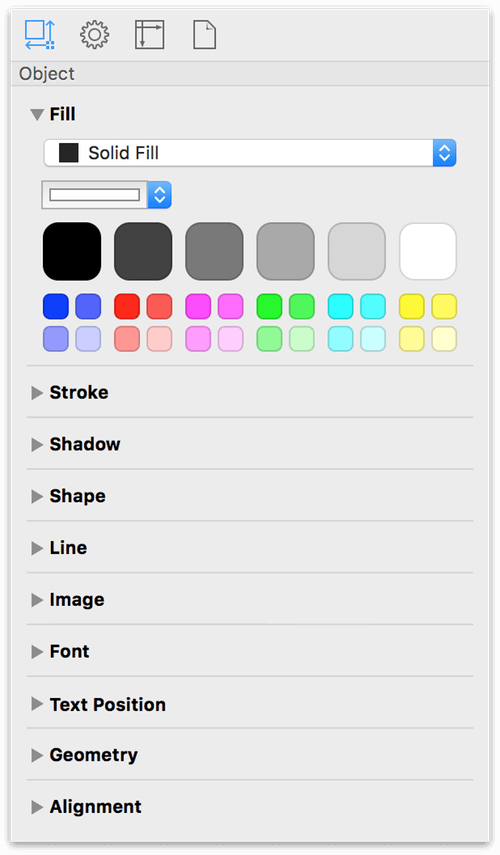
Option-click on the Fill inspector. This opens the Fill inspector, and collapses the other Object inspectors in the sidebar:
-
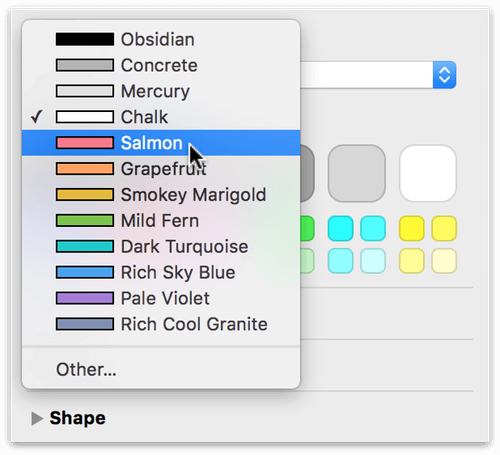
Click one of the Color Swatches or use the Fill Color menu to apply a fill color to the object you selected on the canvas:
-
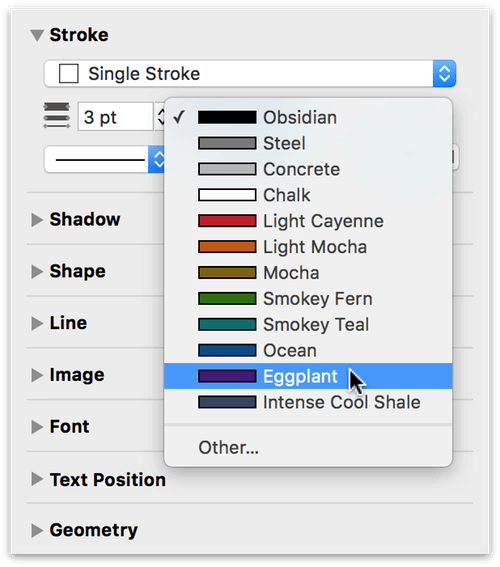
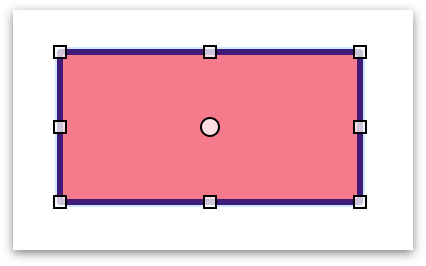
Similarly, you can use the Stroke inspector to change the point size of the line around the object and its color:
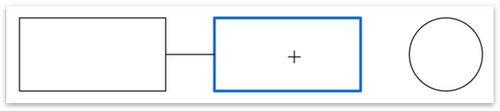
Connecting Shapes with Lines
You can connect any two objects with the Line tool ( ).
).
-
Select the Line tool. (Note, this tool might look different if you change its style.)

-
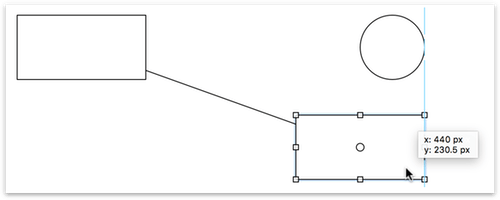
Click the first object you would like to connect; this object becomes the source of the line. You’ll notice that when you move the mouse over the object, that a blue pulsing border appears around the object.
-
Click the second object you would like to connect; this object becomes the destination of the line. When you drag the line from the first object to the next, you’ll notice that the blue pulsing border appears around the object you’re dragging the line to.
-
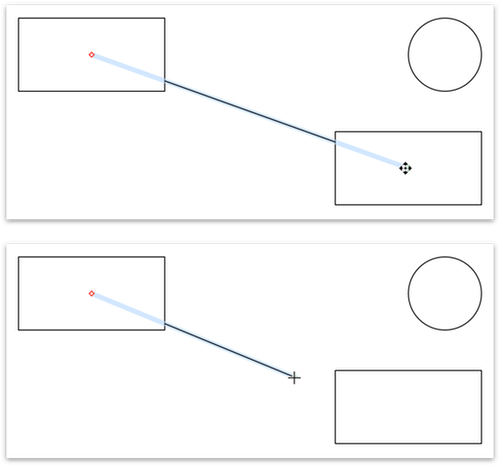
When the objects are connected with a line, they stay connected no matter how much you change or move them around. That means the logical integrity of your diagram is preserved regardless of how you choose to style the objects.
-
You can disconnect a line from an object by selecting the line and then dragging one of its end points. To delete the line, just select the line and press Delete.
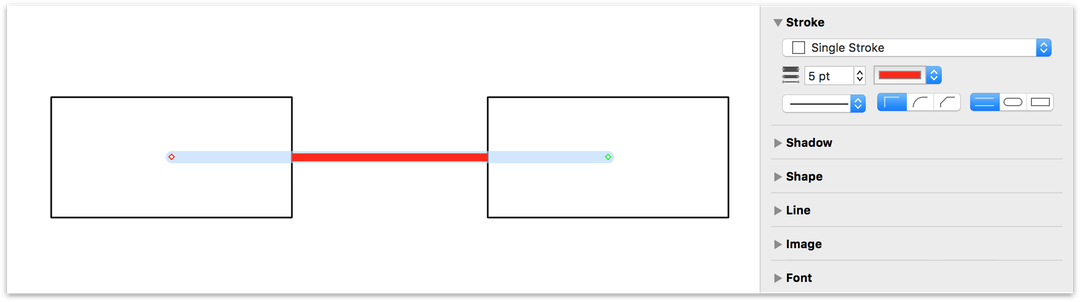
Styling Connecting Lines and Adding Line Ends
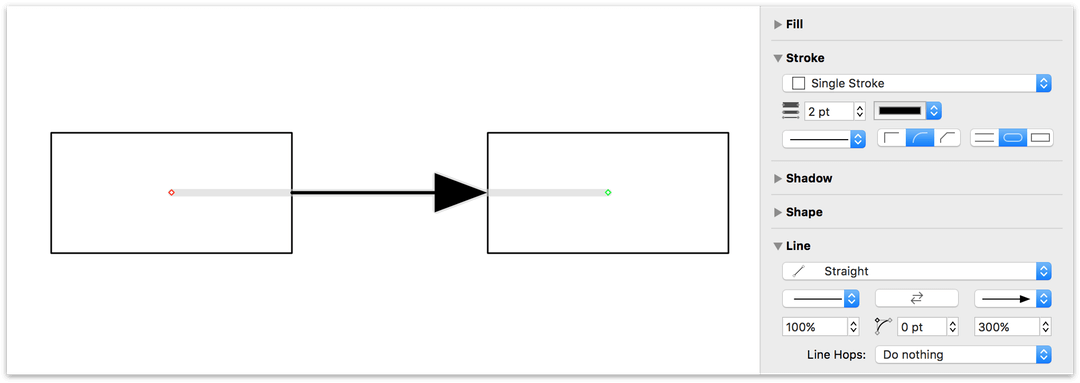
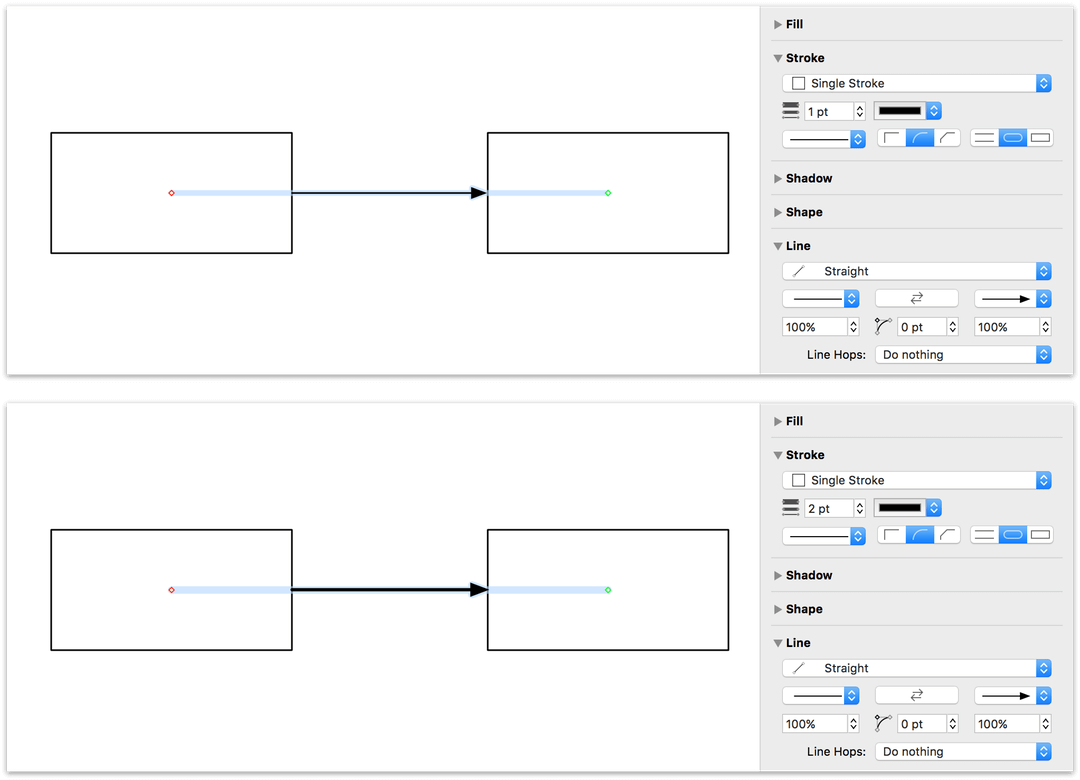
The connecting lines that you draw between objects on the canvas can be styled, just like any other object you create in OmniGraffle. For example, you can change the point size and color of the line with the Stroke inspector:
And, if you are creating a flowchart or diagram where showing the flow of a process is needed, you can add line ends to the tail or head of the line. Using the Line inspector, you can add a Line Tail or Line Head, such as circles, squares, and various sets of arrows, depending on what it is you are diagramming.

The various line ends in OmniGraffle have some smart behavior. When you change the point size of the line—say, from 1 pt to 2 pts—the arrow scales with the point size of the line.
However, if all you want is a bigger arrow, you can adjust the size of the arrow using the scale field beneath the line tail or head pop-up menus. The scale fields accept positive and negative numbers, so you can have teeny-tiny or really huge arrows.