The Custom Data Inspector
The Custom Data inspector provides space to add information about individual tasks, resources, or the project as a whole (depending on the selection), including notes, key/value pairs, and linked file attachments.
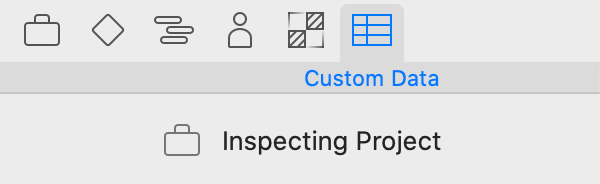

The area at the top of the inspector shows what is currently being inspected. Custom data entered in the sections below is attached to the selection listed here.
Notes
Use the Notes inspector to add text and links related to the selected task, resource, or the project as a whole.
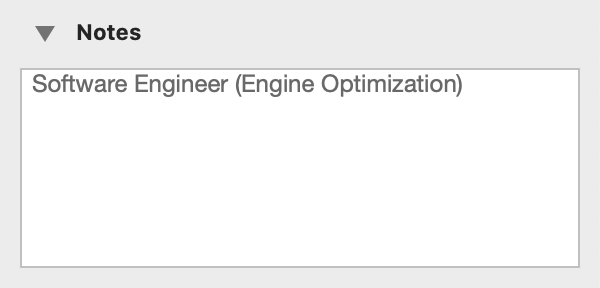
Text in the Notes inspector also appears in notes on item rows in the outline, and can be styled on a document level using the Advanced tab of the Styles inspector or customized individually with the Format menu.
Links In Notes
You can interact with URLs you add to notes as you would expect. Clicking a link resolves it in a web browser or appropriate app destination (OmniOutliner links open in OmniOutliner, for example).
The contextual menu on links offers additional interactions:
-
Open Link—Opens the link in the application designated to handle it.
-
Copy Link—Copies the link to the clipboard.
-
Edit Link—Opens a dialog for editing the link destination (as opposed to the link text).
-
Remove Link—Removes the hyperlink from the link text, leaving the text behind.
Key/Value Data
Use the Key/Value Data inspector to add custom information stored as key/value pairs. The key is like a label for what type of information you are storing, and the value is the information itself.
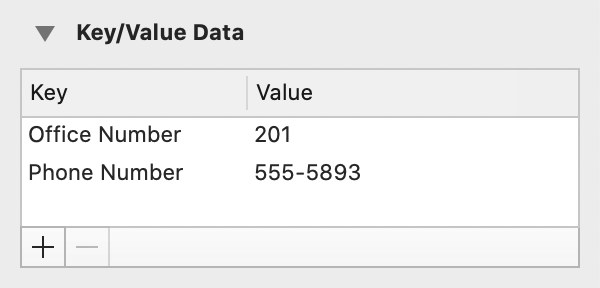
For example, to keep track of staff members’ phone numbers:
- Select a staff resource in the resource list, and open the Custom Data inspector.
- Click the Plus button at the bottom of the inspector to create a new key/value pair.
- Name the key Phone Number.
- Enter a number as the value for the selected resource.
Now that you have created the key for this resource, every other resource has the same key, ready for you to enter a value.
You can show key/value pairs as custom columns in the task outlines or resource list, or as labels in the Gantt chart or resource timeline, by customizing task labels and columns in the appropriate View submenu (or by control-clicking on the outline’s column header and choosing the key name from the contextual menu).
Linked Files
Use the Linked Files inspector to keep references to files that are relevant to your project or to particular items in it. Select a task or resource to add a linked file to it; adding a linked file with nothing selected will add it to the project as a whole.
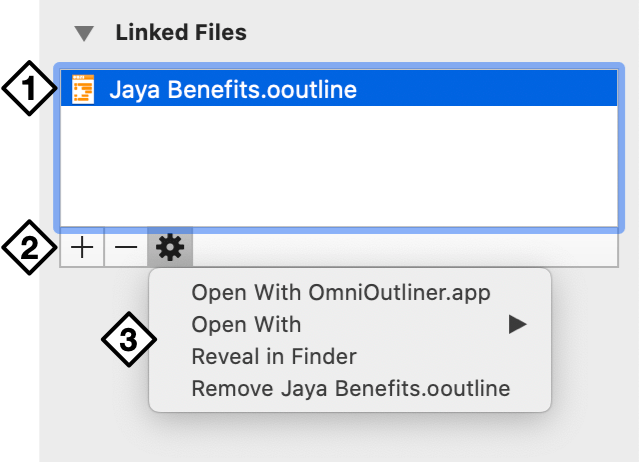
- Linked Files List—Any files linked to the task, resource, or project are displayed here. Double-click a file to open it in its default application.
- Add and Remove Files—Use the Plus and Minus buttons here to add or remove linked files from the list. These links are associations rather than files themselves; adding or removing them will not alter the original files.
- Linked Files Gear Menu—Use the gear menu to choose an alternative application for opening a selected file, to reveal the selection in Finder, or remove the link to the selected file.
To link a file to an item in the task outlines or resource list:
- Click the item to select it.
- In the Linked Files inspector, click the Plus button below the files list, then choose a file in the dialog that appears. If you are showing the Attachments column in the outline, you can also click the arrow icon and choose Attach File from the pop-up menu, then choose a file. Alternatively, drag a file into the list.
- The file appears in the inspector’s linked files list.
To link a file to the project itself:
- Make sure nothing is selected in the main view.
- In the Linked Files inspector, click the Plus button below the files list, then choose a file in the dialog that appears. Alternatively, drag a file into the list.
- The file appears in the inspector’s linked files list.
You can open a linked file by double-clicking it in the Linked Files inspector, choosing Open from its contextual menu, or by choosing it from the pop-up menu in the Attachments column of an item’s row in the outline.
Every linked file is a reference to the file elsewhere on your disk. If you move the files around, the references try to keep track of the new location. But if you are going to send a project to someone else, or otherwise move your project to another computer, the other files won’t automatically come along for the ride. In that case you should gather all of the attached files into one folder along with the OmniPlan file itself, and send the whole folder.
You can show linked files as a column in the task outlines and resource list by customizing task labels and columns in the appropriate View submenu, or by control-clicking on the outline’s column header and choosing Attachments from the contextual menu.