Multi-User Collaboration (Pro)
On a large project where team members are spread across different teams, projects, or time zones, you need the ability to provide shared access to a project plan. OmniPlan Pro makes multi-user collaboration possible by providing per-document Publish and Subscribe capabilities. Paired with a robust change tracking system, everyone on your team can access and update shared project files without fear of overwriting the work of others.
This chapter takes you through the process of setting up OmniPlan Pro—both as the project publisher and subscriber—so you can quickly get to work on your project.
How The Publish and Subscribe System Works
Once set up, Publish and Subscribe works like an infinite loop. The project manager and the resources assigned to the project are both capable of publishing and subscribing to everyone’s updates to the file. The key to making this work is the OmniPlan file itself, which resides on a server repository.
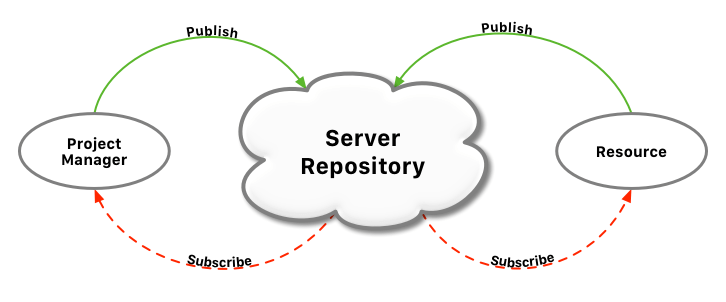
When you initially publish an OmniPlan file, a copy of your file gets pushed up to the designated server. That file on the server becomes the single point of reference to which everyone refers. The people assigned to the project subscribe to the file, which places a copy of the OmniPlan file in their On My [device] folder.
As people assigned to the project update their local file, they in turn publish those changes to the file on the server. The server then pushes those changes to everyone so their local file is always up to date.
Both the project manager and the resources contributing to the project use change tracking to receive and review changes which, when accepted, are published back up to the server.
The Difference Between Cloud Storage and Publish and Subscribe
Cloud storage and Publish and Subscribe offer different features depending on your needs:
-
Cloud storage (such as Apple's iCloud Drive) provides a way for you to access and sync files on multiple devices.
-
Publish and Subscribe provides a means for you and your team to access a shared project file on a server repository.
The first time you open a published file on a server repository, a copy of that file is placed in your On My [device] folder. The file you have synced with the server repository still remains in the cloud; however, you now only need to access the locally-stored file for publishing and subscribing to changes from your team.
Connecting OmniPlan to a Server Repository
With OmniPlan Pro installed, the App Menu in the document browser adds a Server Repositories item for setting up a shared server repository.
To create and connect to a server repository account, do the following:
-
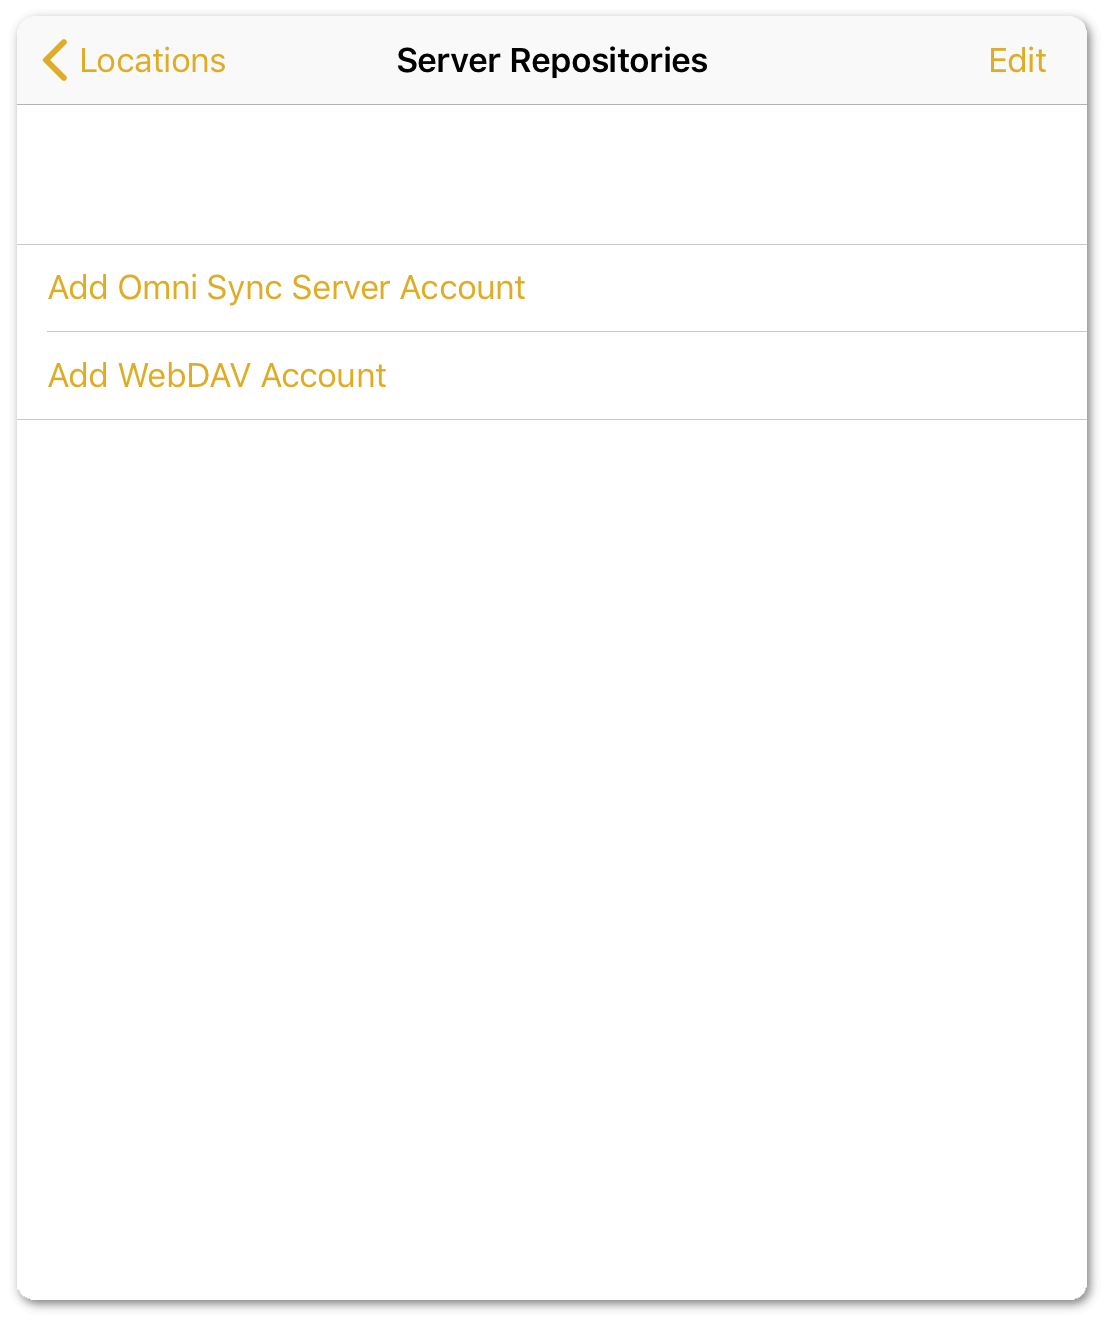
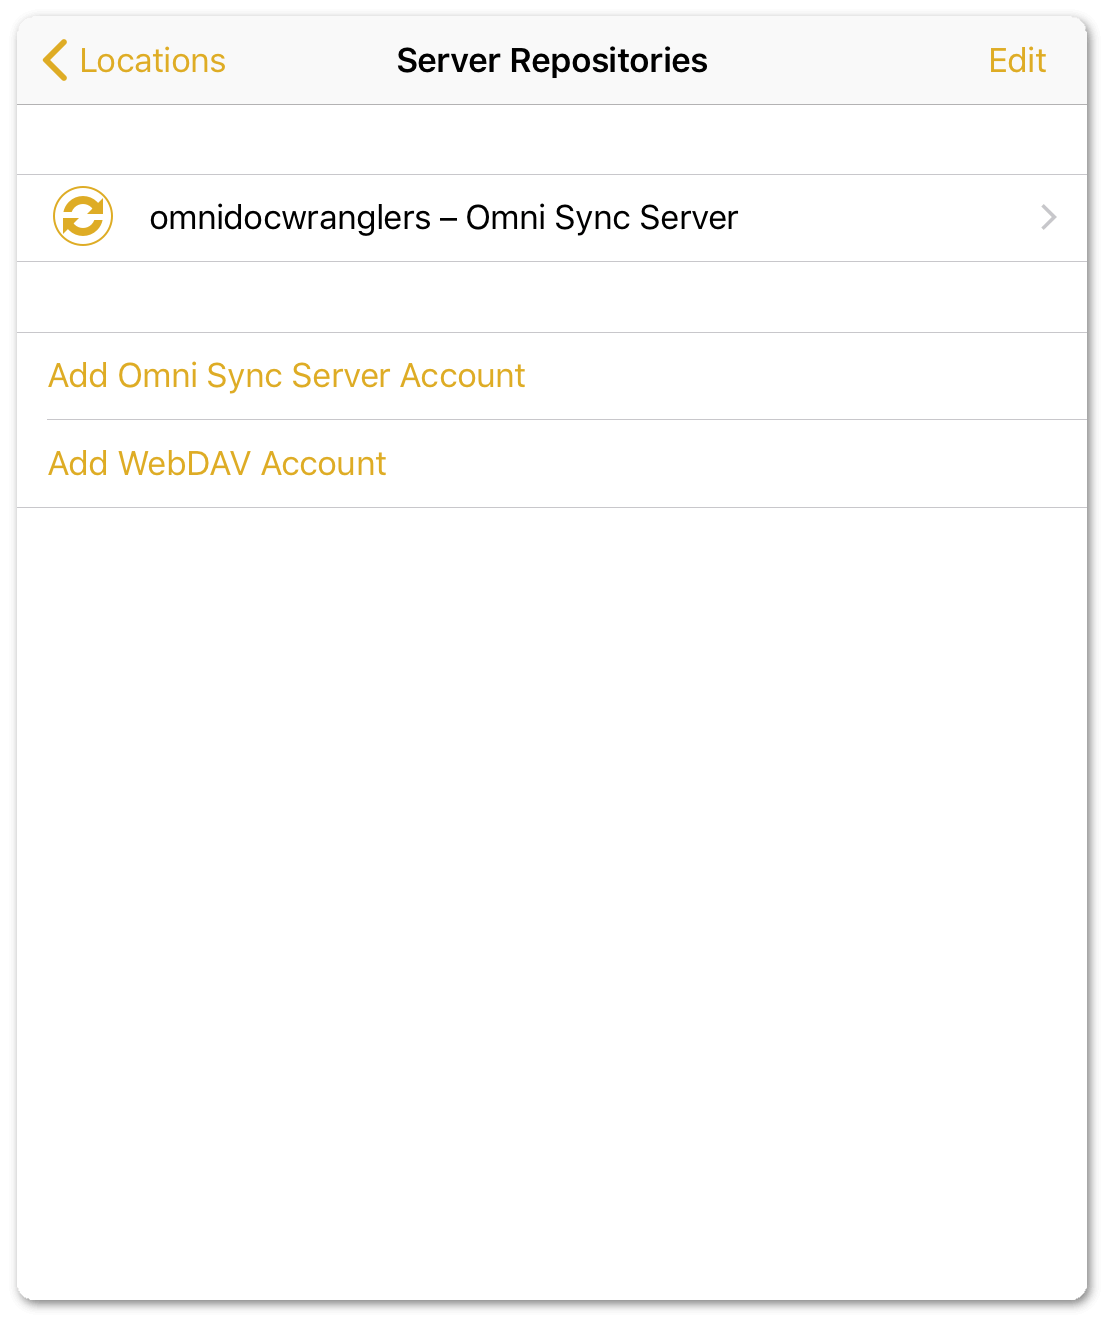
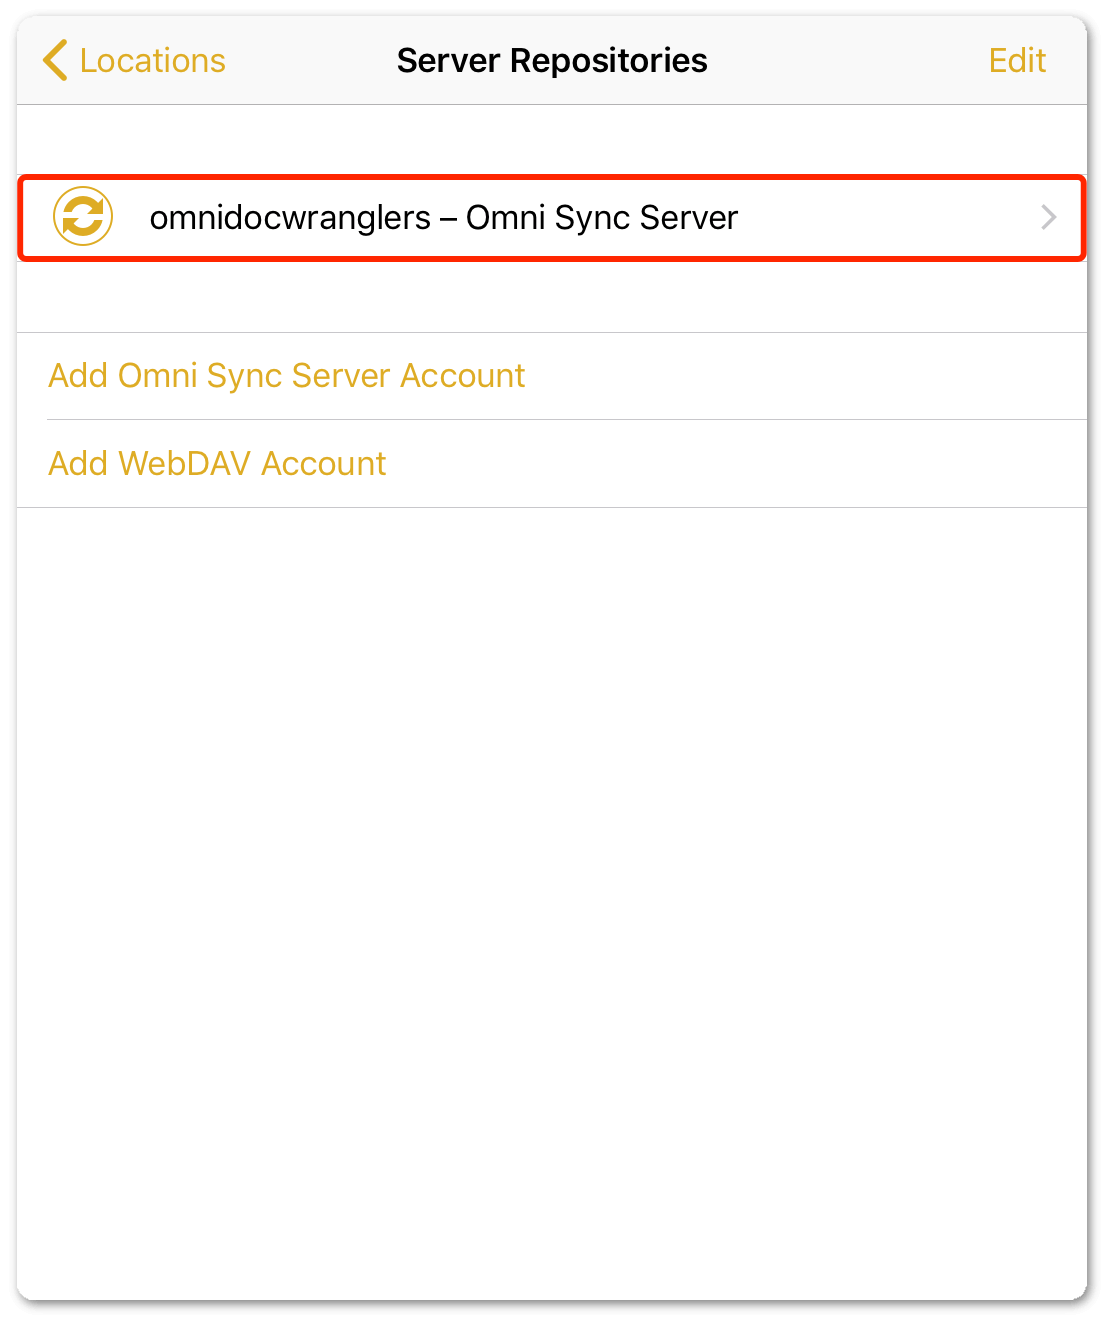
From the App Menu, chooose Server Repositories:

-
Next, choose the server that hosts your OmniPlan files. Tap Add Omni Sync Server Account if you are syncing files with Omni Sync Server, or tap Add WebDAV Account if you are self-hosting or using a third-party WebDAV server:
-
On the Server Details screen, enter the information to access your account:
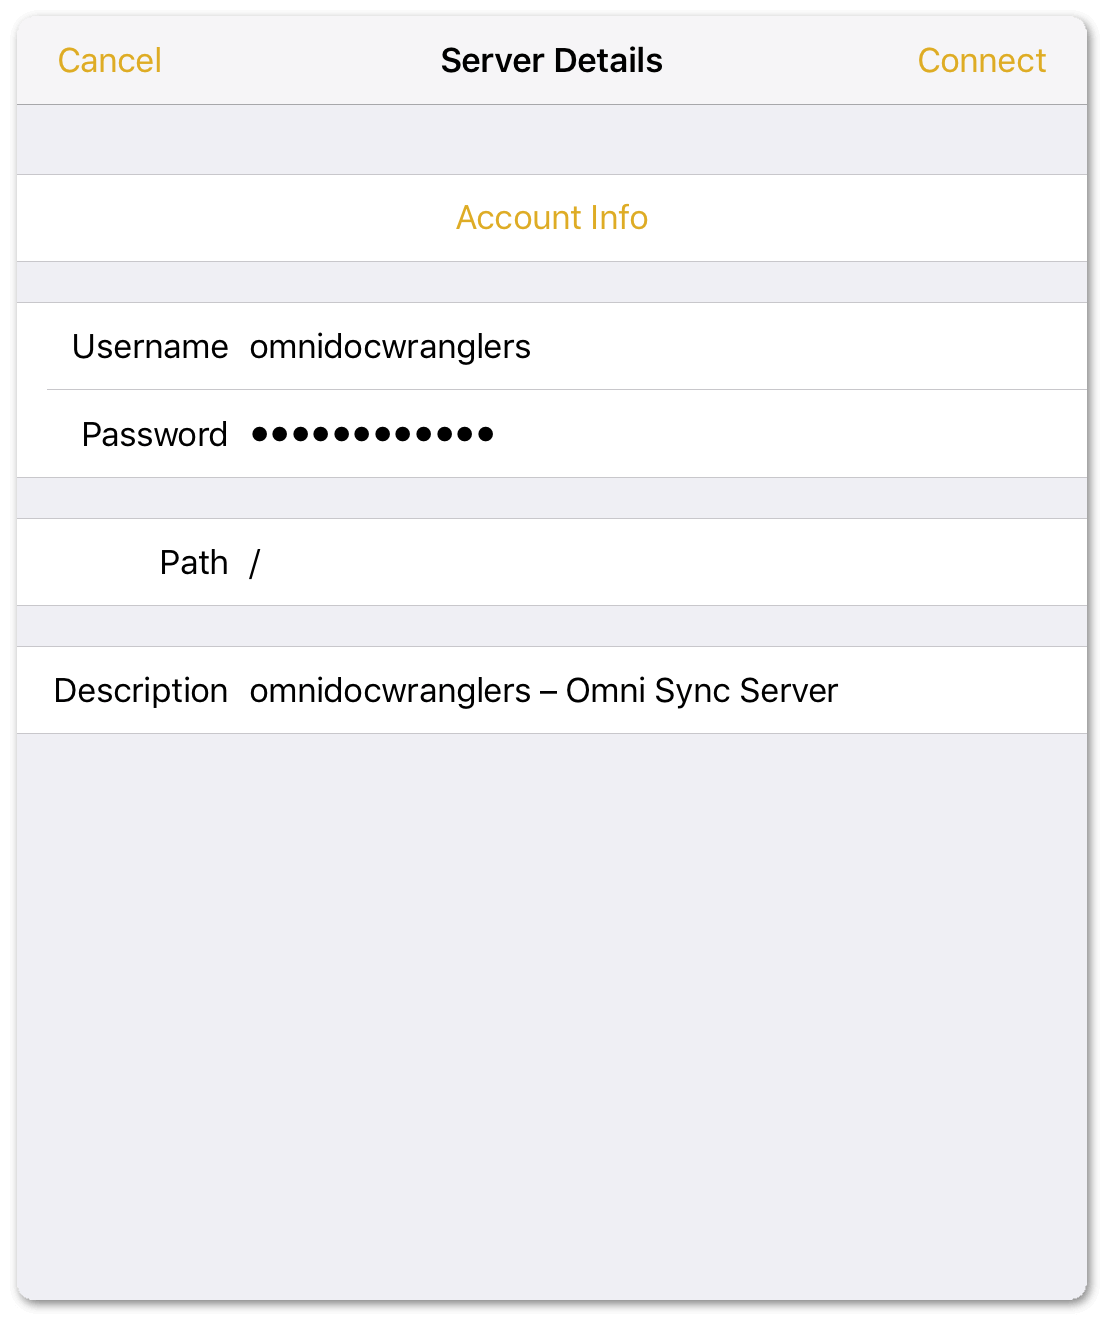
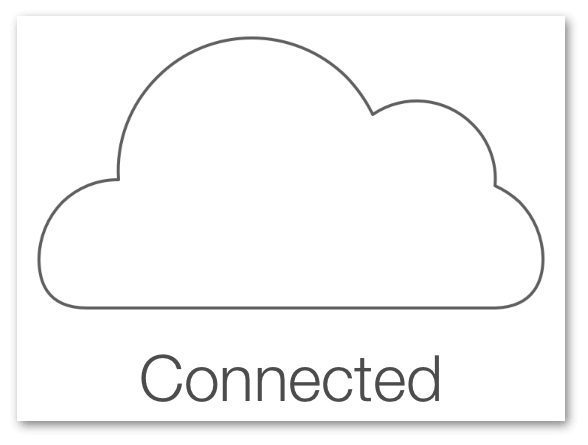
After entering your account information, tap Connect in the window’s upper-right corner. Using the information you provided, OmniPlan attempts to connect to the server, and displays a message letting you know that the connection was successful.
If you encounter an error at this point, re-enter your Username and Password, double-check the server address and any Path you may have provided and try again. (Leave the Path field blank if you are syncing via Omni Sync Server.)
If you continue to experience problems connecting, contact your server administrator. If you are syncing to Omni Sync Server, contact our Support Humans for assistance.
You are returned to the Server Repositories screen, which lists available sync server locations:
Next up: publishing your project.
Publishing an OmniPlan Project
To share an OmniPlan project, follow these steps:
- Open the OmniPlan project that you need to share.
- In the toolbar, tap
 to open the inspector.
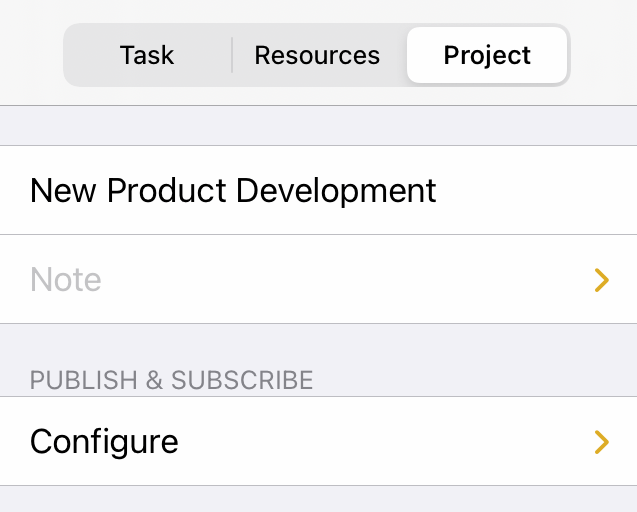
 - Tap Project to view the Project inspector.
-
Tap Configure under Publish and Subscribe:
-
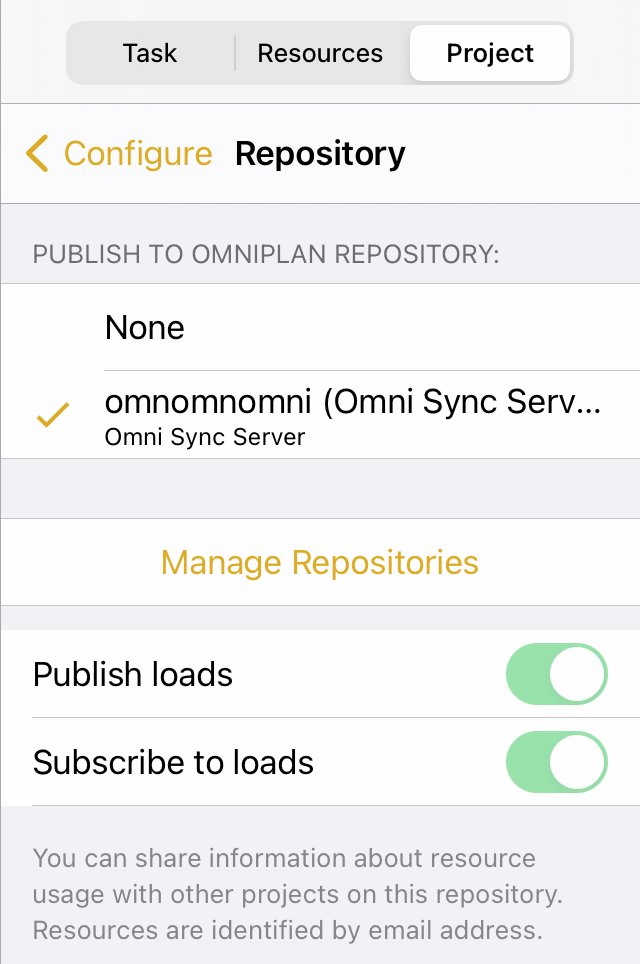
Tap repository and choose the Repository to publish to (note that the Publish loads and Subscribe to loads switches are unavailable at the moment, so we'll be back):
-
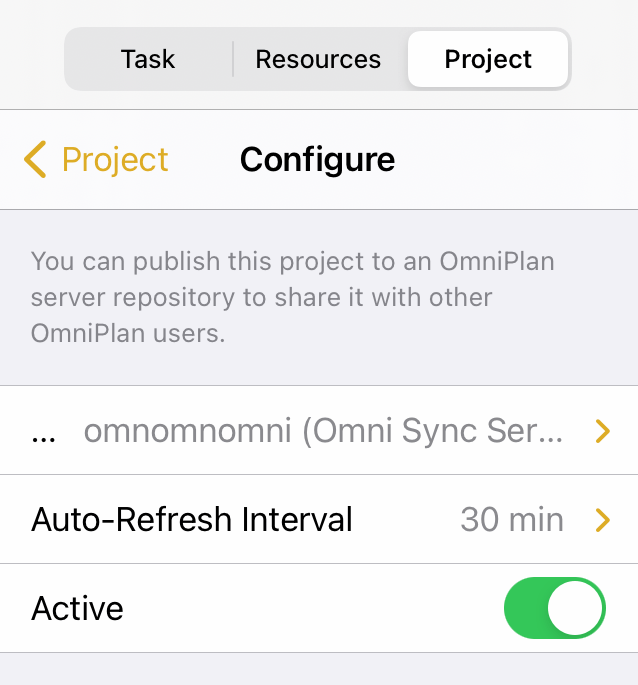
Return to the Configure pane and turn on the Active switch to make the project available for publishing and subscribing:

-
Open the Repository settings again and choose whether you want to Publish and/or Subscribe to resource loads by turning on or off their respective switches.
Balancing Resource Loads Across Projects
If resources (usually human members of your team) are shared between multiple projects in the same repository, you’ll need to decide whether to Publish the current project’s resource loads to other projects and whether the current project will Subscribe to the resource loads of others.
Choosing to Publish a project’s resource loads means that other subscribing projects will obey its workload information when leveling. For example, if Julie is working on Project A on Wednesday and its loads are being published to Project B, after leveling Project B won’t schedule her to work on Wednesday.
Choosing to Subscribe to resource loads means that the project will obey all constraints by projects in the repository that are publishing their loads. By using only the publish or subscribe option a hierarchy of priority can be established between simultaneous projects. A project that only publishes will always have its needs met first, while a project that only subscribes will be assigned resources only when available.
By publishing and subscribing to resource loads, projects are treated as equals. If a project neither publishes or subscribes, it ignores external factors and syncs only with its own updates.
The key to balancing resource loads across projects is that individual resources are tagged and identified by a unique email address that is shared across all projects. This can be set in the Resource Info section of the Resource inspector.
-
Tap Back
 at the top of the inspector to return to the Configure pane of the inspector:
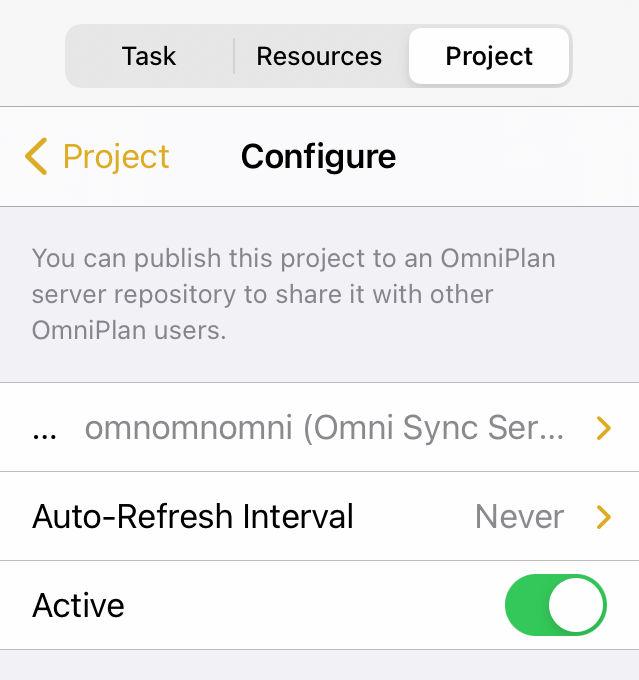
-
Tap Auto-Refresh Interval to set how frequently OmniPlan looks for updates to the synchronized file on the server:
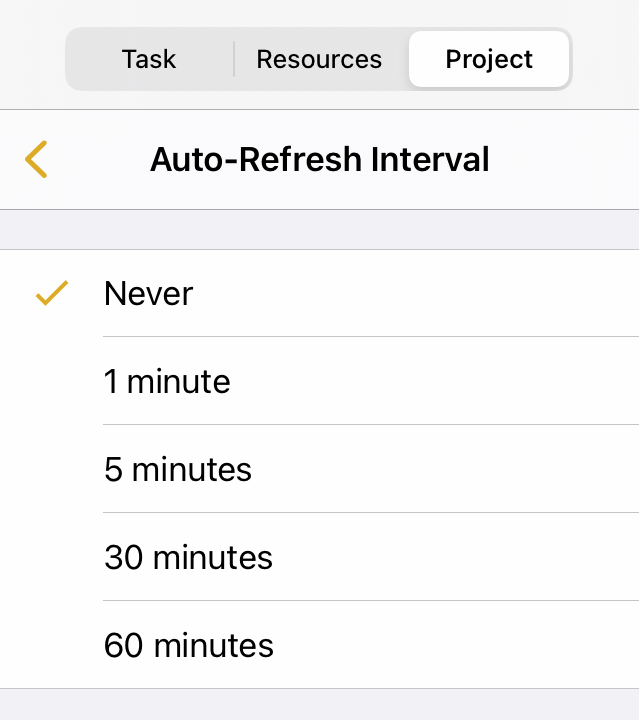
By default, this is set to Never, which allows you to manually check for updates in the Project inspector. Depending on how active your project is, however, you may consider choosing one of the available options (1, 5, 30, or 60 minute intervals).
After setting a frequency for the Auto-Refresh Interval, you are returned to the Configure pane of the inspector:
-
At the top of the Project inspector, tap Project
to return to the main inspector pane: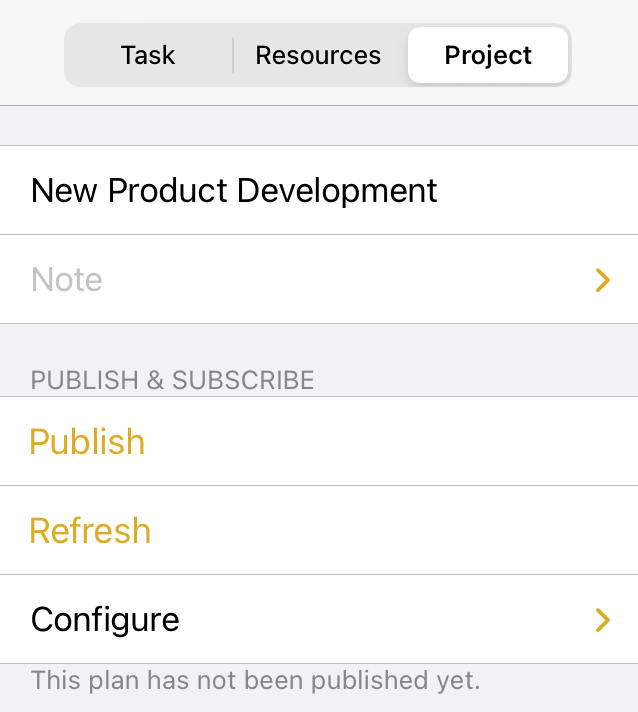
As of now, the project has yet to be published.
-
Tap Publish to publish the project file to the server repository:
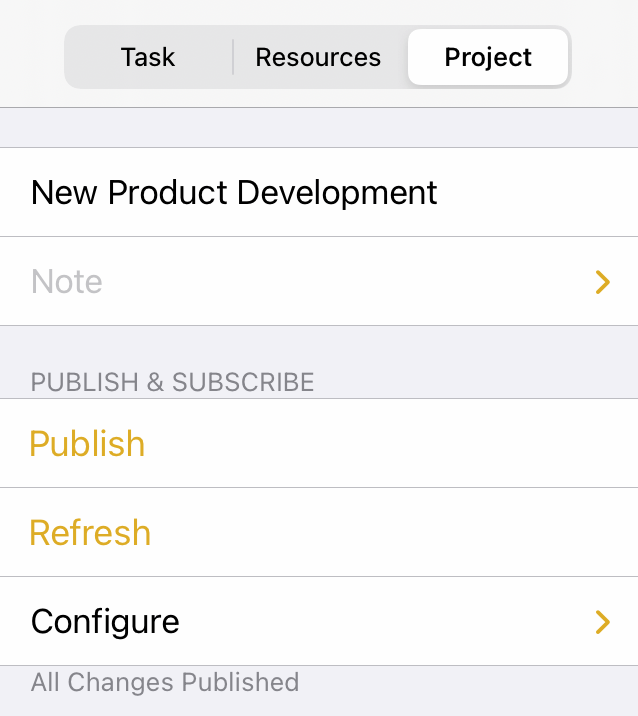
The Project inspector displays the message All Changes Published beneath the Publish and Refresh buttons.
Once published, OmniPlan updates the local copy of your project file based on the Auto-Refresh Interval, or whenever you tap the Refresh button.
Sharing the Server Repository Credentials with Subscribers
As the project manager, your next task is to inform team members how they can subscribe to the published project. You will need to provide your team with the following information:
- The Account Type: either Omni Sync Server or WebDAV server.
- The Username and Password to access the server.
- The Path to the file on the server, if using a WebDAV server. If you are using Omni Sync Server as the Server Repository, a path isn’t necessary.
And, last but not least:
- The name of the file to which they will subscribe.
Team members will use that information to add the Server Repository location on iOS, or to manage the Accounts preferences if using OmniPlan on macOS.
Subscribing to an OmniPlan Project
To subscribe to an existing OmniPlan project on an existing server repository, do the following:
-
Add the designated Server Repository to OmniPlan. See Connecting OmniPlan to a Server Repository, earlier in this chapter.
-
On the Locations screen, tap Server Repositories.
-
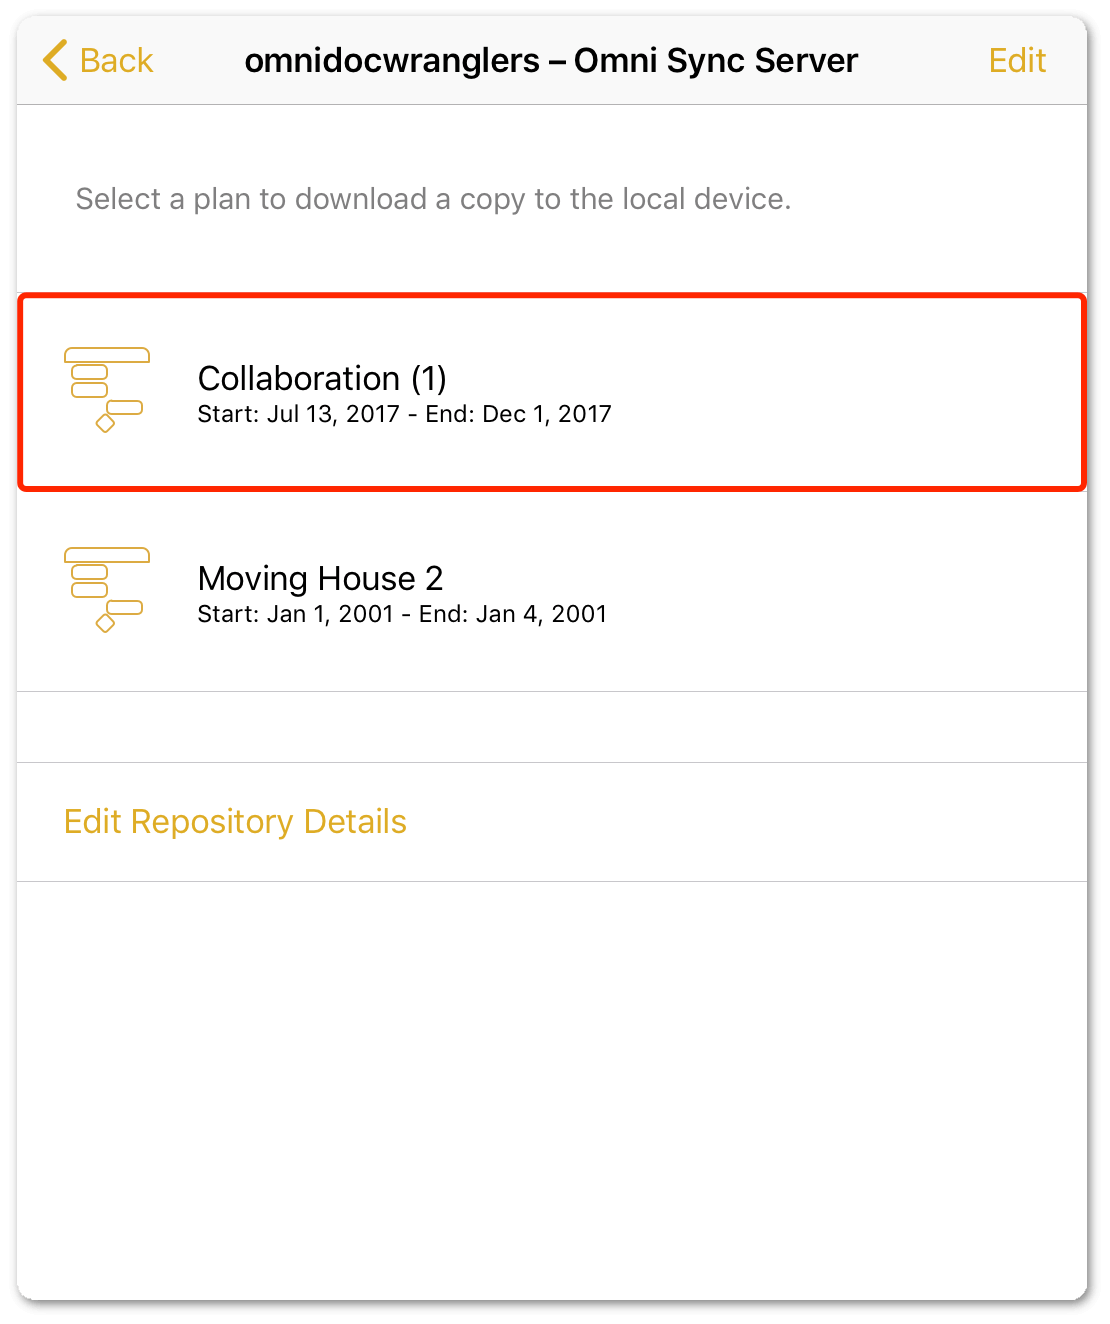
Choose the server that contains the project that you need to access:
-
Tap the published file to subscribe to it:
When you tap the file, OmniPlan saves a copy of it in the On My [device] folder (accessible via the document browser) on your device.
The OmniPlan file is available for editing just like any other OmniPlan project, with one important addition: it comes with its server repository settings pre-configured. The project is ready to publish its changes and receive updates from the server, and will by default publish changes to its resource loads and subscribe to those made in other projects on the server.
-
Tap to open the file.
You only need to run through the previous steps the first time you access the file on the Server Repository. Once the project file is saved to your On My [device] folder, just go there to open the project.
To ensure that your local copy of the project file is always up to date with the latest changes from other team members, we recommend that you follow these steps whenever you open your local copy:
- Get updates to the project: Tap to open the inspectors, tap the Project inspector tab, and then tap Refresh.
- Accept or reject changes.
- Make your changes to the project file.
- Publish your changes: Tap the Project inspector tab, and then tap Publish.
Managing Server Repositories
Once you have an account set up and have begun publishing and subscribing to projects, you can manage your repository accounts and shared projects on the Server Repositories screen.
From the App Menu:
- Tap Server Repositories.
-
Tap to select the repository containing the files you want to manage.
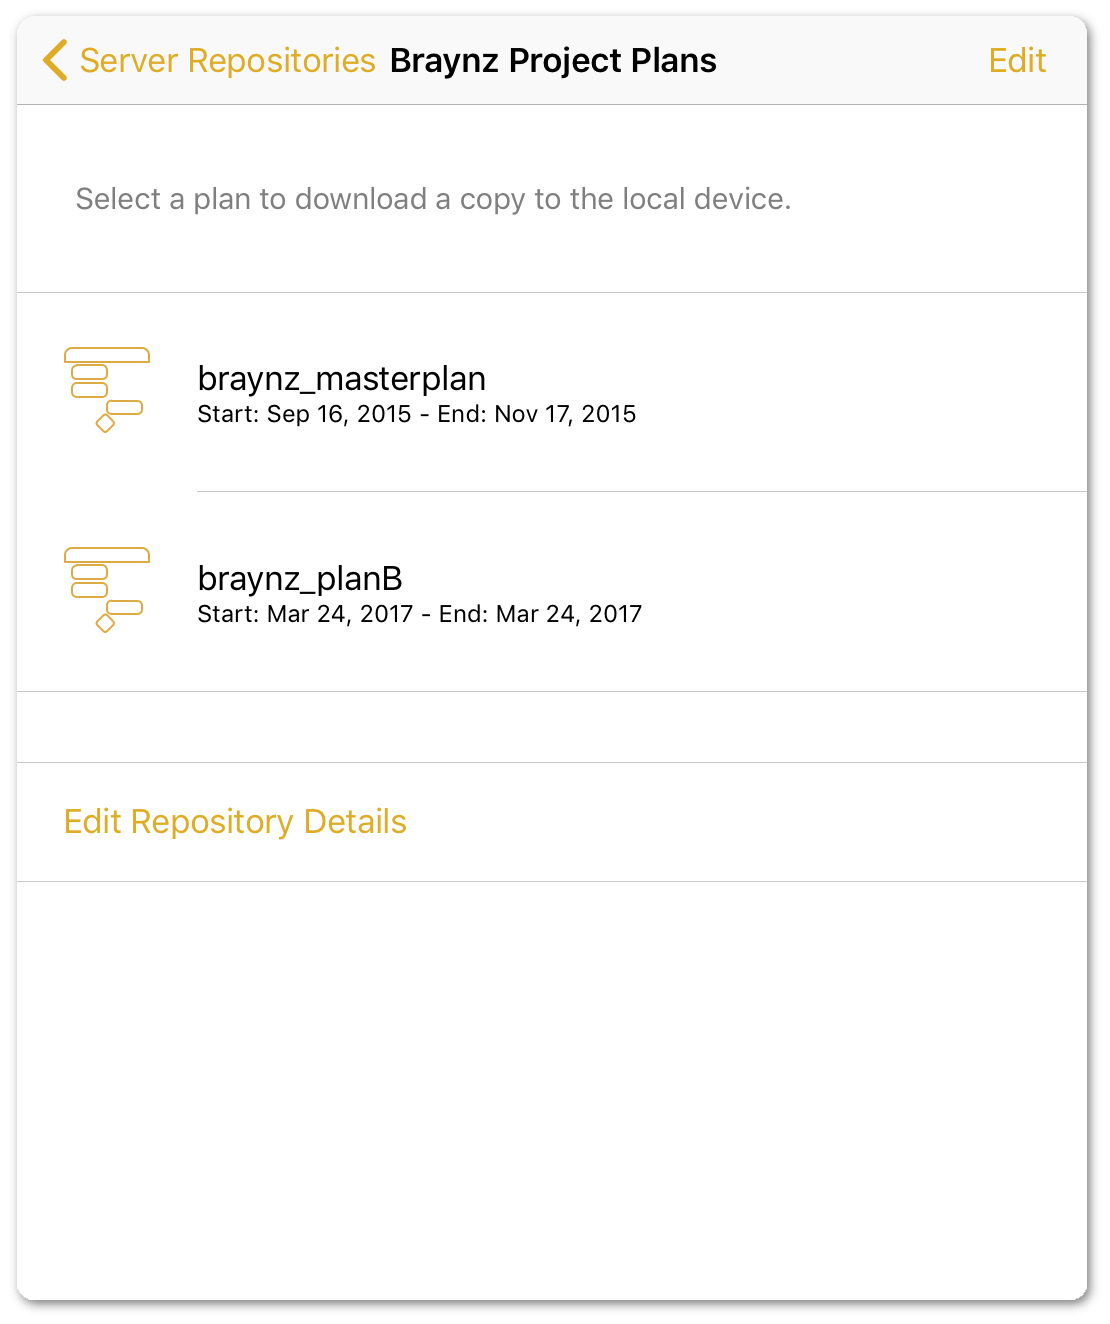
After tapping the applicable repository, the next screen you see contains a list of OmniPlan files on the server:
-
To delete a file from the server, you can either Edit and then tap the delete button (
 ) or you can swipe left on a file and then tap Delete.
When you tap Delete, OmniPlan presents the following alert:
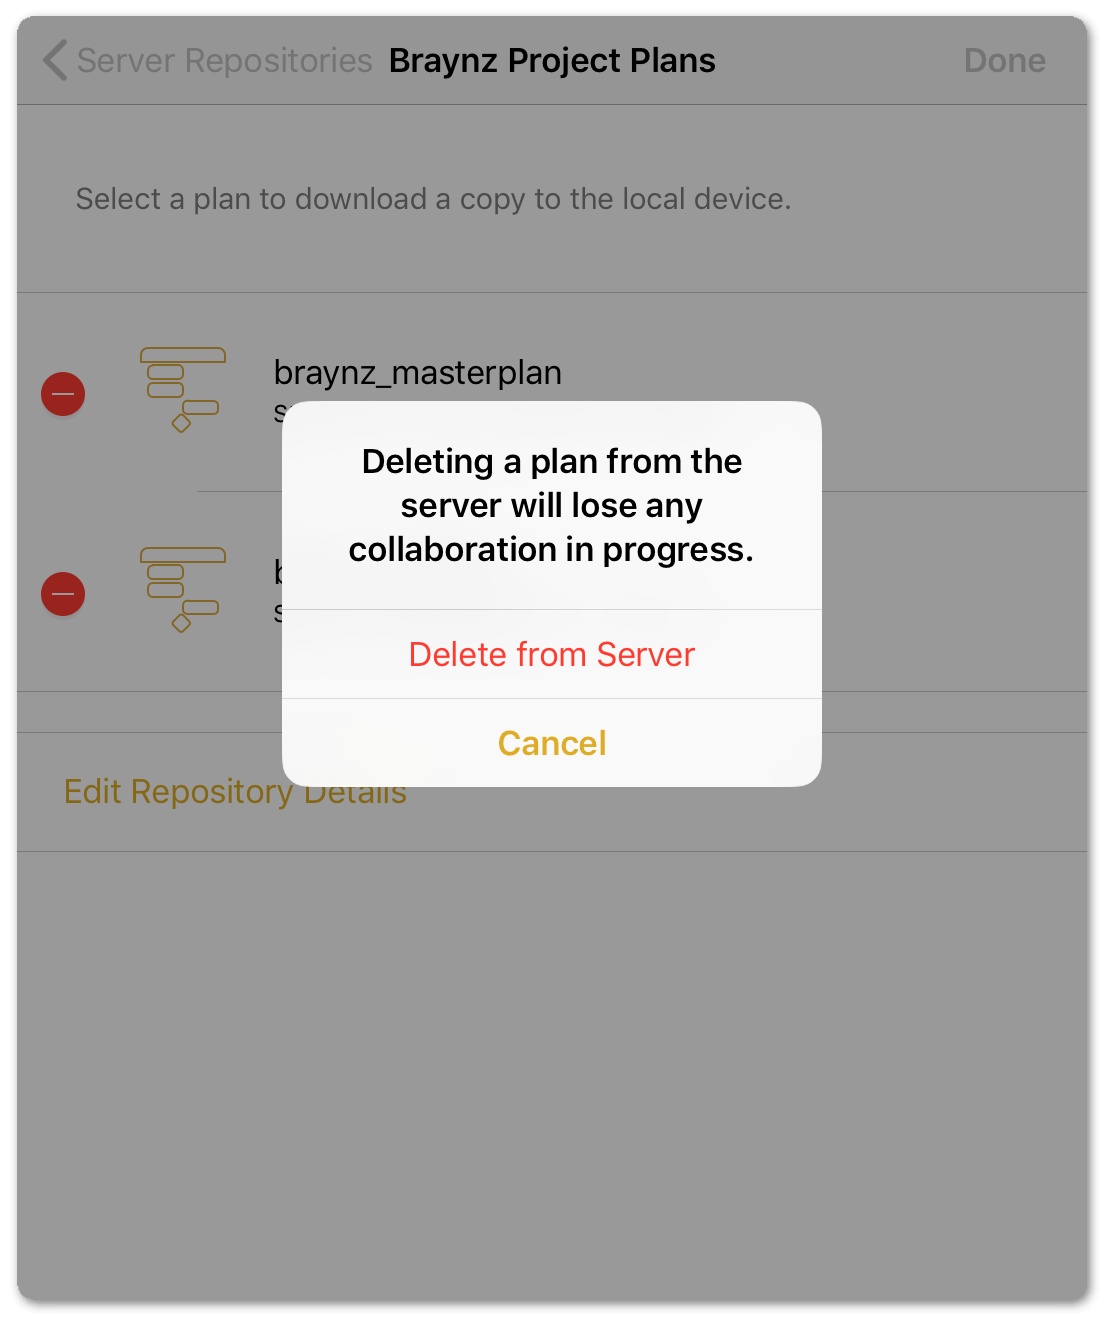
If you delete the file from the server, people who have subscribed to the plan file won’t be able to publish their changes. Meaning, everyone who has subscribed to the plan will be out of sync with each other’s changes. Everyone will still have a local copy of the plan file on their device or Mac; they just won’t be able to publish or subscribe to changes.
Part of the danger in sharing the server credentials is that anyone with access to the shared credentials could potentially delete a project file from the server.
If you are the project manager, be sure to let your team know that they should not delete a shared OmniPlan file from the server.
Change Tracking
You can use Change Tracking to track changes made to the shared project and accept or reject the changes of others.
To turn on Change Tracking, tap  in the toolbar, and then tap Change Tracking:
At the top of the Change Tracking pane, tap the switch to turn on Change Tracking for the shared project:
Whenever a change is made to the project (either locally or remotely), that change is logged in the Change Tracking pane of the View menu:
The Change Tracking screen displays a list of changes made since your last update to the project. Each change includes the relevant task name, the device responsible for the change, the date the change was made, and the nature of the change.
You can approve or reject changes individually by selecting each change and then tapping Accept Change or Reject Change, respectively. You can also approve or reject changes en masse by tapping either Select Local Changes or Select All Changes and tapping Accept Changes or Reject Changes, respectively:
If complex interdependent changes have been made to the project, it may not be possible to move back and forth between change states with perfect fidelity. Be sure to double-check the project after accepting or rejecting a large number of changes.