The Project Inspector
The Project inspector holds tools related to attributes of the project as a whole, including summary information and details about the project’s structure and chronological flow.

The Project inspector is divided into a series of grouped controls, each with its own description below.
Name and Note
This section provides a top level description of the project, with fields for the project name and notes to add further detail.
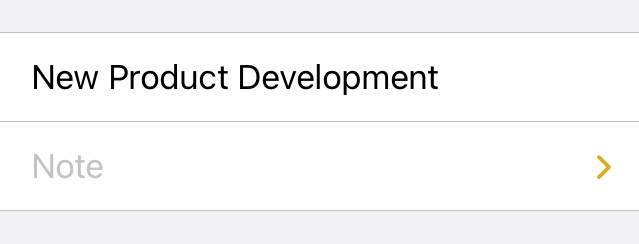
- Project Name—Edit the project name.
- Project Note—Add notes related to the project as a whole.
Publish and Subscribe (Pro)
This section supports the Publish and Subscribe feature available with OmniPlan Pro for collaborating on projects with multiple contributors.
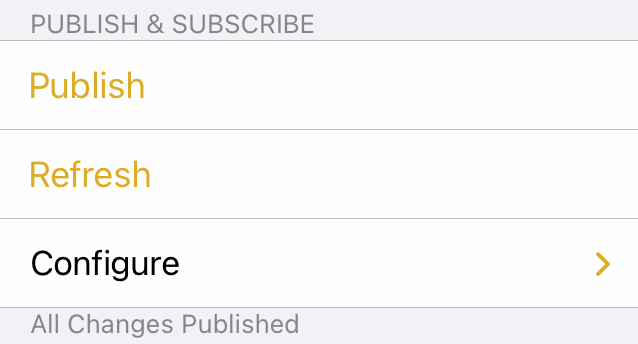
- Publish—When collaborating with others on a project document, tap to publish changes you have made locally to the shared project on the server.
- Refresh—When collaborating with others on a project document, tap to update your local copy with changes made by others to the shared project on the server.
- Configure—Configure the publication and subscription settings for this project. See Multi-User Collaboration (Pro) for more details on publishing and subscribing to projects.
Other Actions
This section contains useful actions that are performed on the project as a whole, including batch adjustment of task effort and running Monte Carlo simulations to estimate milestone completion dates (with OmniPlan Pro).
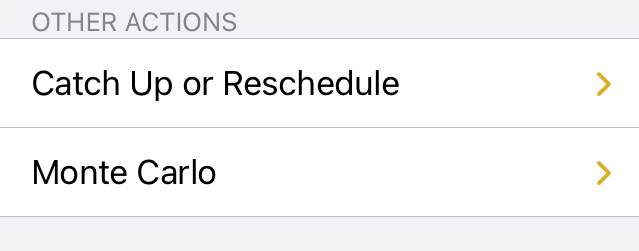
- Catch Up or Reschedule—In a project with specific dates, use these controls to indicate work done on all tasks at once: either to note that they are all on target and update their completion percentages accordingly (with Catch Up), or that work has stopped for the day and any remaining work should resume the next day (with Reschedule).
- Monte Carlo Simulations (Pro)—With OmniPlan Pro, use this control to assign effort estimates and run Monte Carlo simulations to estimate on-time milestone completion. See Simulating Milestone Completion Estimates below.
Simulating Milestone Completion Estimates (Pro)
OmniPlan Pro includes tools for calculating the degree of certainty that a milestone will be complete by a given deadline, using Monte Carlo simulations based on estimations of the effort required to reach the goal. The results of these simulations can help identify where things might fall behind, or come in ahead of schedule.
To run a Monte Carlo simulation on your project, do the following:
- Open the Project inspector.
- Tap Monte Carlo:
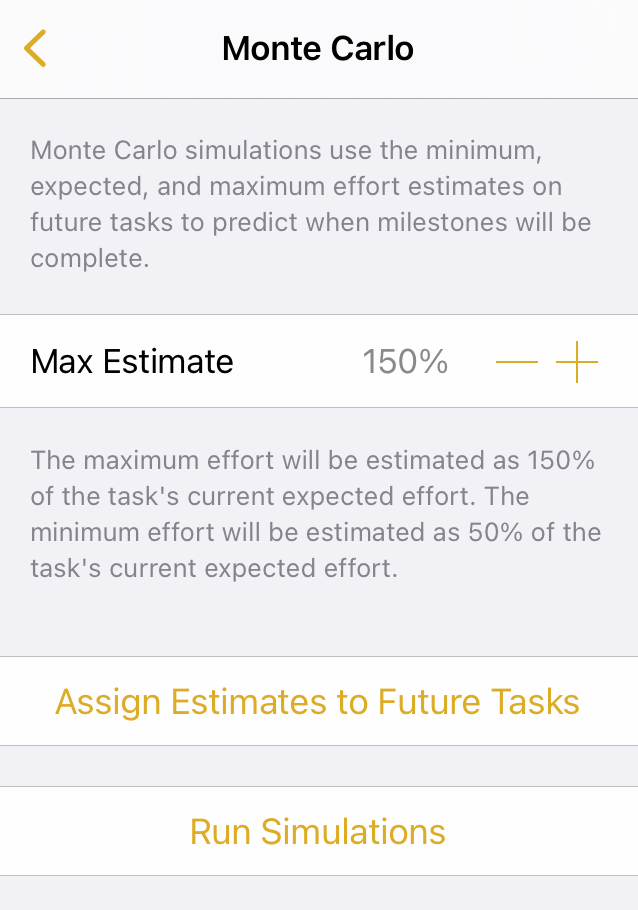
The level of certainty the simulation provides is determined by the amount of effort estimated as required for completion of the tasks within each milestone.
The Max Estimate percentage represents the expected range of deviation for the amount of effort that tasks within your project require. The default is 150%, indicating that a typical task in your project can be expected to require anywhere between 50% and 150% of its expected effort to complete. The average for that range is 100% effort.
You can raise or lower the Max Estimate percentage to 190% and 110%, respectively, depending on your level of confidence in your initial time estimates. Use a lower percentage if your confidence level is high.
-
Tap Assign Estimates to Future Tasks. OmniPlan generates hundreds of random effort values for each task within the percentile range indicated. OmniPlan then takes the average result and applies it to each task to determine the likelihood that a given milestone will be completed on time.
-
Tap Run Simulations. When the simulation is complete, each day that a milestone could be completed on is indicated by a striped vertical bar on the milestone in the Gantt chart:
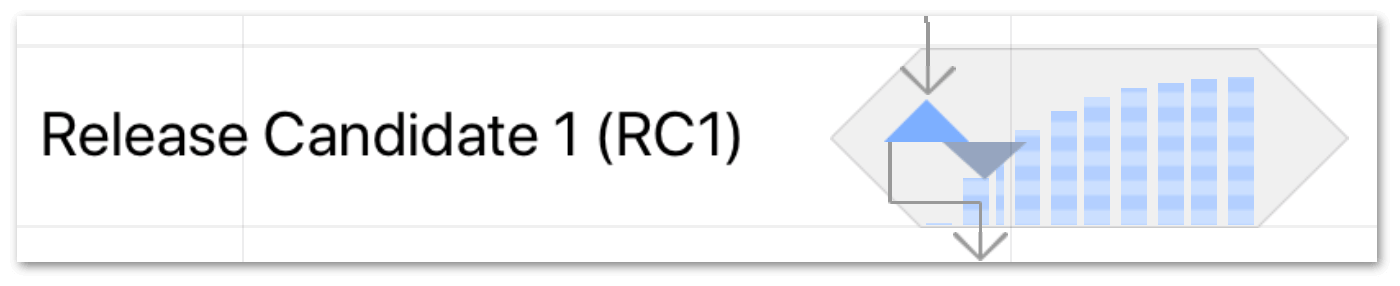
Each stripe in the bar represents 10% confidence that the milestone will be complete on that day. For example, 10 bars on a day means that, according to the simulation, a milestone is 100% likely to be completed on that day.
If you want to experiment with different Max Estimate values, tap Clear Previous Simulations, adjust the percentage value, and repeat Steps 3 and 4.
Schedule
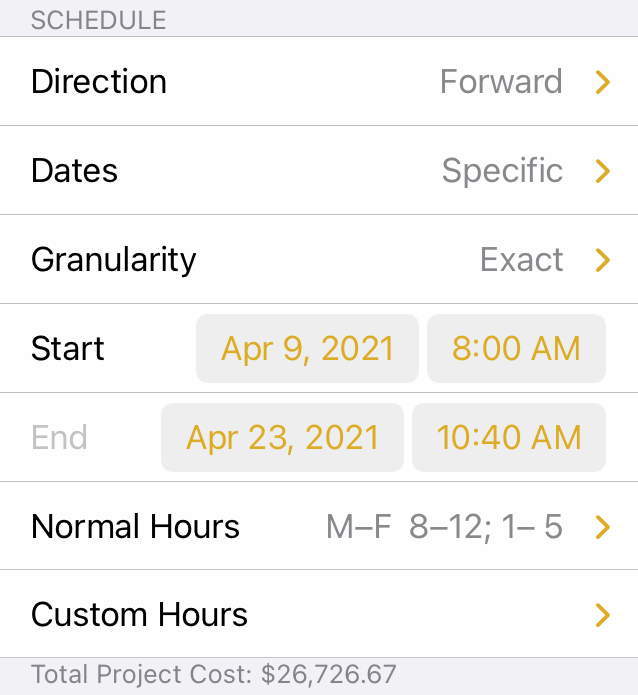
This section provides controls for determining how the project is scheduled: its direction, whether dates are specific or to be determined, and the degree of granularity for start times and resource assignments. The project's working hours and any custom hours are also set here.
-
Direction—Choose whether work on your project proceeds Forward from a Fixed Start or Backward from a Fixed End. This determines the direction from which tasks will be scheduled. The former schedules tasks as soon as possible, while the latter schedules them as late as possible. Individual task directions can be set in the Task Inspector.
-
Dates—Choose from To Be Determined or Specific dates for the project. To Be Determined dates are represented by T+0d, T+1d, T+2d, and so on, while specific dates are chronologically anchored to set days in the calendar.
-
Granularity—choose from Exact, Hourly, or Daily to specify how precisely to schedule task start and end times. Granularity applies to leveling, as well—resources are assigned in the time increments set here.
-
Start—Set the start date for the project. This can only be edited directly in a forward-moving project with specific dates; otherwise it is generated automatically.
-
End—Set the end date for the project. This can only be edited directly in a backward-moving project with specific dates; otherwise it is generated automatically.
-
Normal Hours—This row displays a summary of the project's normal working hours. Tap to edit the regular work week for the project; see Scheduling Normal Hours below.
-
Custom Hours—This row displays a summary of the project's schedule exceptions (if any). Tap to set customized hours for the project as a whole (such as time off or additional work); see Scheduling Custom Hours below.
Total Project Cost—The total cost for the project is displayed beneath this section, representing the combination of individual task costs and the cost values of resources contributing to the project.
Formats and Conversions
This section determines how the project displays units of currency, effort, and duration, as well as the amount of time that constitutes certain units of work (such as the work day and the work week). It also governs the display of task numbering throughout the document.
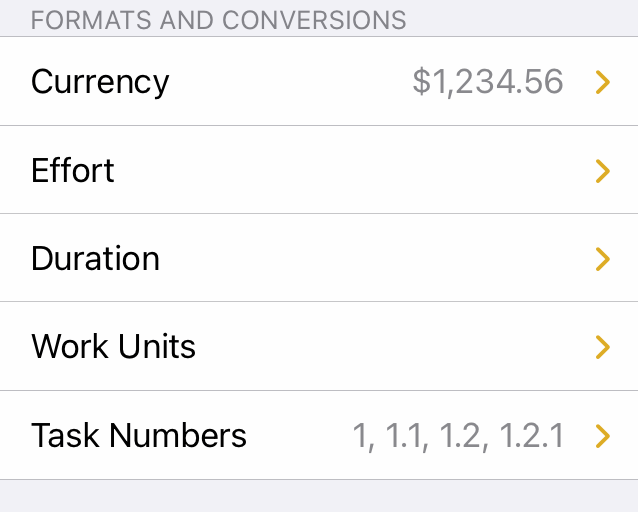
- Currency—Set the currency type for your project's expenses and costs.
- Effort—Choose how to display effort amounts throughout the project. The effort value at the top of the pane is a preview that changes based on which units you choose to display.
- Duration—Choose how to display time amounts throughout the project. The duration at the top of the screen is a preview that changes based on which time units you choose to display.
- Work Units—Choose how many work hours to count as one day, week, month, or year. This affects how large amounts of effort are entered and displayed.
- Task Numbers—Choose whether the Task Number column in Outline View uses Hierarchical Numbering (as described in Hierarchy and Task Groups), or Flat Numbering (each task is numbered with an integer based on its position in the list).
Document
This section contains controls related to the document file itself: choose the best file type for compatibility with your file storage solution of choice.
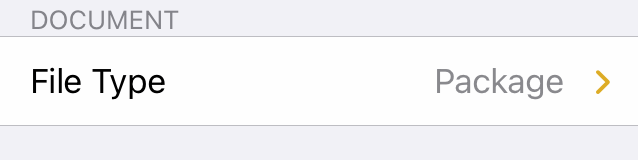
- File Type—Choose the file type for the project document. Flat file is the default for new projects, and is most compatible with a variety of cloud storage options. Package is the format used by older versions of OmniPlan, and may be required when sharing files between versions.
Scheduling Normal Hours
Use the Normal Hours control in the Project inspector to edit the calendar for the project's regular schedule of weekly working hours.
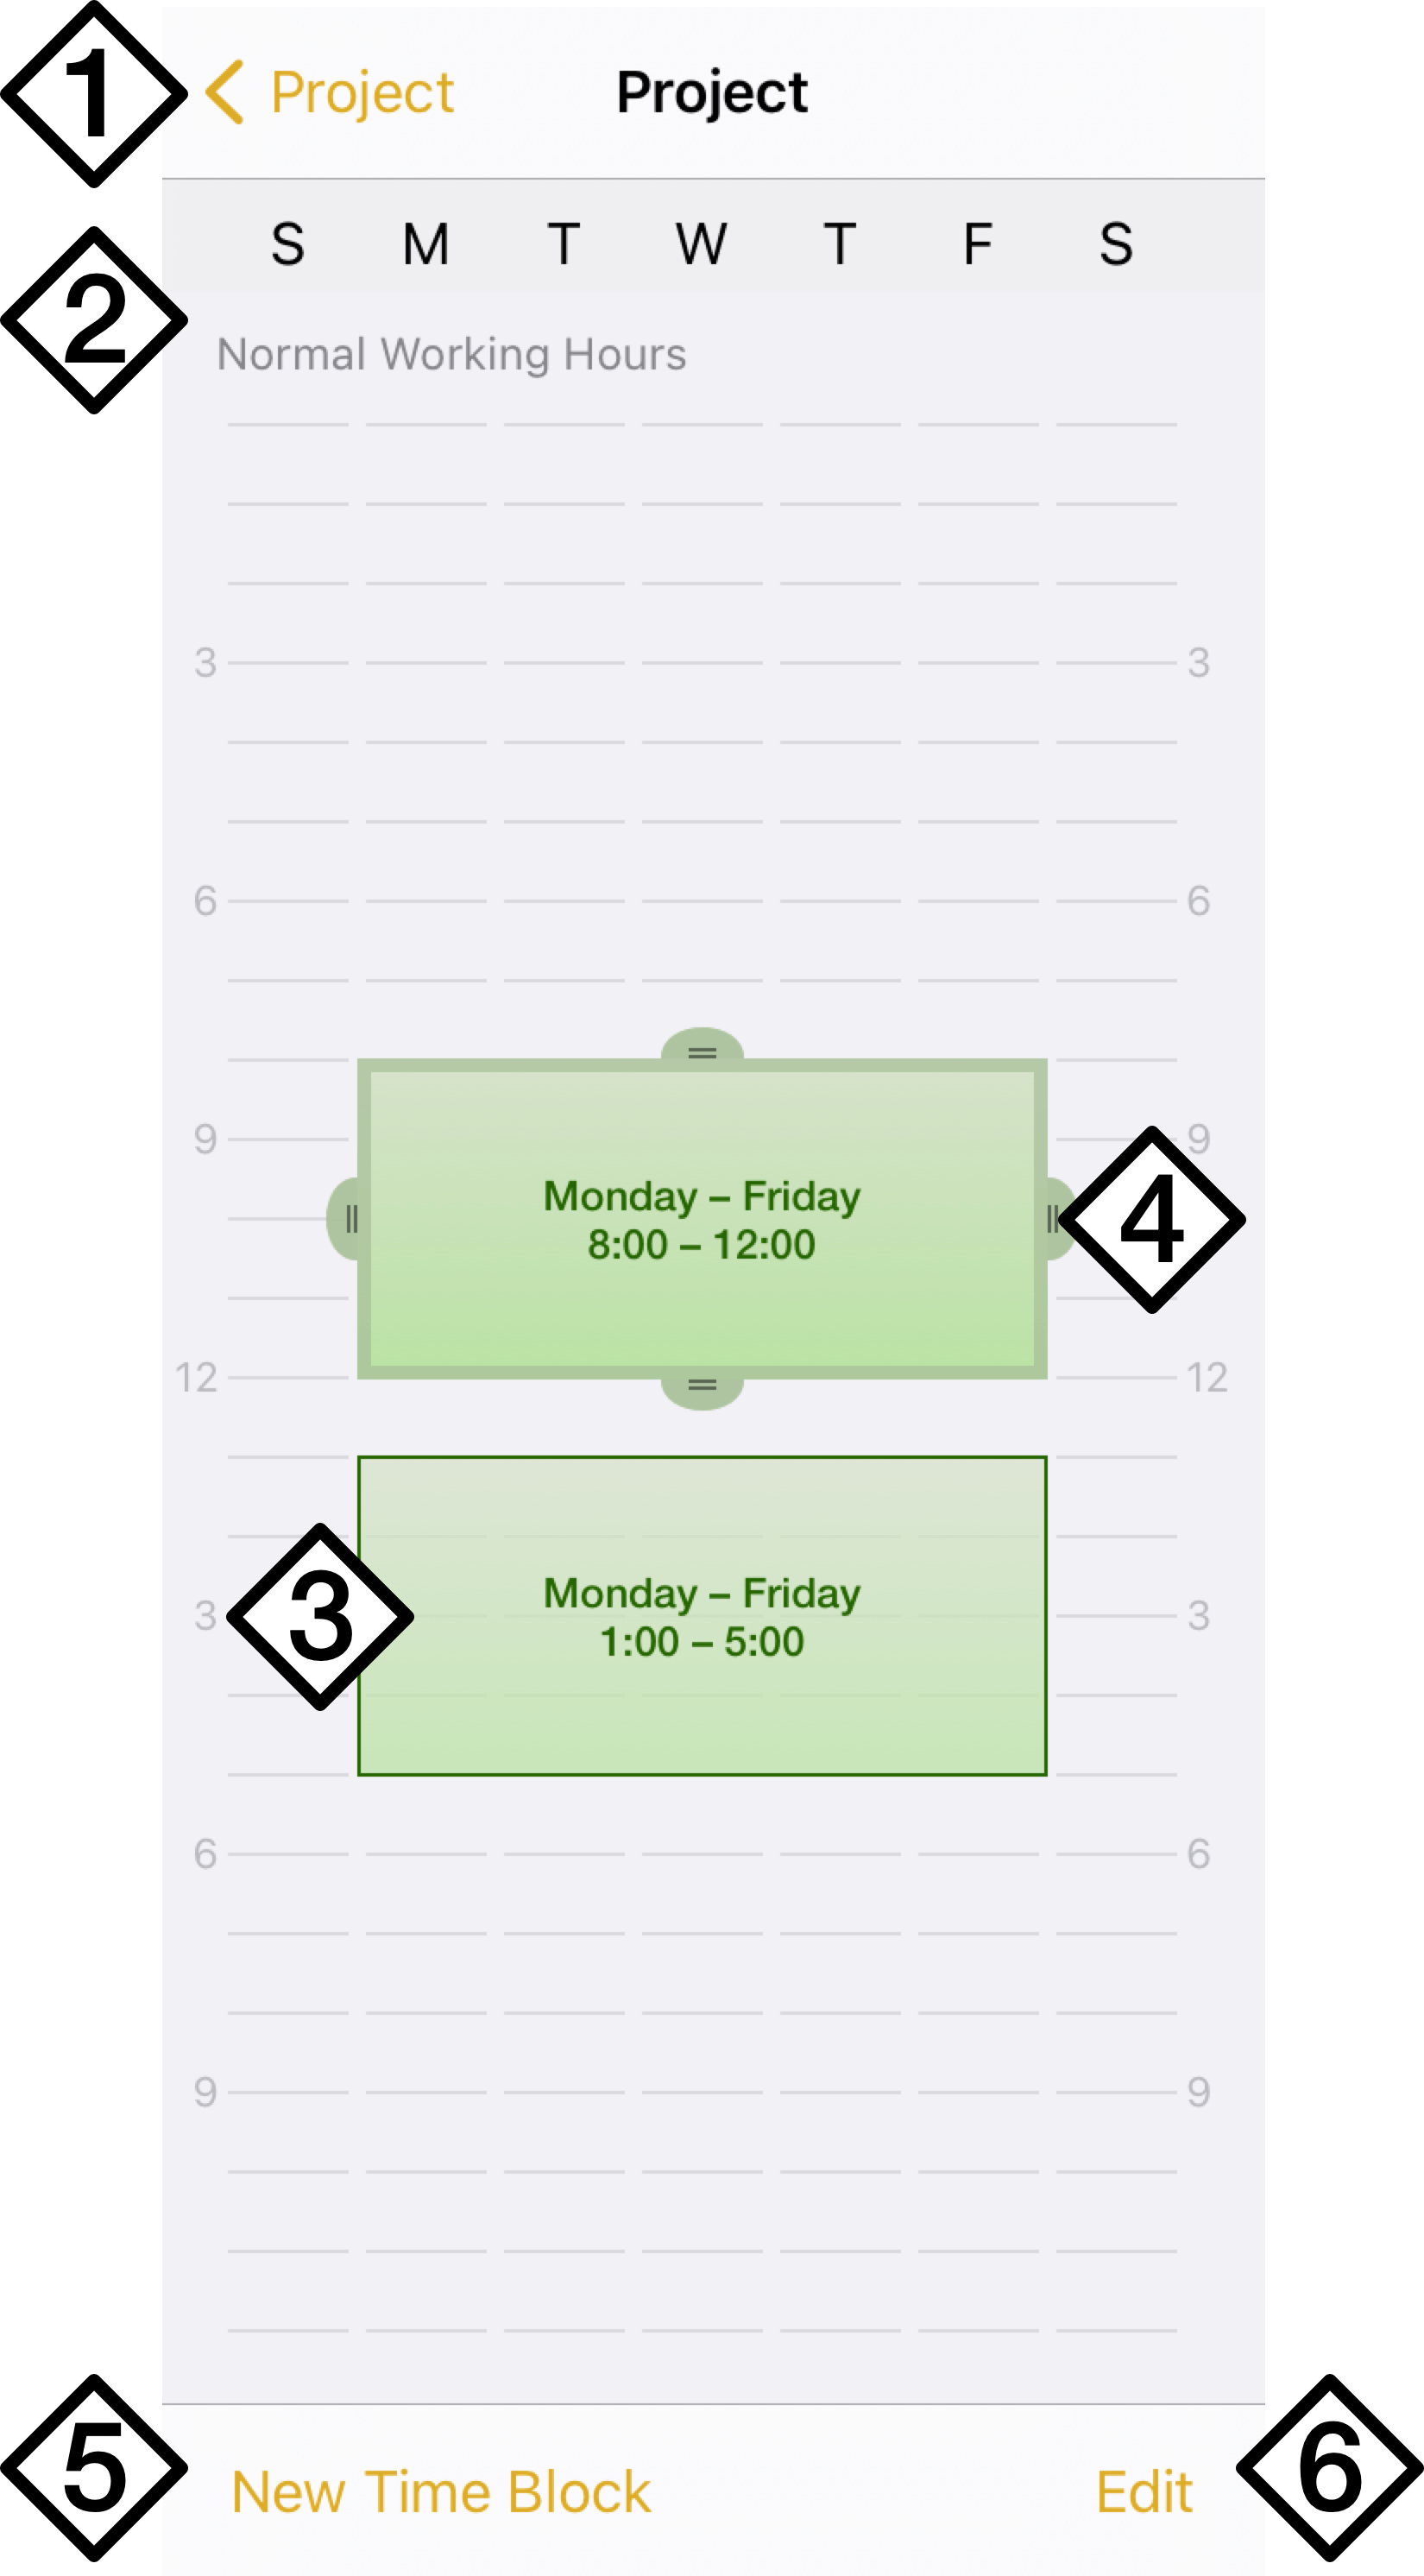
This view displays the normal work hours for the project as green blocks of time in a week-long calendar grid.
- Project—Tap to return to the top level of the Project inspector.
- Weekdays and Hours—The calendar shows a typical work week, with days from Sunday to Saturday along the X-axis and hours from 12:00 AM to midnight in 15 minute increments on the Y-axis.
- Working Time—Blocks of working time are shown in green in the calendar, spanning weekdays (horizontally) and hours (vertically). The time block is summarized by text in its center.
- Editing Hours—To edit a time block, tap to select it and touch and hold the handles on its edge to drag them to the desired position. While editing, the scope of the edit is displayed in text at the top of the view.
- New Time Block—Tap to add a new block of working time to the project.
- Edit—Tap to switch to Edit mode, where time blocks can be deleted by tapping the red Delete icon
 in their corners.
Scheduling Custom Hours
Use the Custom Hours control in the Project inspector to add exceptions for any extra time (or time off) the regular weekly schedule.
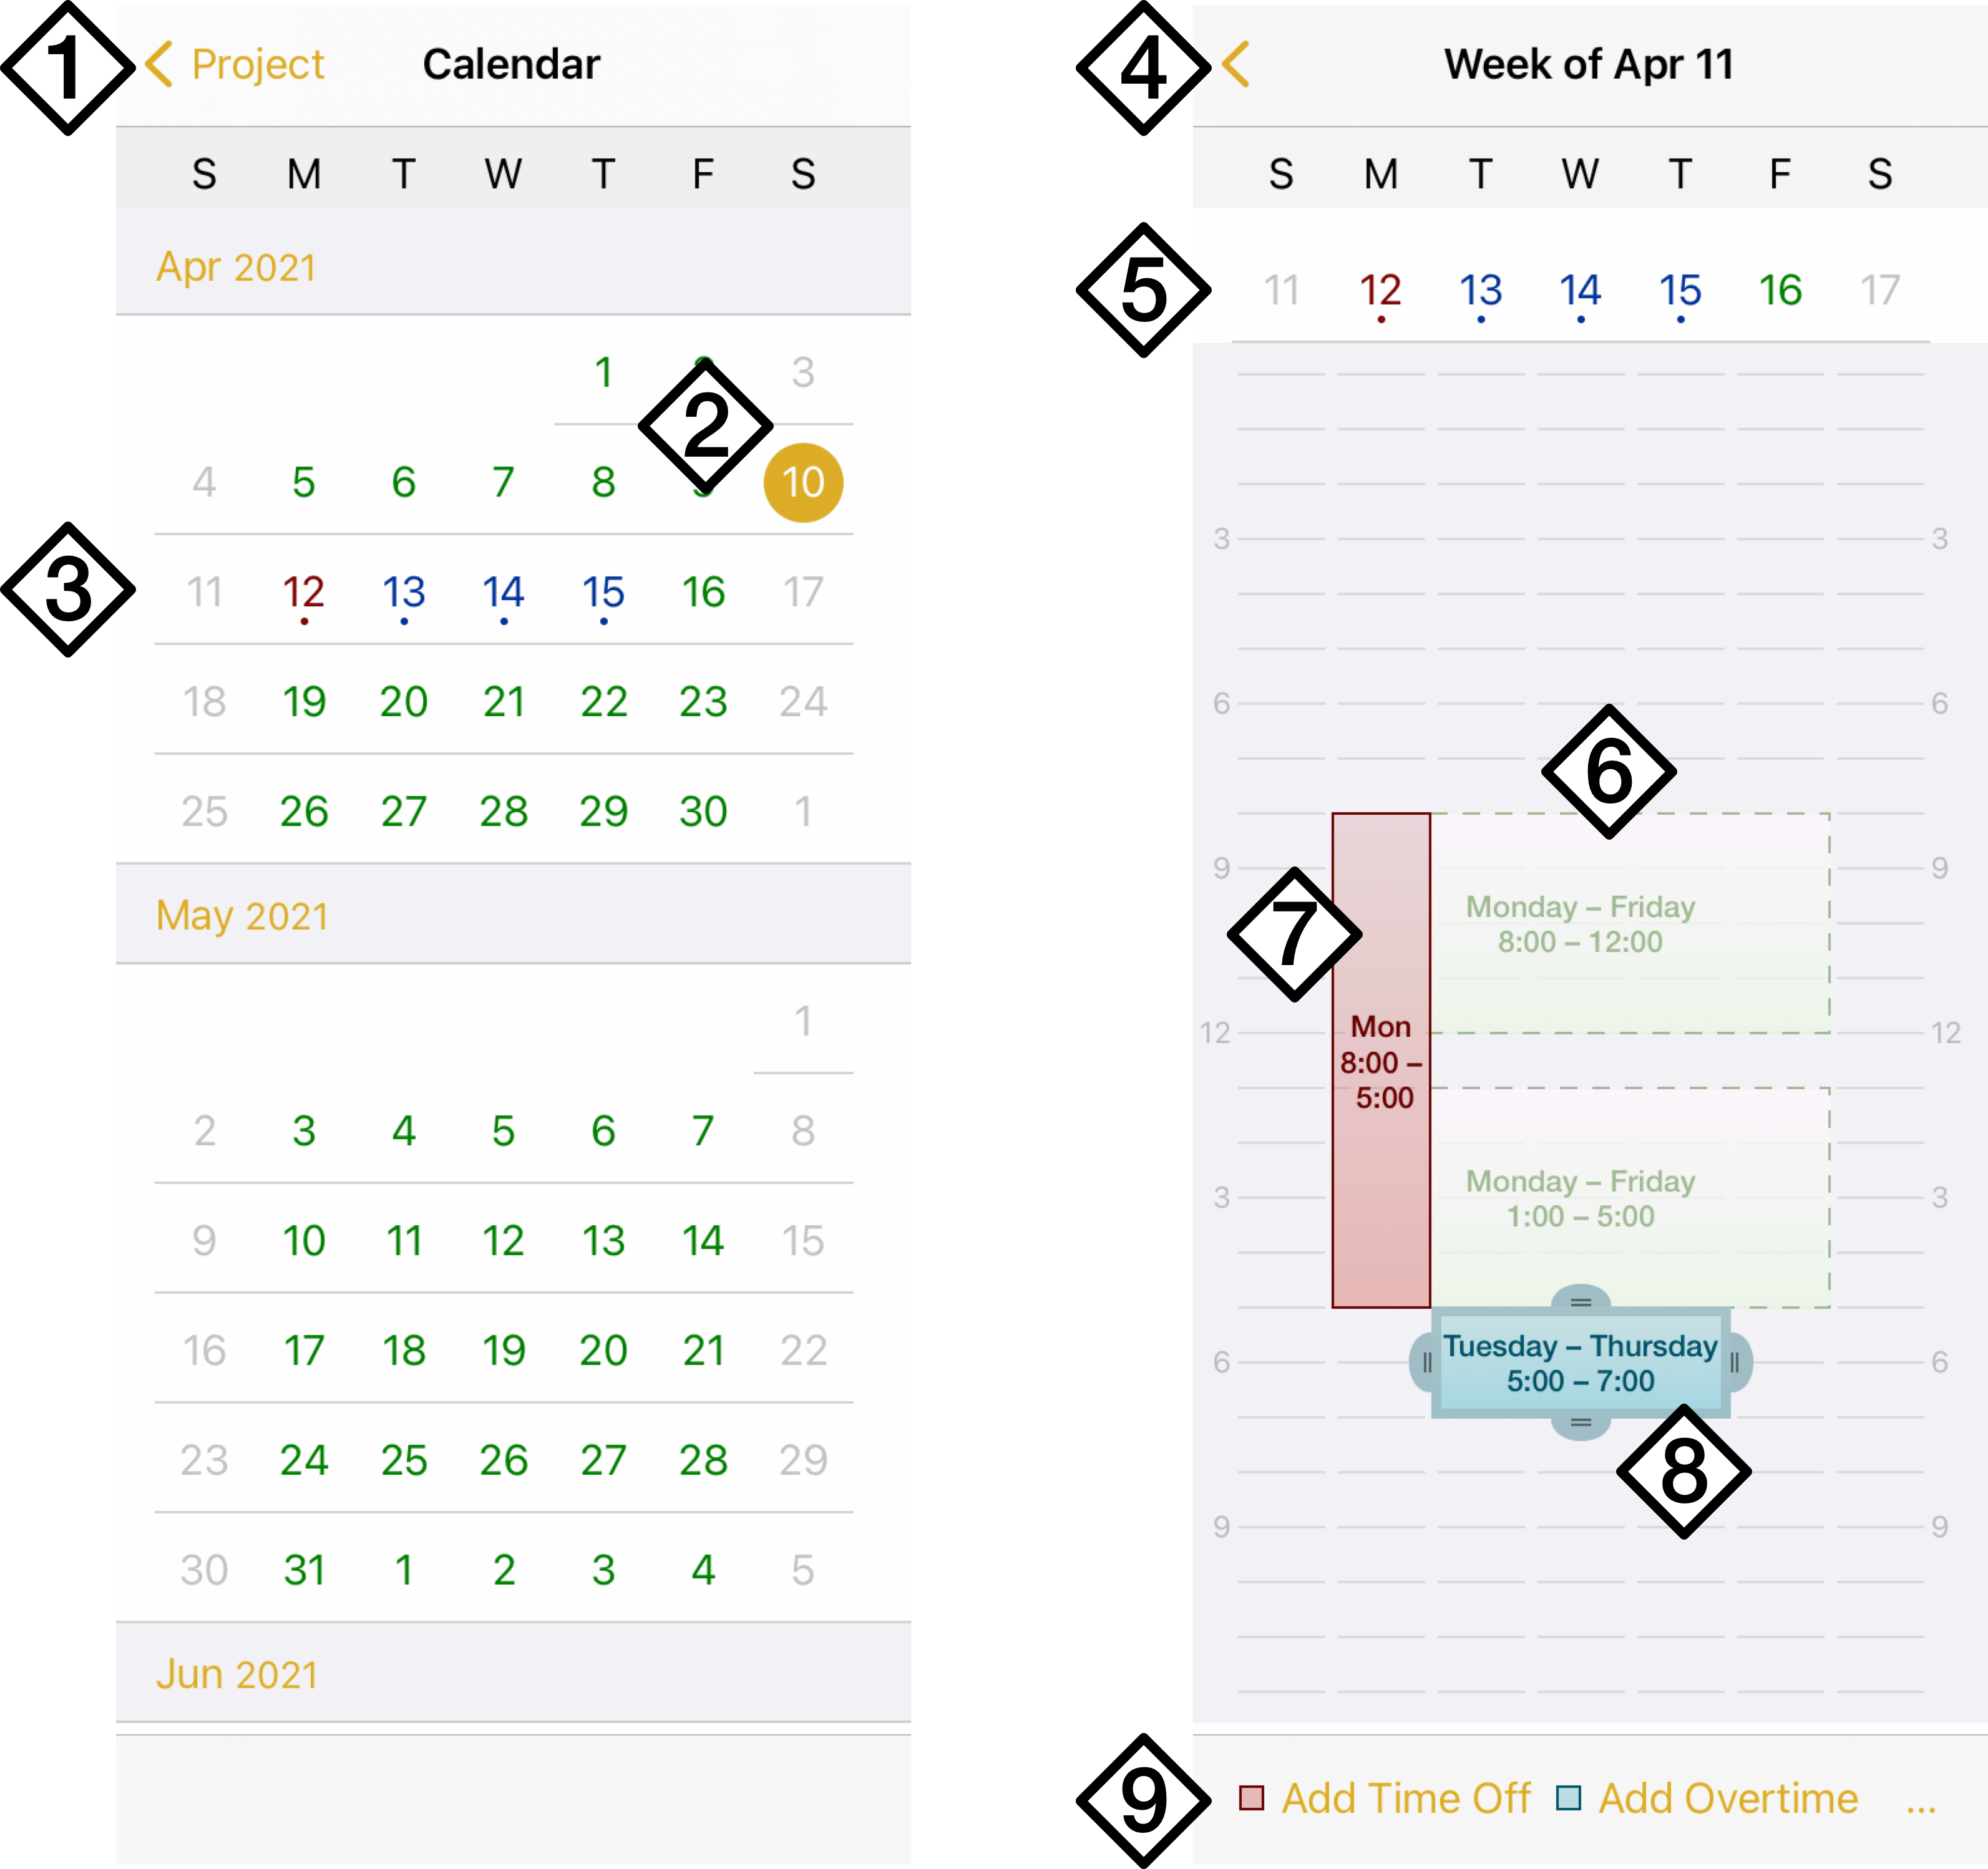
This view displays a monthly calendar for browsing to dates where exceptions exist. Tap a week's row in the calendar to view and modify exceptions for the week.
- Project—Tap to return to the top level of the Project inspector.
- Monthly Overview—The Custom Hours calendar shows a monthly overview of the project, with the current date highlighted in yellow
 and green dates corresponding to regular working hours.
 - Exceptions—Dates with custom working hours are badged with a dot and tinted either red (for time off) or blue (for overtime). Tap a week in the calendar to edit its exceptions in detail.
- Calendar—Tap to return to the monthly overview.
- Weekdays and Hours—The calendar shows the selected work week, with days from Sunday to Saturday along the X-axis and hours from 12:00 AM to midnight in 15 minute increments on the Y-axis. Dates with exceptions are styled in red (for time off) and blue (for overtime).
- Normal Hours—The project's normal work hours appear as faded green blocks in the calendar. They are shown for reference and cannot be edited here; use the Normal Hours calendar instead.
- Time Off—Custom time off is represented by red time blocks in the calendar.
- Overtime—Custom overtime is represented by blue time blocks in the calendar. To edit a time block, tap to select it and drag the editing handles along its edges.
- Add and Remove Blocks—Tap Add Time Off and Add Overtime to add custom blocks of each type to the calendar. Tap the final control to switch to Edit mode, where time blocks can be deleted by tapping the red Delete icon in their corners.